


How I Closed in the Space Above My Kitchen Cabinets

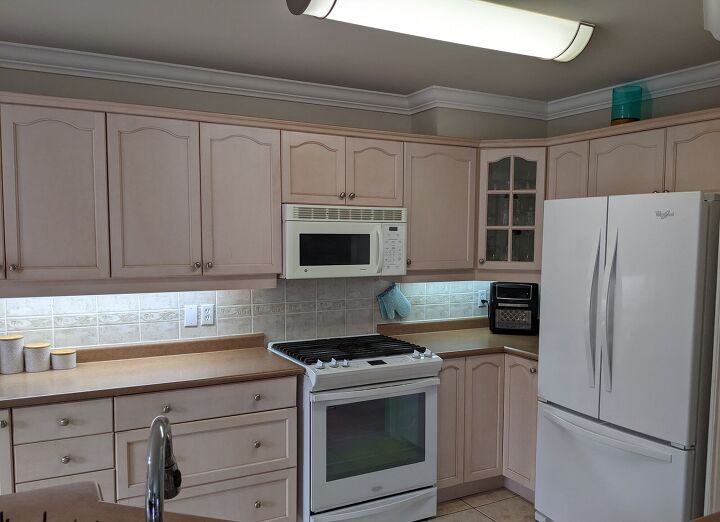
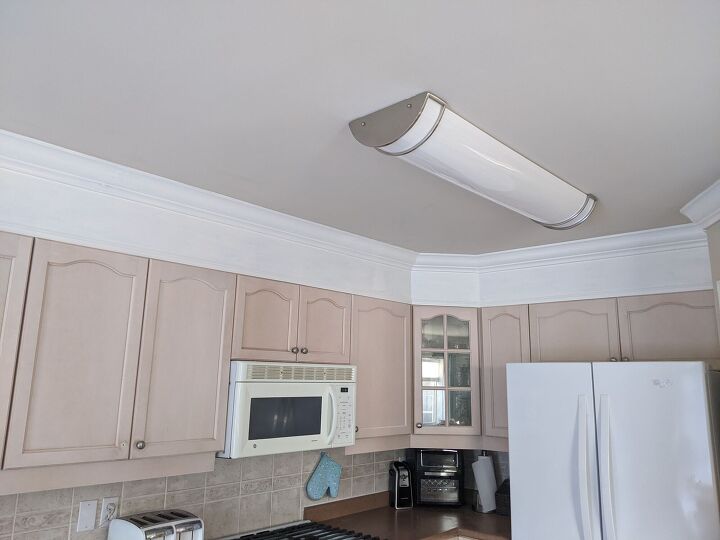
I’ve decided to make some updates to our main floor. The two things I hated the most were the pink kitchen cabinets and the dusty space at the top, so I decided these were the two things I would tackle first.
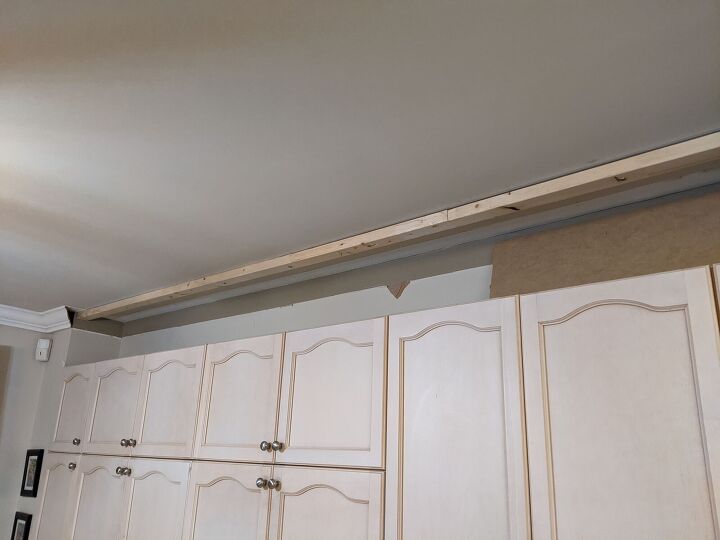
The corner had a weird little bulkhead, which was directly above a slanted corner cabinet, so all the angles looked awful!
REMOVE THE MOLDINGS
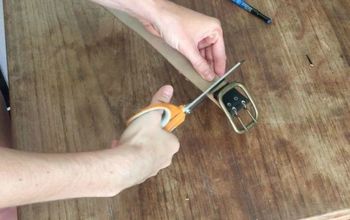
I started by removing the molding strips at the top of the cabinets, by removing the screws. Very easy.
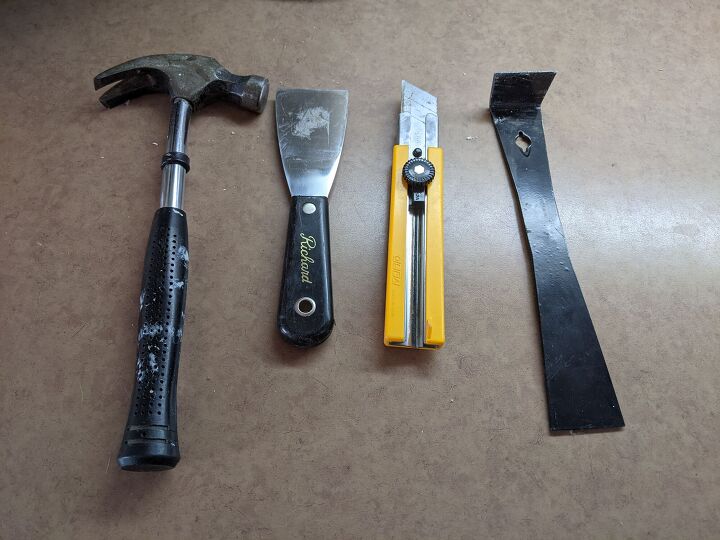
I then removed the crown molding on the ceiling. I used a utility knife to cut the caulking and then a putty knife and little pry bar and hammer to remove them. I tried not to damage them as I would need to re-use them later.
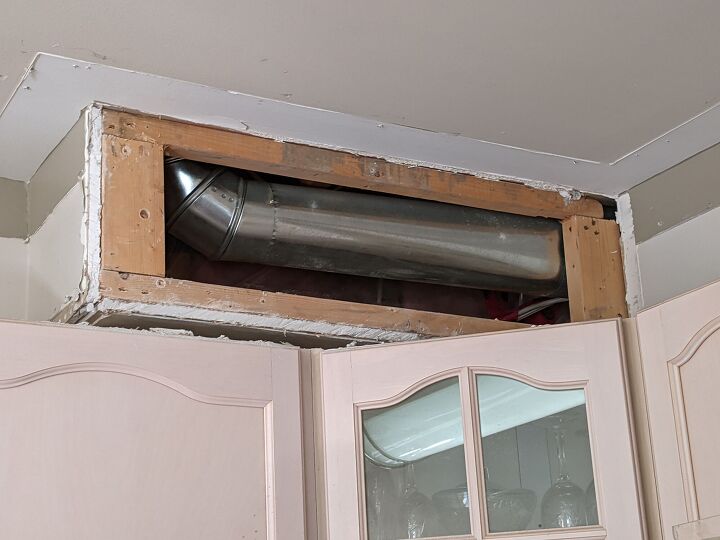
The little bulkhead stuck out a little too far to be flush with my new bulkhead, so I removed the drywall on the front using a drywall knife to cut it away until it was down to the wood frame underneath. I always wondered what was behind there and now I know…it’s the exhaust vent from the powder room. How bizarre that they didn’t do directly out through the bathroom, which is behind the wall to the right! I guess the builders didn’t really consider esthetics when they did that? Either that or someone was really bad at measuring. OR maybe that vent connects to my kitchen vent somewhere in the ceiling. I guess I'll never know for sure!
BUILDING THE FRAMES
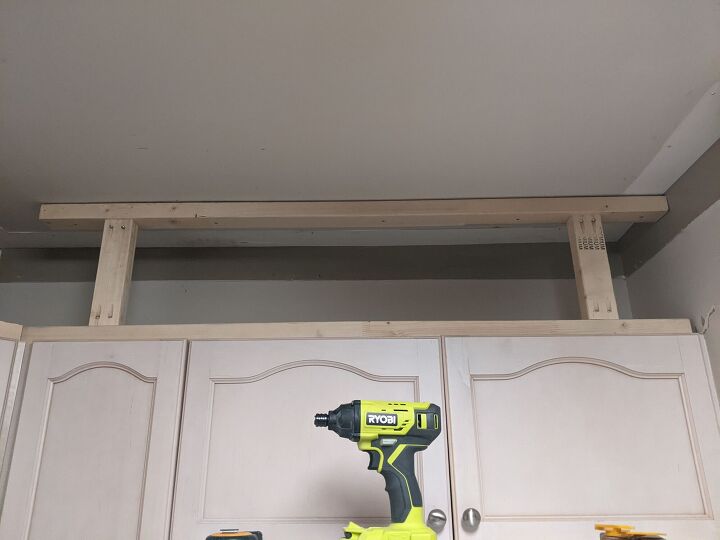
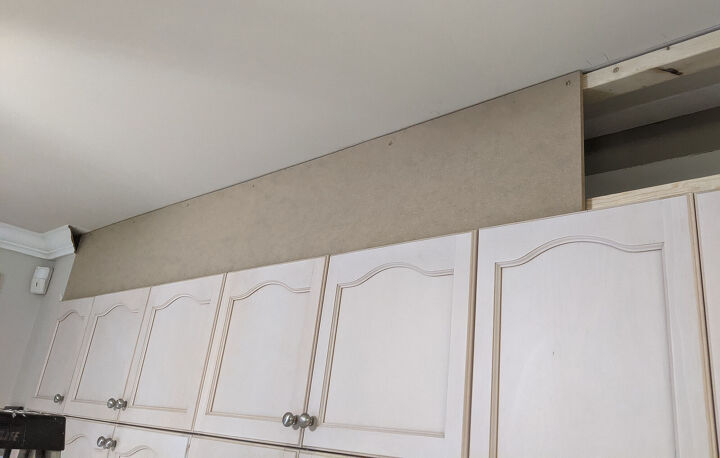
I started with the long side of the cabinets; I marked a straight line across the ceiling using a chalk reel.
I marked out where my ceiling studs were, using a stud finder, and attached 2 x 3” studs to the ceiling directly behind the chalk line. It was a challenge to hold up an eight-foot beam and screw it into the ceiling by myself, so I used a block of wood on the far end to help support the weight while I screwed them into the studs.
Next was to attach 2x3s to the top of the cabinet. Unfortunately, there were some kind of screws at the top of the cabinets, near the front, that I hadn’t noticed before, that would prevent the beams from sitting flat!
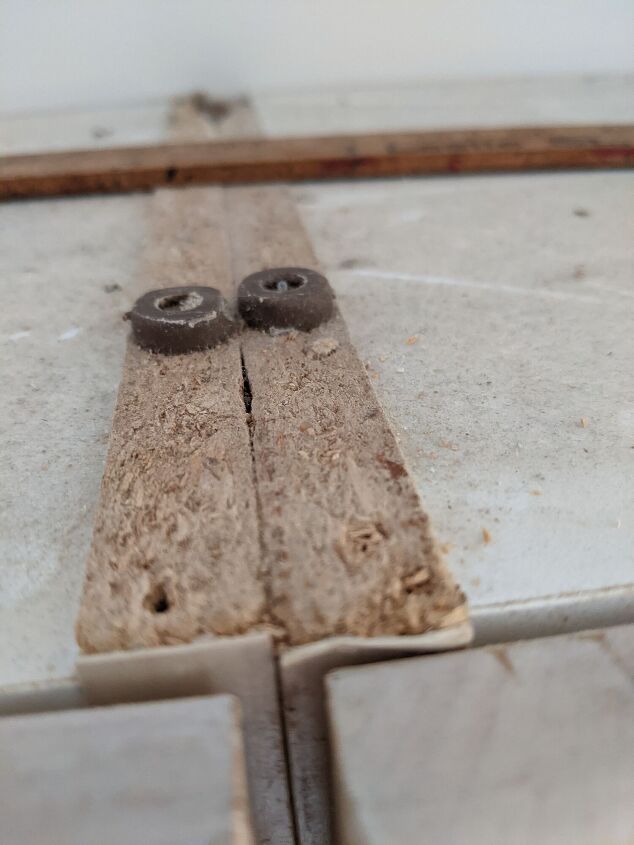
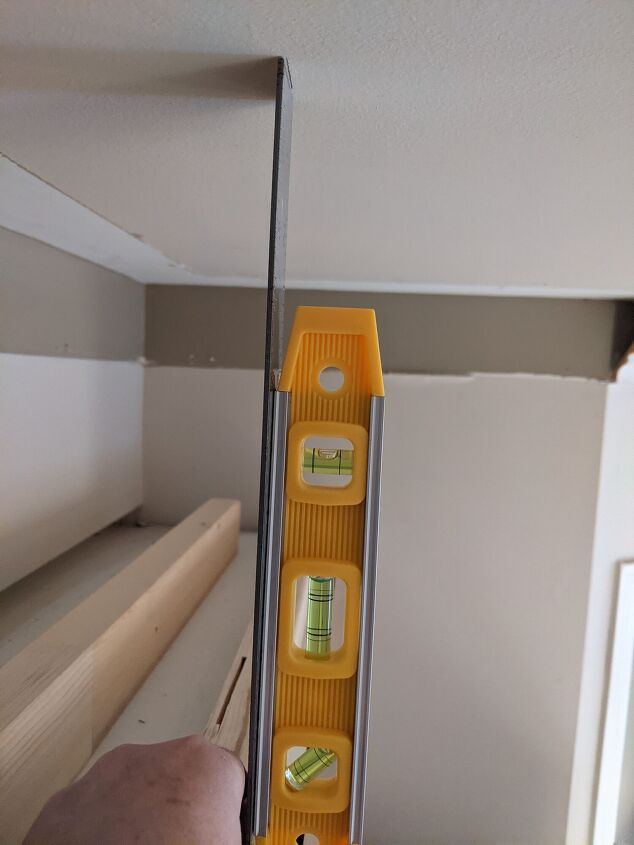
I ripped the 2x3s in half using a table saw and screwed them onto the cabinets, back half an inch. If I didn’t have a saw I would have gone back to Home Depot and gotten narrower beams. To make sure my panels would be a perfect 90 degrees, I used an L shape steel carpenters square and attached a magnetic level to the front.

Then I moved on to the shorter side of my cabinets. The ceiling studs ran parallel to my beams on that side so there was nothing solid to screw into, so I added heavy duty drywall plugs and also added perpendicular support boards. I attached them using pocket screws.
On this side I attached the bottom board first, then used the carpeters square and level to mark the ceiling to ensure 90 degrees.
CLOSING IN THE GAP
Now that the frames were installed, I screwed the MDF panels to the boards. I had the MDF panels cut to the right height at Home Depot.
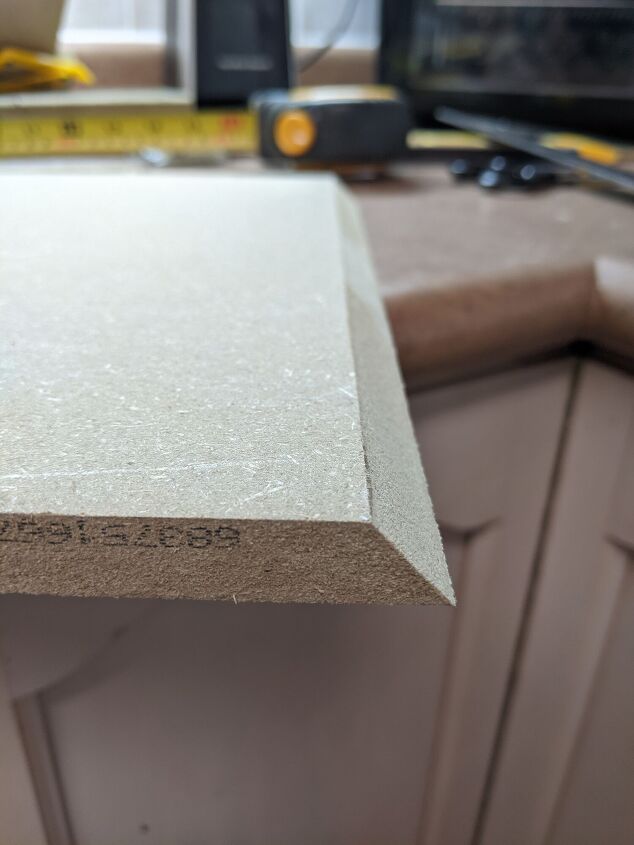
For the corner angled cabinet, I used a protractor to determine the angle and bevel cut both sides of the MDF at that angle.

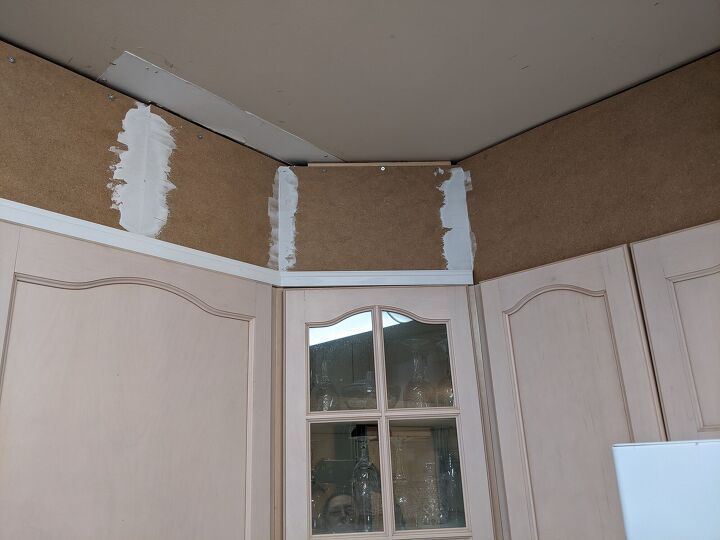
I added a piece of 1-3/8” trim directly above the cabinets, in front of the MDF. In hindsight, I wish I had gone with a taller trim.
I then added spackling to the MDF joins and sanded smooth. I used spackling because it’s supposed to work better to prevent cracking, except, it did crack, three times! I just kept adding more and sanding smooth each time until it stopped cracking. Looking back, I probably should have beveled all of my joins. Hindsight can be so annoying. Sometimes I'd like to poke it in the eye.
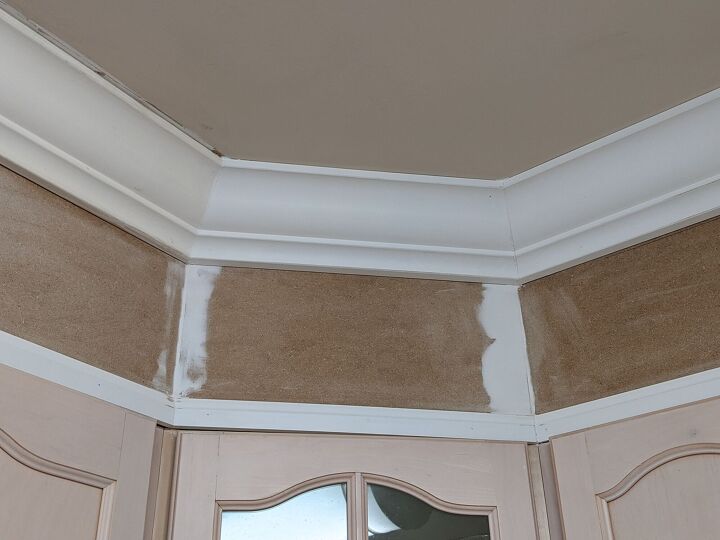
RE-ATTACHING THE CROWN MOLDING
Installing the crown molding was hands-down the hardest part of this project for me! My moldings are tall, so I had to cut them laying flat on the miter saw, adjusting both miter and bevel for each angle. I won’t get into details on that because it was a bit of a hack job and required LOTS of caulking! I have no wisdom to share on this topic, other than it’s harder than it looks and I hope never to do it again!
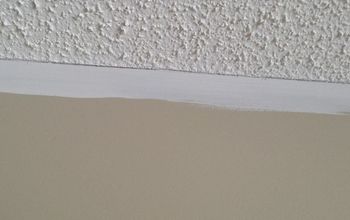
The last step was the paint. I applied one coat of primer and two coats of paint, using a brush. (When I painted the cabinets I gave the MDF a third coat.)
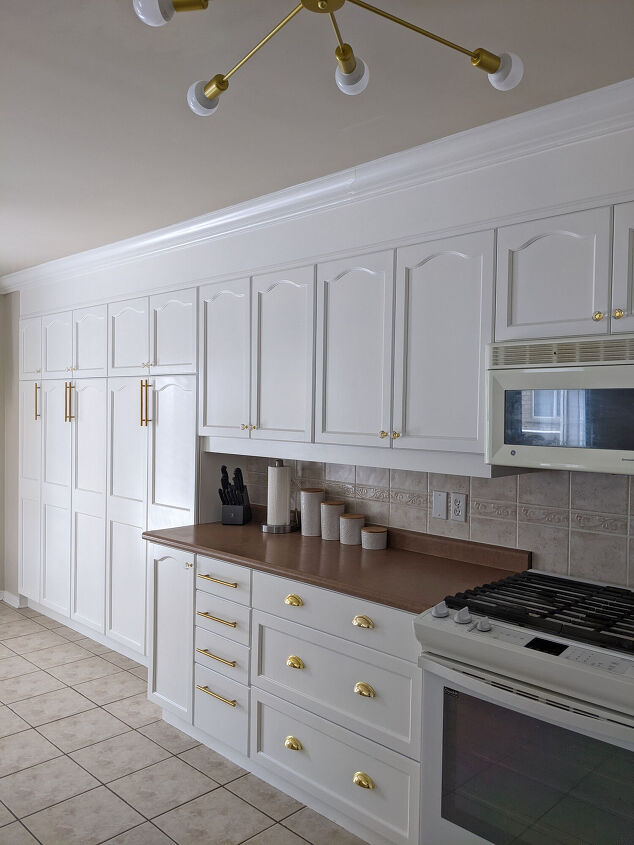
And done!
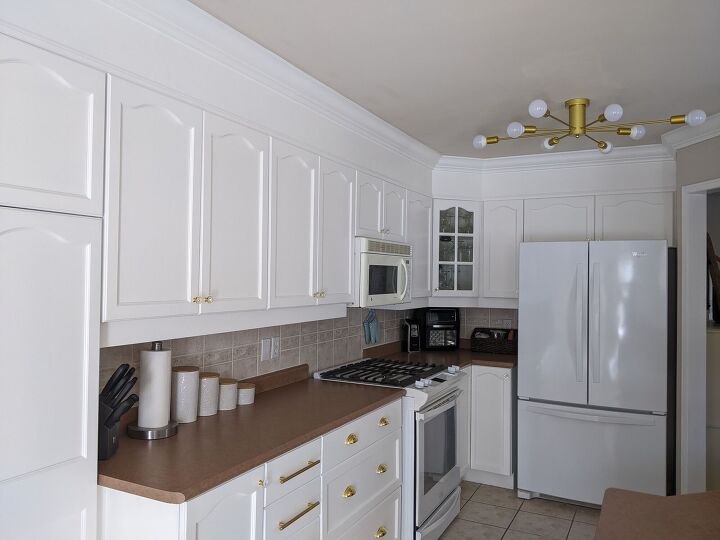
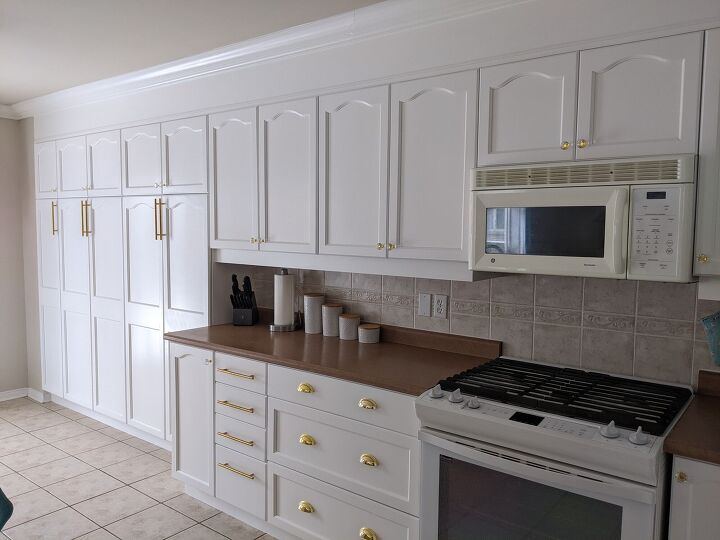
I love the way it looks with the space closed in and the angles hidden. It was well worth the $118 I spent on materials. It took me about two weeks to complete, but some days I didn't work on it at all. And some days I just spent watching hundreds of how-to videos on crown molding!
Phase two of this project was painting my cabinets (hello captain obvious! lol) using my new spray system and I LOVE the results!! It was my first time using an HLVP sprayer and If you’re interested in the details on that process, click here. 😊

Resources for this project:
See all materials


Comments
Join the conversation
-
Frank has his opinion this what you did is the 2022-23 look ever heard less is more all that what some call space I call a dust collector. Bravo to you your kitchen looks longer due to my eyes looking at the whole picture your other view looks higher brings my eyes but most of all looks so clean and fresh great update Valerie
-
Awesome! The finished look is stunning! Thanks for sharing. 👏🏼👏🏼👏🏼👏🏼


Frequently asked questions
Have a question about this project?
So beautiful! I've been looking at the space above my cabinets and wondering how it would look closed off. Now I know!! Mine are next
Why did you give up so much storage space? Mone has oral arrangements mixed with a fine China plate & other expensive display items.
Why didn’t you make it usable space, like putting doors to creat more cabinet space?