


Loft Bed w/Slide and Stairs

by
Sunita P
My son wanted a loft bed with a slide. After searching in furniture stores, I realized they were flimsy and he would grow out of it quickly. I drew a layout in AutoCAD and my husband said I needed a professional. I proved who the professional was.
*Project Steps:
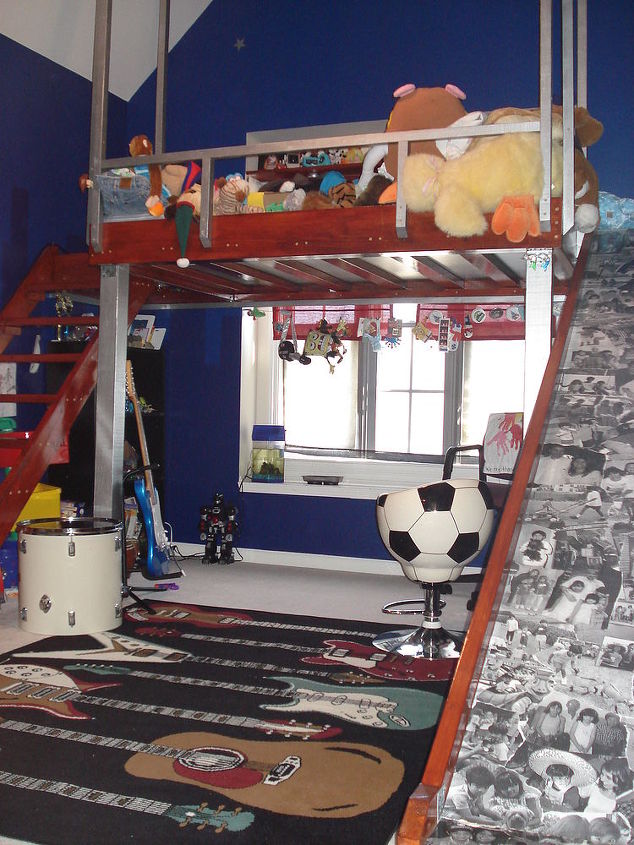
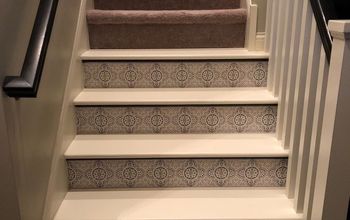
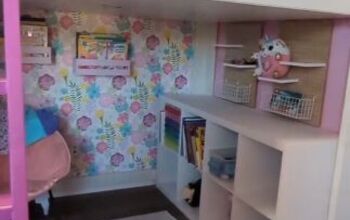
I wanted this bed to last so I made it for a full size bed. There need to be enough headroom for a desk and bookshelves below. After carefully designing it, I picked up all the supplies from Home Depot. First I started on the main section. I cut every piece then stained it to give an all sided finish then installed all the parts in the room. It took longer but it was well worth it. I would have had other problems staining inside (smell, walls and carpet). So he needed a way up, next came the stairs. Then, he needed a way down. I built the slide and decoupage it with black & white laser prints of memories. The clear lacquer finish makes it fast. Let's see if he wants to take this memory slide off to college.
Advice:
• If you are well prepared for your projects, you will save yourself lots of unnecessary trips to the store.
• Be sure to have a well vented area when staining.
Materials:
Screws - $0.00
Lumber - $0.00
Plywood - $0.00
Stain/Paint - $0.00
lots of Sandpaper - $0.00
*Project Steps:
I wanted this bed to last so I made it for a full size bed. There need to be enough headroom for a desk and bookshelves below. After carefully designing it, I picked up all the supplies from Home Depot. First I started on the main section. I cut every piece then stained it to give an all sided finish then installed all the parts in the room. It took longer but it was well worth it. I would have had other problems staining inside (smell, walls and carpet). So he needed a way up, next came the stairs. Then, he needed a way down. I built the slide and decoupage it with black & white laser prints of memories. The clear lacquer finish makes it fast. Let's see if he wants to take this memory slide off to college.
Advice:
• If you are well prepared for your projects, you will save yourself lots of unnecessary trips to the store.
• Be sure to have a well vented area when staining.
Materials:
Screws - $0.00
Lumber - $0.00
Plywood - $0.00
Stain/Paint - $0.00
lots of Sandpaper - $0.00
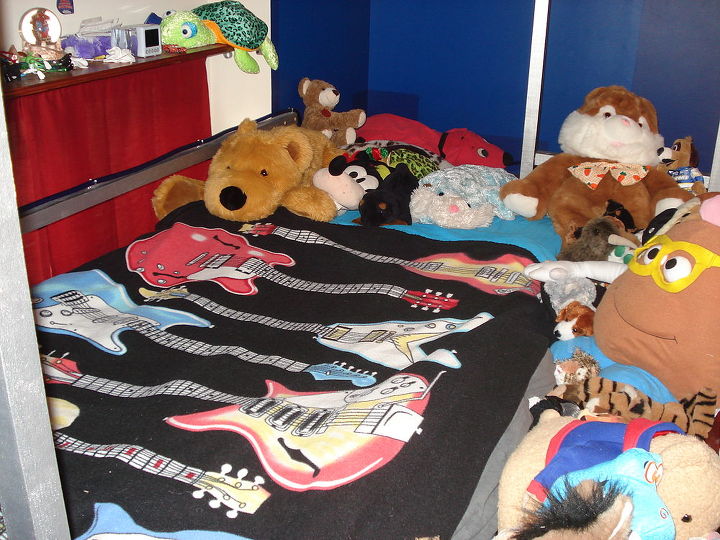
double size bed
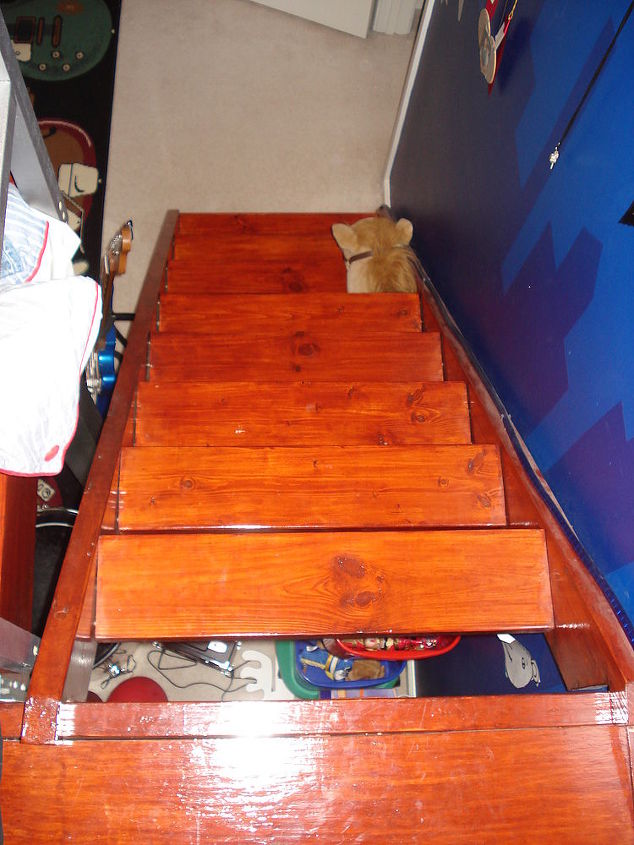
real stairs
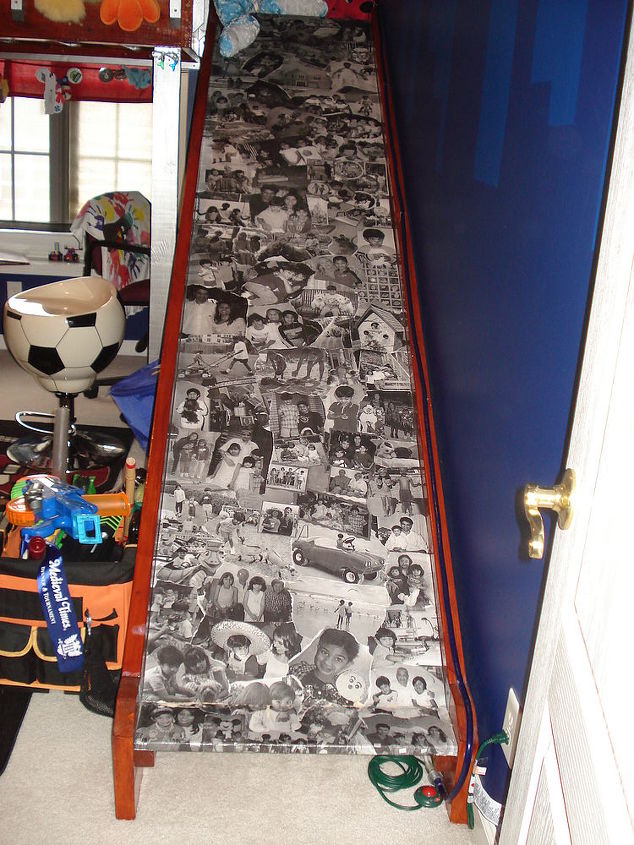
memory slide
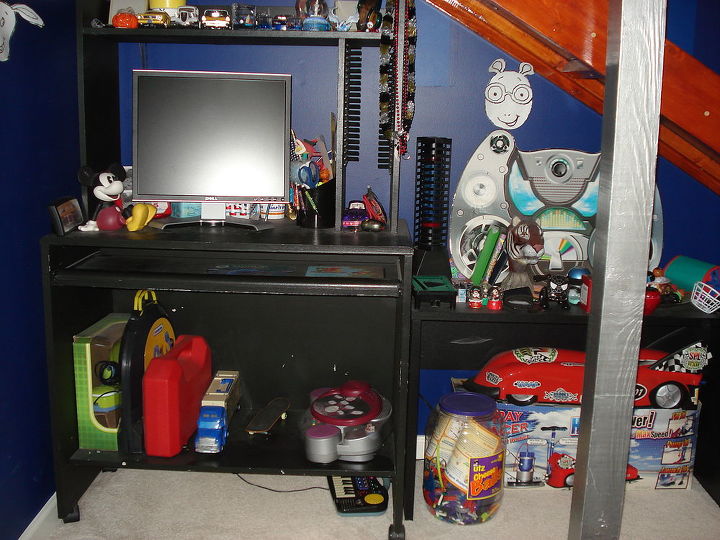
under slide desk
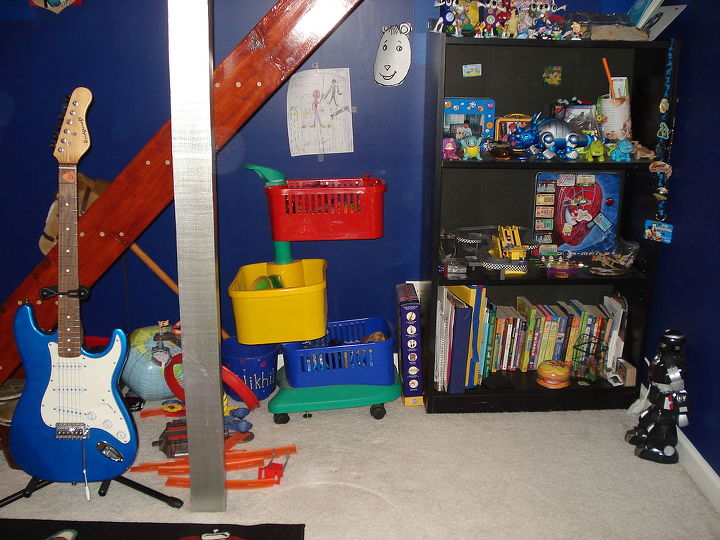
under stairs book shelves
lots of playroom underneath
Comments
Join the conversation
2 comments
-
oooh i love this one, it's adorable with that slide to come down - i'm sure my son would love such a thing! maybe for his next birthday!
-
Thanks for posting the new photos. This looks fantastic. Where can I sign up to be your kid and get all that cool guitar-motif gear? It looks like you all have a lot of fun.


Frequently asked questions
Have a question about this project?