How to Add Farmhouse Cabinet Trim
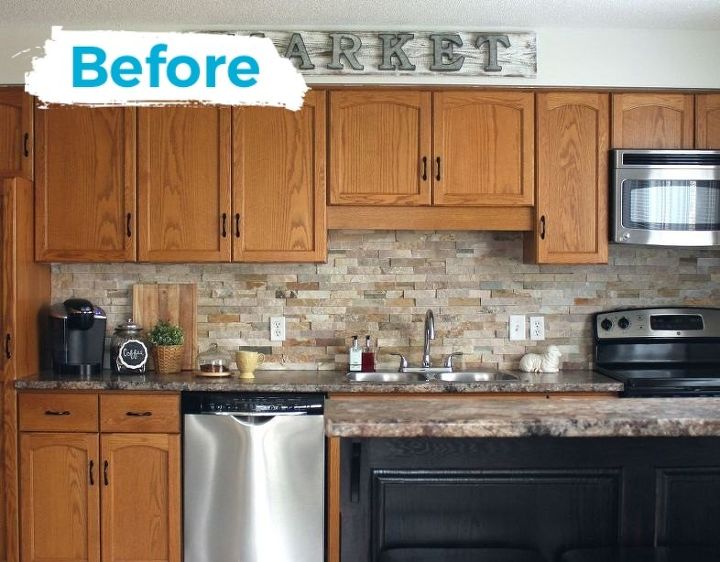
BEFORE: Reno here we come!
Here's our kitchen before our renovation Get tutorial here

Reno complete, ready for DIY farmhouse trim!
Step 1: For the cuts I started out by measuring and cutting the lengths of the 4 1/2 inch wide bottom pieces. Get tutorial here
Step 2: Then I measured & cut the 3" pieces
Once I had the top and bottom pieces cut I dry fit them in place (use a clamp if necessary) Get tutorial here
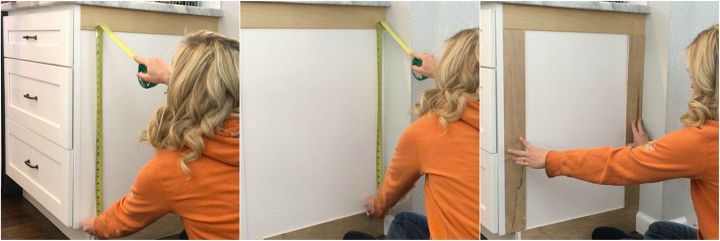
Step 3: Measure & cut side pieces
I cut the 3 inch wide side pieces to length and dry fit those in place. I repeated this for each cabinet. Get tutorial here
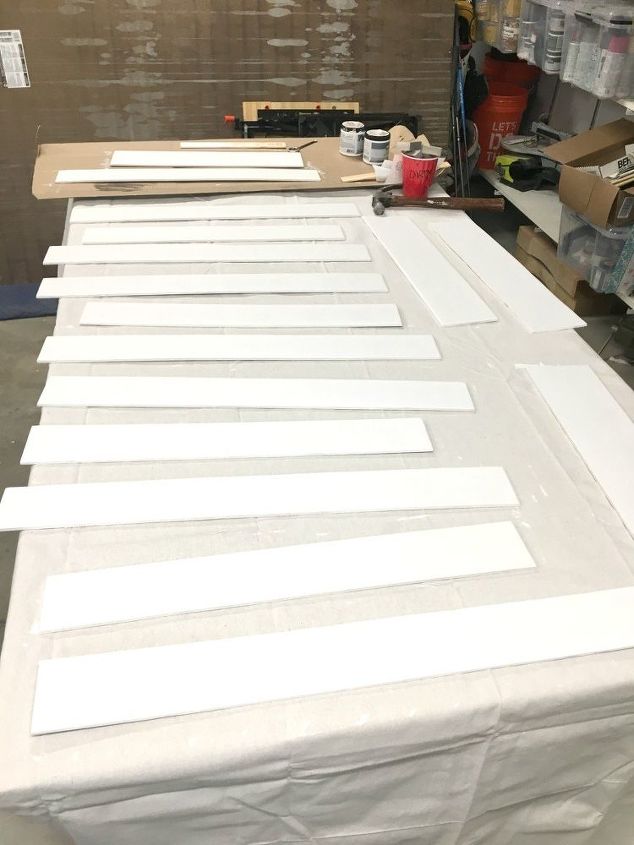
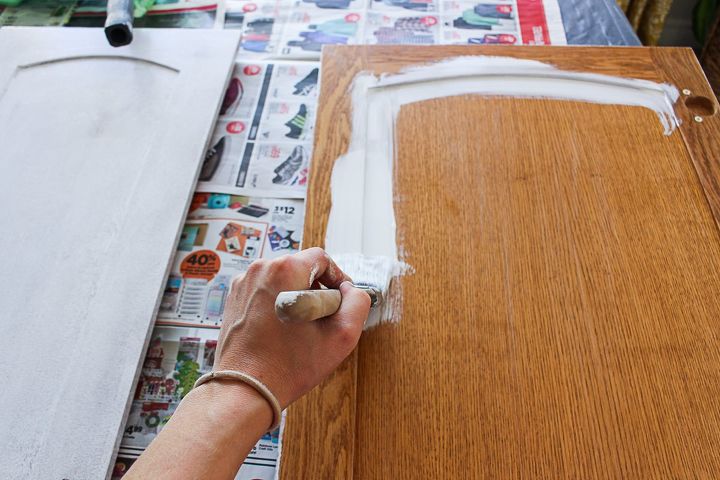
Step 4: Sanding & painting
Using a small paint brush for the edges and a roller for the top, I added a few coats of primer and paint Get tutorial here
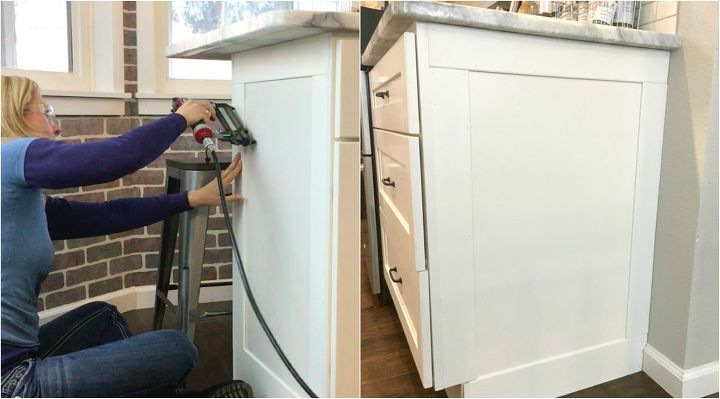
Step 5: Attach the trim with a pin nailer
Use 1/2 inch 23G pin nails. Once all the frames are attached, the cross pieces can be traced and cut. Get tutorial here
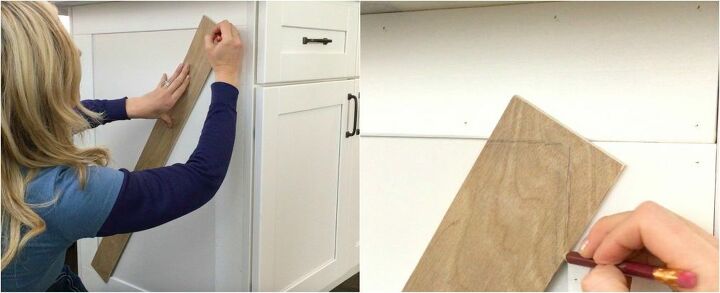
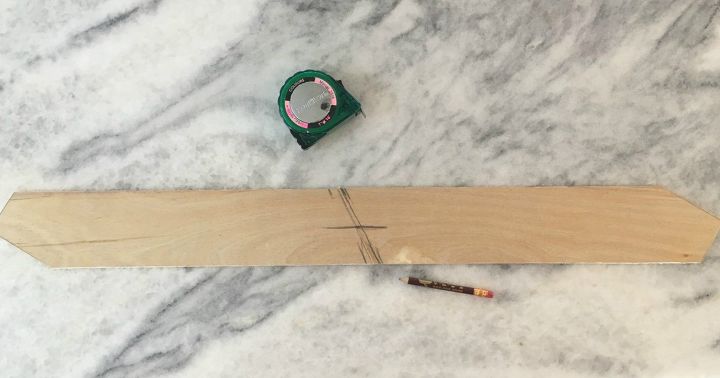
Step 6: Measure & cut a piece for cross piece
Cut the piece longer to allow for errors. Make sure each end intersects the corners, and trace. Get tutorial here
Step 7: Use a miter or jig saw to cut to size
Once it fits, sand, paint, and dry fit to the cabinet before you nail in. Repeat for all cabinets. Get tutorial here
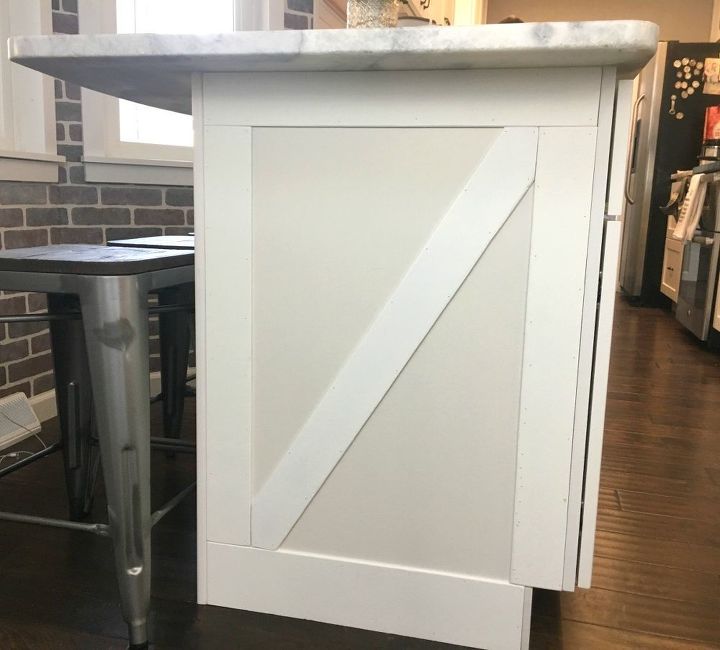
Step 8: Mark the middle of first cross board
I made my second cross piece corner cuts by tracing the corner cuts from the first diagonal cuts. Get tutorial here
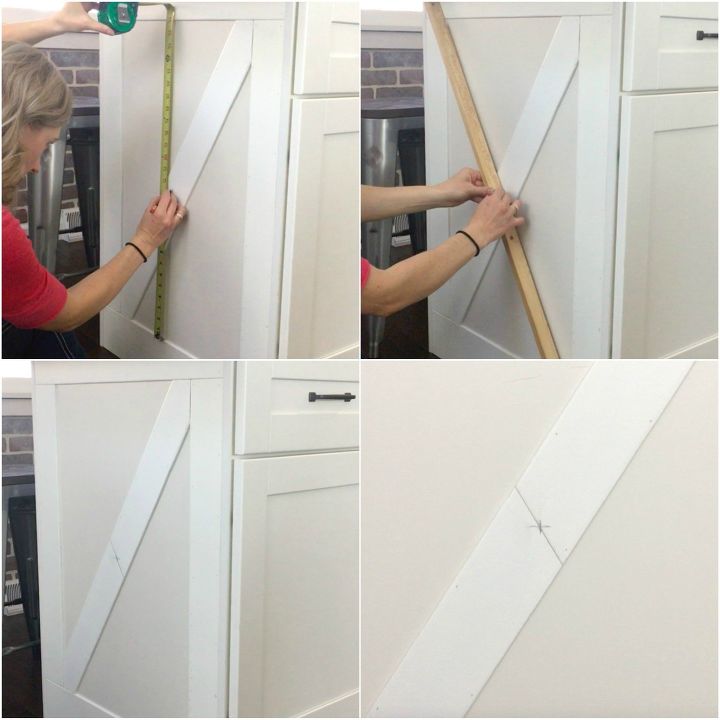
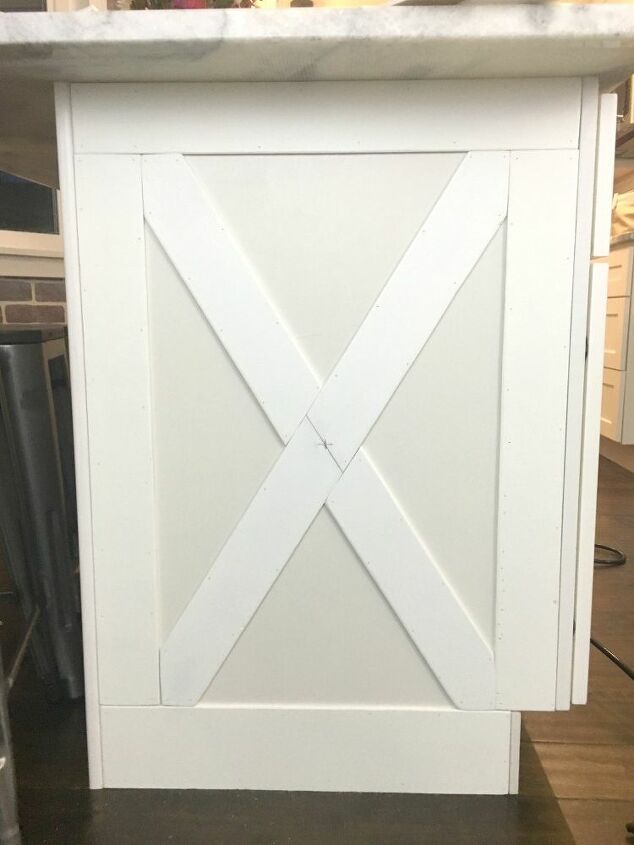
Step 9: Create the cross boards
Line up the center of the cross piece with the intersecting line and traced with a pencil where to cut. Get tutorial here
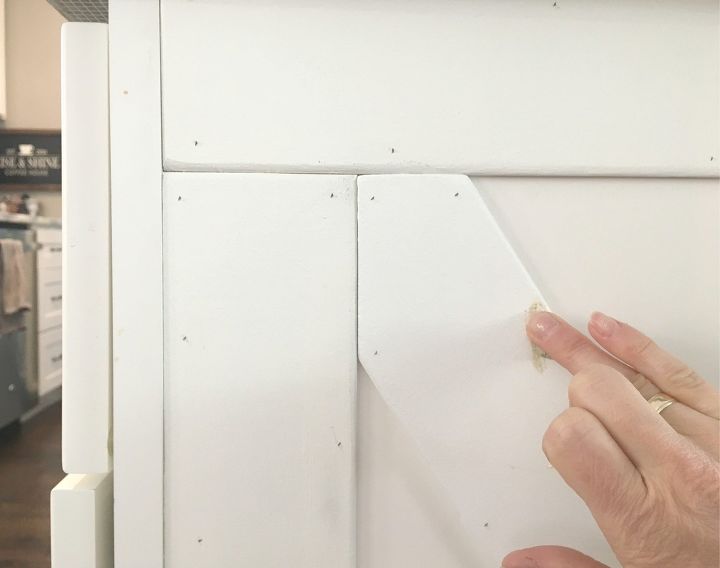
Step 11: Add wood filler & caulk
Then, touch up all the caulk and wood filler with paint as well. Get tutorial here
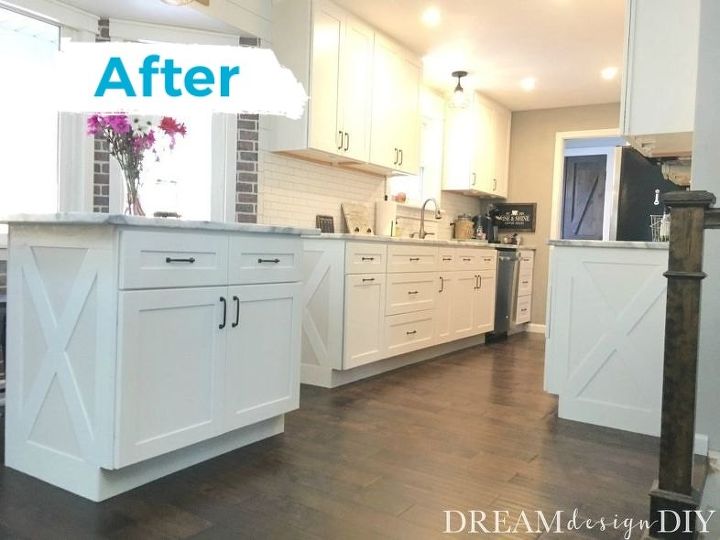
Amazing how $15 can add so much character!
We're absolutely thrilled with our new farmhouse kitchen! Get tutorial here

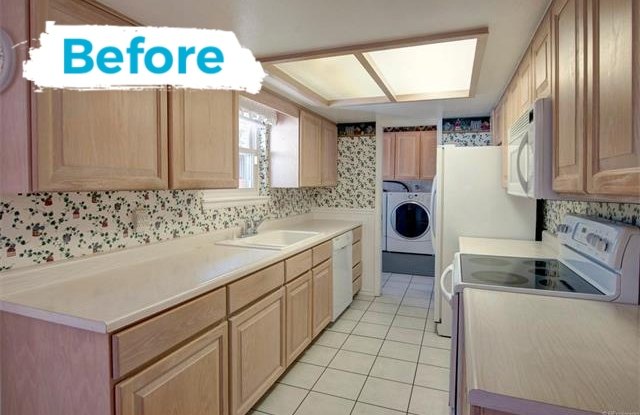
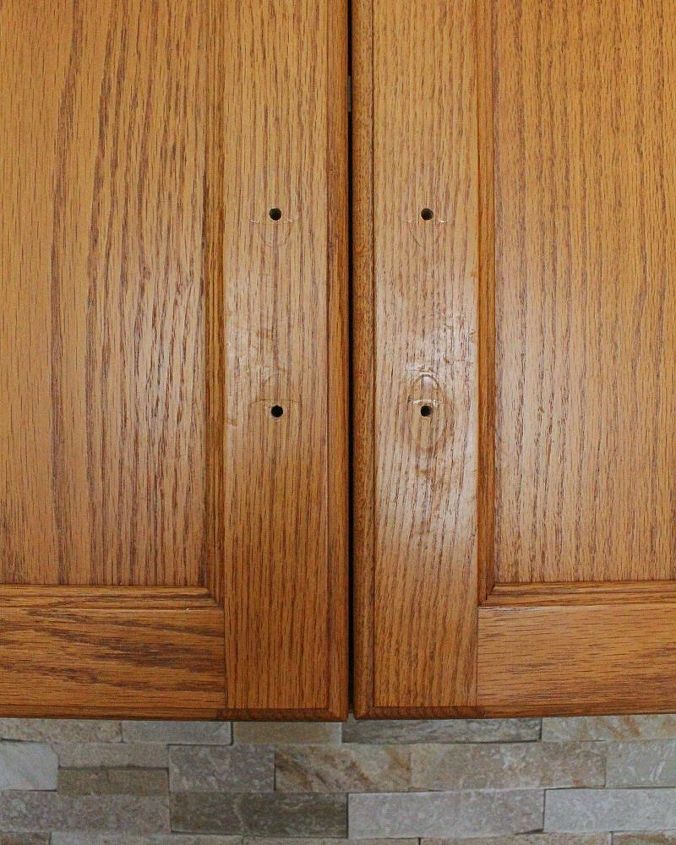
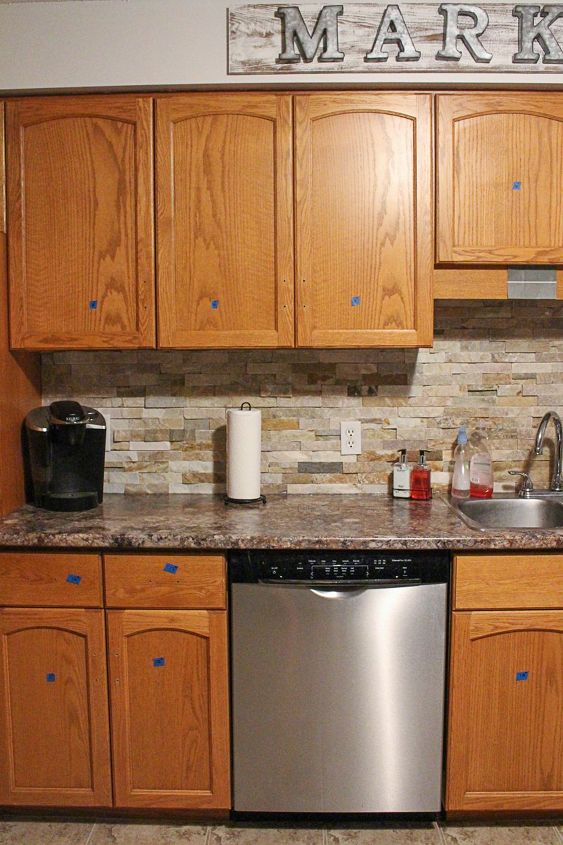
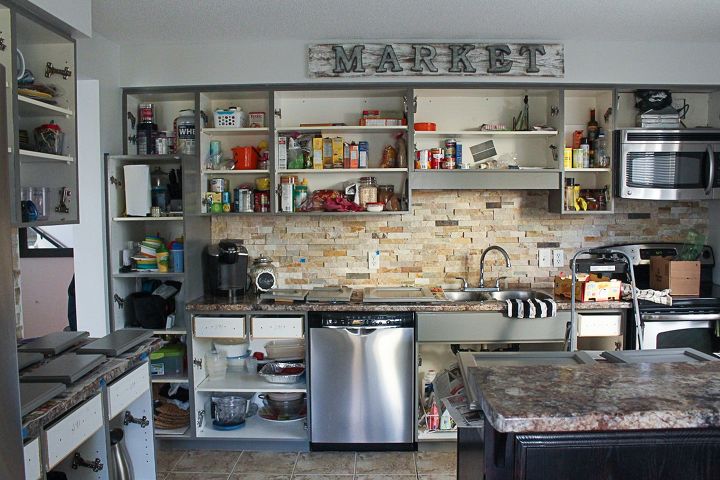
BEFORE: Honey Oak Cabinets
There's nothing wrong with honey oak cabinets, but Kassandra needed a change. Get tutorial here
Step 2: Label your cabinets
Using tape, label your doors and drawers so that you can easily put them back when you're done. Get tutorial here
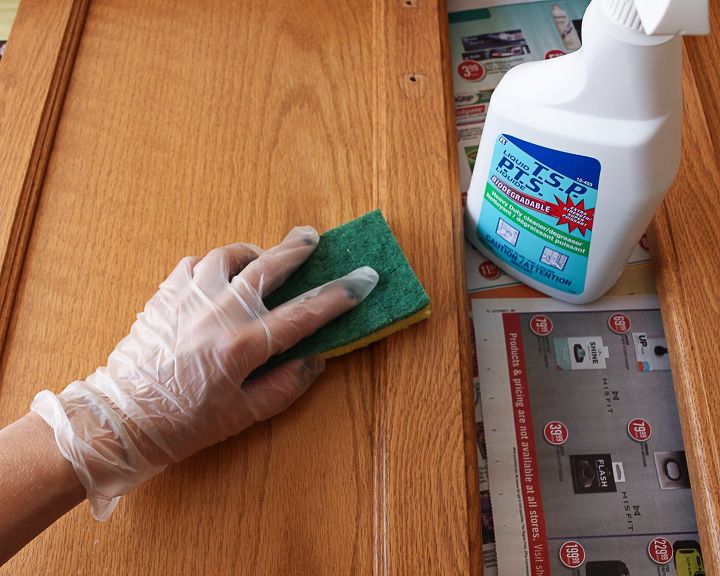
Step 3: Clean your cabinets well
TSP is a great cleaner that helps get off built-up grime on cabinets. Get tutorial here
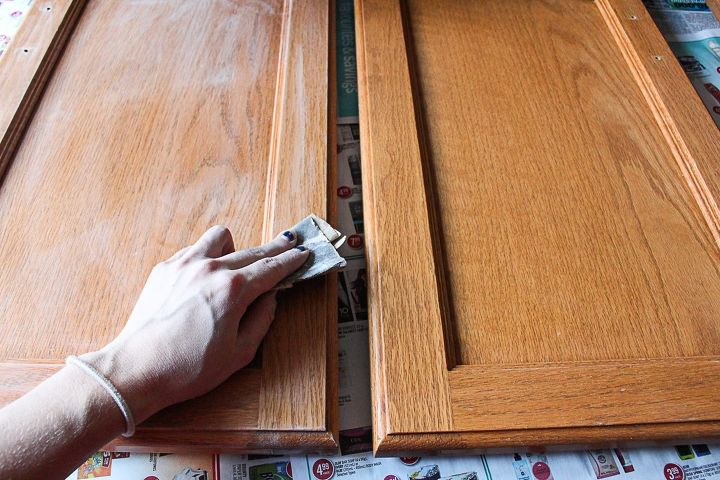
Step 4: Sand down your cabinets
Use a 120 grit sandpaper and sand well. Wipe down well with water and a tack cloth afterwards. Get tutorial here
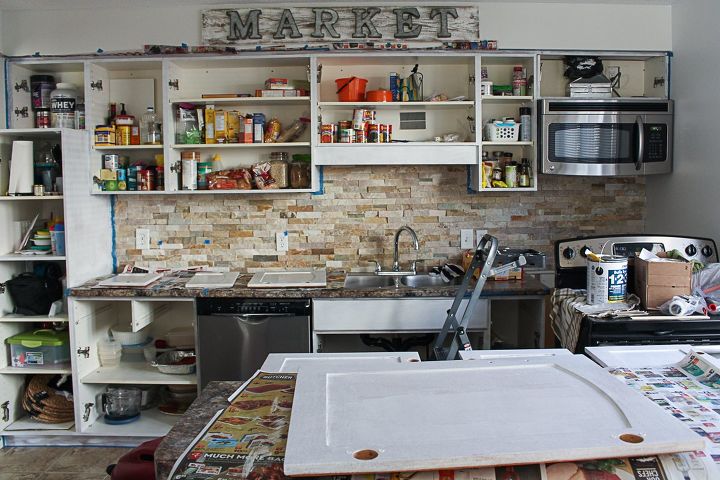
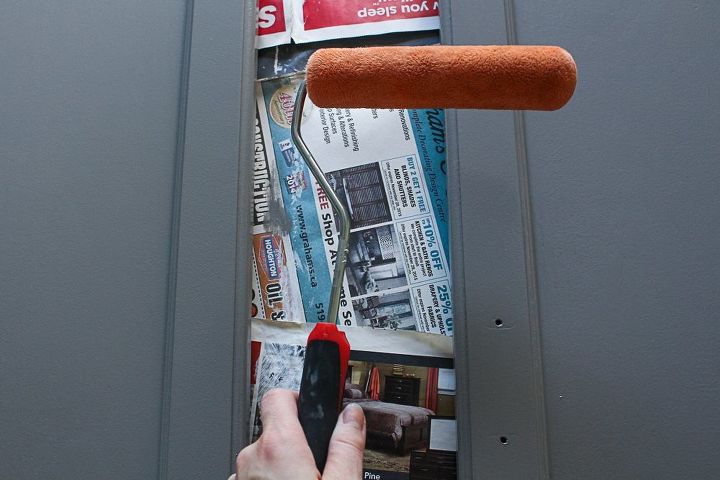
Step 5: Tape off all areas and get priming!
Starting with the cabinet boxes, begin priming by cutting in with a paint brush and a foam roller. Get tutorial here
Step 5 cont: Prime cabinets
Prime the BACK of cabinets & BACK of drawers first. Using a paint brush paint inside the panels and roller on the rest. Get tutorial here
Step 6: Paint the cabinet boxes
Begin painting by cutting in with a paint brush then use a foam roller on those exposed easy-to-reach areas. Get tutorial here
Step 7: Paint FRONT of cabinets
Paint FRONT of cabinet doors, drawers & drawer sides. Let them dry for majority of the day and then give a second coat Get tutorial here
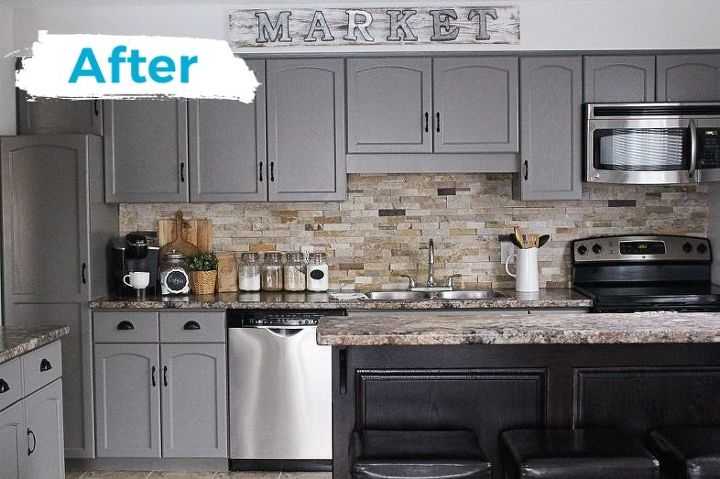
Step 8: Put all the cabinet doors back
Reattach all your cabinet doors and drawers. Stand back and enjoy your kitchen!! Get tutorial here

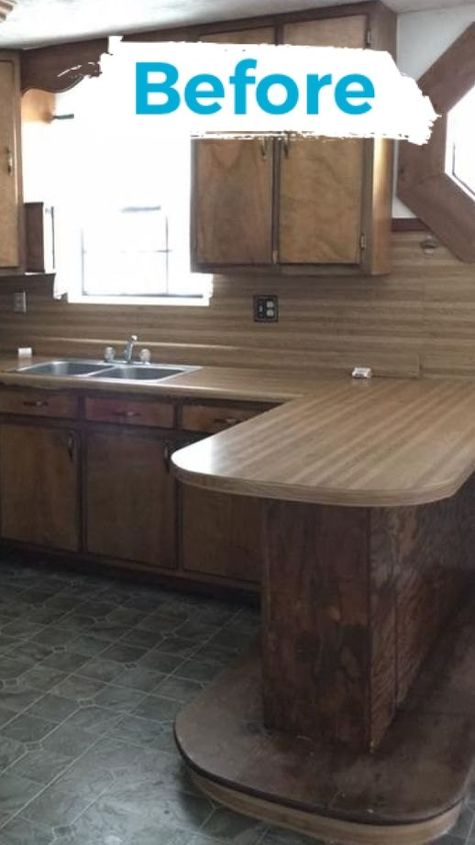
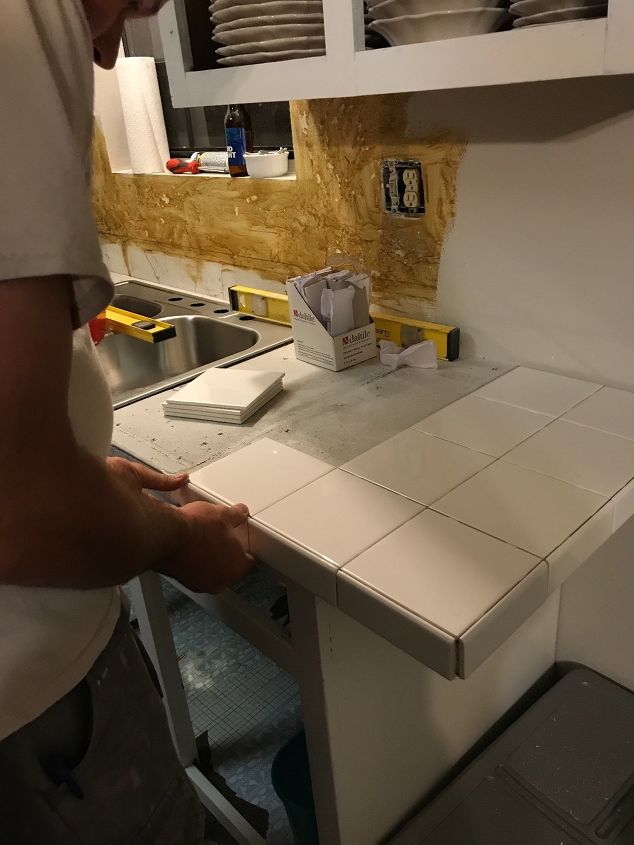
BEFORE (countertops)
Here's our kitchen before our epic makeover! Get tutorial here
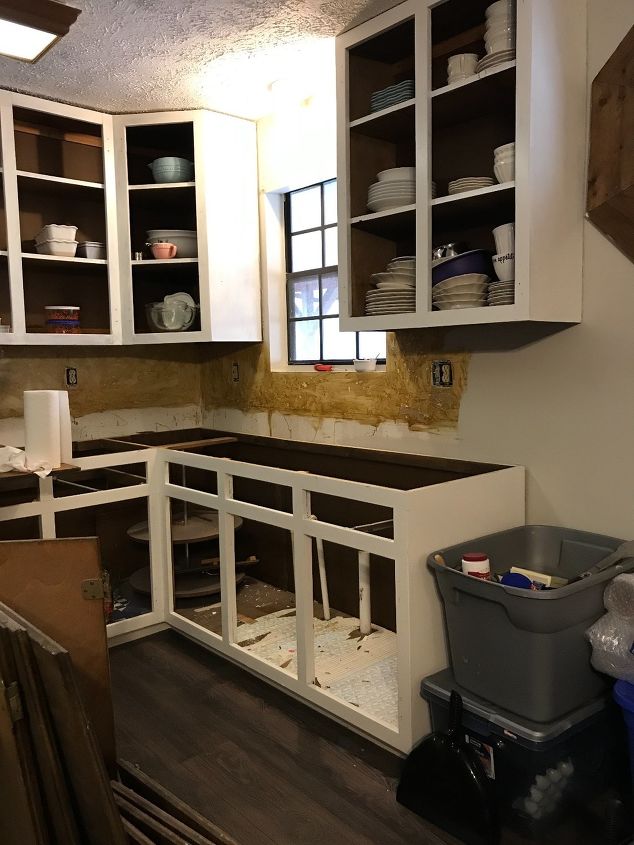
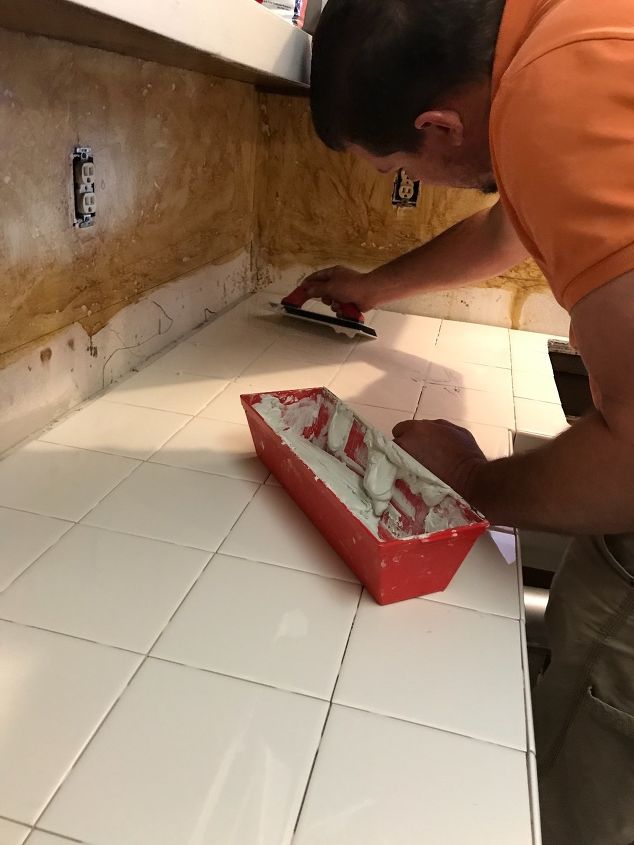
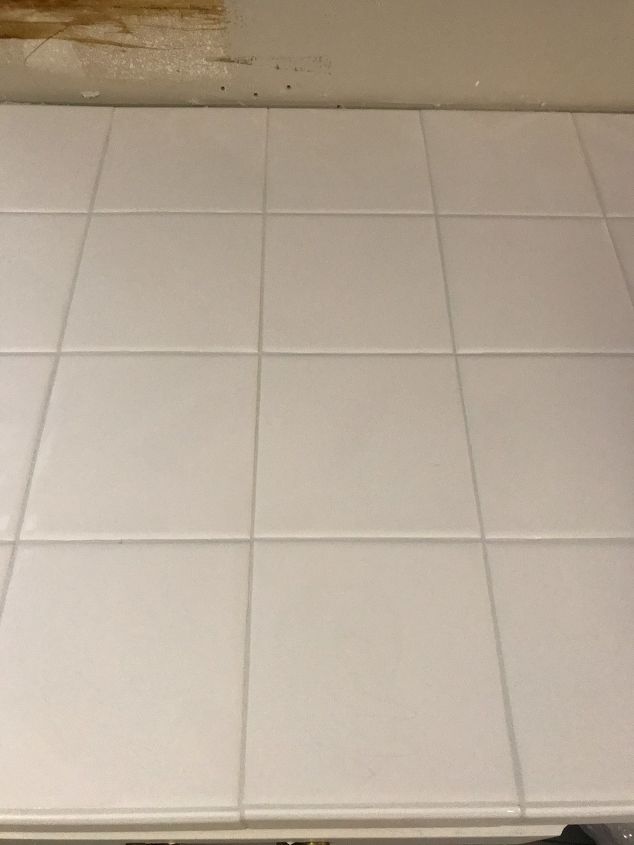
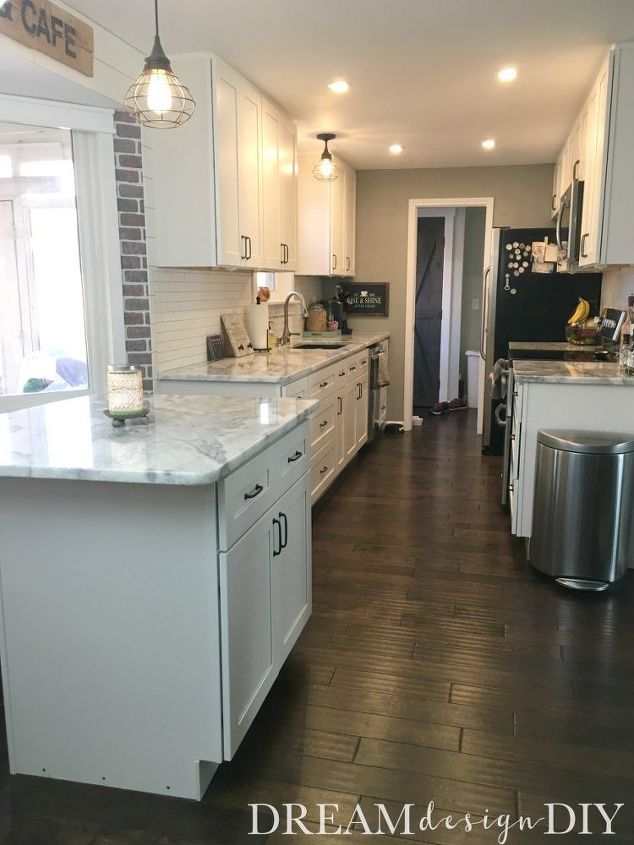
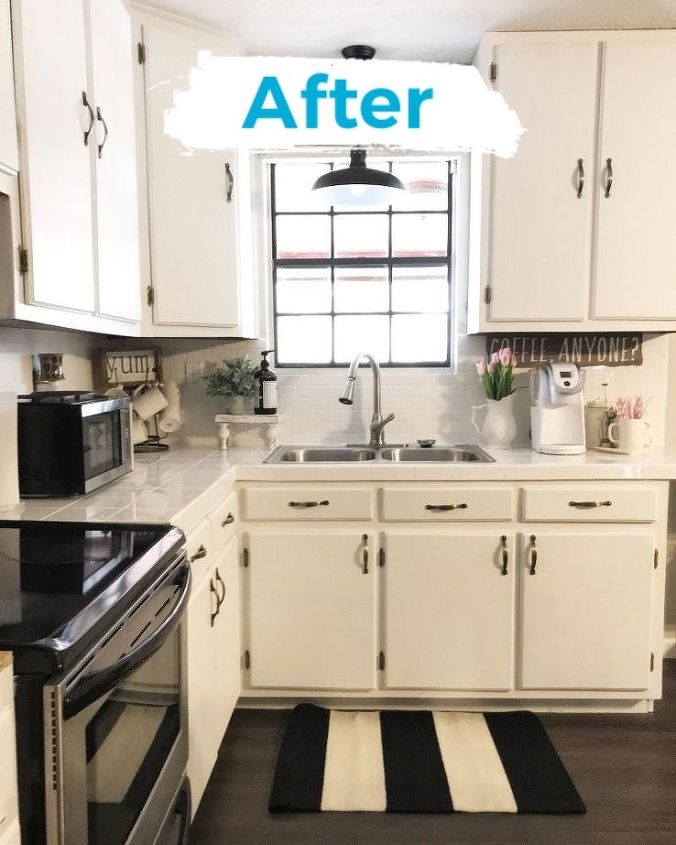
Kitchen Makeover- (countertops)
How incredible is this makeover? Loving our new kitchen! Get tutorial here

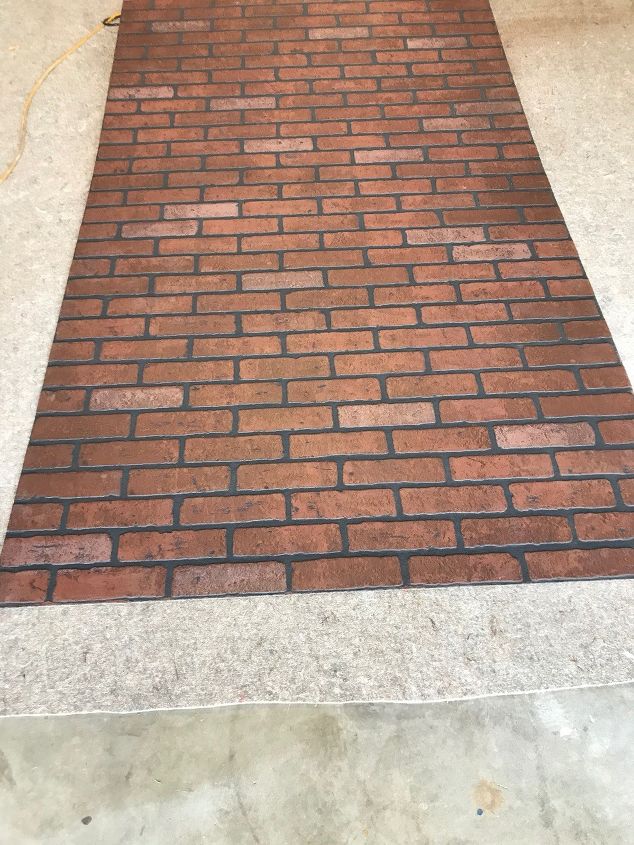
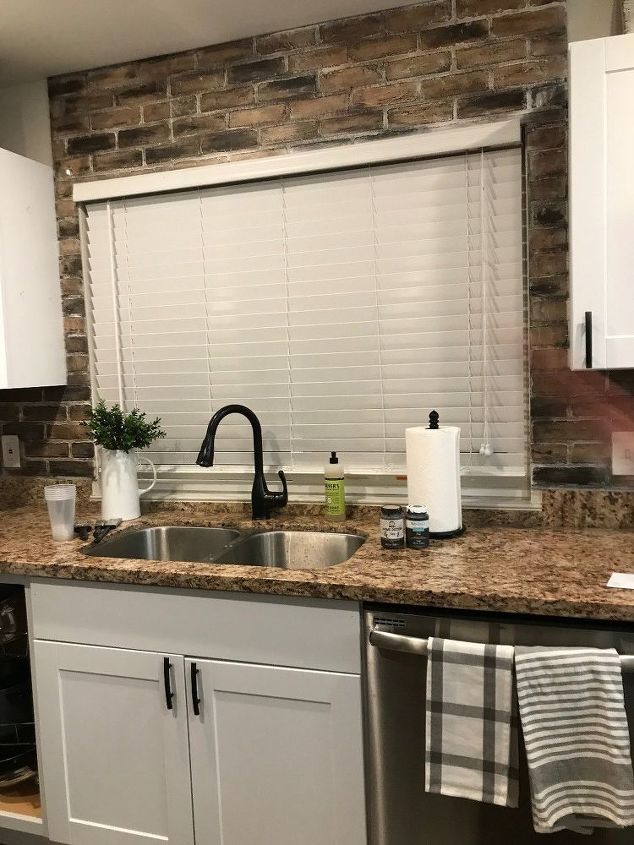
Faux Brick Backsplash
We wanted to update our backsplash and we love the look of brick, so we went with these faux brick panels from Home Depot. Get tutorial here

Faux Brick Backsplash
We wanted to update our backsplash and we love the look of brick, so we went with these faux brick panels from Home Depot. Get tutorial here
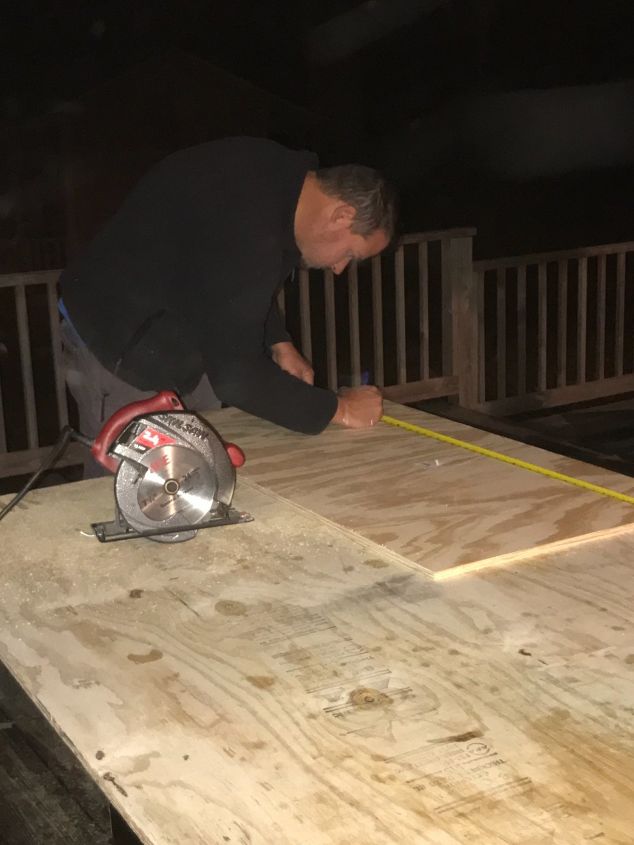
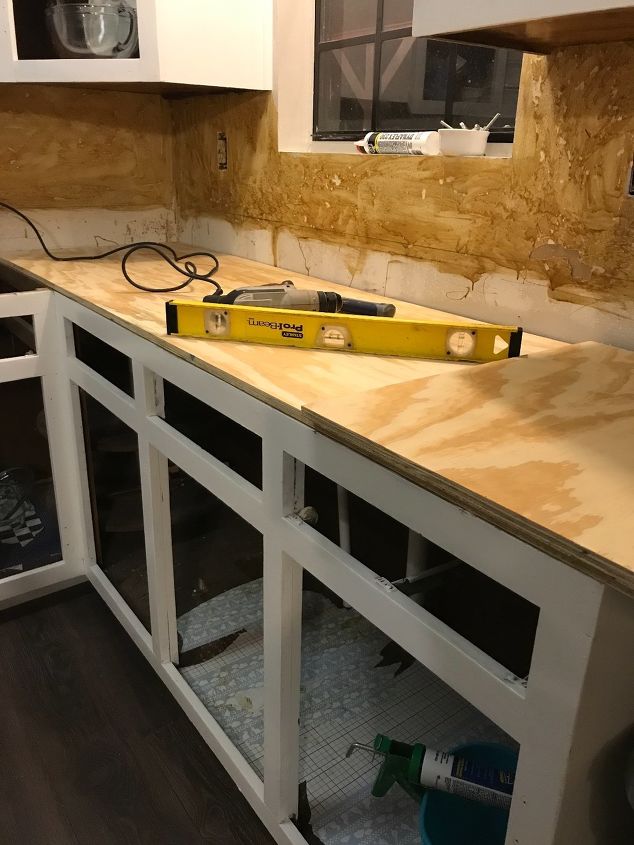
Step 1: Measure and cut
Measure and make cut outs for the outlets using a jigsaw. Get tutorial here

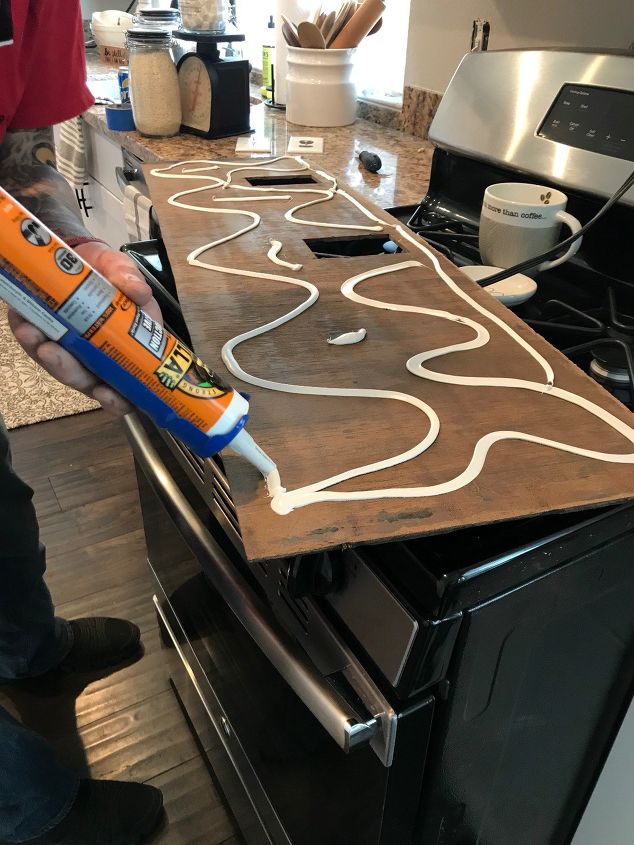
Step 2: Glue the back of the sheet
Apply the construction adhesive liberally to ensure it is secure. Use finishing nails to secure the ends. Get tutorial here
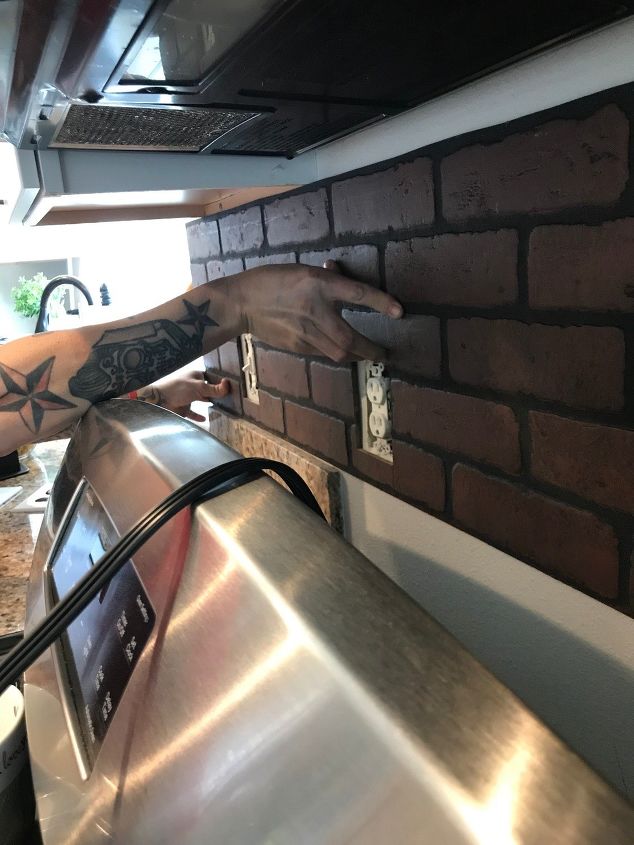
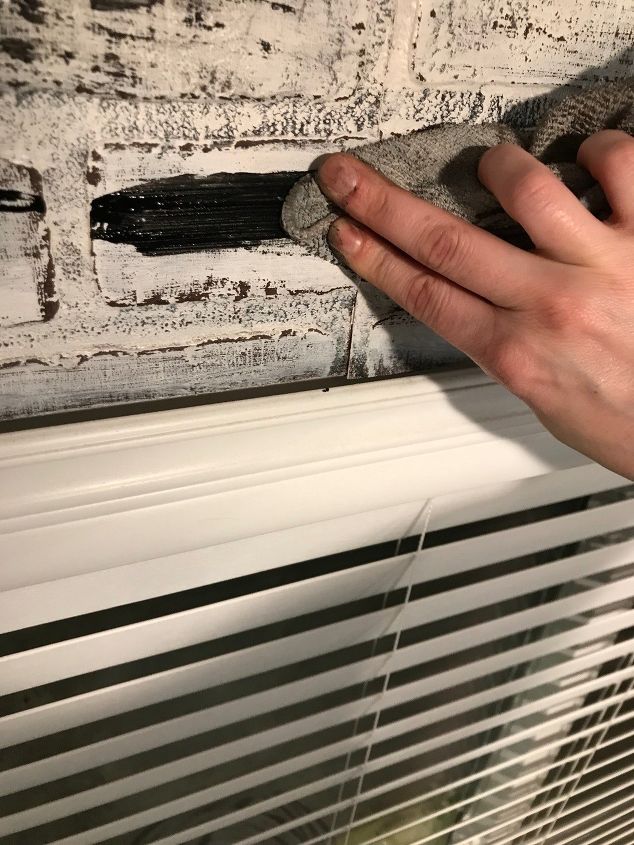
Step 5: "Rough" up the brick
To look more brick like, add some black paint into random spots and smear with a rag to add in touches of darker brick. Get tutorial here
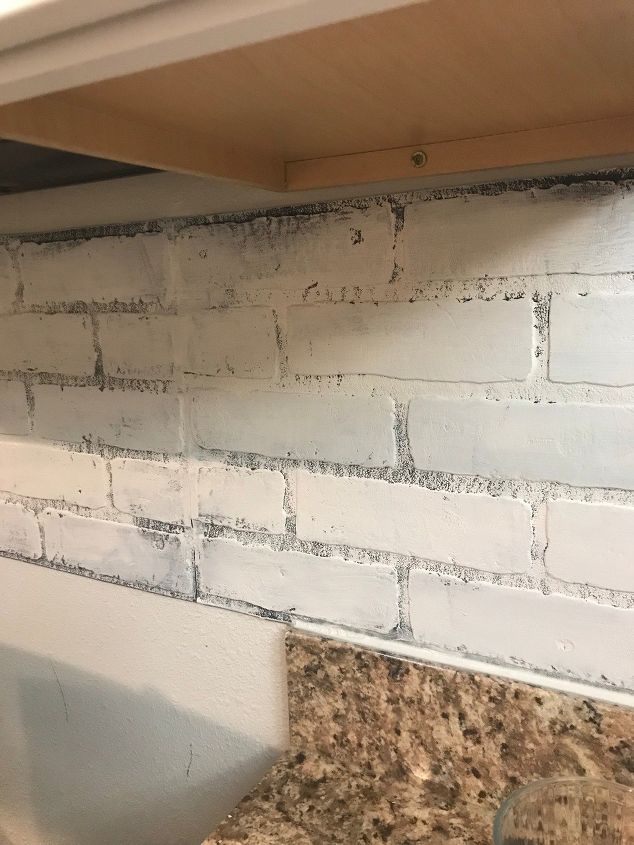
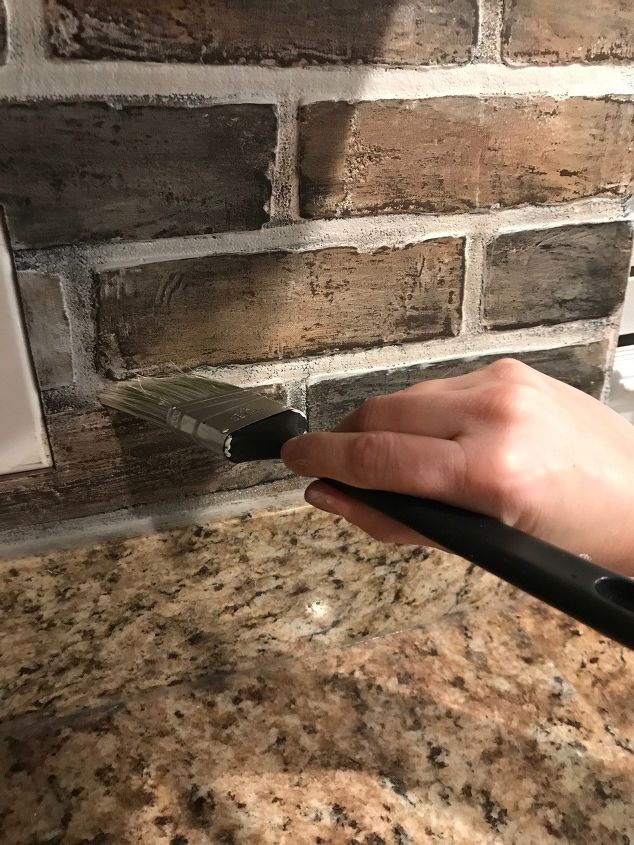
Step 6: Apply wax
Next, apply dark wax to the entire panel to give the effects of "aged" brick. You can go lighter and heavier in some spaces. Get tutorial here
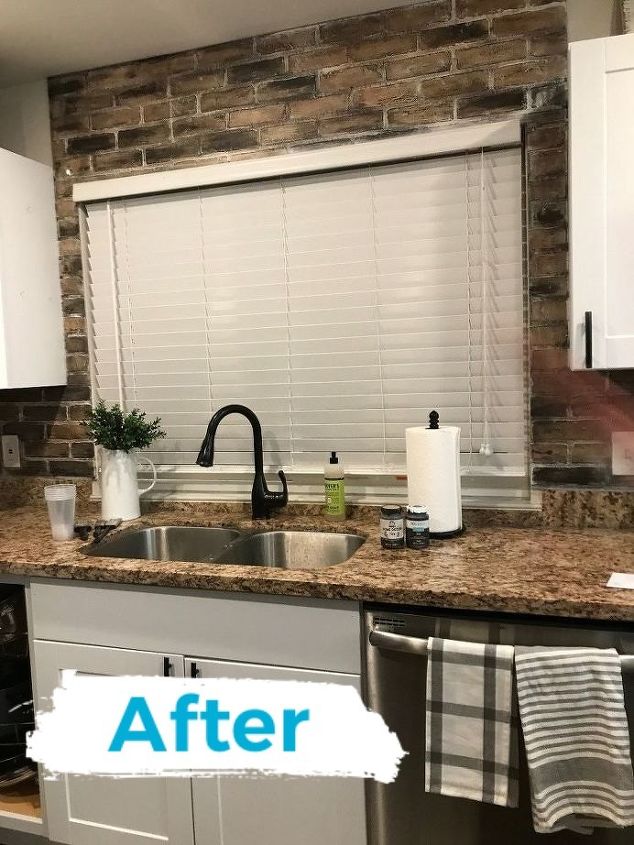
AFTER: Faux Brick Backsplash
How gorgeous is this new faux brick backsplash?? (Maria Lopez) Get tutorial here

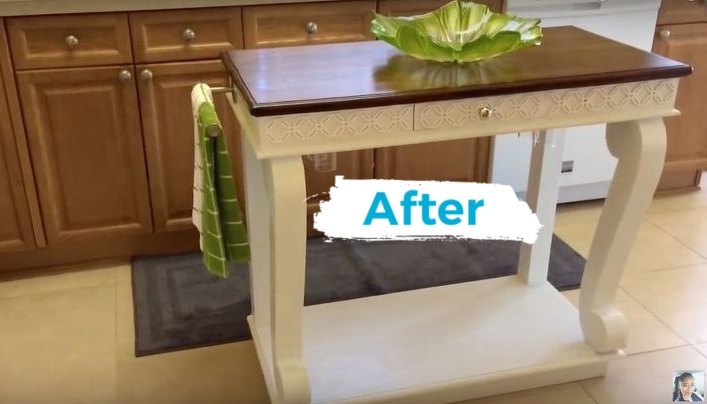
Kitchen Island Makeover
With a thrift store find, some stain and paint, I have a beautiful new kitchen island! Get tutorial here

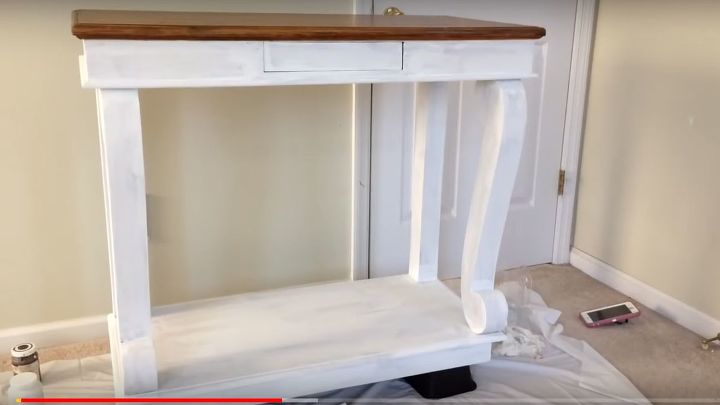
Step 1: Apply chalk paint to base
After cleaning the piece well with TSP, I applied chalk paint to the base. No need to sand or prep! Get tutorial here
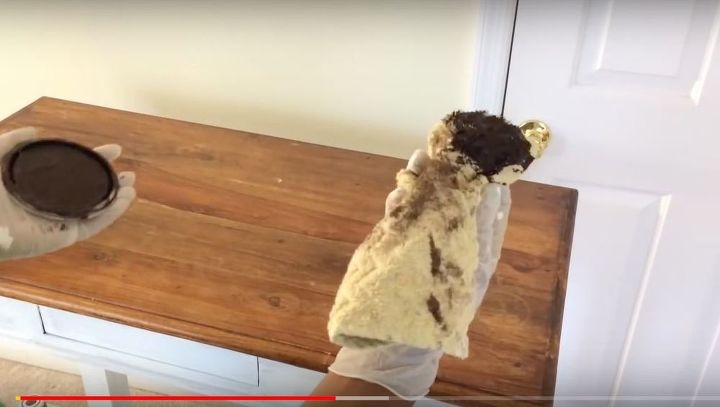
Step 2: Stain top of table
Using a rag, apply stain to the top of the table. Get tutorial here
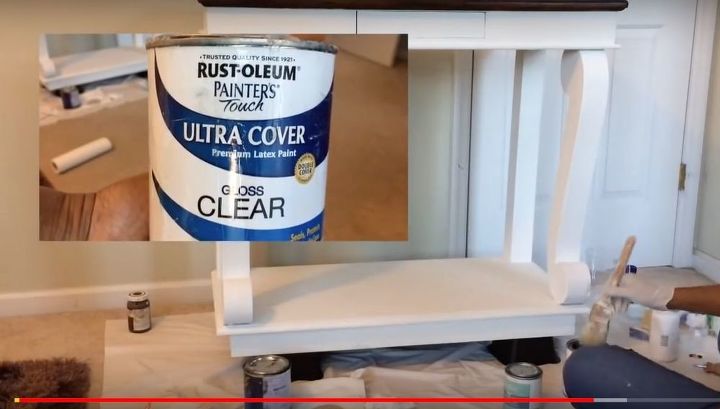
Step 3: Seal with clear gloss
Since this an island is a high traffic area, you'll want to use a heavy duty clear gloss coat. Get tutorial here
Step 4: Add furniture finishes
We love our new kitchen island! (Deszinefun) Get tutorial here

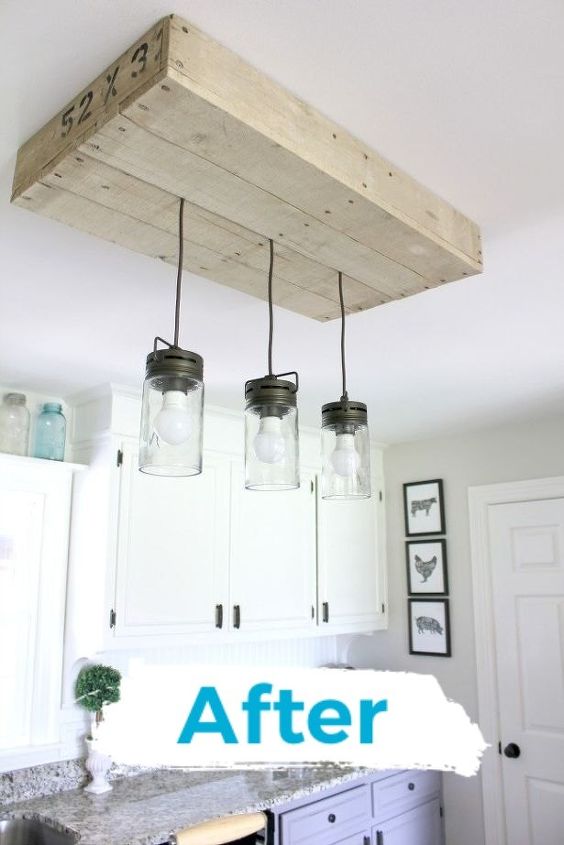
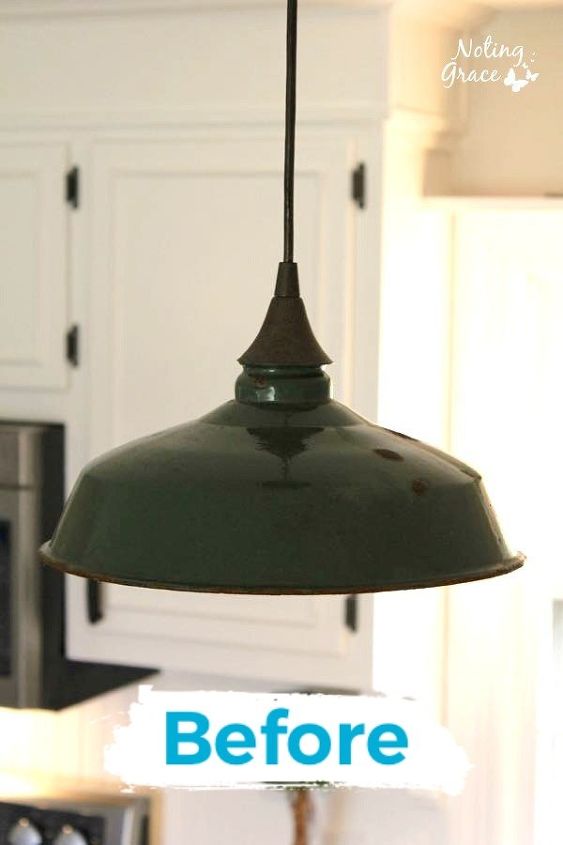
Farmhouse Pallet Kitchen Light Box
I loved this pendant light but it just wasn't working with my space anymore. Look what I did with just a few easy updates! Get tutorial here
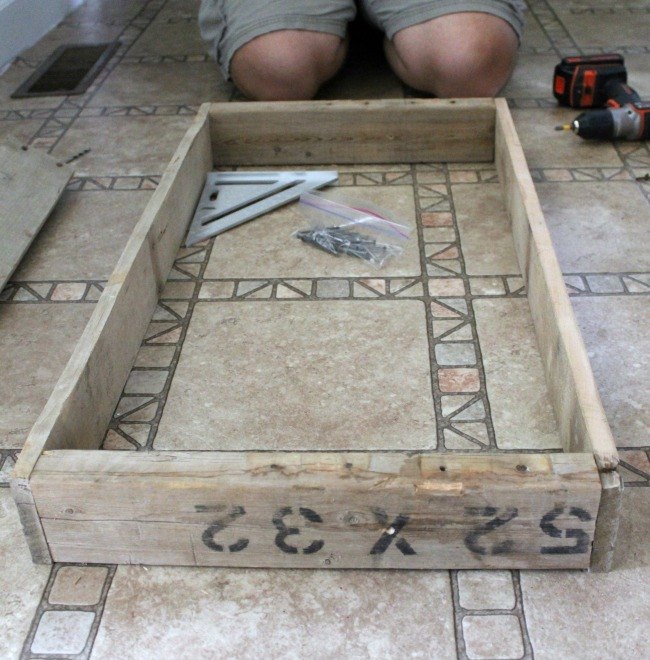
Step 1: Create the lightbox
Using an old pallet, I took it apart and used the sides with printing for the outer edges. Nail them together. Get tutorial here
Step 3: Rewire the light
We then rewired the light. If you aren't comfortable doing this, call an electrician to help with this step. Get tutorial here
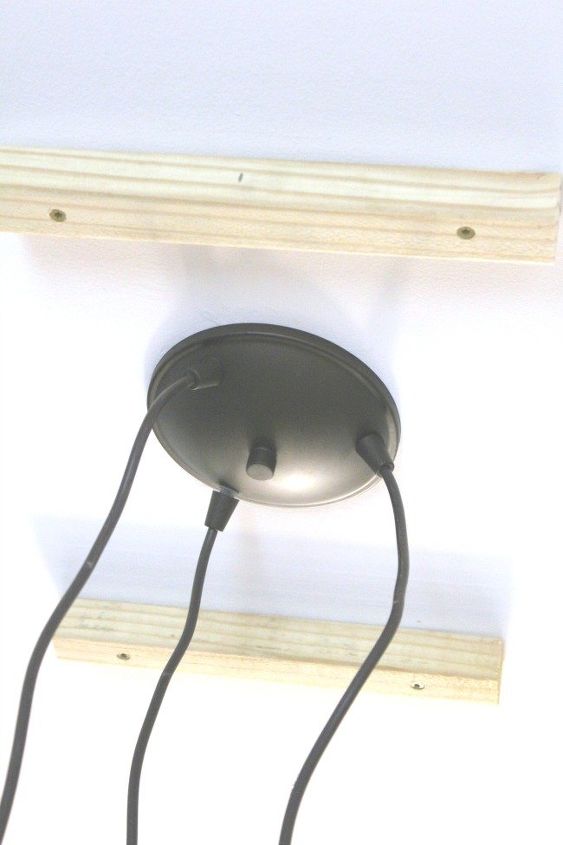
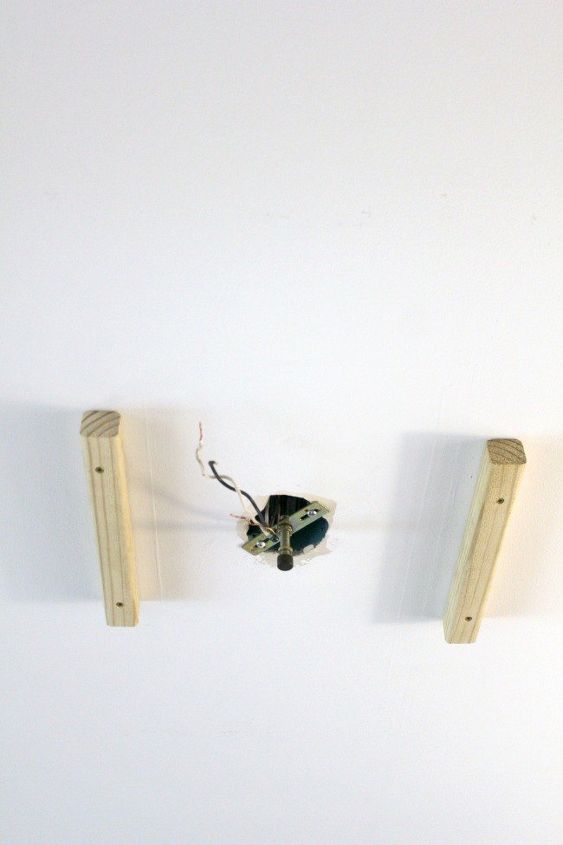
Step 4: Attach the light box to the ceiling
We fit the box to the ceiling ribs and screwed in the sides to the ribs. Easy peasy, done in one afternoon and swoon! Get tutorial here