3 Gorgeous Decor Projects In The Oh-So-Chic Geometric Style
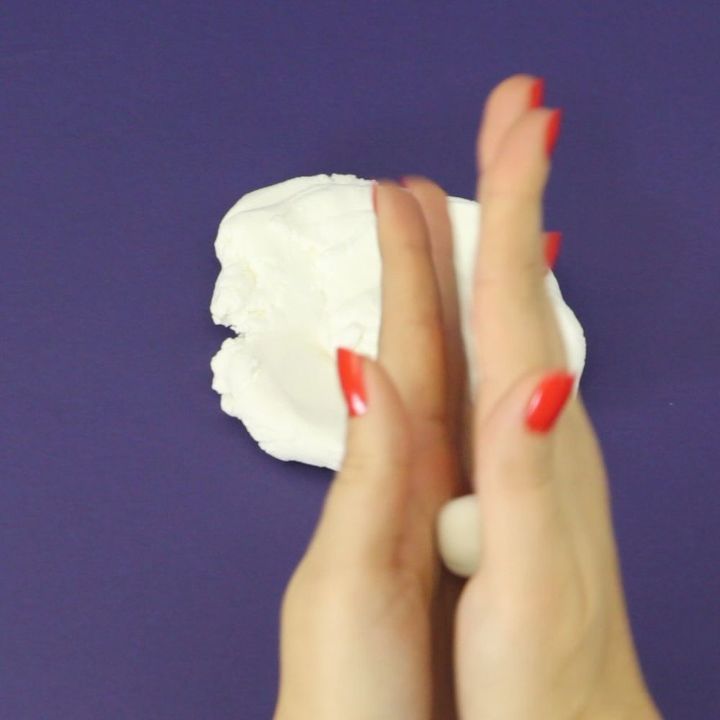
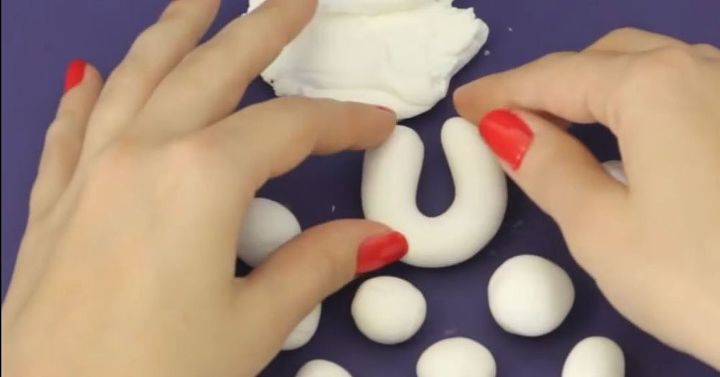
Step 1: Roll balls from air dry clay
Consider rolling more balls than you'll need, just in case. Get tutorial here
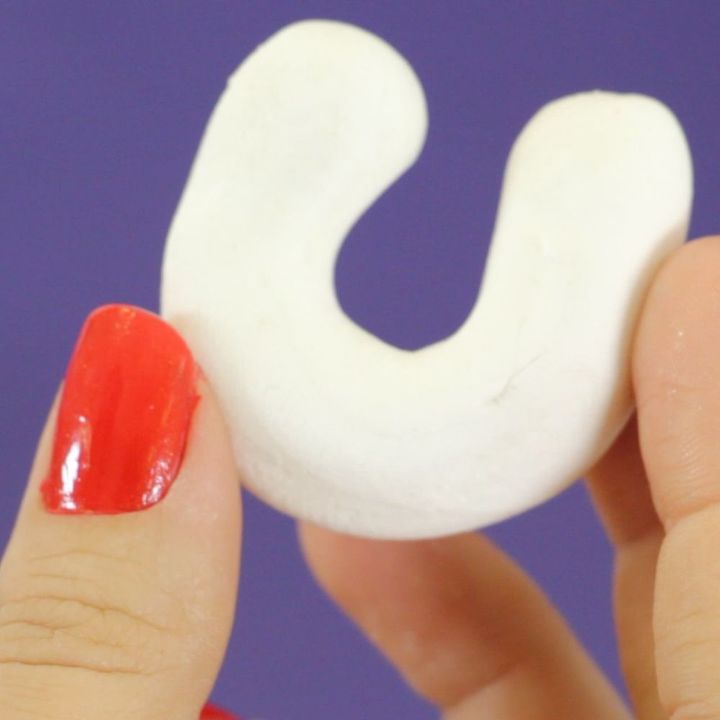
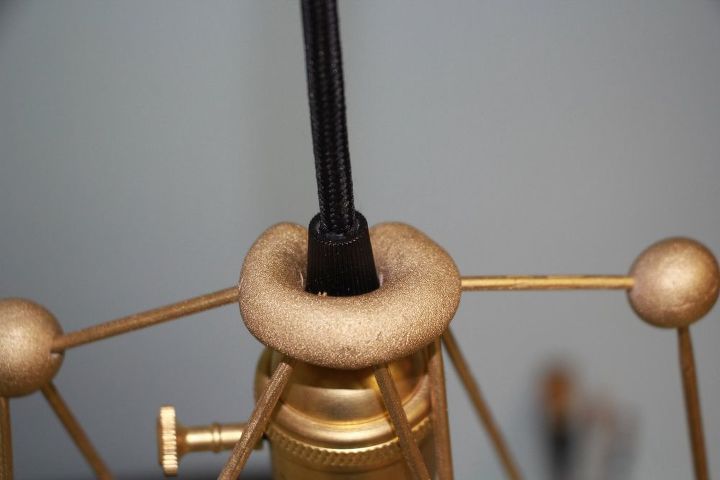
Step 2: Make a horseshoe shape for the hanger
This will act as the yoke of the light. Make the gap large enough to fit the cord through but small enough that it won't slip. Get tutorial here
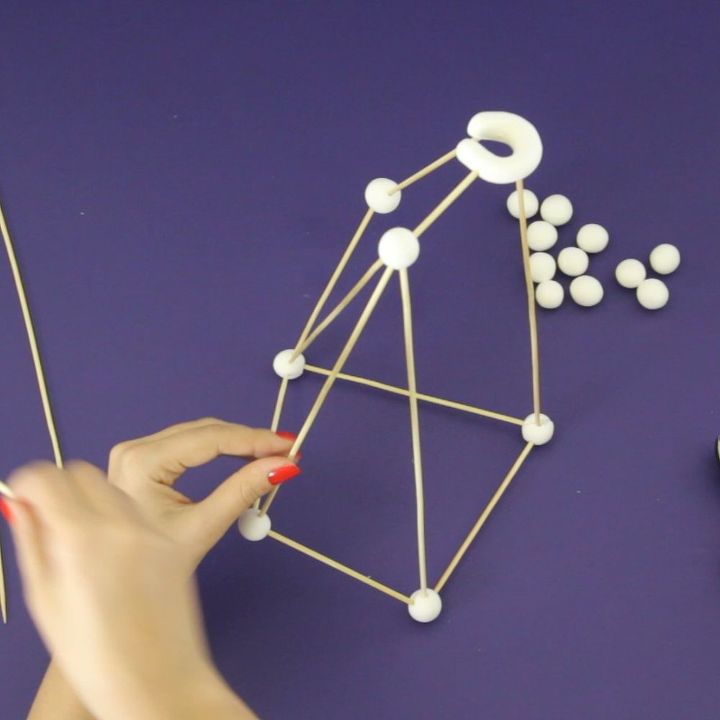
Step 4: Build your frame with skewers
You might need to cut some of the skewers short to fit into the design. Make sure the frame is sturdy. Get tutorial here
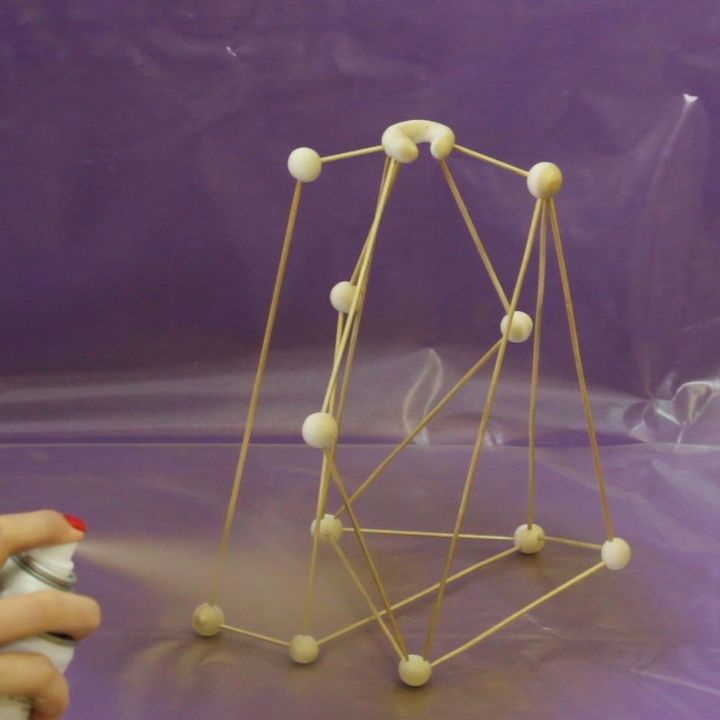
Step 5: Spray paint and leave to dry
Consider matching the color to the color of the light socket. Get tutorial here

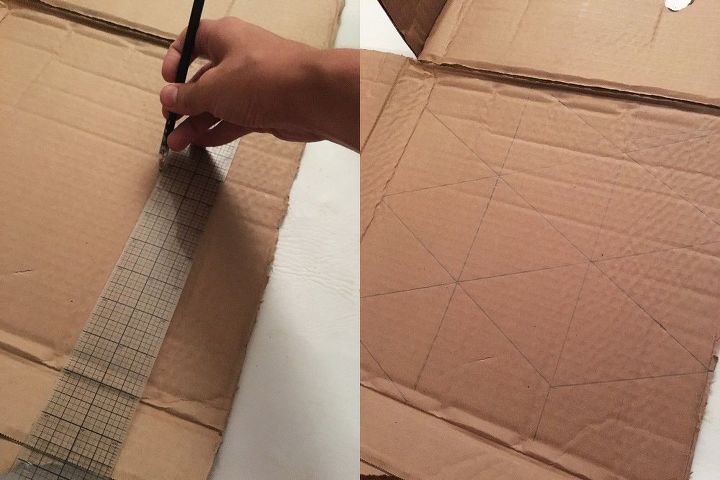
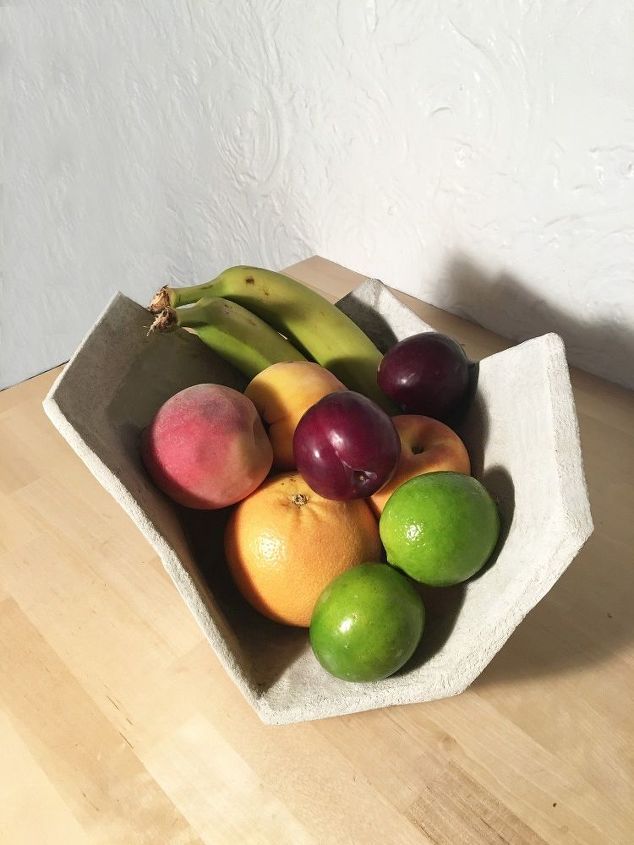
Step 1: Draw a triangles grid on cardboard
This project has a 4" base and 4.5" sides, but you can choose your own measurements and shapes. Get tutorial here
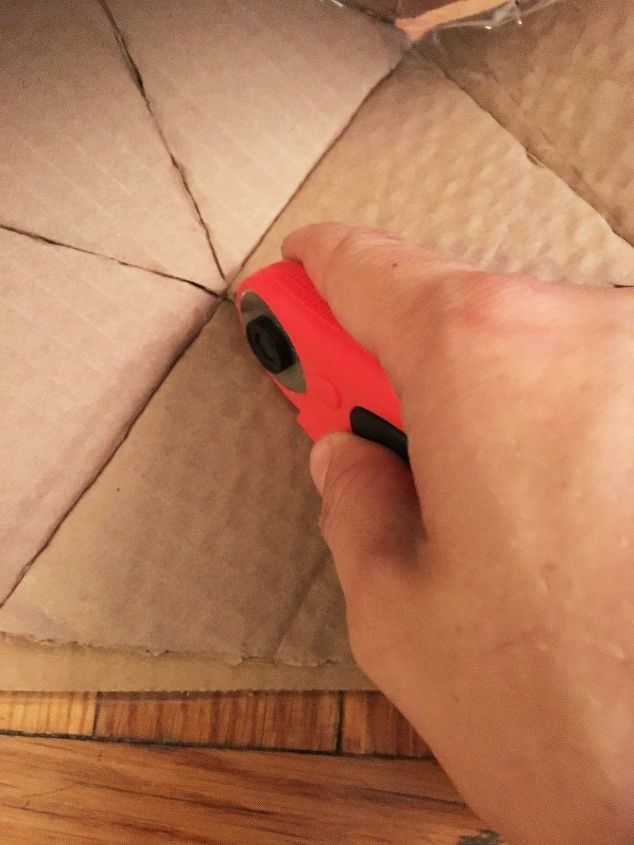
Step 2: Cut out the cardboard shapes
Slice through the top layer of your cardboard pieces on the angle lines so that you can bend the shape as needed. Get tutorial here
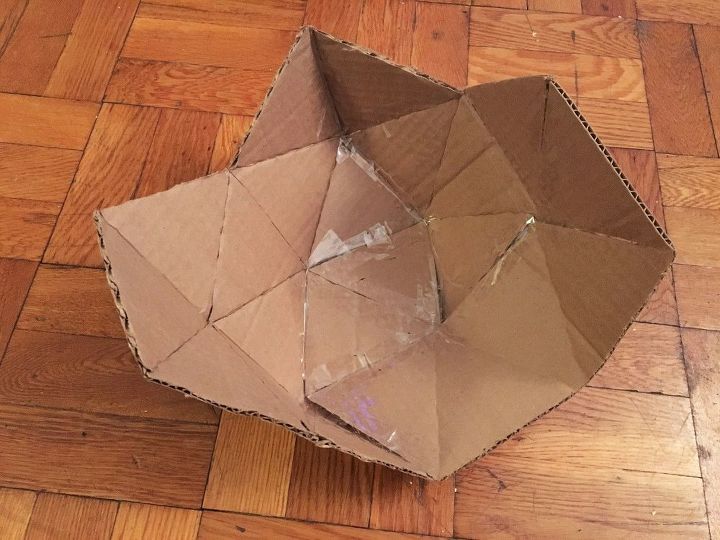
Step 3: Tape the pieces into desired shape
Tape the cardboard pieces together while making sure there are no cracks or creases. Get tutorial here
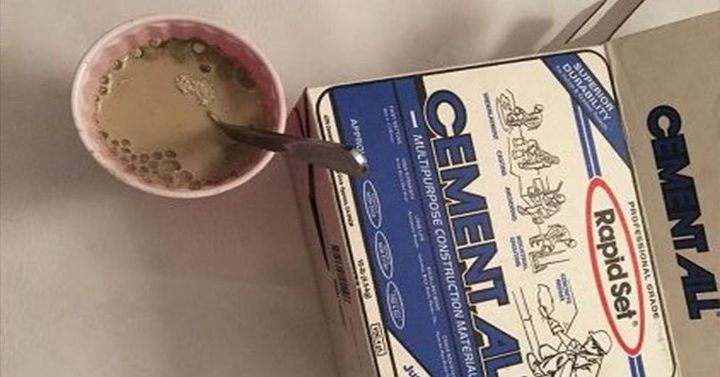
Step 5: Pour cement into the cardboard mold
Pour the cement so that it is about 1/3" thick. Get tutorial here
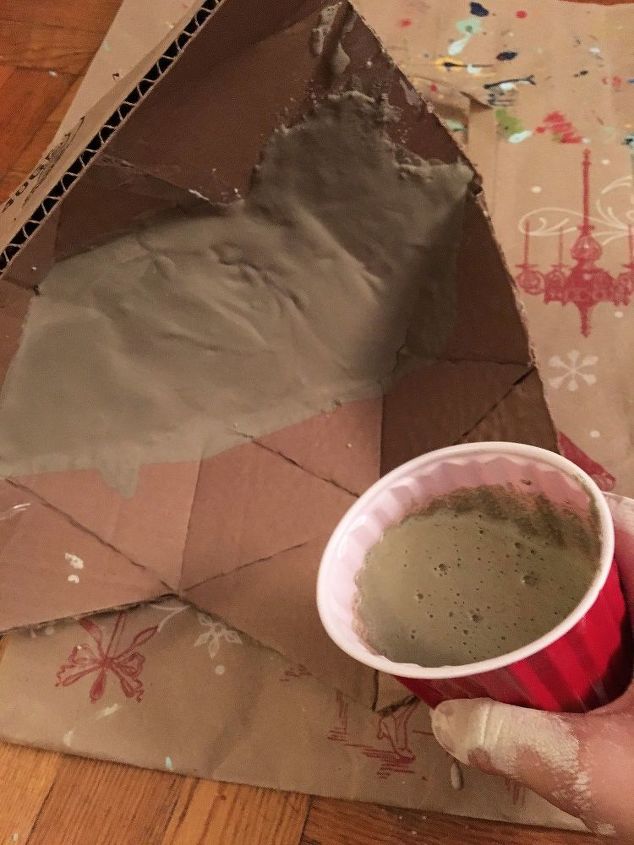
Step 6: Tilt the shape and add more cement
Wait for the cement to set a bit and then turn your shape on it's side so you can pour more cement into the mold. Get tutorial here
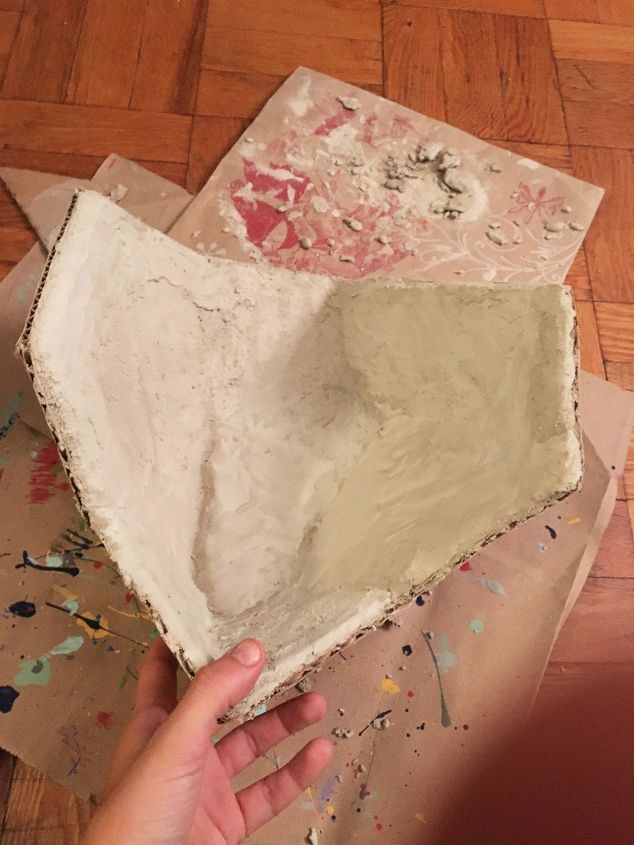
Step 7: Once cement dries remove cardboard
Cut the cardboard away from the cement and remove it and all tape that is attached. Get tutorial here

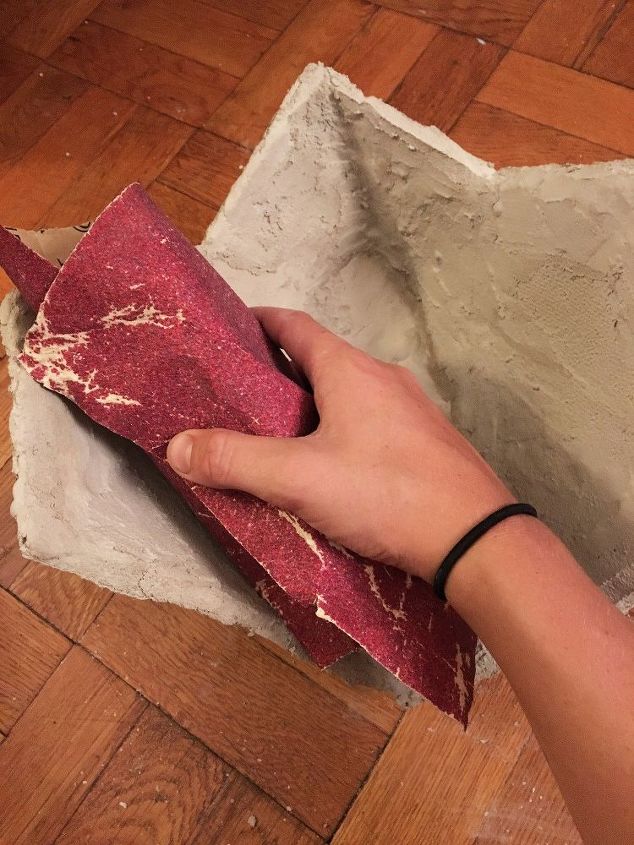
Step 8: Sand down all the rough edges
If there are any chunks missing or strange spots - mix up a bit more cement, patch them up and then sand them. Get tutorial here
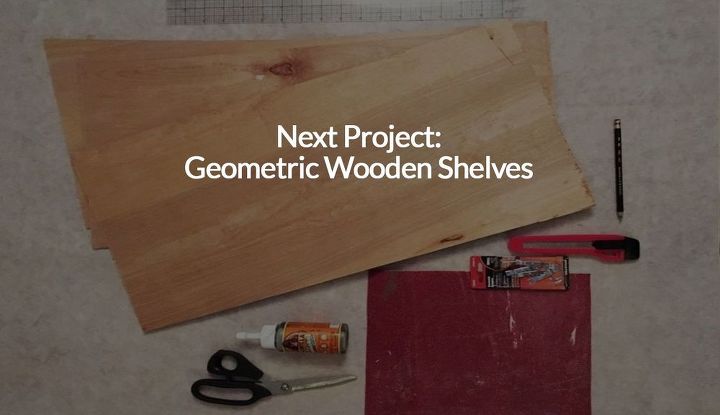
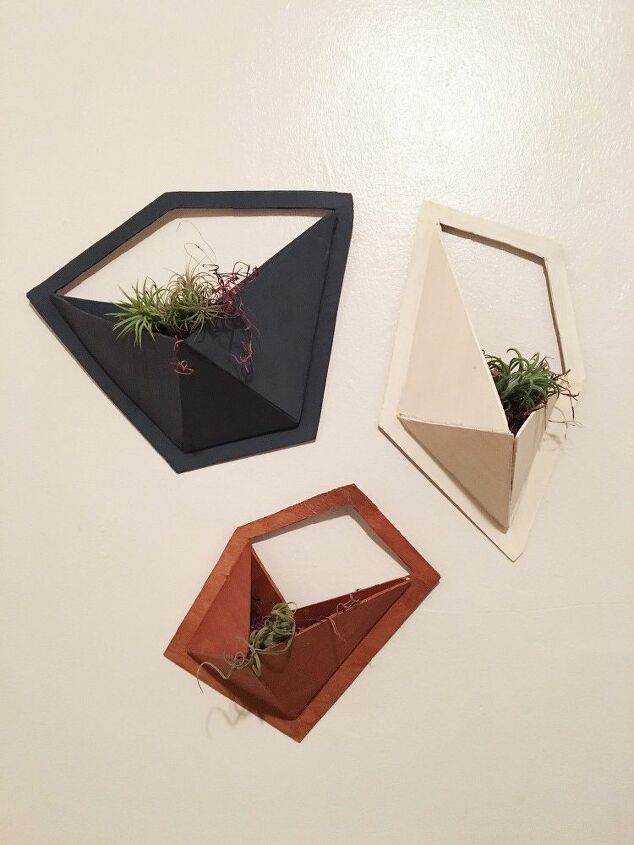
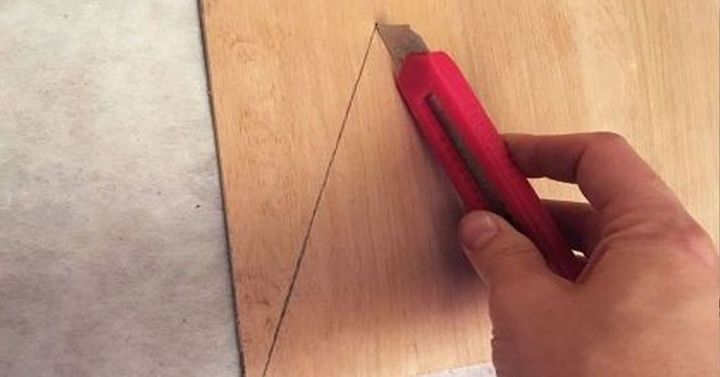
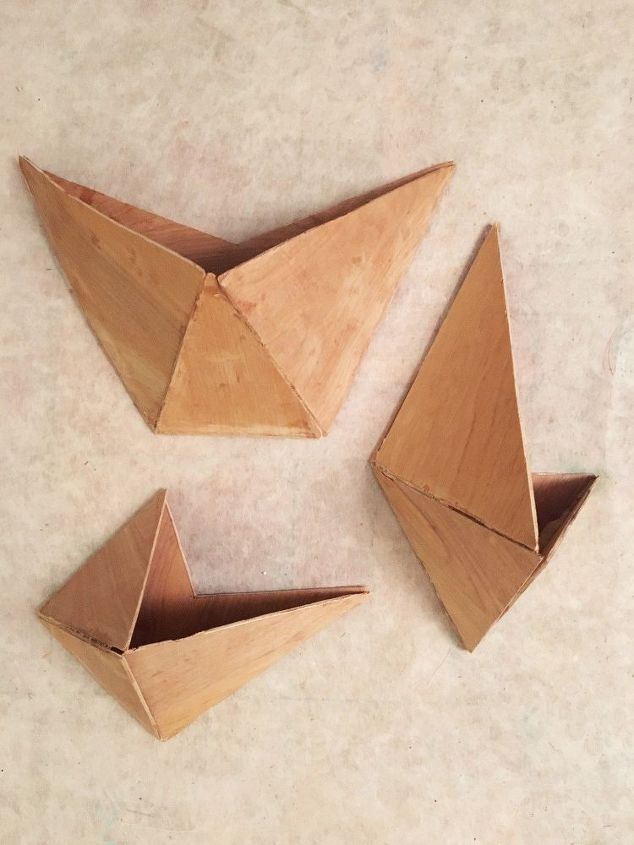
Step 1: Measure and cut the plywood triangles
For 3 pockets you will need 9 separate triangles that you will later glue together. Get tutorial here
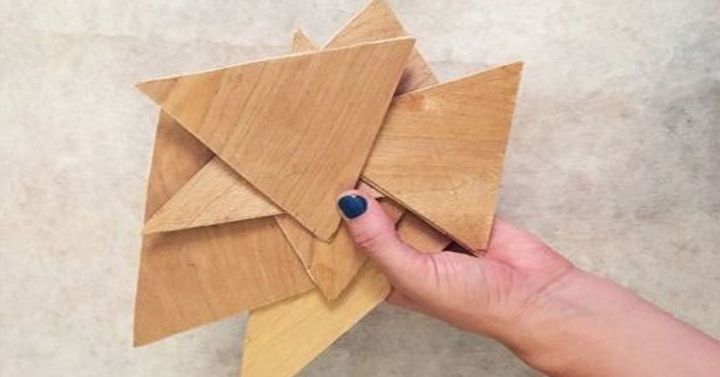
Step 2: Sand down all the cut our triangles
Make sure that for each pocket there is one side whose length matches the sides of the center triangle. Get tutorial here
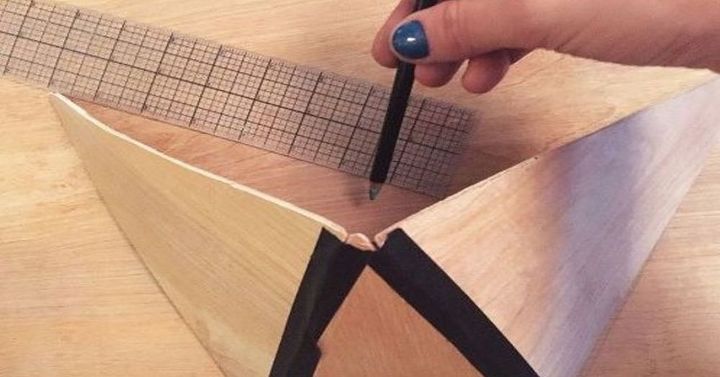
Step 3: Attach triangles with masking tape
Attach the appropriate triangles for each pocket with masking tape, making sure the appropriate sides match. Get tutorial here
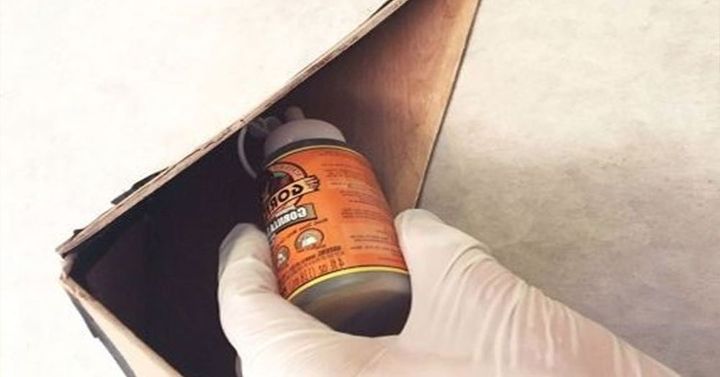
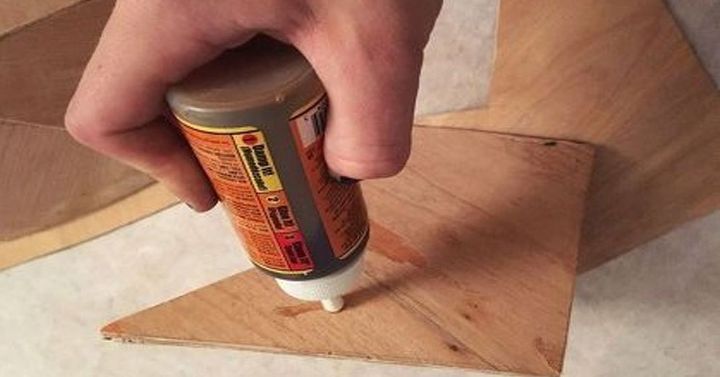
Step 4: Glue all pieces of pocket together
Glue each of the triangles for the top of the pocket, as well as the sides of the triangles to the back piece. Get tutorial here
Step 6: Cut out and glue the pocket frames
Cut triangle frames from the plywood and and glue on the pre-assembled wall pocket fronts. Get tutorial here
Step 7: Remove excess dried glue and paint
If you don't wish to keep your wall pockets raw wood you canpaint them inside and out, since both will be seen. Get tutorial here

Step 8: Hammer picture hangers to the back
Plywood is thin so make sure to hammer the picture hangers within the outer frame so that they don't poke through. Get tutorial here