


How to Make Duct Tape Witch Legs For Fun Halloween Decor
Get ready to conjure up some spooky fun with this DIY Halloween decor project: floating witch's legs! With just a handful of basic materials and a touch of creativity, you'll have your bushes transformed into a bewitching surprise that's sure to enchant trick-or-treaters and passersby.
I'll show you step by step how to craft these eye-catching witch's legs using everyday items like Saran Wrap, duct tape, pool noodles, and pillow batting.
Prepare to add a spellbinding scene to your Halloween decoration with this cool DIY witch decor idea!
This post was transcribed by a member of the Hometalk editorial team from the original HometalkTV episode.
Tools and materials:
- Saran wrap
- Duct tape
- Scissors
- Pool noodles
- Stuffing
- Striped sock
DIY Pool Noodle Halloween Decor
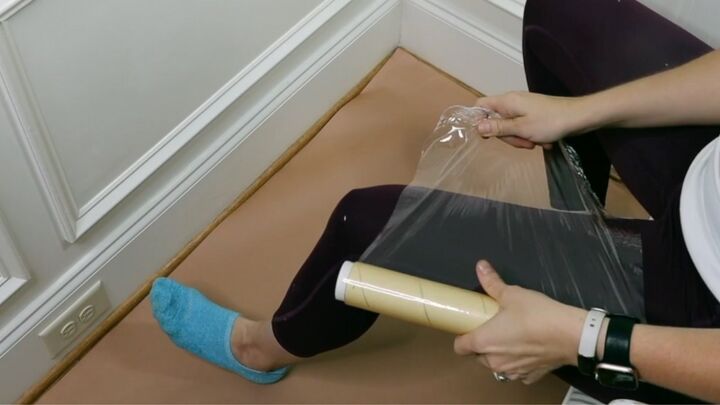
1. Wrap Saran Wrap around your leg
To start this project, grab some Saran Wrap.
I'm essentially going to place the Saran Wrap around the top of my thigh, and I'm going to make my way around a couple of layers.
I'm standing up because I want to make sure that I get it around my waist just so that the Saran Wrap doesn't slip down.
Once I go around my waist, I move back down towards my thigh, I'm going to keep moving all the way down my leg to my heel.
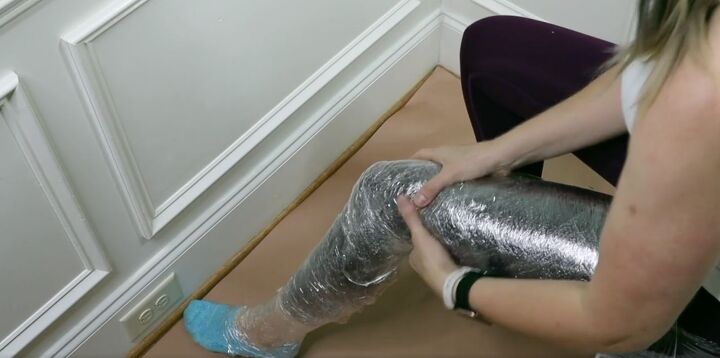
Then I’m going to make sure that everything is smooth out before I move on to the next step.
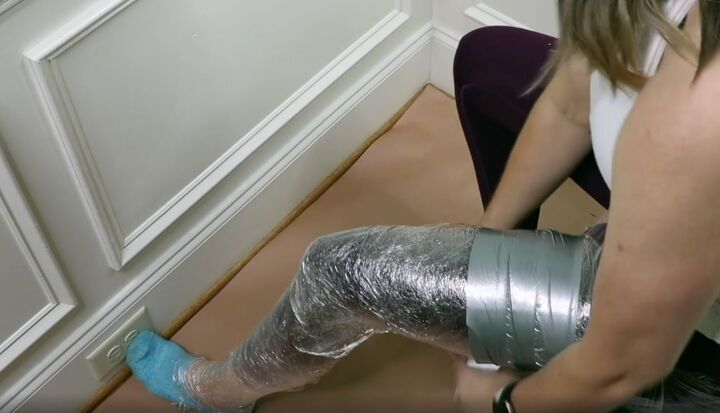
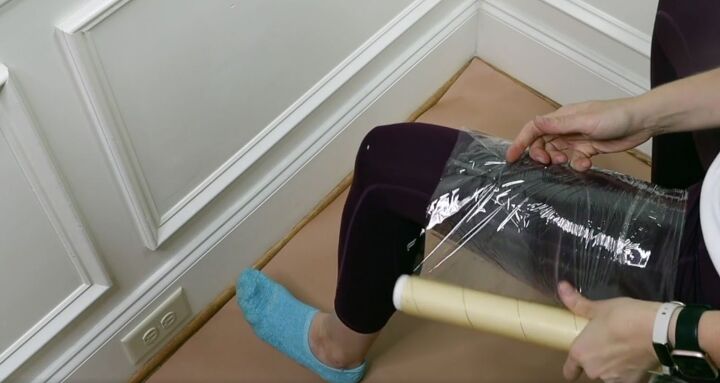
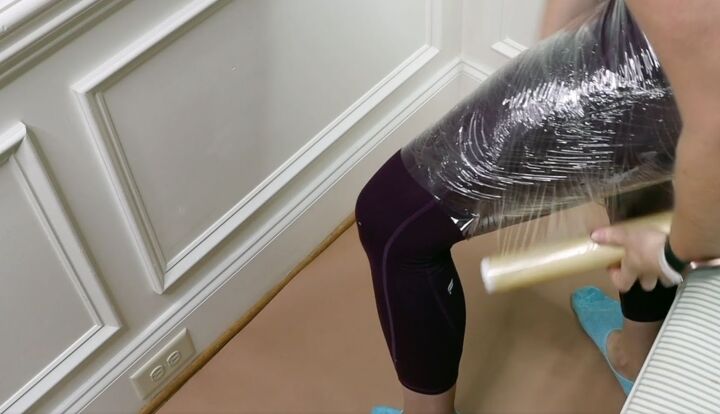
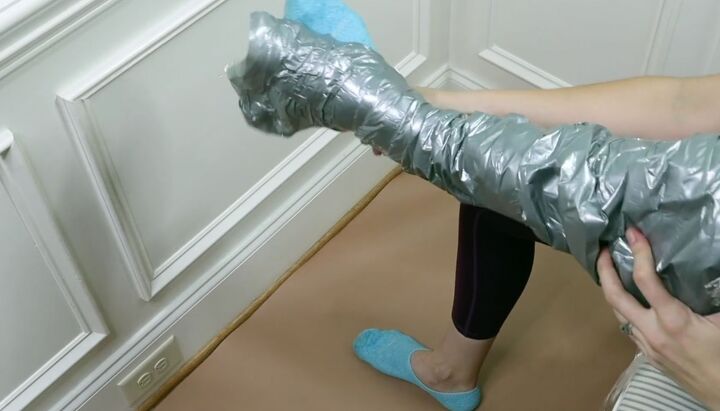
2. Wrap duct tape around the Saran Wrap
Now, like the Saran Wrap, I’m going to be going around the top of my thigh with some duct tape, and I’m just going to be making my way down my leg towards my heel.
You want to make sure you're not wrapping this too tight so it cuts off circulation.
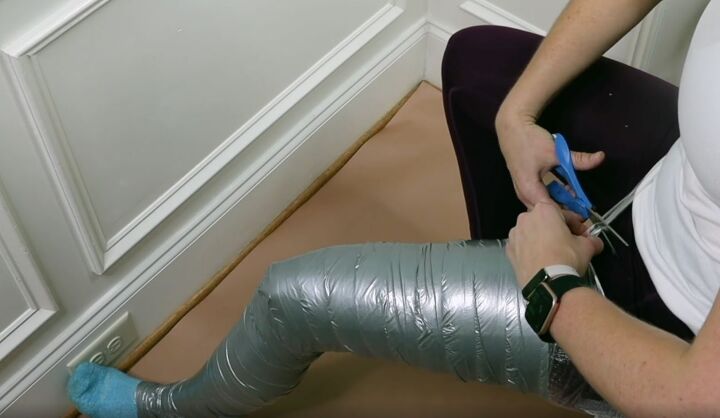
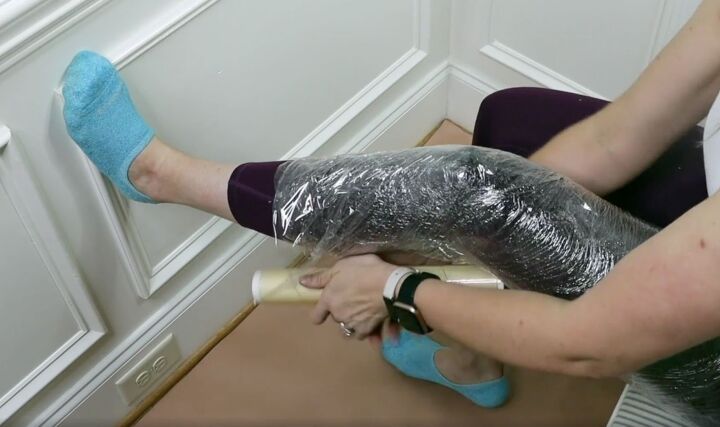
3. Cut the cast
After my entire left leg is covered, I’m going to cut off the Saran Wrap, and then I'm going to kind of gather that just to make sure it's not wrapped on my waist anymore.
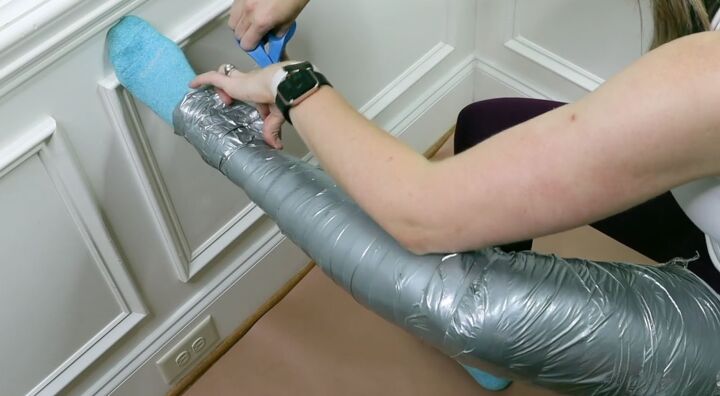
To get the duct tape cast off my leg and off of my foot I'm going to be cutting up the side of my cast.
Then I will be able to carefully remove it. To remove it, I am going to start from the top of my thigh and slide it down gradually. You can always cut more on the sides as needed but don't try to go up too far up.
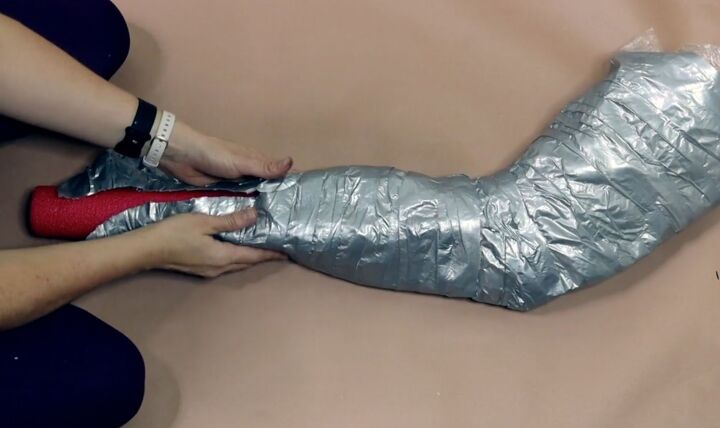
4. Repair the cuts
Now that I've been able to remove it, I need to repair where I cut it. Popping a pool noodle inside made this much easier.
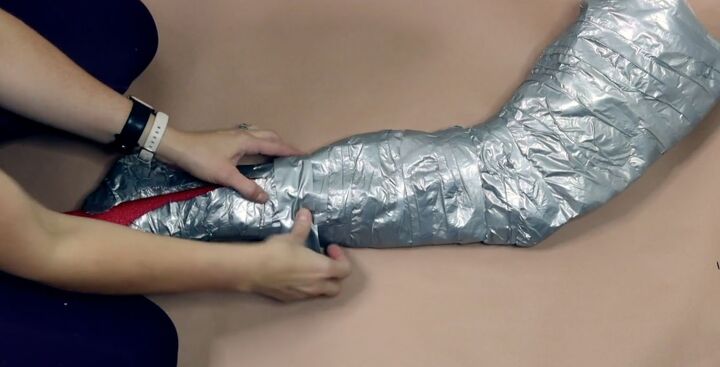
Take the silver duct tape and repair the tear by adding pieces horizontally.
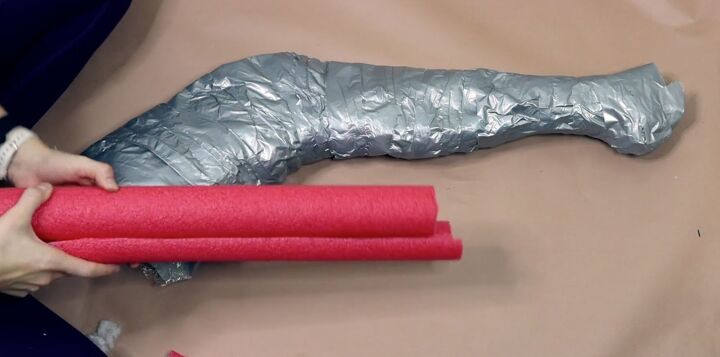
5. Stuff the legs
Then we are going to start filling the leg up with stuffing and pool noodles.
I found it really helpful to use a pool noodle first. I want to make sure that I'm using a pool noodle to try and give it some structure.
I cut them in half just because I'm going to be kind of layering them together just to fill out the shin and calf part of the leg and then give it more structure towards the upper thigh.
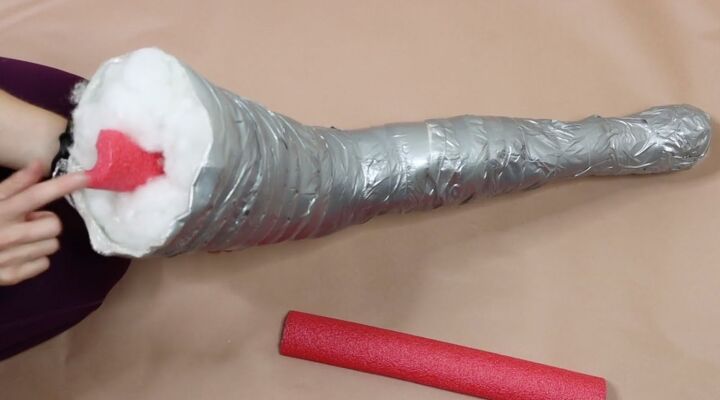
I’m also using pillow batting to fill it in around the pool noodles.
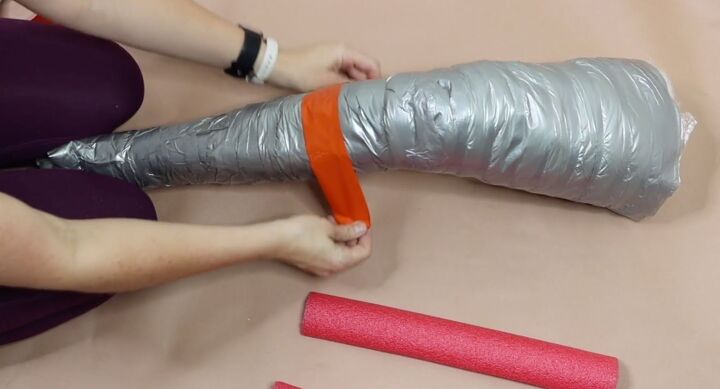
6. Cover with orange duct tape
Now that my leg is fully stuffed with batting and pool noodles, I’m going to cover it with orange duct tape. Be sure to cover all of the silver.
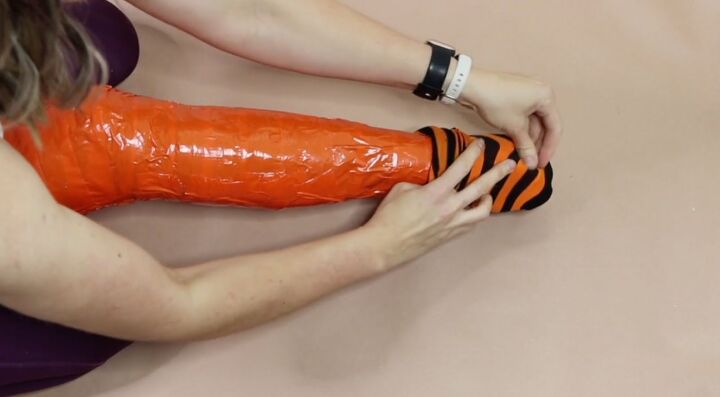
7. Add a striped sock
With the leg completely covered in orange duct tape, I am going to put on a witch's sock over top.
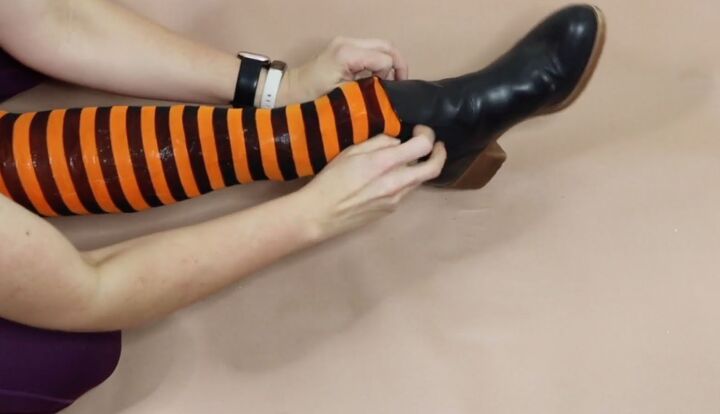
8. Add a shoe or boot
Once the sock is in place, a shoe or boot will fit perfectly over the foot, and then repeat this process for the other leg.
More Halloween Front Porch Ideas
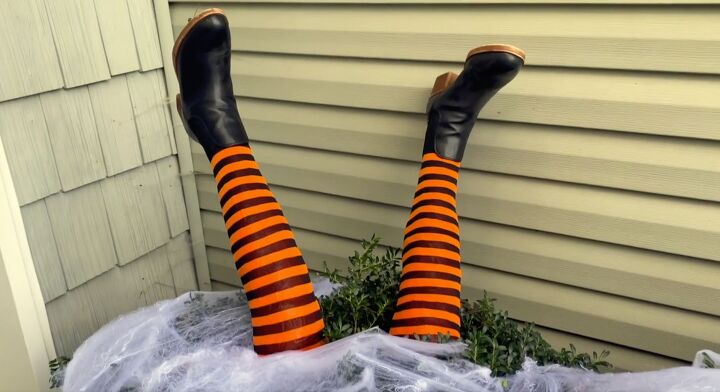
DIY witch's legs
Here are my witch’s legs outside in my bush. How fun are these? They were so easy to make!
Let me know what you think of this Halloween decor idea in the comments below.
Resources for this project:
See all materials


Comments
Join the conversation
-
HOW AWESOME
-
A perfect Halloween surprise!!!


Frequently asked questions
Have a question about this project?