


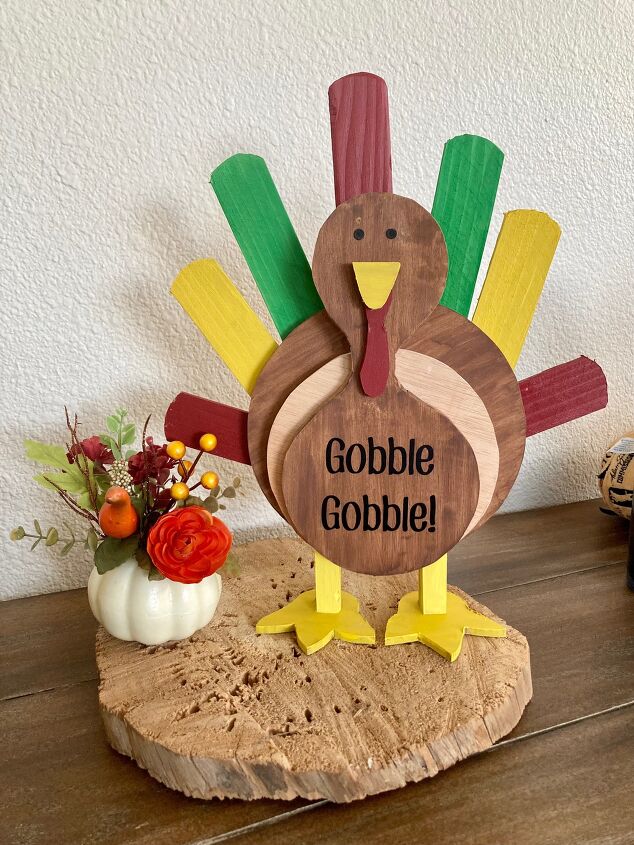
Thanksgiving Turkey

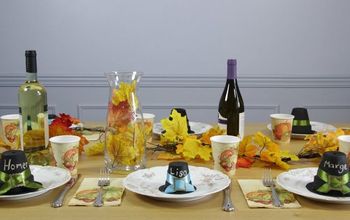
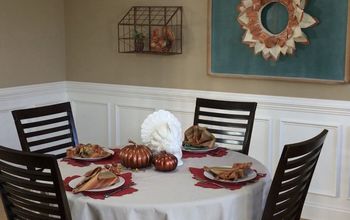
I wanted to make a small turkey decoration for Thanksgiving to use on my serving table. And I saw something similar, and just had to try making one for myself because I thought it was so cute!
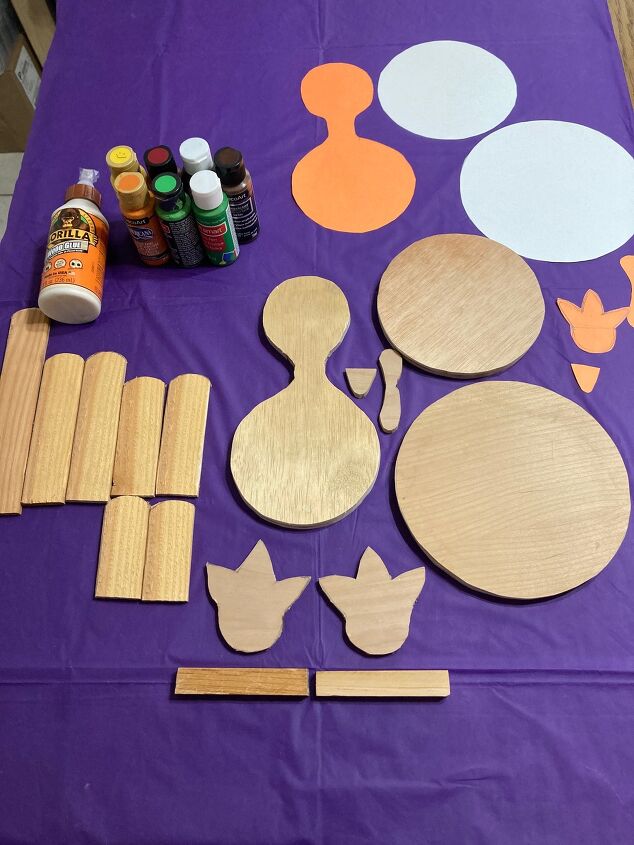
Materials needed:
Cardstock for pattern
1 piece of wood, 18” x 24” x ¼”, used for turkey’s body, feet, beak, and wattle
1 piece of wood, 12” x ¾” x ½”, used for legs
1 piece of wood, 23” x 1 ½” x ¼”, used for feathers
Wood glue
Paint: Brown, Yellow, Orange, Green, Red, and Black
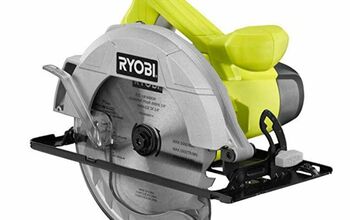
Jig saw (not shown
Black vinyl
Cricut (not shown)
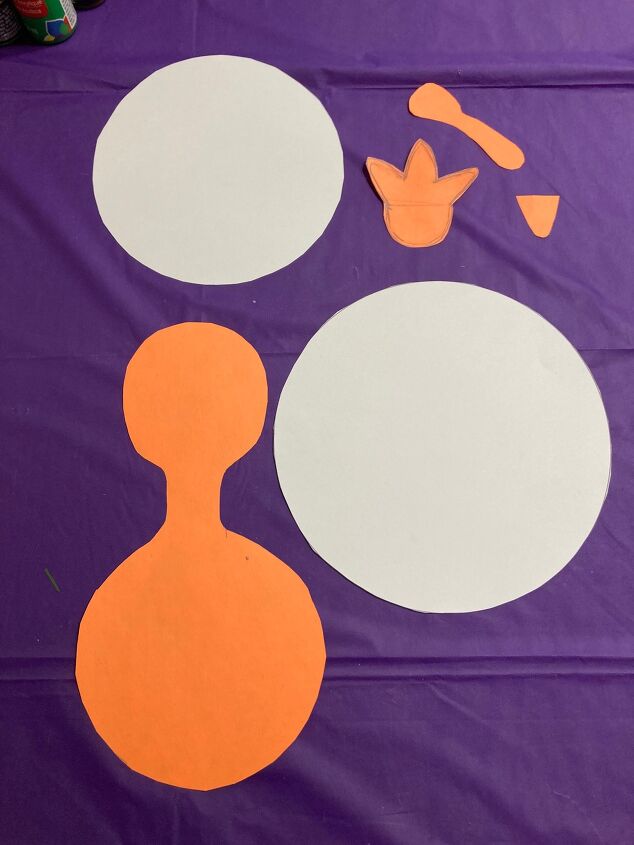
Step 1: I made a free-hand style pattern, from cardstock, to cut out the pieces for the turkey. First, I cut out a 10” x 5” piece of cardstock to simulate the body. The head measured 3 ¼” x 3 ½”, the neck measured 1” x 1” and the body measured 5 ½” x 5”. I traced the pattern to the wood to cut it.
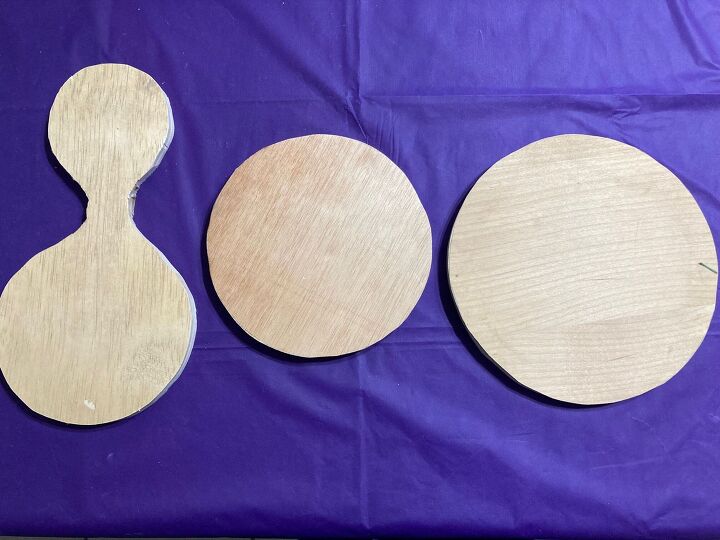
Step 2: I then cut a 6 ½” circle from cardstock for the body, and a 7 ½” circle for the body, also. I traced the pattern to the wood to cut it.
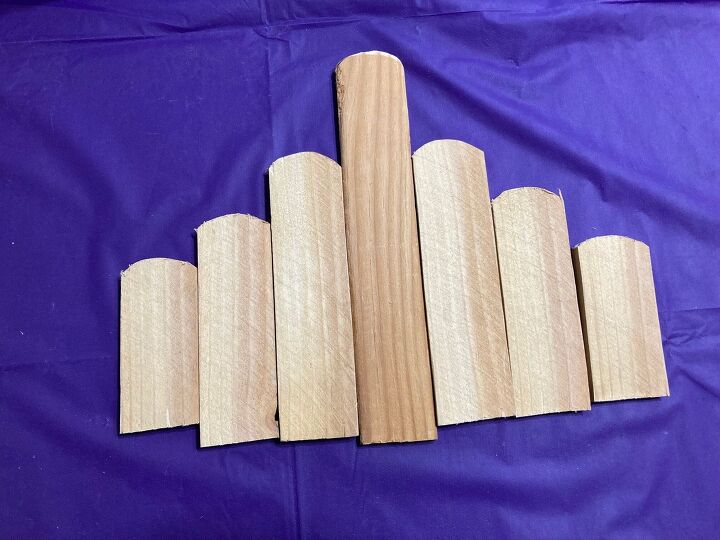
Step 3: For the feathers, there was no need for a pattern, I cut one piece 8 ½” x 1 ½” x ¼”, I cut two pieces 5 ¾” x 1 ½” x ¼” , two other pieces are 4 ½” x 1 ½” x ¼”, and the last two pieces are 3 ½” x 1 ½” x ¼”.

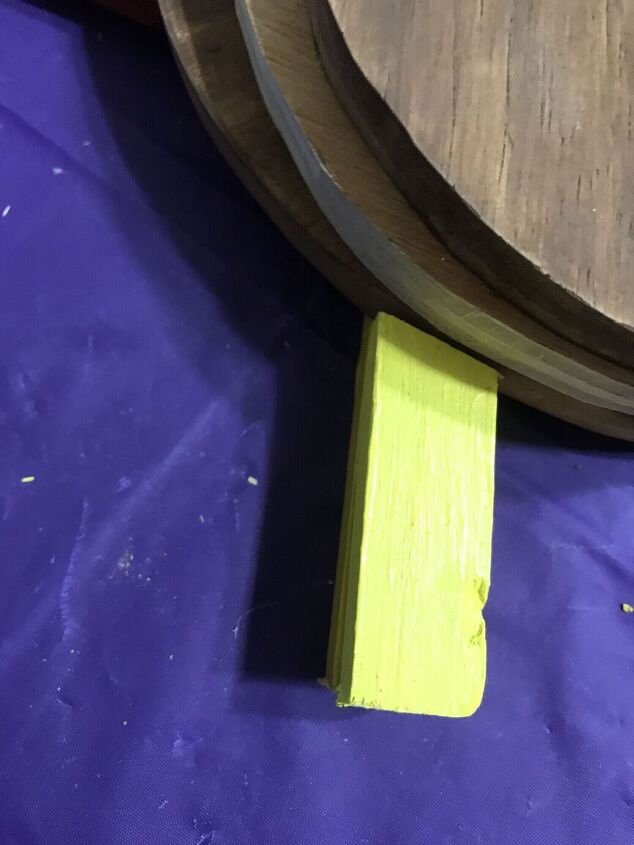
Step 4: The pattern for the feet is 3 ½” x 3 ¼”. The beak is 1” x 1 ¼”. The wattle is 3 ¼’ x ½”. I traced the pattern to the wood to cut it. For the legs, there was no need for a pattern. I cut a 7” x ¾” x ½” in half to use as legs for the back. Then I cut a 2 1/2" x 3/4" x 1/2", with a curve on top to use for the front legs for stability .
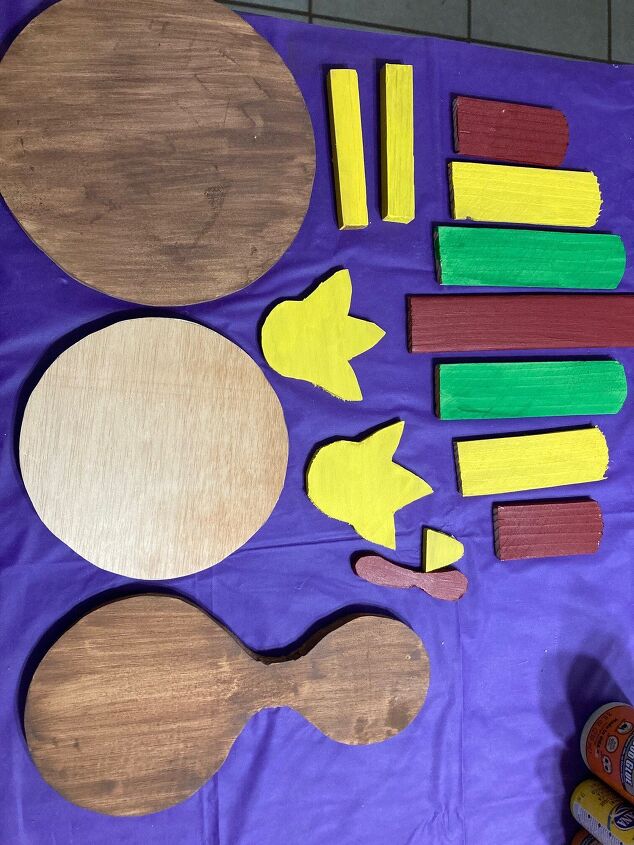
Step 5: Once all the turkey pieces were cut, I painted them. Except for the middle circle, I chose not to paint it.
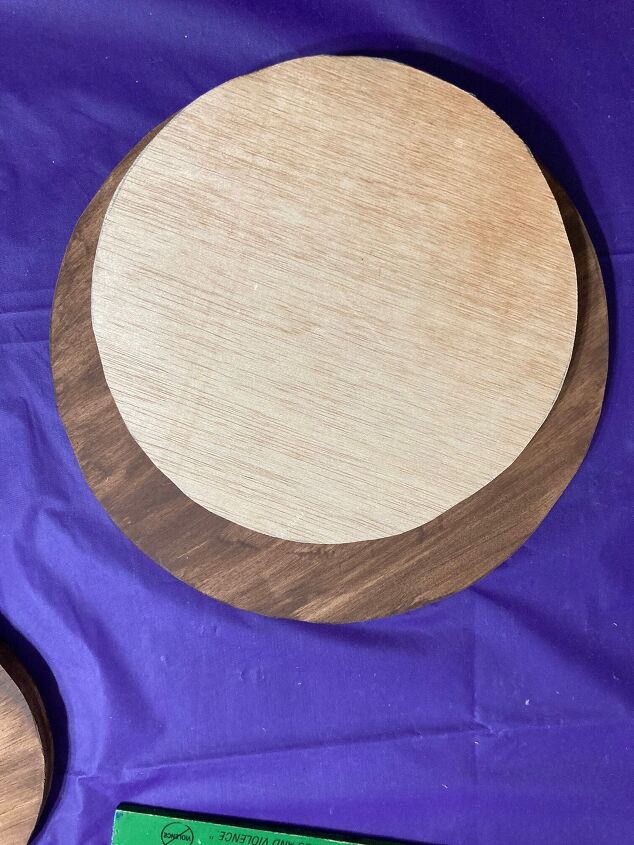
Step 6: I used wood glue to start putting the turkey together. I glued the two circles together first.
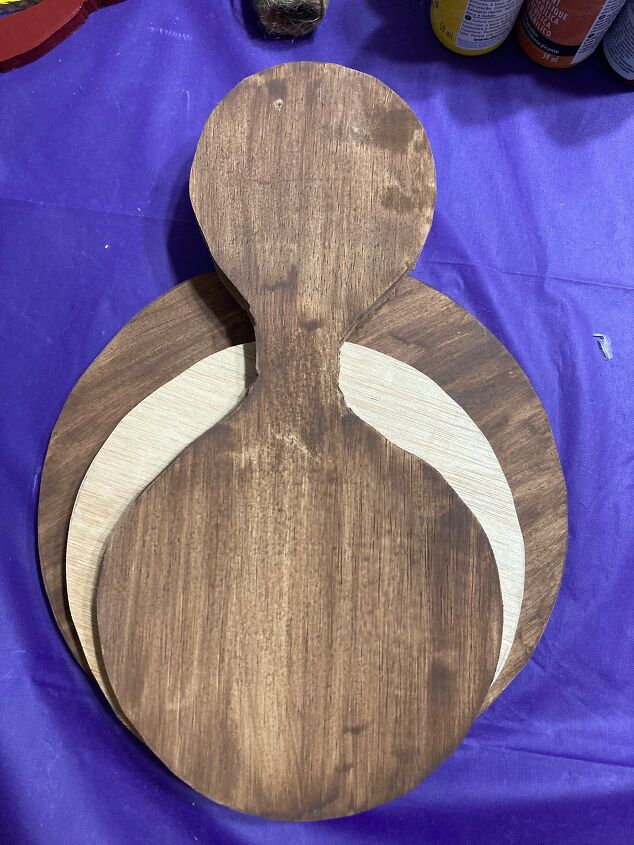
Step 7: I then glued the body to the two circles.
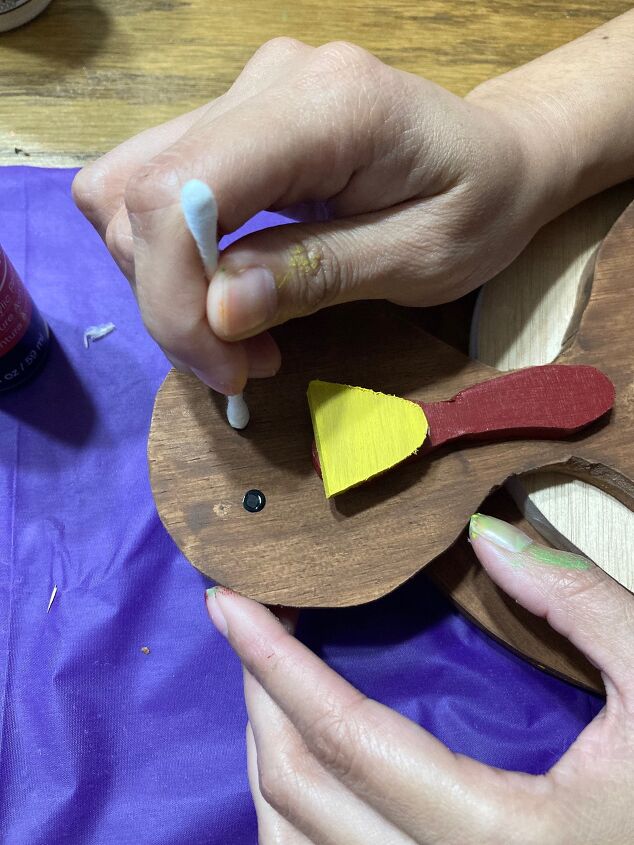
Step 8: I glued the beak and the wattle to the turkey. Then, I painted his eyes black with a cotton swab.
Step 9: I glued the front legs, with the curved top, to the bottom of the back circle of the body.
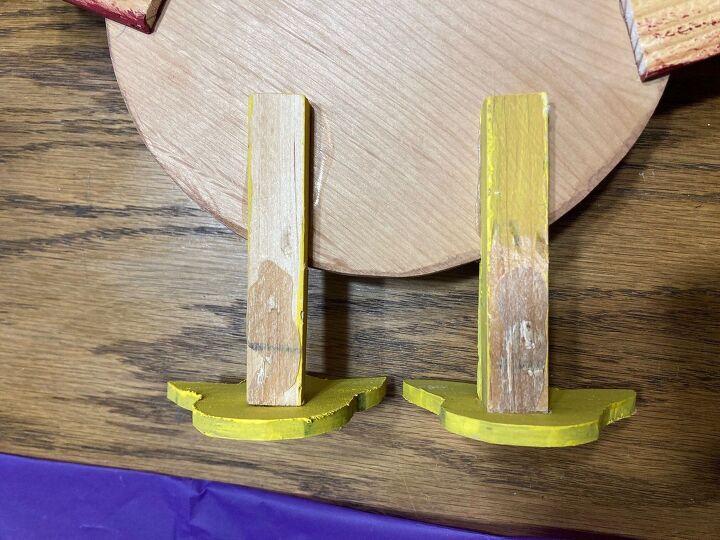
Step 10: Then, I glued the other two larger pieces used for the legs to the back of the turkey's body for stability.
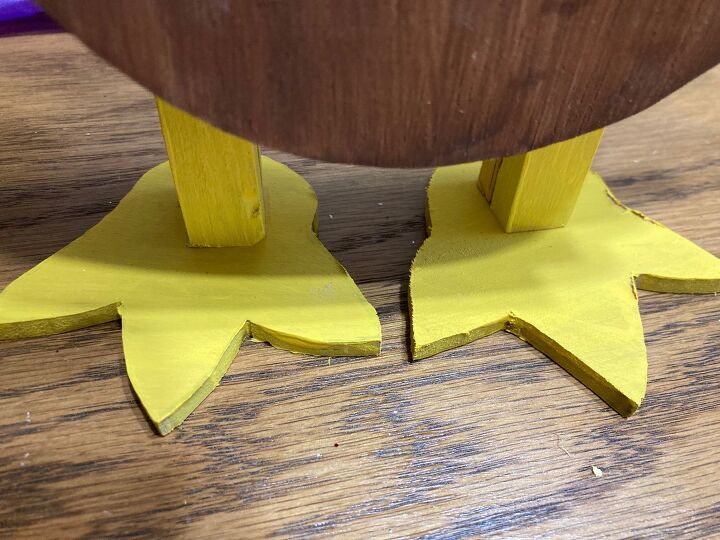
Step 11: Once the legs dried, I glued them to the feet.
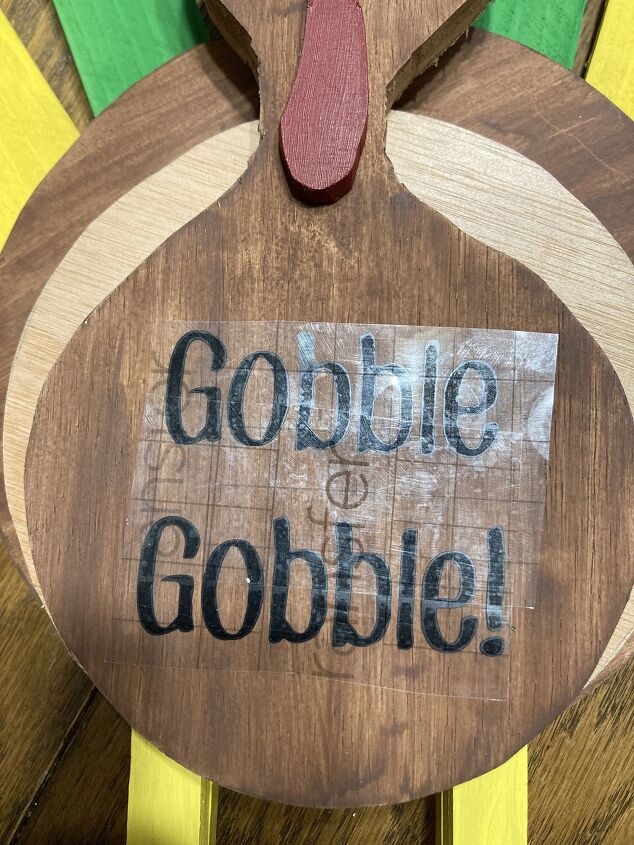
Step 12: As a last minute touch, I made a 3" x 3" Gobble Gobble sign with my Cricut.

Step 13: This is what the final product looks like!


Frequently asked questions
Have a question about this project?