


How to Make Shimmering Gem Christmas Trees For the Holidays

Welcome to a DIY gem Christmas tree tutorial! In this step-by-step guide, I'll show you how to create shimmering Christmas tree decorations using simple materials like glass gems, wood blocks, and a touch of creativity.
These cute trees make for eye-catching festive accents. So, let's dive in and bring a touch of holiday magic to your crafting space!
This post was transcribed by a member of the Hometalk editorial team from the original HometalkTV episode.
Tools and materials
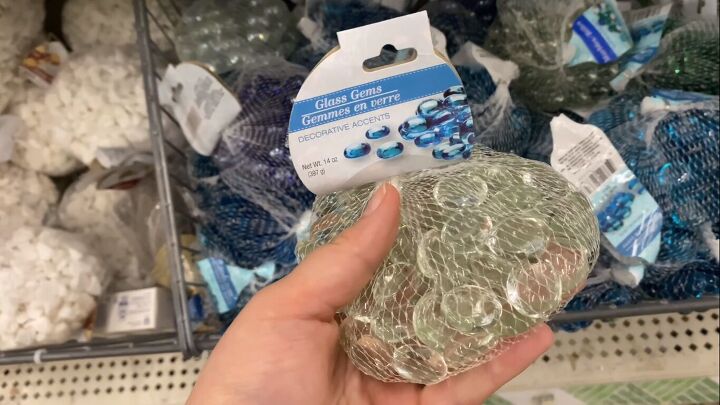
- Glass gems
- Wood blocks
- Hot glue gun
- Paint
- Paintbrush
- Snowflake embellishment
- Wood slices
- Kitchen shears
- Golf leaf
- Mod Podge
Hometalk may receive a small affiliate commission from purchases made via Amazon links in this article but at no cost to you.
Steps
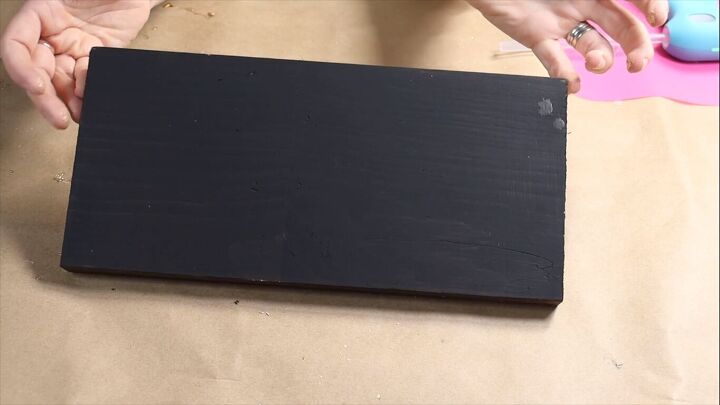
1. Paint the wood block
To begin my project, I took this piece of stained wood that I just had kicking around in my craft pile, and then I came in with the DecoArt Enchanted line of paints. So this black paint that I'm putting on here is the base coat.
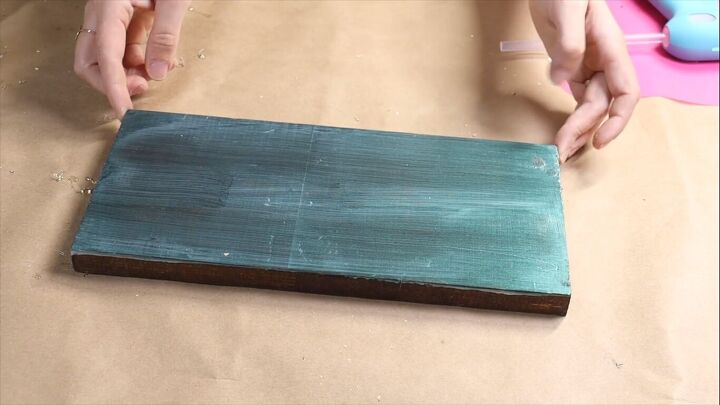
I'm making two versions of this gem Christmas tree. So, for the first block, I came in with the DecoArt Enchanted in green as a top coat.
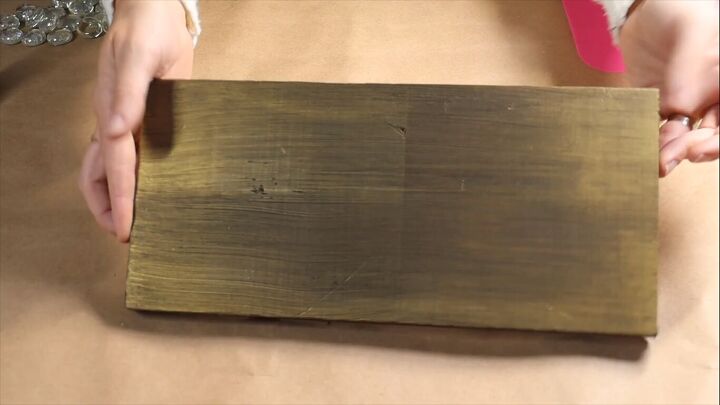
For the second, I used gold.
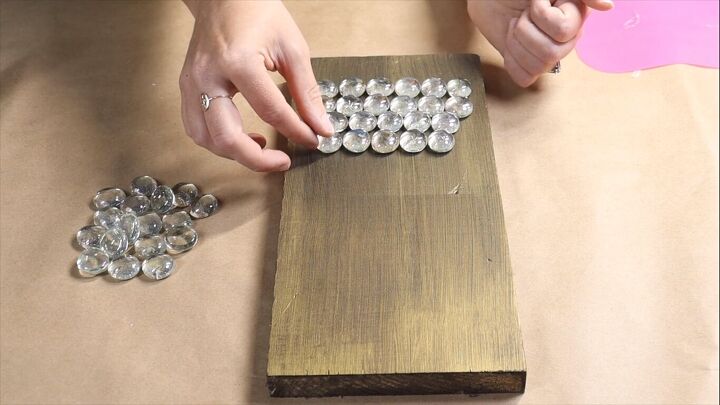
2. Make a Christmas tree shape with the gems
I'm going to take these glass beads that I picked up at my local dollar store, and I'm going to begin making a Christmas tree shape. So I'm just going to line them up, starting with the larger row at the bottom and just working my way up the top.
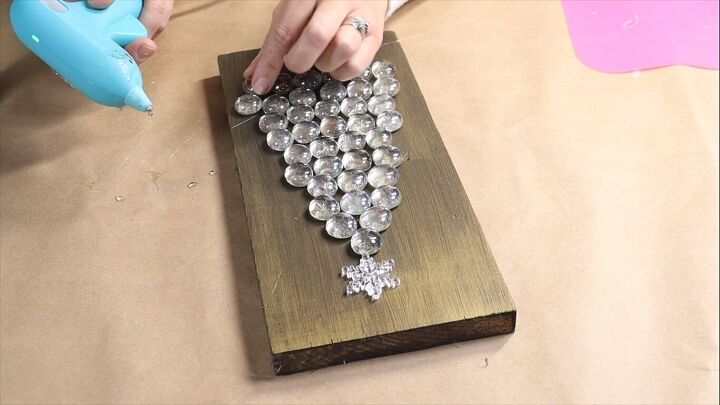
3. Glue the pieces down
Make sure you like the shape and everything before you glue them down. I'm just using regular hot glue to glue the glass beads down, and then making sure I pull away any hairs from the glue gun.
I found this cute little plastic snowflake in my Christmas craft collection, and that is what I'm going to use for my star.
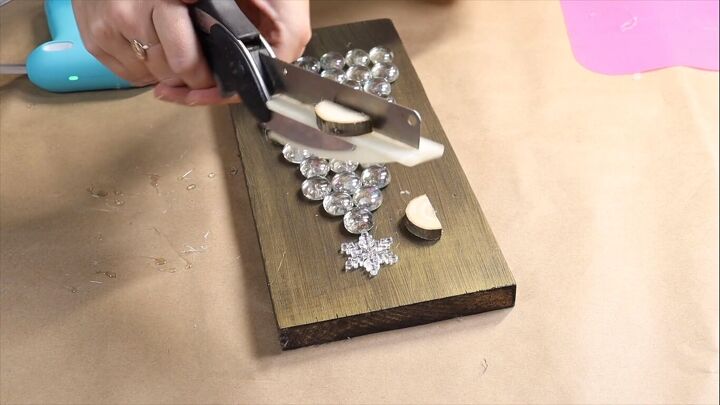
4. Make the tree base
For the base of my tree, I have these little wood log slices that come in a little pack from my dollar store. I'm going to take a pair of kitchen shears and cut them right in half.

Then I'm going to place them on the bottom, sticking up like a 3D effect, almost like a realistic-looking tree stump.
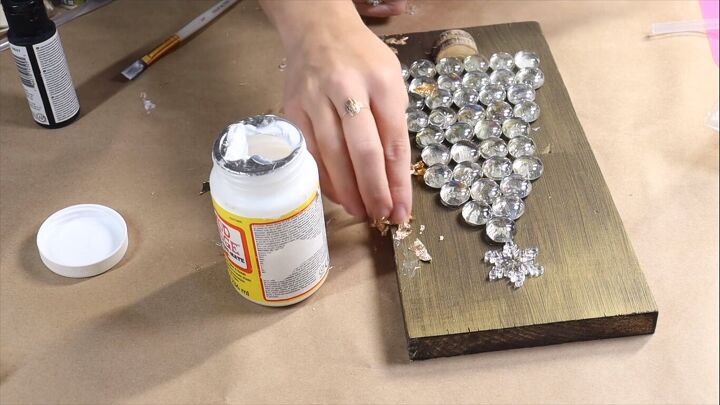
5. Add golf leaf
Once I had that glued down, I thought that the whole project needed a little bit more embellishment, something just to really make it stand out a little bit more and jazz it up. So I came in with some Mod Podge and some gold foil, and I just did like a gold leafing foil technique just around the edges to create a nice, classy and elegant border.
I let that set, and then I brushed away the excess.
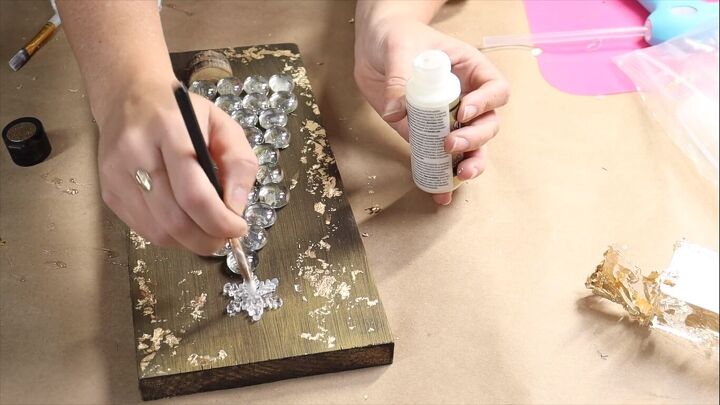
6. Add shimmer
To add just the icing on the cake, I came in with this shimmer. This is just like a top coat that you can put on top of things just to give it that little shimmer and shine.
So it's clear, but then when it catches the light, you'll just see little tiny flecks of sparkle. It's really nice because it's not quite a sparkle, it's just a shimmer.
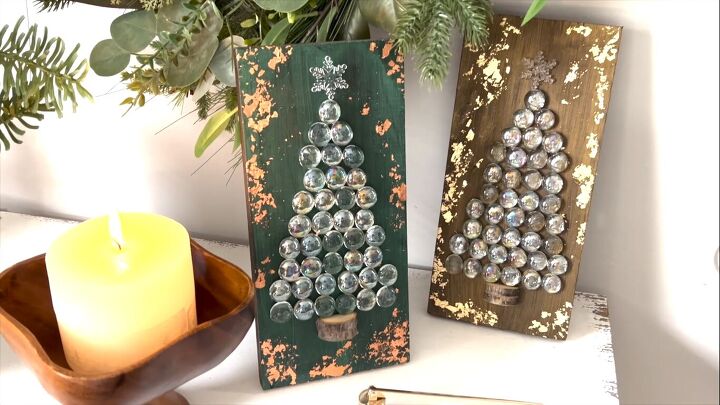
Gem Christmas trees
These are my finished gem Christmas trees. So you can see the one I did with the green iridescent and then the gold as well. On the green iridescent, I decided to go with rose gold leafing instead of the gold. I just thought it complemented the green iridescent better.
I'm so happy with how this project turned out. I hope this inspires you to get creative this Christmas and craft something unique for your home. Let me know what you think of these cute gem Christmas trees in the comments below.
DIY Christmas Decorations


Frequently asked questions
Have a question about this project?