Sheetrock repair

by
Lisa Bolling
+14
I need to repair the sheetrock where we took out a window. I am not sure how to do this. I would like repair this myself, but I'm not sure where to begin. Advice?
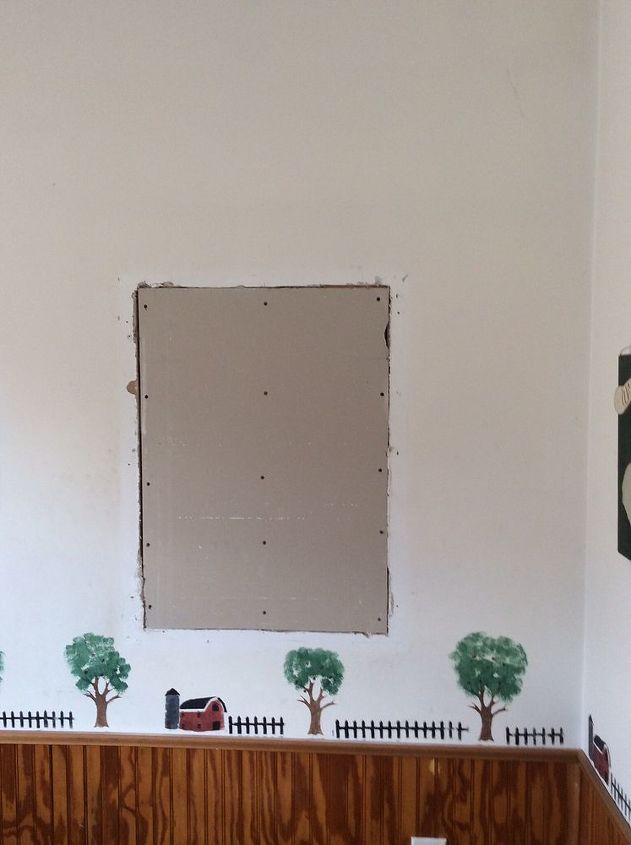
You can see here that it is in the middle of the wall. I can't paint this room until it is repaired.
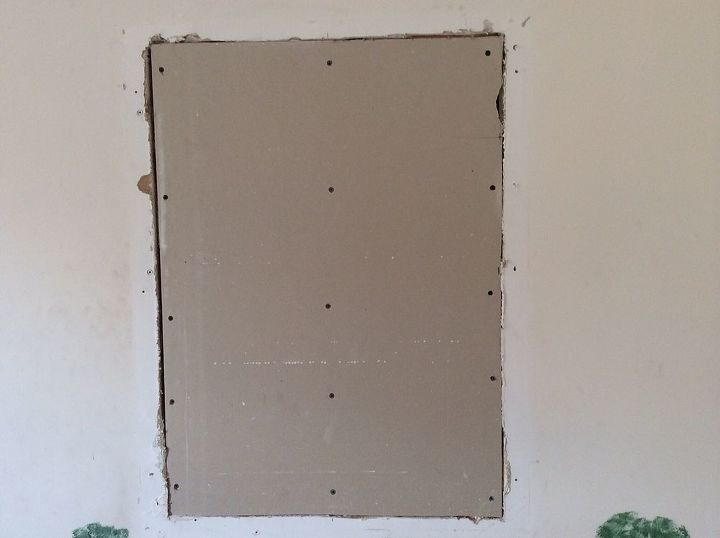
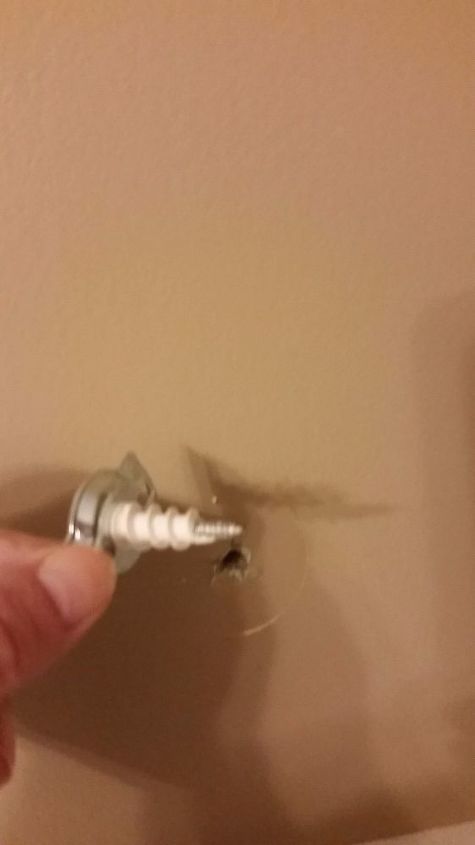
Here is a closer look at it.
7 answers
-
You're almost there. Now, go to you local hardware/home center and purchase a roll of mesh drywall tape and some spackling paste Put a layer of the tape so that the joint between the new drywall and old wall is right down the center of the tape. Do this on all four areas. Press the tape down so that it is nice and even. No buckles or wrinkles. Then, spread the spackling paste evenly over each taped area. It's similar to smoothing icing on a cake. Apply a thin coat. Allow it to dry and apply another coat. Once you're sure all the paste is thoroughly dry, sand the repaired areas smooth to blend with the old wall. You're ready for paint at this point. It's not difficult and the only thing that actually takes time is waiting for the spackling paste to completely dry.
 Swan Road Designs
on Feb 08, 2015
Swan Road Designs
on Feb 08, 2015
-
Easy peasy... First, if those are nails, remove them and install screws. If you've already used screws, you obviously have an idea as to what you're doing. :-) Next, take a utility knife and cut away any loose paper bits and edges. Those will show in the finished project. Option 1) This is one of those things that I would use 20 minute mud on (found in the drywall section at Home Depot, sold as a bag of powder). Put some of the powder in a drywall pan (I tend to fill a pan halfway, easier to work with than a full pan), and slowly mix in warm water (mixes easier than cold) with a putty knife smaller than the width of the pan (short side). Do this in an area that you don't mind getting dust everywhere, as mixing this can be a mess. Make sure to get all the lumps out, and quickly. Use a large drywall knife (drywall section, again, 10 inches or longer) and skim the wall with it from a few inches on each edge. Sets up in 20 minutes. Cool thing about this stuff is that you can go back over it with a clean drywall knife once it starts setting and smooth your work even more. Let dry. Sand as smooth as possible. Do a final skim coat with pre-mixed joint compound. Let dry. Sand again, Paint. Option 2) Much easier option... Use pre-mixed joint compound (USG brand, white container with green top and green and red lettering) for both coats. Besides mixing, all of the steps above are the same. Just don't try to touch it as it's setting.. it'll just do some funky stuff that requires more sanding.
 Lucid Designs
on Feb 08, 2015
Lucid Designs
on Feb 08, 2015
- See 3 previous
-
Ditto with the screws instead of nails. Nails "pop" and that's not what you want. And, ditto again with cleaning up the rough edges. I didn't think to include that because it comes naturally to me.
Swan Road Designs
on Feb 08, 2015
-
Well it looks like you've taken the first steps and are off to a great start. You'll need joint compound, drywall tape and spray texture. For this repair I'd recommend the mesh type self adhesive fiberglass drywall tape. but before we begin applying tape you'll need to fill the gaps between the old and new sheetrock with joint compound. Take a small utility knife and trim away any paper edges of the drywall that may have lifted or protrudes from the wall. Next, begin filling the gaps with joint compound. Fill the gaps completely dragging your drywall or putty knife diagonally across the joint. The idea is to get as much joint compound into the gaps and not on the wall surface itself. Allow the compound to dry overnight. There's a good possibility once it's dries you'll see some cracks in the joint compound, not to worry. Next, lightly sand the gap and surrounding faces of the drywall to remove or smooth any excess joint compound. Dust off the surface to remove the dust and apply the mesh drywall tape centered over the filled gaps. Press the tape into place being careful not to overlap and begin applying a thin layer of joint compound over the tape covering an area a few (3 to 4) inches either side. Allow the compound to dry. Once dry, lightly sand (about a 120 grit) the area but not so far as to expose the drywall tape. The idea is to sand it as level and smooth as possible, NOT to sand it flat! If you sand too far and expose the tape, you can add a thin layer of compound to cover it. If you're satisfied with the way it looks at this point you're ready for primer. If not add or remove joint compound as needed. I recommend applying 2 coats of primer, one now and one later. The new surface will suck up paint and primer more easily than the existing surfaces. Apply primer and allow your first coat to dry. Now onto texture. Depending on the type of texture you have on the wall; orange peel, splatter, drag...most home improvement centers offer an aerosol wall and ceiling texture that can match almost any texture pattern. Lay some newspapers or a drop cloth down and spray texture the area extending the new texture a little beyond that of just the repaired area. The idea being to make a smooth transition between the old and new area. If you're not satisfied with the look of the texture, take a damp sponge and simply wipe it off before the texture dries. If you're satisfied, simply allow the texture to dry. Apply a second coat of primer over the texture, allow it to dry then apply your paint. If you notice a difference in the sheen between the old and new painted surfaces, simply apply another coat of paint over the repaired area.
 D & K
on Feb 08, 2015
D & K
on Feb 08, 2015
- See 2 previous
-
Thank you all!! I am off to the home improvement store to get my supplies!! I appreciate all the great advice and instruction. Blessings!
 Lisa Bolling
on Feb 08, 2015
Lisa Bolling
on Feb 08, 2015
-
It looks just the right size for a dog door. Try that.
 Grady
on Feb 17, 2015
Grady
on Feb 17, 2015
-
So if you don't have self adhesive tape, would you put the tape on the first coat of joint compound before it dries?
 Susan
on Sep 02, 2016
Susan
on Sep 02, 2016
Sign Up to Answer