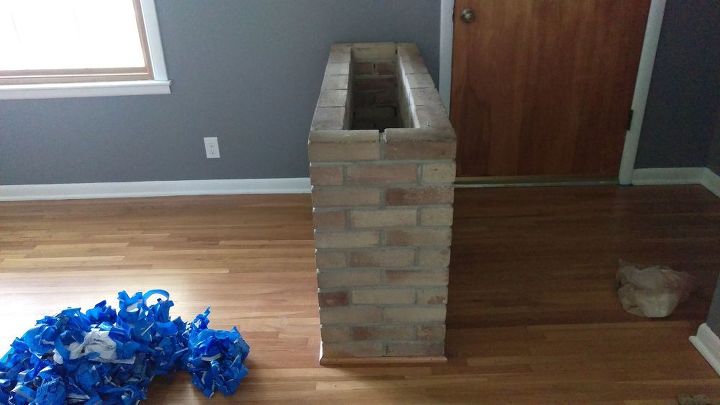
How do I build a waist high raised garden without legs

by
Pat Norman
+6
I want He garden to sit on the ground but be waist high. I also need what to fill it with some sort of fill before putting my garden dirt in it.
Related Discussions

Suggested Project Book

https://www.hometalk.com/categories/gardening-landscaping/container-gardening/raised-garden-beds
that's a lot of fill to waste and fill in the area. I'm curious..why no legs? I love the legs...can sit on a stool and garden without my knees getting bumped.
Fill the bottom with packing peanuts or small pieces of styrofoam.
Ok, so we have had some nice deep raised beds for awhile. First I used hay bales in the bottom, seemed like a good idea at the time (not so much - they rot down during the season and the level of the soil above them drops helter-shelter- miserable experience. The next year we used wood chips - which I buy by the truckload from a local saw mill. This was a better solution, but they also will rot down into lovely black gold, so our solution is to dress the top of the planters each year with 3” of wood chips while planting in the spring. This helps keep the plants soil moist through the summer and as it rots it adds all good stuff to the soil.
Next year we are rebuilding the planter boxes and they will not go all the way to the ground because I am determined to make them self watering - this aught to be quite an adventure!
best of luck to you On your adventure!
Also, if I were to start again from the beginning, i would put builders plastic on the bottom and up the sides some so that when watering the water will tend to stay in the bottom level and not just run on through - work like a saucer - some folks put gravel in the bottom of their raised beds and line with plastic to hold the water some as well as use up space so as not to have to fill completely with garden soil.
BTW, I have lovely, fat and happy earthworms living in all of my planters - so I must be doing something right!
You ay find some interesting information contained in this article:
https://morningchores.com/raised-garden-bed-plans/
I am checking out info. On making and lining hydroponic gardens for info on how. To construct self watering planters - for how to su;port all that water plus dirt etc. it is an ongoing adventure for sure!
Good luck and great gardening!
I build 4 raised tables for my lady several years ago now that are all holding up very nicely! But being a cabinet maker I’m sure helped in my success of making a long lasting raised table. She has bad knees so it was important to make these tables where she not have to get down on her knees. I made them a square 4’x4’ table with 4”x4” legs and the bottom is supported with 2”x4” for a 3/4” bottom to sit on. This size works well to reach all the way around all sides of the table! If you go to some flooring retail stores you can get some reminate or scrap plastic laminate like you find on a lot of cabinets counters usually dirt cheap! (Pardon the pun) I glued the plastic laminate on the bottom of my 3/4” bottom to make it more water proof as well up the sides of the inside of the box. Plastic laminate is pretty indestructible and holds up nicely to having dirt and water setting on top of it! You can build cheaper raised beds, but you’ll be rebuilding them far sooner then you will these made this way! I also ran pvc tubing to each of my bed in a direct line going in and out of each bed to the next bed repeating the process thru all 4 tables with one line! That way I can water all 4 tables at the same time with a timer connected at one end of the PVC tubing. The other end I added a pvc screw off cap so I can blow air thru the system when winter comes and it starts freezing to not burst any of my water lines. I also made basically a 4’x4’x4’ tall box like design that has 4 legs that can sit on top of all my raised tables that I put a netting over the whole pvc tubing that can easily be put on or removed whenever you like! It also has another 1/4“ water line that has a connector like you find on air hose that easily connects or disconnects this water line in seconds And has a water sprayer at the top of the PVC netting inside to water from above as well! Also fairly easy to cover the top pvc tubing with plastic too for that greenhouse effect keeping things warm and dry when it gets cold and too rainy! Only issue is having a good place to keep your PVC netting tips when their off the rises tables. Being their fairly light and easily blown all over the place in windy conditions. So you’ll need a good place to put them out of the wind or they might get broken blowing around? I’ve also seen people make these pvc tips on the raised bed by bending the pvc in a half circle where they drill holes for the pvc to lock into on the top of the tables. But I prefer the box look giving more room inside for plants to grow! Again these aren’t cheap to build, but will last a good decade if not longer. Let’s put it this way, mine were built 7 years ago and still show no signs of falling apart or rotting! Hopefully this will give you some ideas on what you would like to do? Really not too hard to make the bottom strong enough to hold the weight of the dirt with legs. Good luck