Hallway Edition

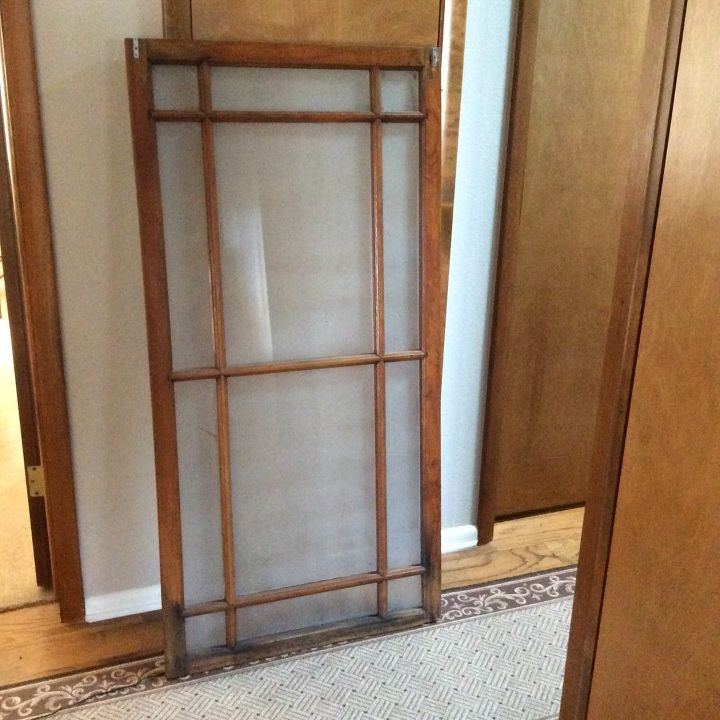
Step 1: Frost the glass
I had an old storm window lying around that I spray painted with Rust-Oleum Frosted Glass. Get tutorial here
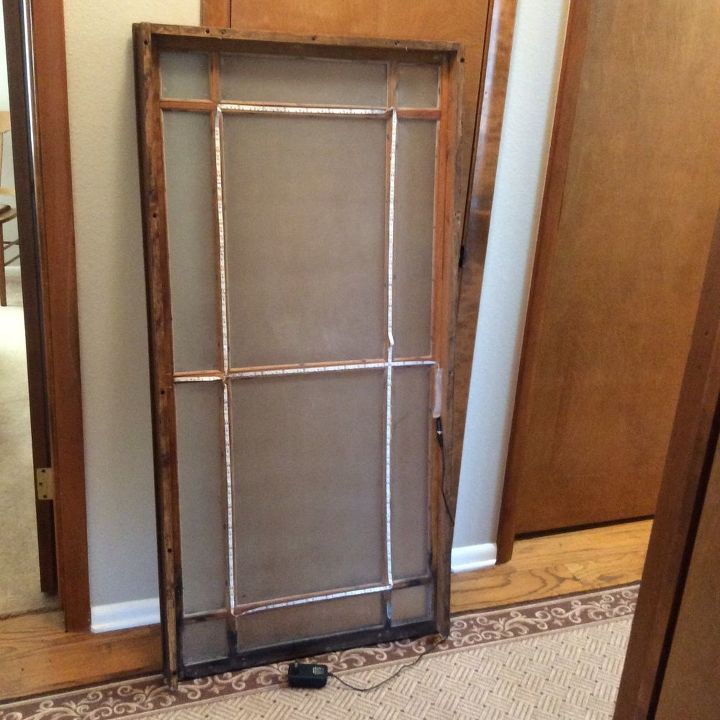
Step 2: Add the LEDs
I added LED strips to the back of the window. They have a sticky backing that adheres to the window. Get tutorial here
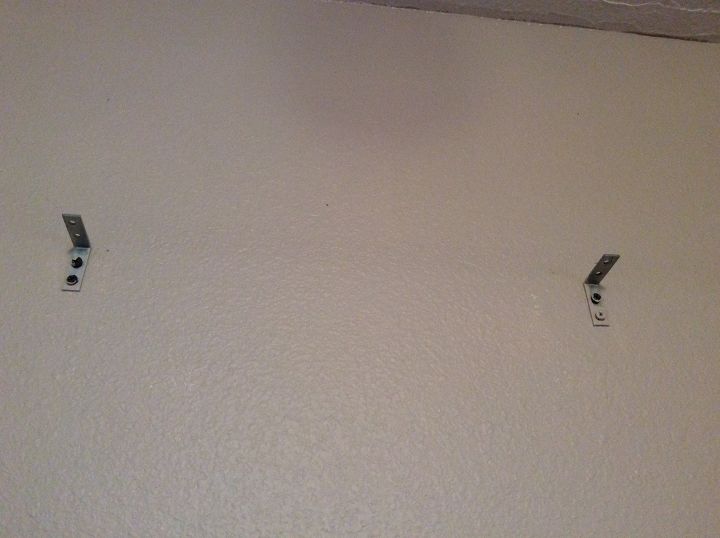
Step 3: Hang L brackets
I hung L brackets on the wall at the end of the hallway to hang the frame from. Get tutorial here
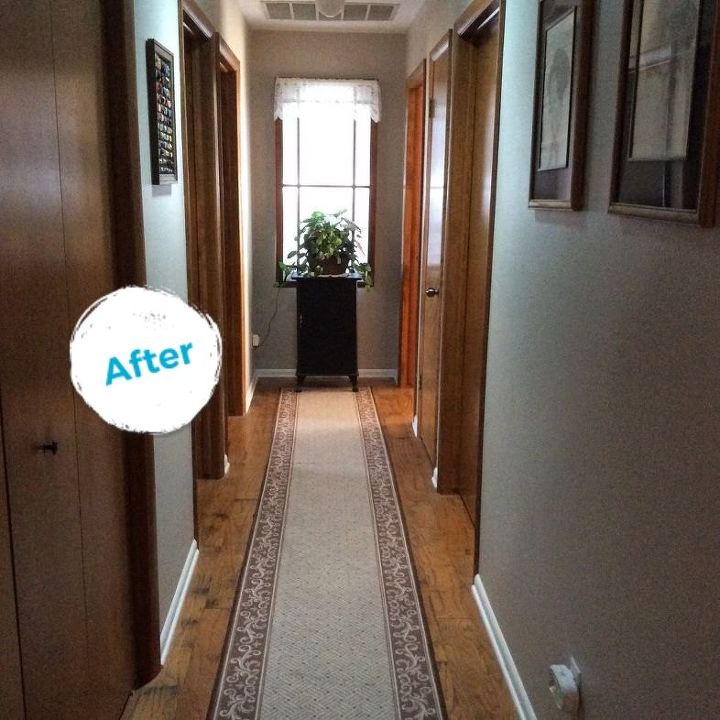
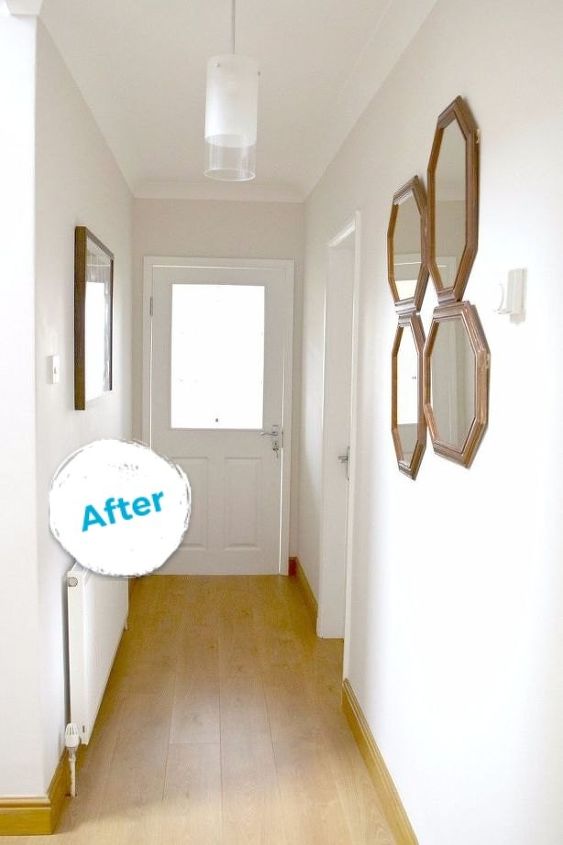
AFTER! I added a valance and hung the window
Everyone that sees it thinks it's a real window. It brightens up the hall and makes me smile every time I walk by. Get tutorial here
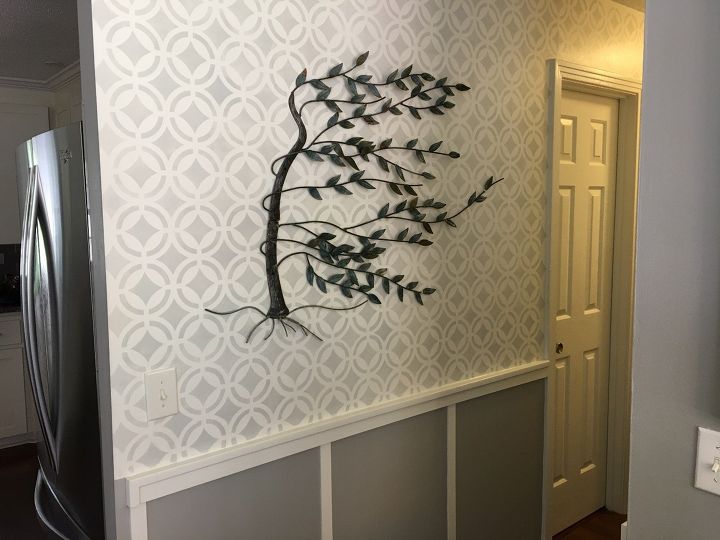
The decor
I found this first piece at a junk stand on a trip and we love it! Get tutorial here
Banishing the Boring Narrow Hallway
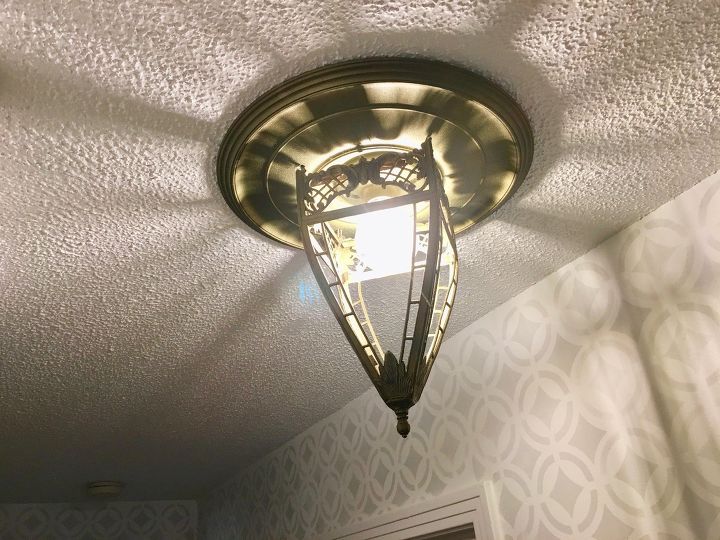
We found this (very heavy) metal lampshade at a flea market. I loved the patina & Hubs converted it to a fixture. Get tutorial here
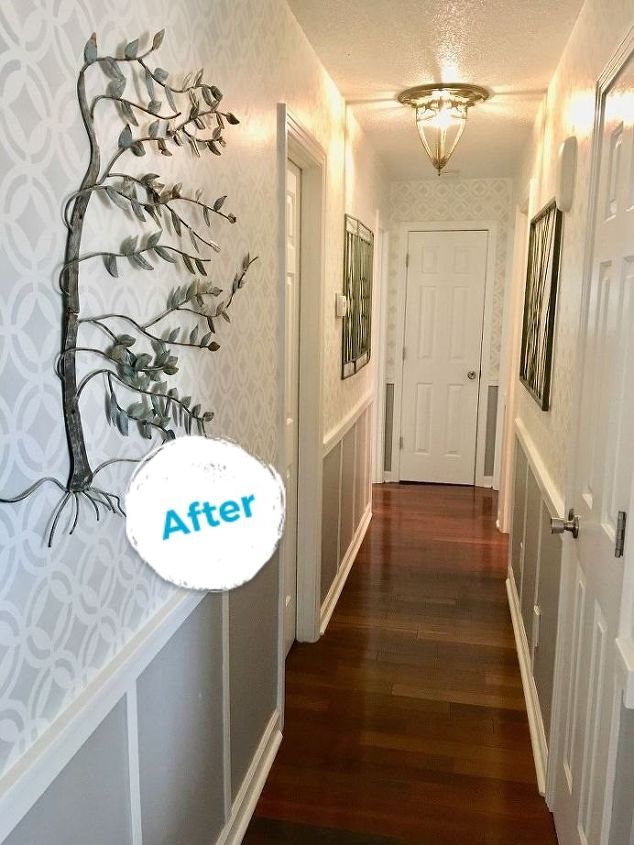
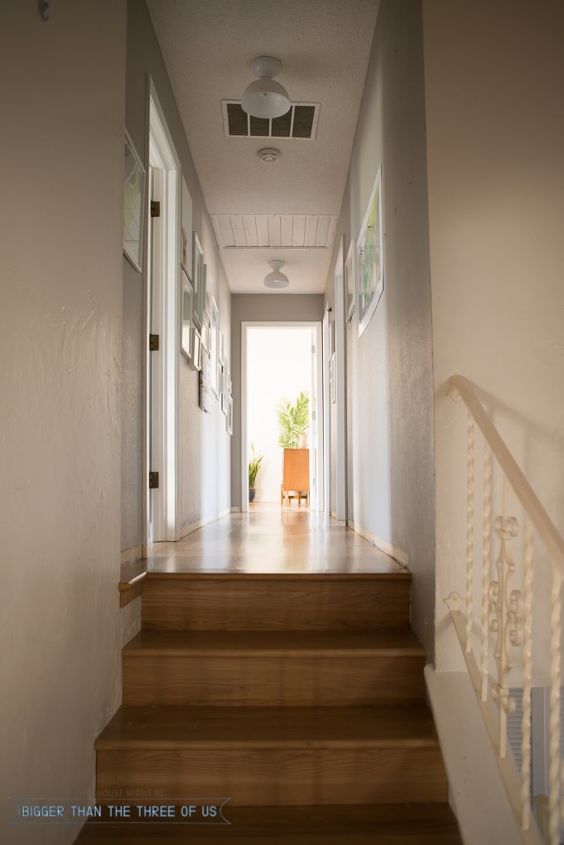
The after photo! What a difference!
I now love my "new" (40 year old) hall and the one-of-a-kind light fixture that my brilliant Hubs helped me create. Get tutorial here
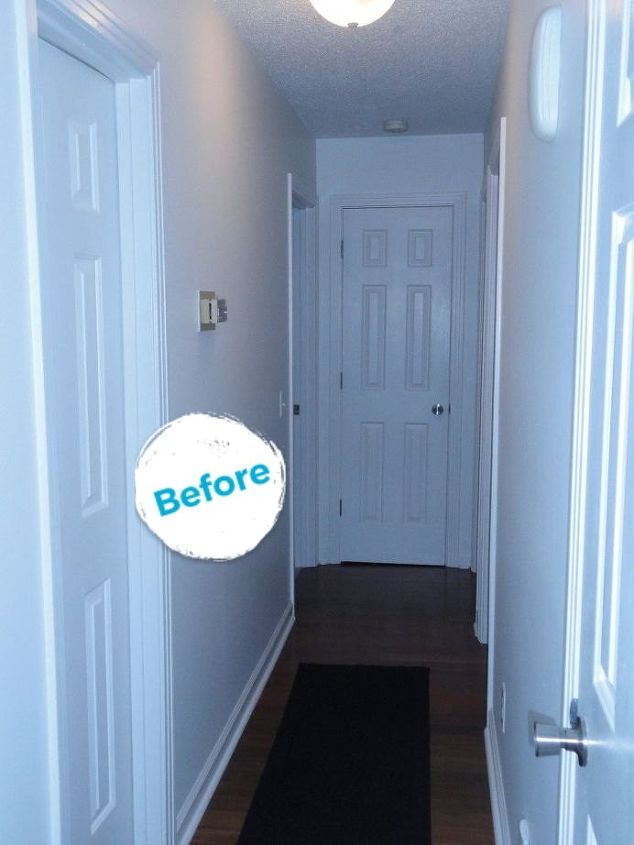
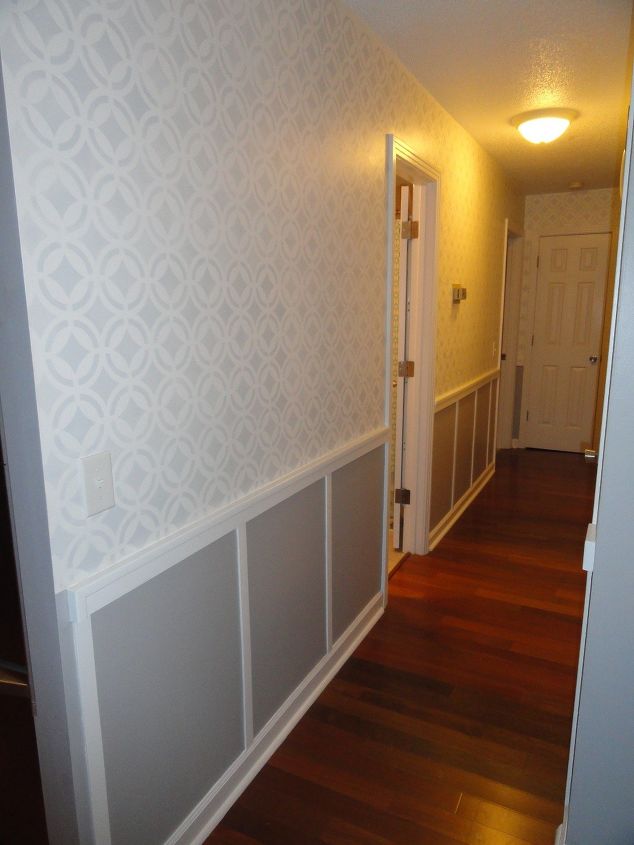
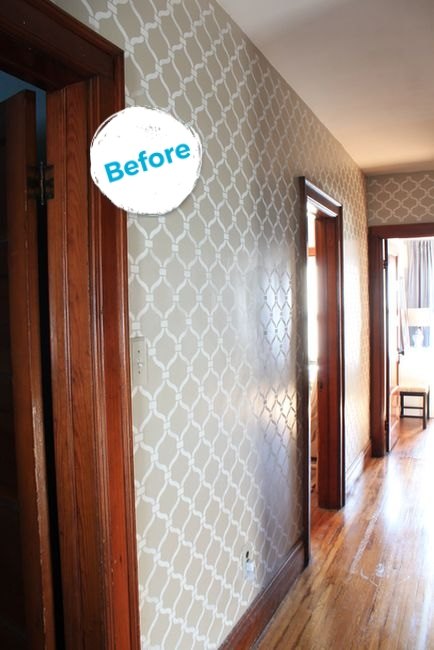
BEFORE: I was getting tired of the stenciling
When we moved in, we painted it in the boring beige color we put in the living room. Get tutorial here
Time for a new modern look!
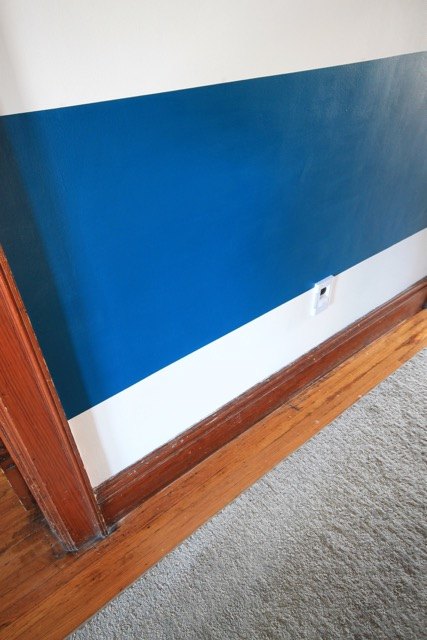
I covered all the walls and stencil with 2 coats of white paint (untinted, in matte) and taped off a wide strip. Get tutorial here
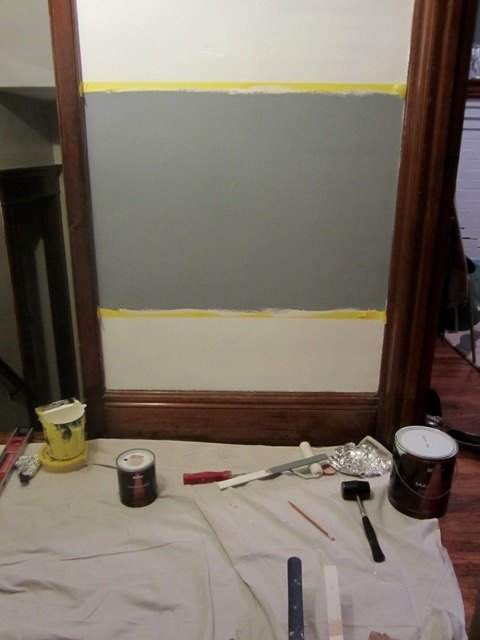
Then came the color!
This is Galapagos by Behr Paint in matte. I prefer flat or matte paint sheen to hide the imperfections. Get tutorial here
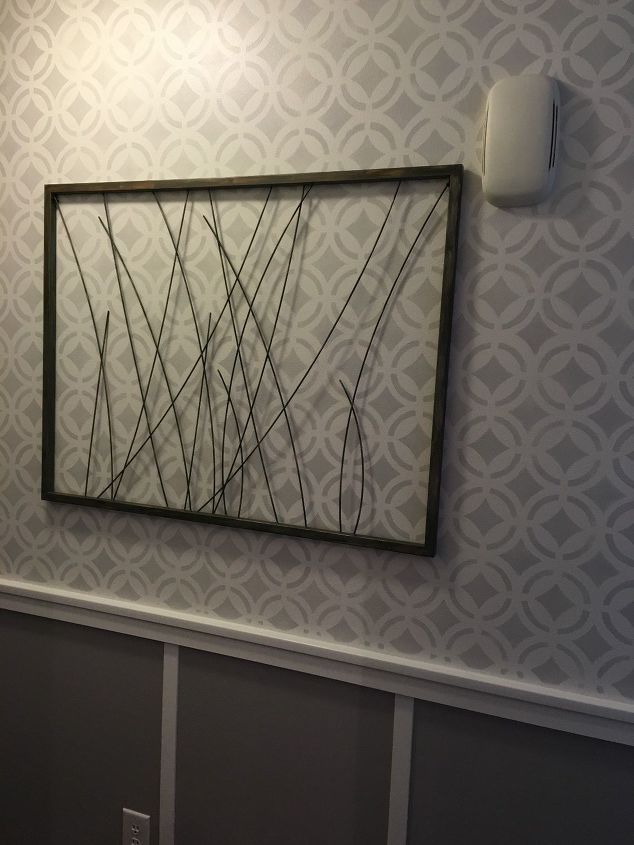
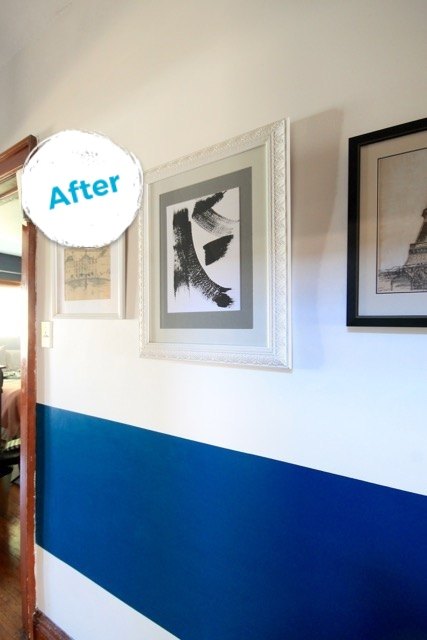
A fresh new look
Of course we couldn't be without new art for the walls too, so I put up some items we had around the house. Get tutorial here

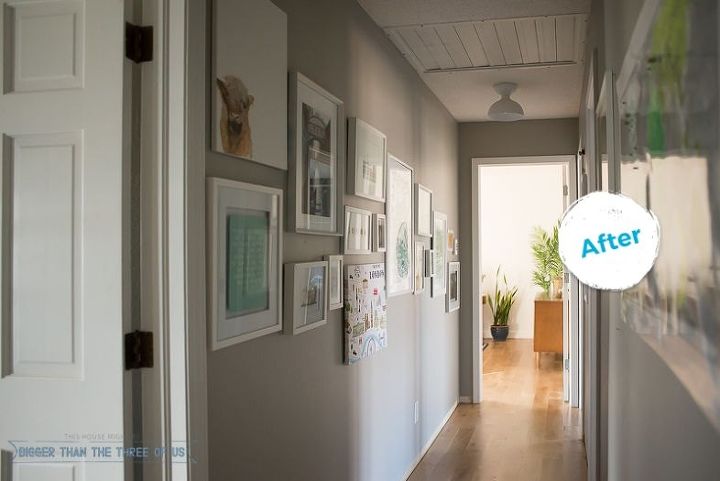
After
The new paint and design gave the hallway such a fresh look! Get tutorial here

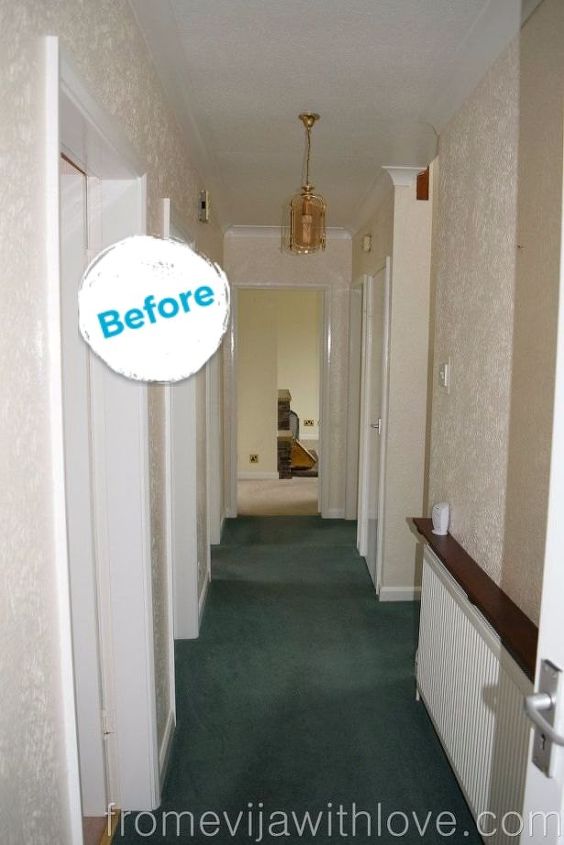
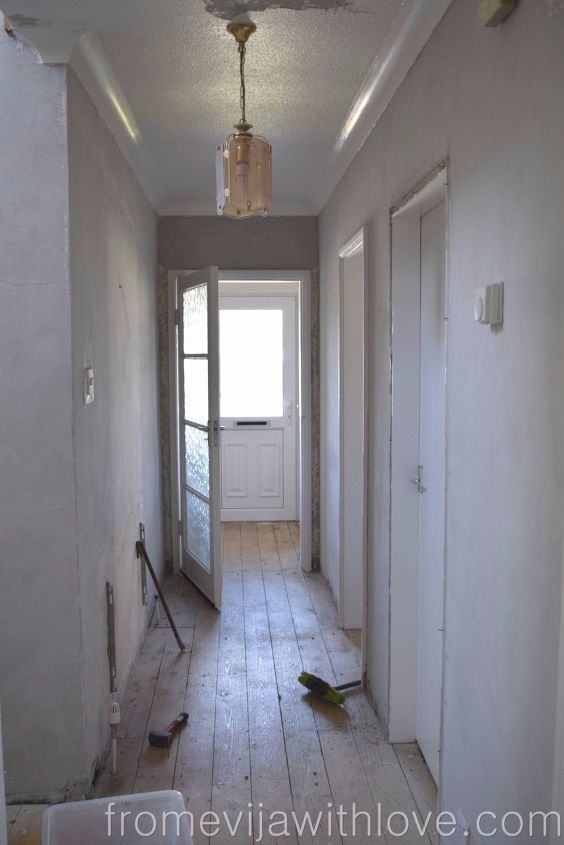
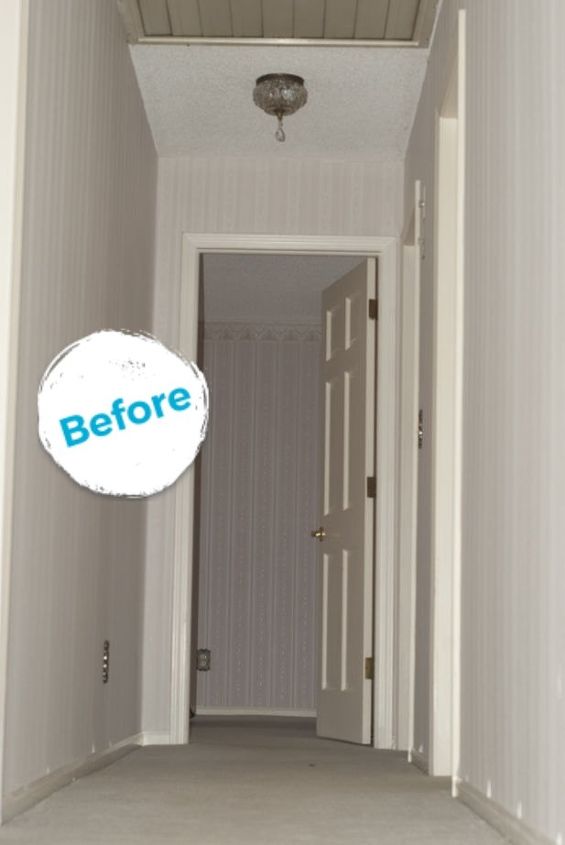
The BEFORE
What should've been a quick project ended up with lots of snags and issues along the way, but we did it! Get tutorial here
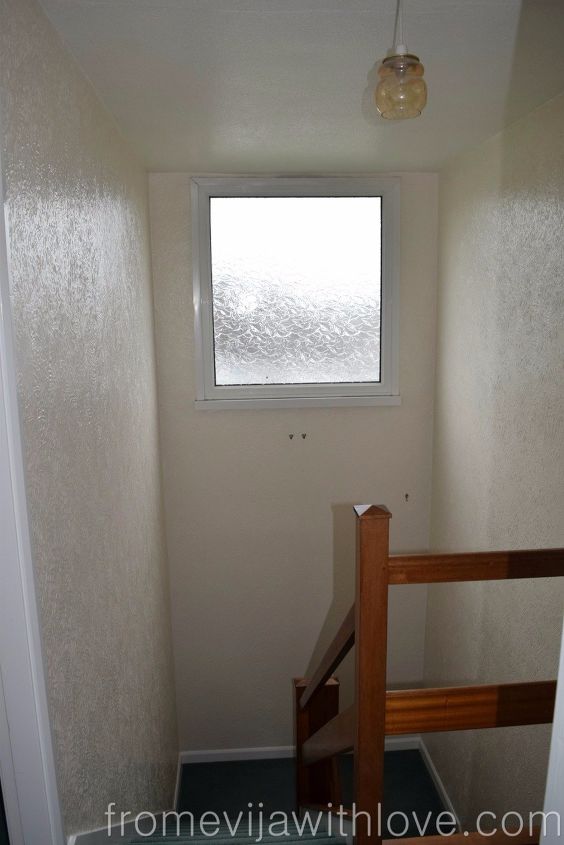
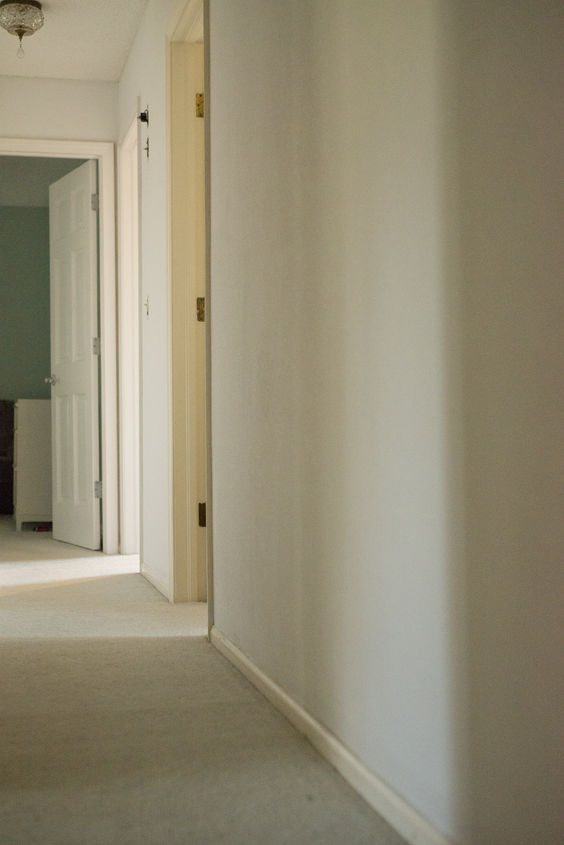
Uneven, holey walls!
The walls needed to be skimmed (thin coat of plaster to be put over) as they were uneven and had a few minor cracks. Get tutorial here
It's beginning to come together!
Old doors were removed and replaced with new six panel wood effect doors, which we painted in satin white. Get tutorial here
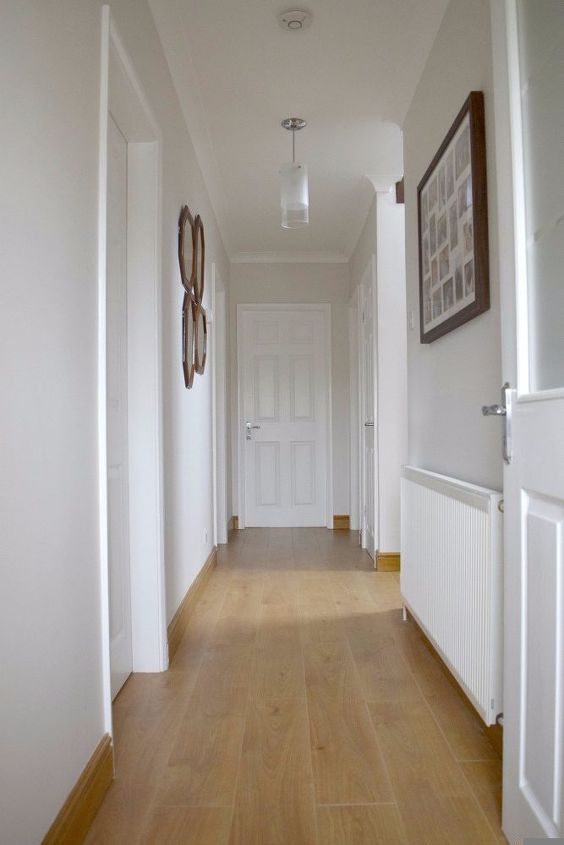
New carpeting and flooring
We replaced the flooring with some lovely carpets on the landing and the staircase & laminate flooring on ground floor Get tutorial here
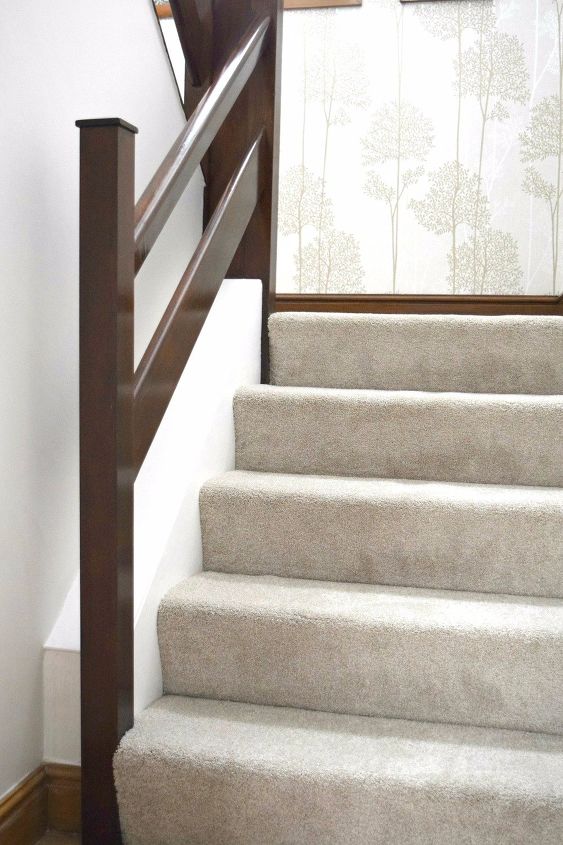
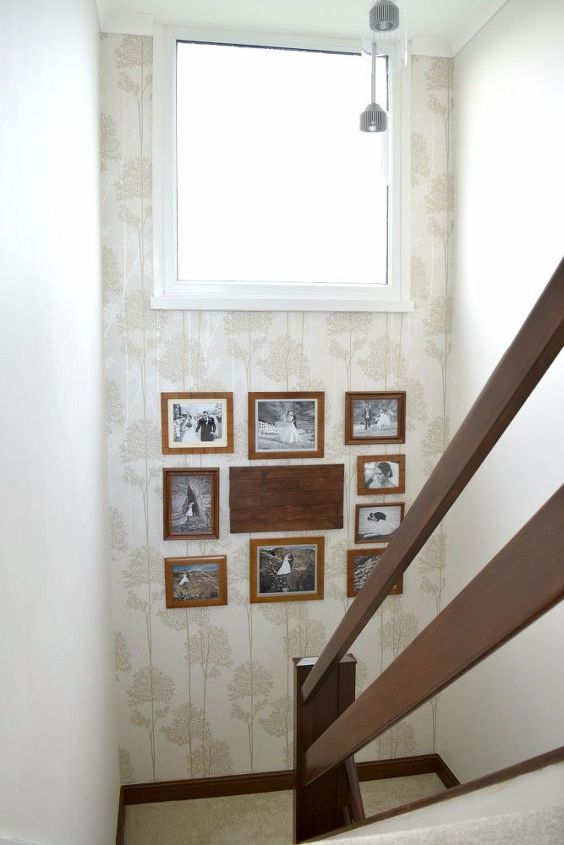
Our statement wall
We put a lovely wallpaper up on our statement wall and created a beautiful gallery wall with photos from our wedding. Get tutorial here
(Hometalk Highlights)
We took our dated hallway and transformed it to a Travel Gallery Themed Space. Tell me what you think! Get tutorial here
Planning the gallery wall
After painting the walls gray and planning the gallery wall , it was getting there! Get tutorial here
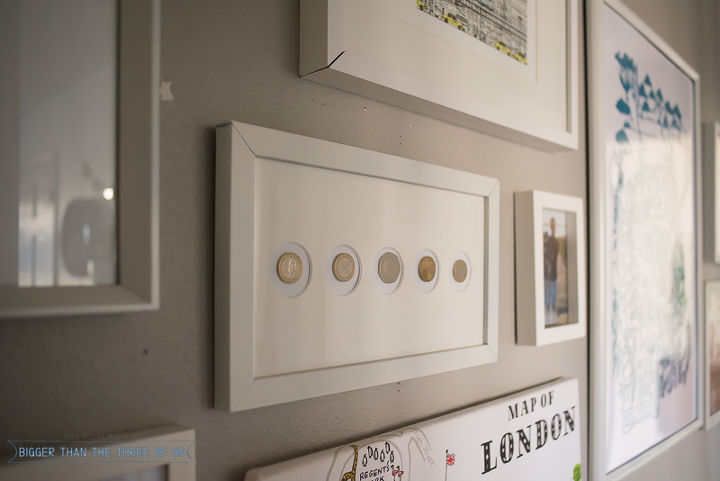
We love travel, and our walls show it!
One of my favorite pieces, is this framed DIY coin art. The walls are full of our travel experiences. Get tutorial here
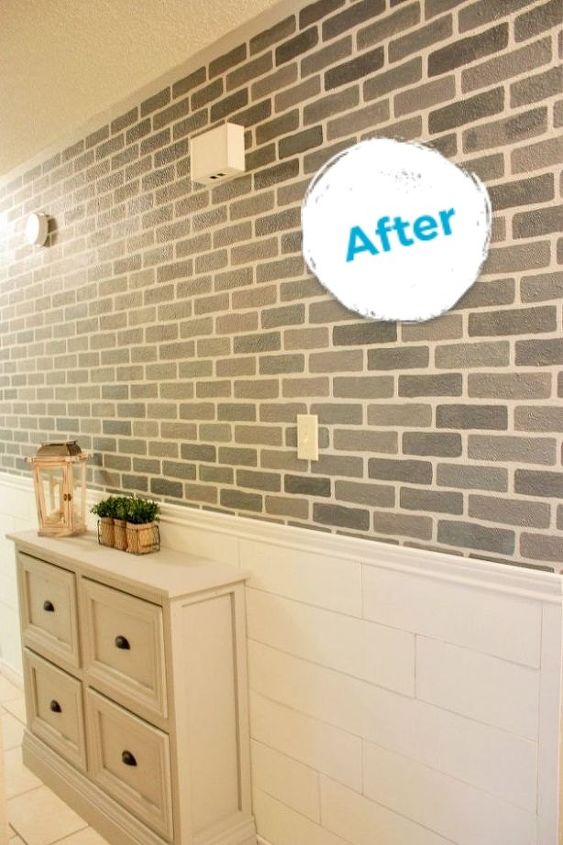
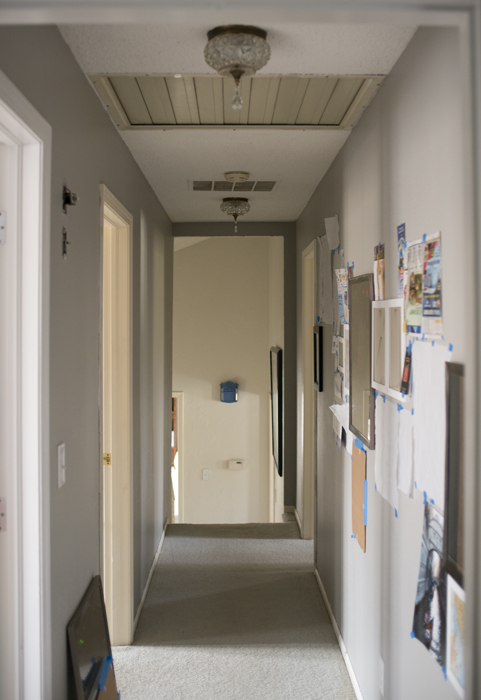
The BEFORE
Personalizing a rented space can be a challenge. Don't worry, Cutting Edge Stencils has you covered! Get tutorial here

Base coast first, then stencil!
The first thing she did was paint the wall using Wood Smoke by Glidden. Get tutorial here

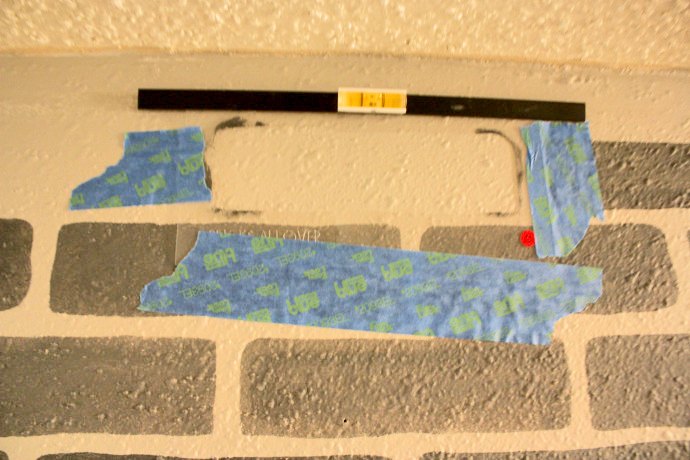
Tape stencil to the wall with painter's tape
To ensure the stencil lined up properly on the wall Cara used a Clip-on Stencil Level. Get tutorial here