


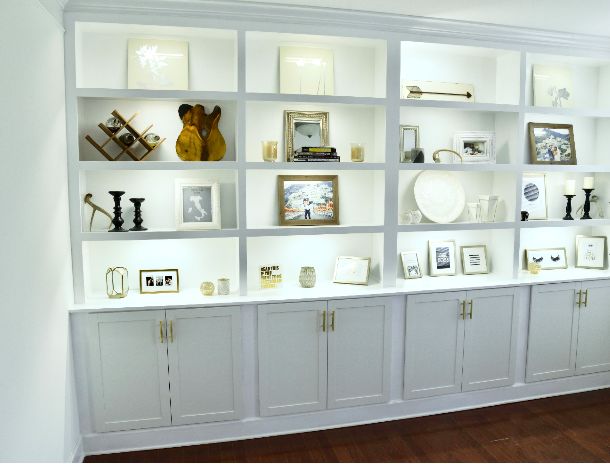
How to Do Built in Book Shelves

This was intimidating for me. By far the longest project I’ve taken on. I learned a lot and the wife loves it...so...here’s how I did it!!
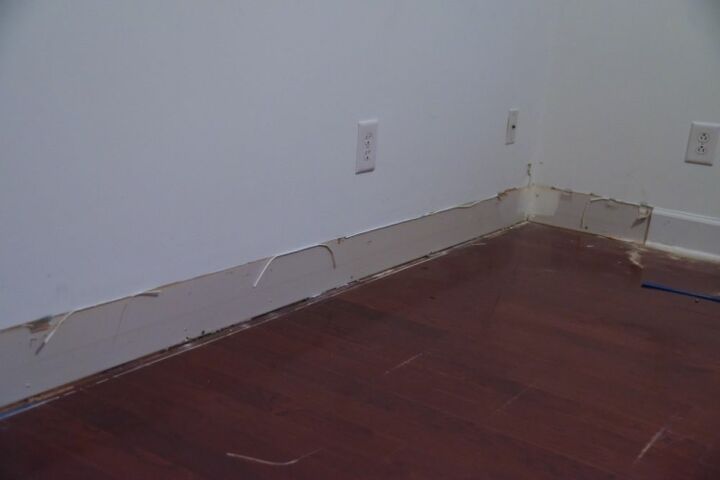
I carefully took out the trim so I could reuse it on the front🙌🏼
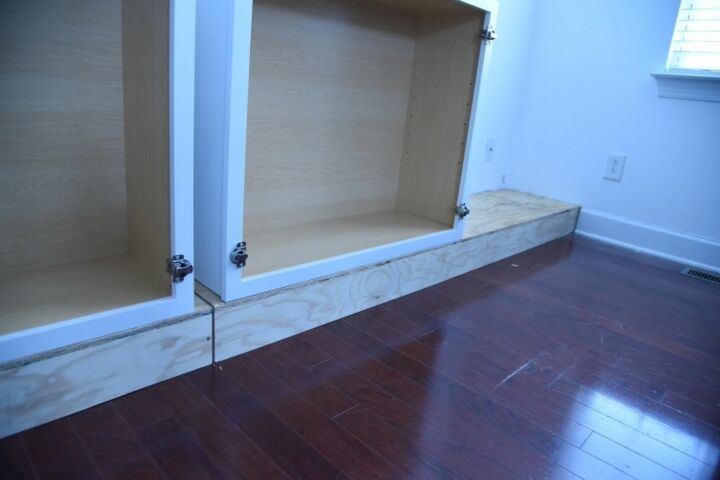
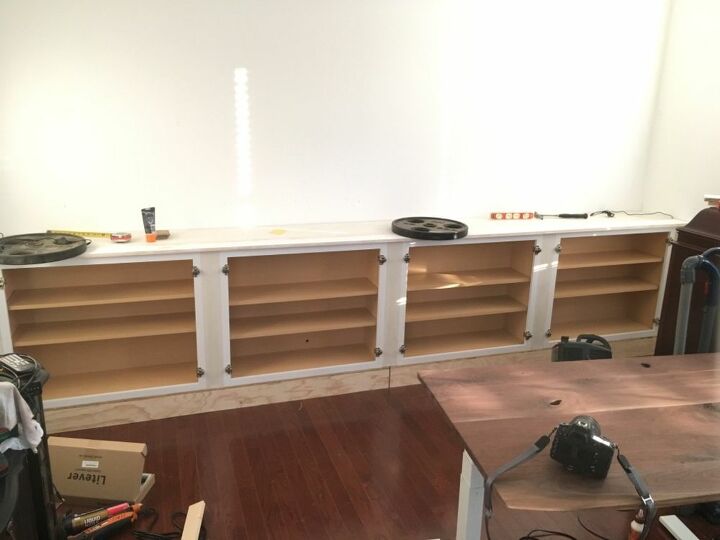
I made simple kick plates (if that’s what they’re called?!) which allowed me to buy cheaper cabinets. This wall is 13’ long so I made two 6 1/2’ boxes.
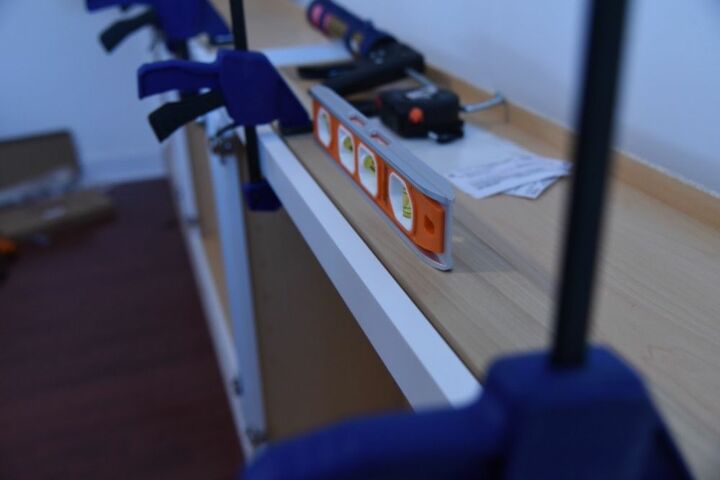
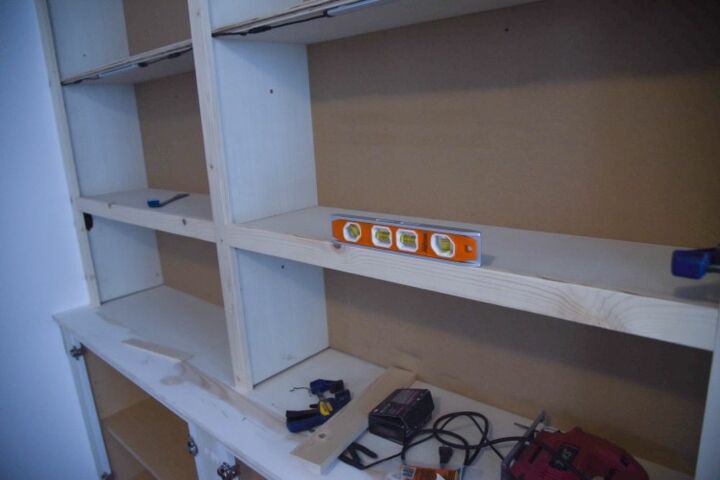
I evenly spaced four cabinets and since the tops were hollow, and I wanted more meat to screw through to help hold the long shelf, I added scrap pieces inside making sure they were level and flush.
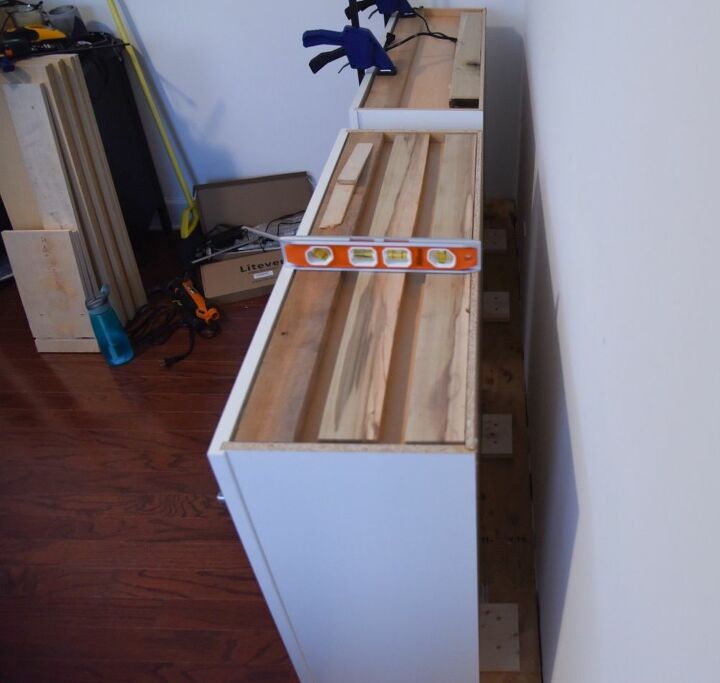
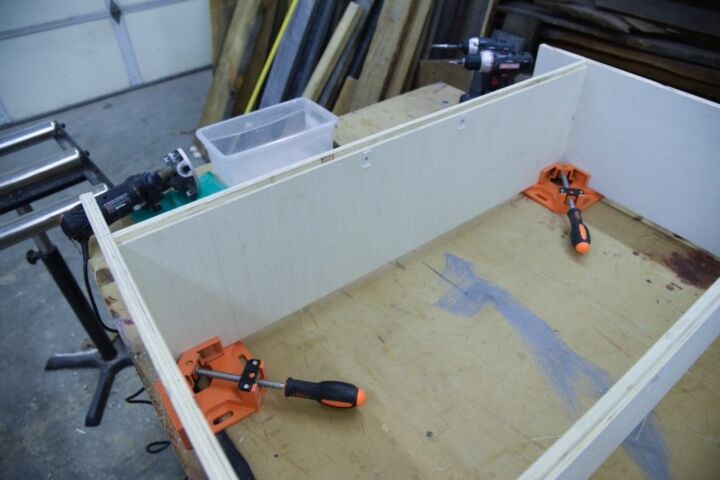
Here’s a better picture of what I was trying to accomplish by adding some rigidity to the cabinet tops before the shelf went on!! I held the scraps in place with liquid nail and clamps.
I made the shelf from two 14’ pieces of pine. Glued them together, sanded, wood filled and sanded again😜 I used smaller plywood pieces to fill the gaps between the cabinets and used liquid nail to hold them in place along with a few pocket hole screws in the back of them to attach it to the bottom section.
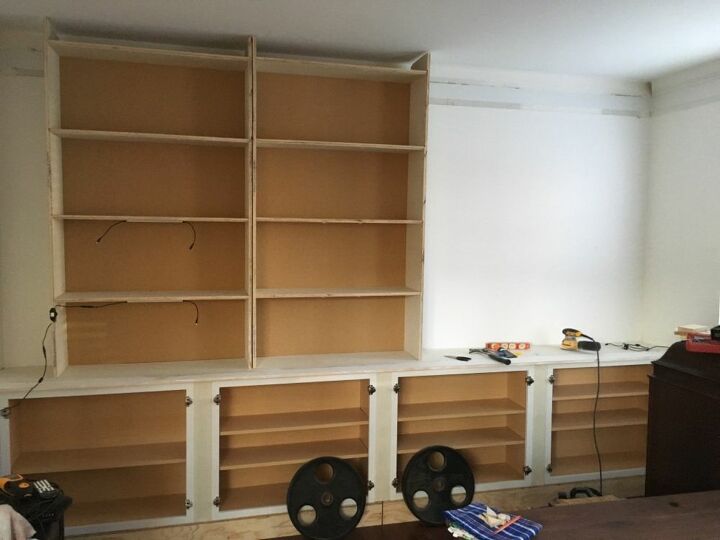
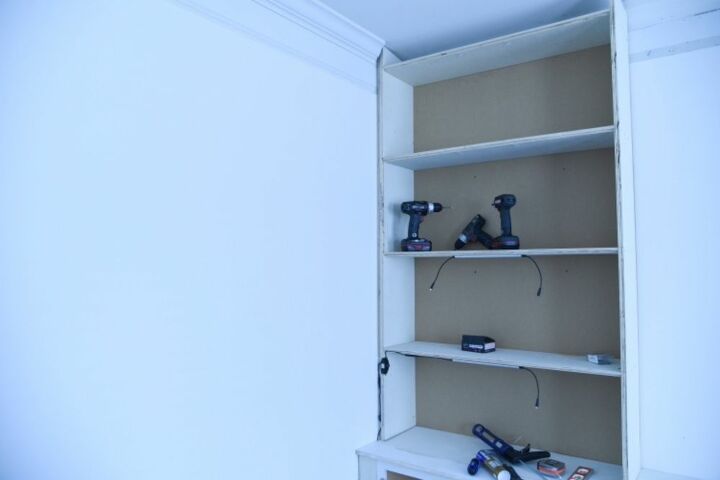
Then it was time to make 4 HUGE book shelves. I used 3/4” plywood and planned ahead for my lighting...I used a router to carve out space for all the led wire...spoiler alert....I didn’t need to. 😂
I did make a diagram of all the cable paths and I thought I was really doing some cool work for a second😂😂
I put a few book shelves up to make sure they fit and realized the ceiling wasn’t square (should’ve guessed that) so I had a few “tight” fits but made them work...and magic erased the ceiling...
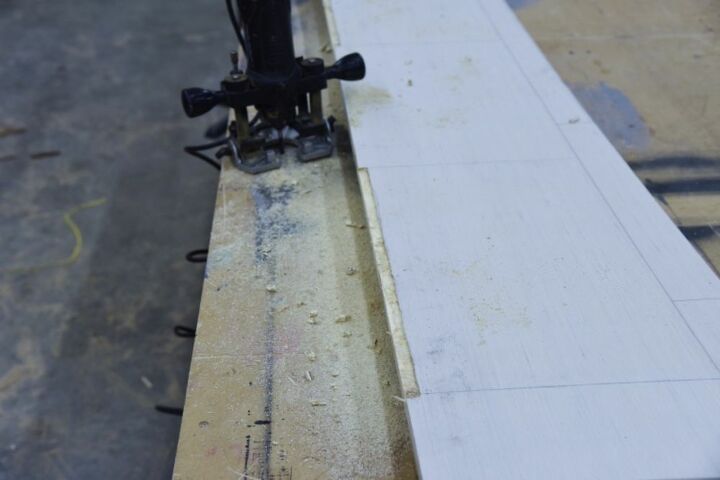
I pushed the left side over and made a mark on the crown molding so I could cut as precise as possible.

I made the other two a bit shorter so I could avoid the ceiling scuffs. These 90 degree clamps saved my life on this project!!!! If you don’t have them yet, I highly recommend them.
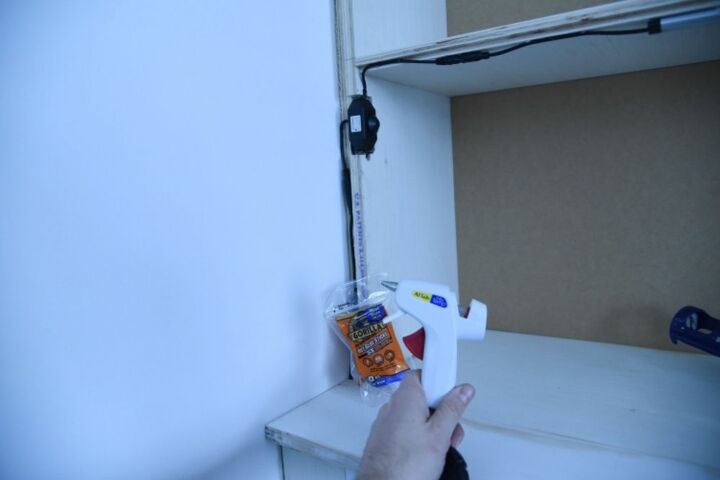
I used dimmable led lights I got on Amazon and hot glue to hold the wire in place. I knew that I could trim the front of this out to hide the wire but I still tried to keep it high and tight!
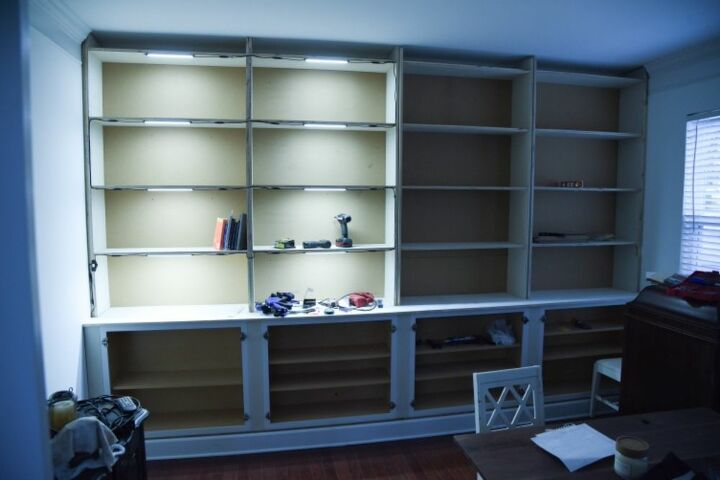
This was the half way celebration 🎉🎉🥃
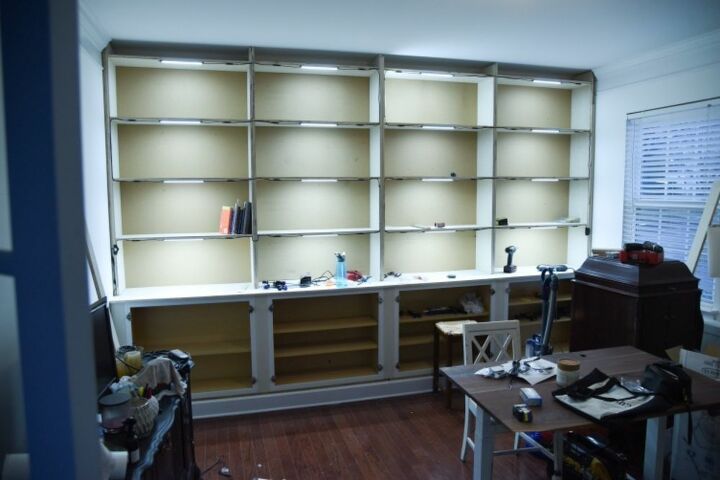
oh yeah!!!! Almost trim and paint time!!! Oh wait....I still have to trim and paint?!?!😢
2” trim covered all the wire and light so I cut a lot of 2” pine and lightly sanded all of it. I ran all the vertical pieces then measured and cut the horizontal pieces one at a time. I made sure everything was level as I attached them.
A LOT of wood filler, sanding and about 4 coats of paint...I’ll hire that part out next time😂🥳
Resources for this project:
See all materials


Comments
Join the conversation
-
Beautifully finished and outstanding construction!
-
You did an absolutely awesome job! I need you to come help with my tiny house


Frequently asked questions
Have a question about this project?
Hi Sawdust & Whiskey. Your built in shelves are awesome! I have several built ins that I will be doing around our house in the next year...next few years (who am I kidding). You instructions are super helpful. Quick question, were the lower cabinets you used standard sized kitchen cabinet lowers? I have seen some posts where they used upper cabinets as well, due to the depth of the cabinets themselves. Just curious.
Also, on the LED lights, are they plug-in lights that you had access to an outlet? Or did you use battery operated? I am assuming the light switch is on the left side as you are looking at the case, hidden behind the trim you added?
Thank you!
I am incredibly impressed! These are stunning!!!
Hi, It turned out amazing!!!! I don't know that I can do it but will definitely try Can you share if cabinets at bottom were upper kitchen cabinets? Thanks