Asked on Mar 31, 2016
How to cover the AWFUL cultured marble counter tops from the 70-80's?

by
Melissa
+12
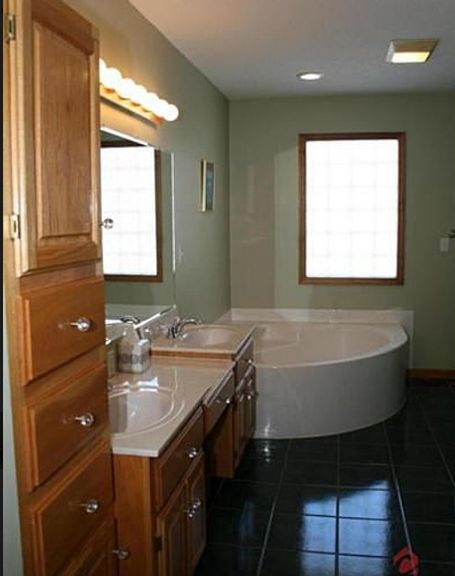
We bought an 80's house with UGLY cultured marble counter tops that have the molded sink in the bathrooms - they are scratched and stained and have ugly color combinations. How can we cover/paint these - we are on a tight budget with other home reno's going on. I have looked into those repaint "kits" but those seem more for laminate counter tops and not the cultured marble. ANY suggestions would be appreciated. Just don't have in the budget to completely replace these right now. I have considered removing them and replacing with wood and inexpensive sinks but wasn't sure how this would hold up in a bathroom.
11 answers
-
http://www.ehow.com/how_6747472_refinish-paint-cultured-marble-sink.html http://www.thriftyfun.com/tf56263084.tip.html
 KatAych
on Mar 31, 2016
KatAych
on Mar 31, 2016
-
You can paint them with an epoxy based paint. Home Depot, Lowes, or Menards can help. I prefer Rustoleum Tub and Tile Paint, but you can use any brand. Turn off any water supplying faucets attached to the vanity from the water supply valves beneath the unit. Turn the valves counterclockwise to shut the water flow, and then turn on the faucet to empty out the remaining water in the pipes. Remove any fixtures attached to the vanity top. Use a putty knife to cut through the caulking around the fixture base then pull the caulk free with the knife's edge. Loosen any screws or bolts holding the fixture in place with a screwdriver or adjustable wrench, and then pull the fixture free. Clean the surface of the vanity with TSP, rinse and dry. The use Lime Away for a second cleaning, rinse and dry. Prepare the surface for primer by sanding the cultured marble with medium-grit sandpaper. The sanding removes any finish already present on the marble as well as creates a textured surface that allows for efficient primer adherence. Wipe the marble after sanding with a damp cloth to remove the sanding dust, then pat with a dry cloth to remove any moisture. Place a strip of masking tape along the edge of any adjacent surfaces to protect from the paint. Place a drop cloth on the floor beneath the vanity to protect the floor from spills as well. Apply a layer of oil based primer - Kilz, BIN - to the surface of the vanity using a paint roller to create an even coat. Allow the primer to dry overnight before continuing. Paint a color topcoat over the primer using epoxy-based paint and a foam paint roller. Make certain the coating is even, using several light layers of paint to build up your final coat rather than a single heavy layer. Wait about an hour after each layer to start the curing process before applying the next layer of paint. Allow the paint to cure for 24 hours after you have applied the final layer. Cover the paint layer with a polyurethane finish to seal the paint and create a wear layer that protects the paint from normal wear and tear. Use the roller to apply the polyurethane, covering the paint in three layers and allowing each layer to dry for two hours before applying the next. Allow the polyurethane to dry completely according to the drying time recommended by the manufacturer before reinstalling fixtures. Reattach the fixtures to the vanity. Place a bead of caulk around the base of each fixture where it joins the vanity to create a waterproof seal. Smooth the bead with a wet fingertip. Allow the caulk to dry overnight then turn on the water supply and use the vanity as normal. Open the windows and doors to the room to provide increased ventilation when painting. Wear a respirator when painting as well to avoid inhalation of paint fumes.
 William
on Mar 31, 2016
William
on Mar 31, 2016
-
I think this will give you the starting point of how and what to use. designingvibes.com/how-to-paint-cultured-marble-countertops/
 Janet Pizaro
on Mar 31, 2016
Janet Pizaro
on Mar 31, 2016
-
Just make sure they are clean for right now and save your money for new tops! Live there a while and consider what other changes you might want to make in there.
 Jeanette S
on Apr 01, 2016
Jeanette S
on Apr 01, 2016
-
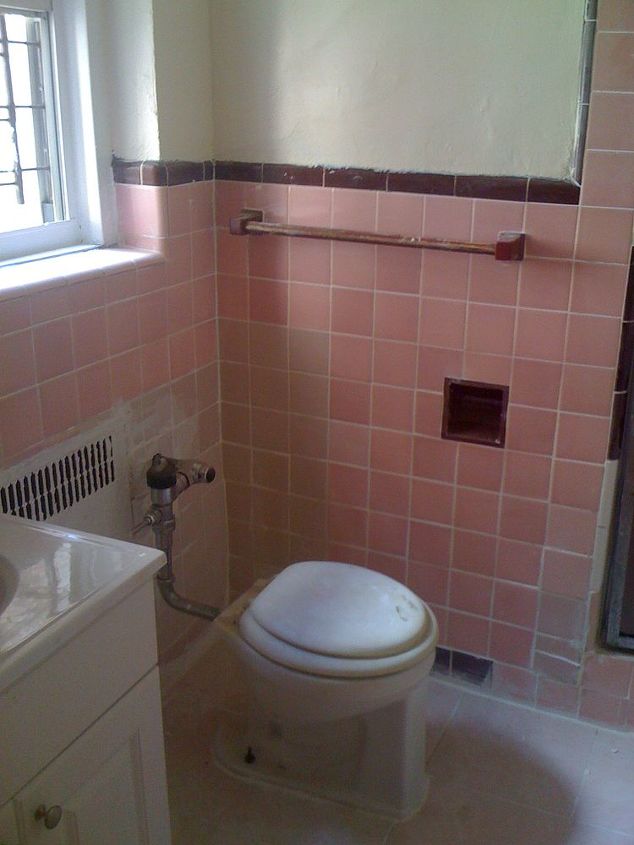
We once had a house with pink cultured marble counters, which I could not afford to replace. What I did do was find a neutral color within the marble that was the same value as the pink. When I put that color on the walls (it was a medium taupe in that case), and a darker shade on the cabinets, it visually bled the pink right out of the counter, making it much more tolerable.
 Catherine R
on Apr 01, 2016
Catherine R
on Apr 01, 2016
-
I had cultured marble in my house with a blue marble sink. I hate blue but couldn't afford anything new. I am a "work with what you have kind of girl" and I couldn't afford anything new. I redone my counter tops with some tile and grout that I had purchased from our habitat restore. It turned out very good and has held up very well. The whole project cost me about $50 and was very quick and easy.
 Thequeen2121
on Apr 01, 2016
Thequeen2121
on Apr 01, 2016
-
If you really hate it that much, instead of trying this or that to make it look better I suggest biting the bullet and investing in updated countertops. You would only be covering a problem that you don't like...why not put something in that you would truly enjoy?
 MN Mom
on Apr 01, 2016
MN Mom
on Apr 01, 2016
-
If you do DIY projects, you should check to see if you have a Habitat Restore near you. We found a nice replacement for our bathroom sink and found new faucets on sale. Know your measurements. We had a double sink with an odd length. It took us a while to find, but it looks great and in more neutral tones...
 Lynn Palmatier
on Apr 01, 2016
Lynn Palmatier
on Apr 01, 2016
-
We had those in our former home and I wasn't thrilled with the double sink that we had either. I explored countless options and the only thing that made sense and had any permanence was to wait until we could: 1) take something else out of our budget to do the master bath; or 2) hold off until we could incorporate new sink tops (and new faucet fixtures) into the budget. None of the other solutions were going to be durable enough to hold up to the constant moisture. Our present home has pedestal sinks with builder grade faucets and I can't wait to get rid of them and install a cabinet, counter top and the new faucet fixtures for our master bath. Sometimes we just have to bite the bullet and wait.
 Barbara
on Apr 02, 2016
Barbara
on Apr 02, 2016
-
I had those same issues...but not knowing WHEN a redo could happen,I painted my laminate counters. I know you said yours is not laminate. I find myself in your very shoes now. We bought this manufactured house,and Tada! We have those scalloped sinks,and countertop...in yellow! Blech! They look like marble,but I don't know. Now this IS a case of wait! Hate that! So ....let us know what you will do! I did like the idea of the restore...or Craig's list for something different and cheap in the meantime?
 Bernice H
on Apr 02, 2016
Bernice H
on Apr 02, 2016
- See 1 previous
-
Just don't paint the sink...I've heard some real horror stories. I contacted Krylon about using their spray paint for plastic which I have used many times and they did not recommend it.
 B. Enne
on Apr 06, 2016
B. Enne
on Apr 06, 2016
Sign Up to Answer
Related Discussions
Suggested Project Book
