3 Cool DIY Step-by-Step Stools You'll Want in Your Home
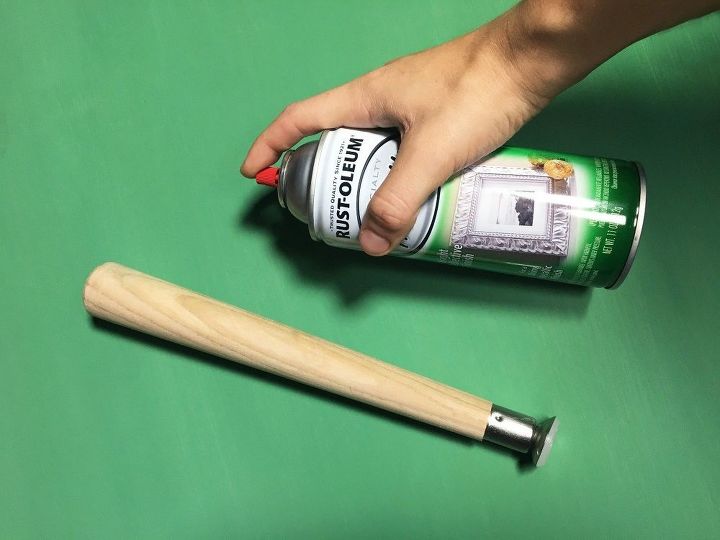
Step 1: Spray paint table legs
Once they're painted, set them aside and allow to dry. Get tutorial here
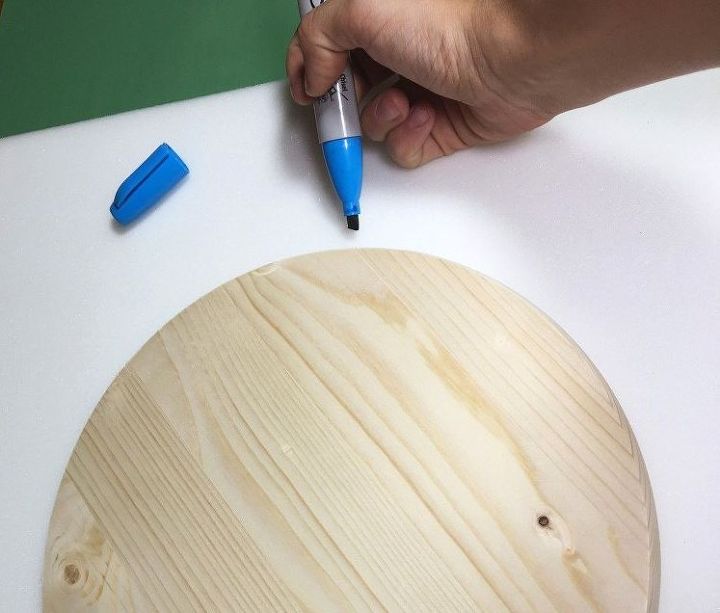
Step 2: Trace a wood round on a foam cushion
Set the wood round on top of the foam cushion and draw a circle around the wood round with a marker. Get tutorial here
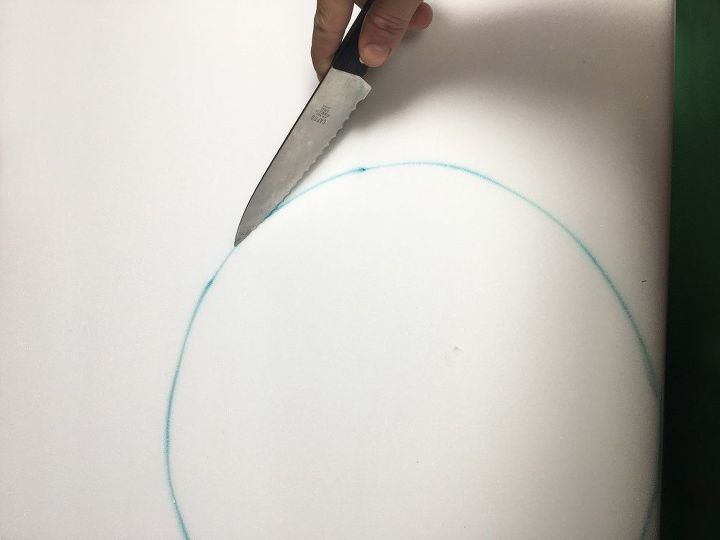
Step 3: Cut out the foam circle
Cut out the circle you just drew on the foam. You can use a serrated knife for this or a small saw if you wish. Get tutorial here
Step 4: Glue the foam to the round
Glue the foam cushion to the top of the wood round. Get tutorial here

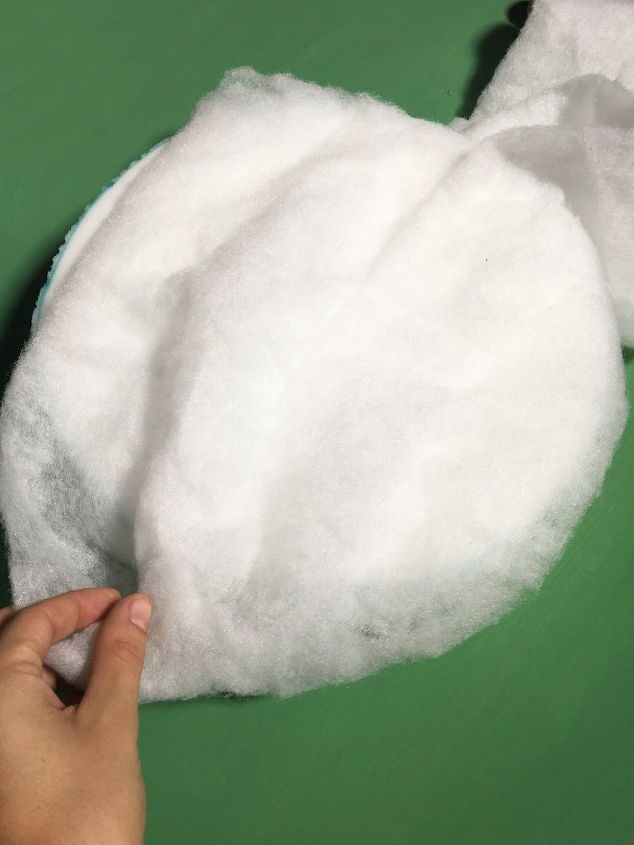
Step 5: Cover the cushion
Cover the cushion with cotton batting. Wrap it around so that there is a good 1/2 or so that tucks under the wood. Get tutorial here
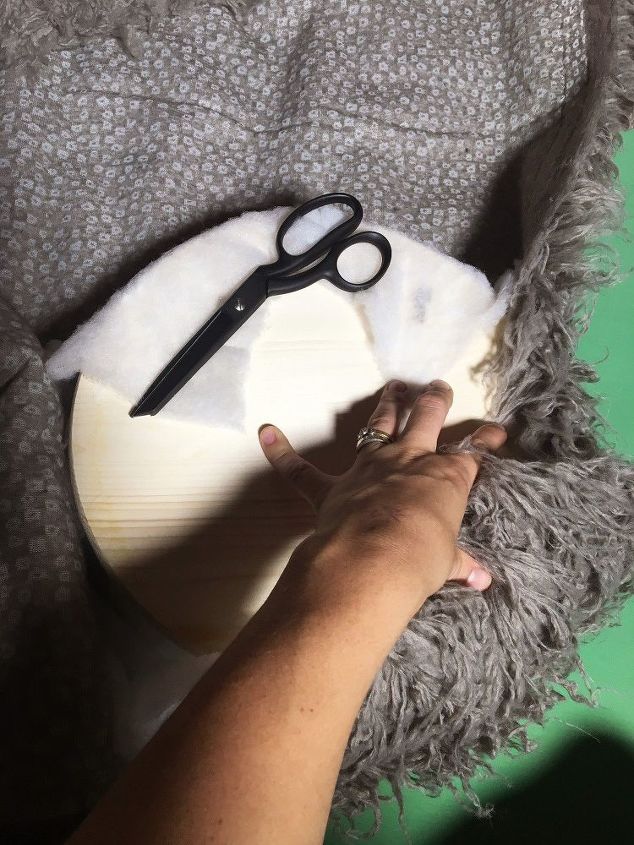
Step 6: Add the fur
Place your wood round and cushion down on the Mongolian fur and pull the fabric around both of them. Get tutorial here
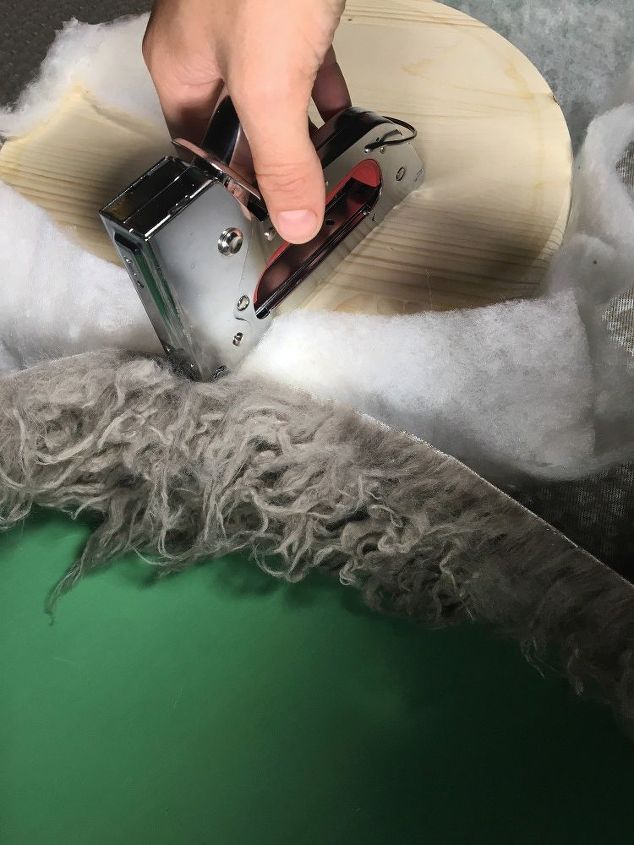
Step 7: Staple it all together
Staple the fur and the batting to the wood round the entire way around. Get tutorial here
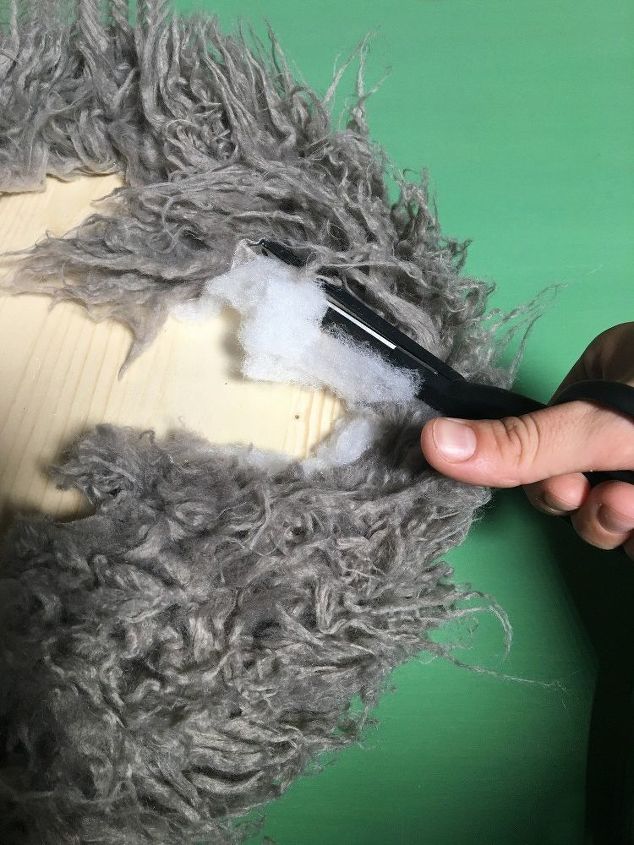
Step 8: Cut away any excess fabric
Cut away the excess that isn't stapled. Get tutorial here
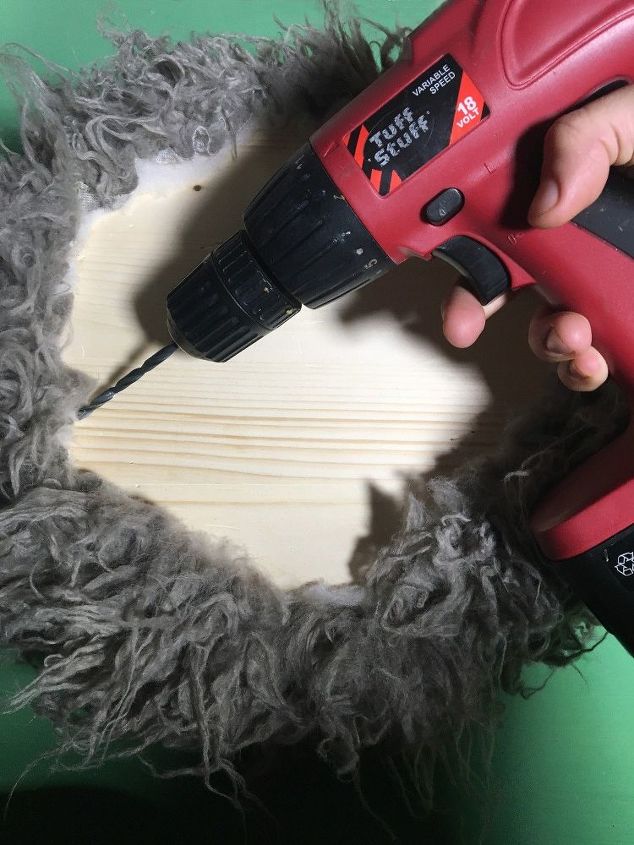
Step 9: Drill holes for the legs
Drill 4 pilot holes into the wood round for the legs to go in. Make sure they are spaced evenly. Get tutorial here
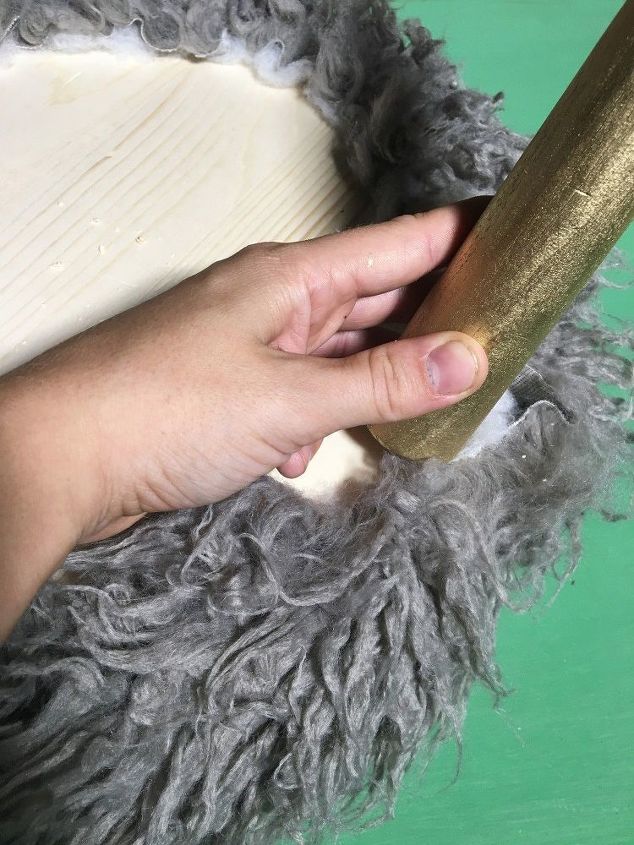
Step 10: Screw in the legs
Screw the legs into the holes you drilled making sure they are nice and sturdy. Get tutorial here
Step 11: Make sure your stool is sturdy
Decide where you want to place the stool in your home. Get tutorial here

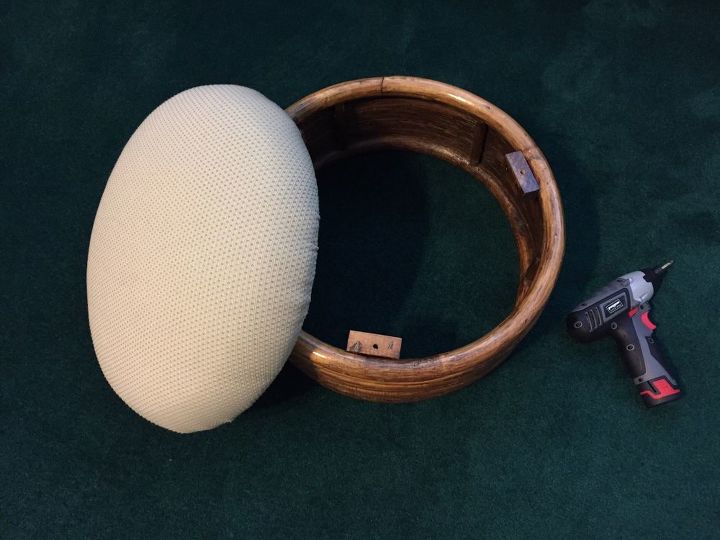
Step 2: Detach the bottom from the top
You may need to detach the bottom from the upholstered part using a drill. Get tutorial here
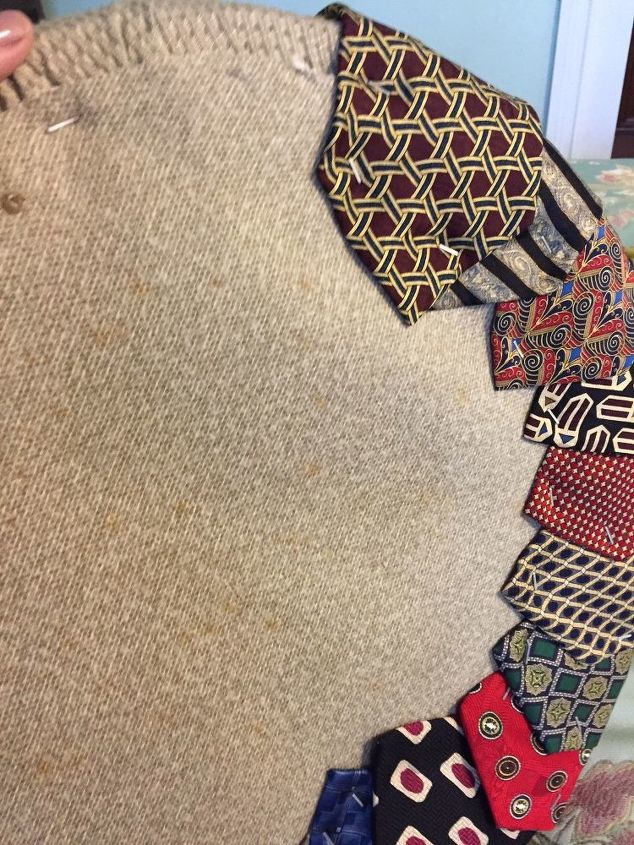
Step 3: Arrange ties on a circular pattern
Cut the skinny end off each tie and wrap the wider end around the bottom of the cushion. Get tutorial here
Step 4: Sew or staple ties on top
You can also use hot glue to avoid the ties shifting around. Get tutorial here
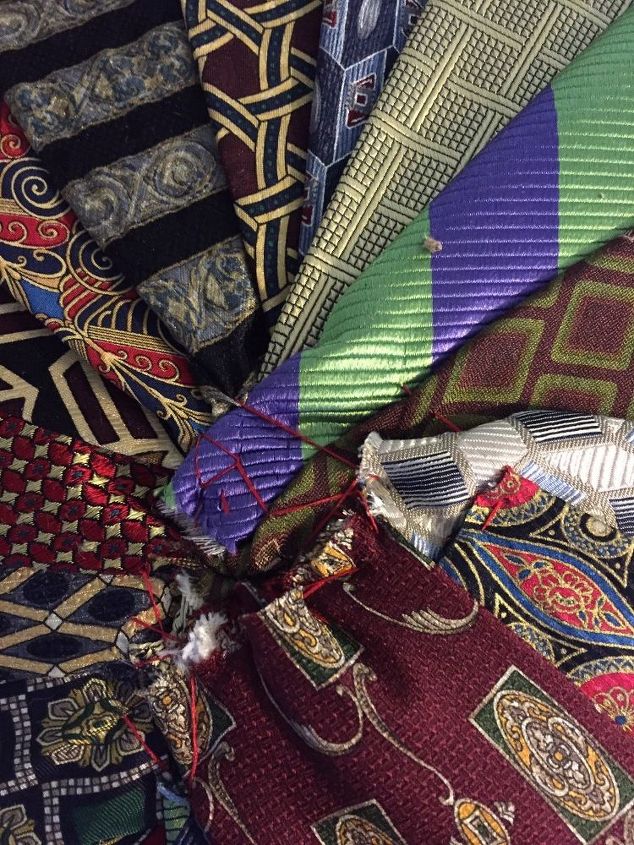
Step 5: Glue the edges to the bottom
Make sure ties are pulled taught and then secure them on the underside of the cushion. Get tutorial here
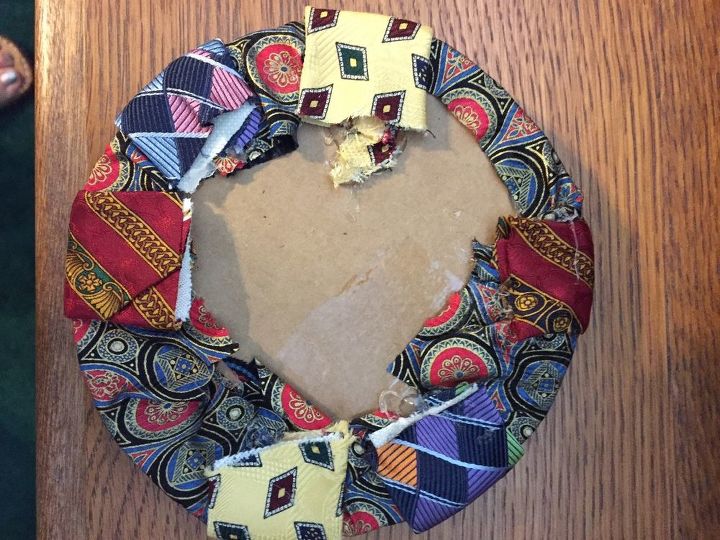
Step 6: Create a mini tie top with a button
Hot glue the top to the center of the footstool. Get tutorial here

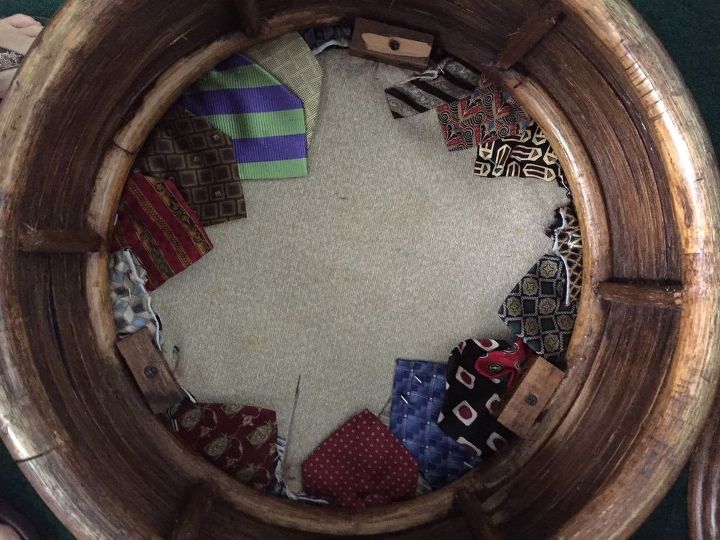
Step 7: Reattach the the bottom
If you don't find the old holes, it's OK to drill new ones. Get tutorial here
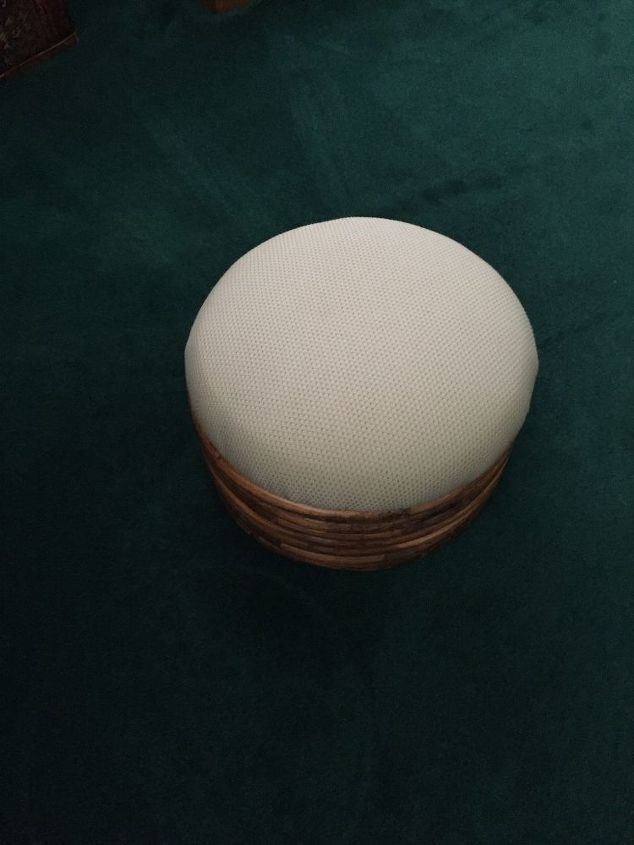
Step 8: Rest in the rays of your shining DIY
It's time to enjoy your masterpiece. Get tutorial here

Next: From an old stool to a young beauty
Give your wooden furniture a new life. Get tutorial here
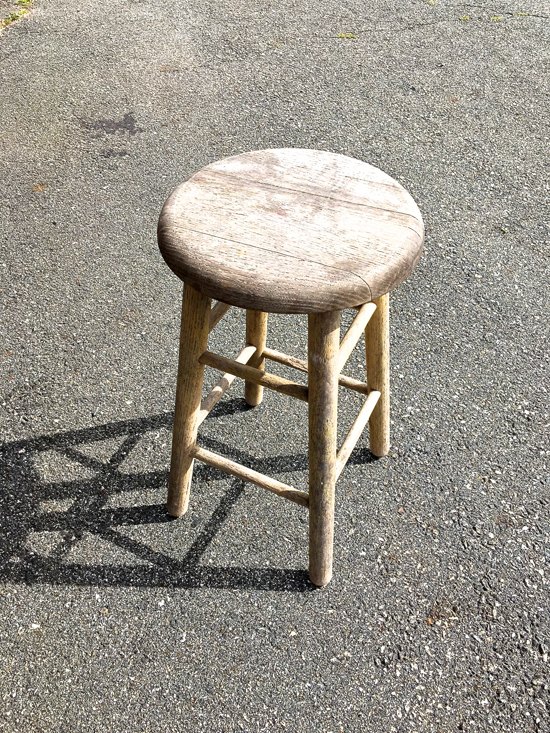
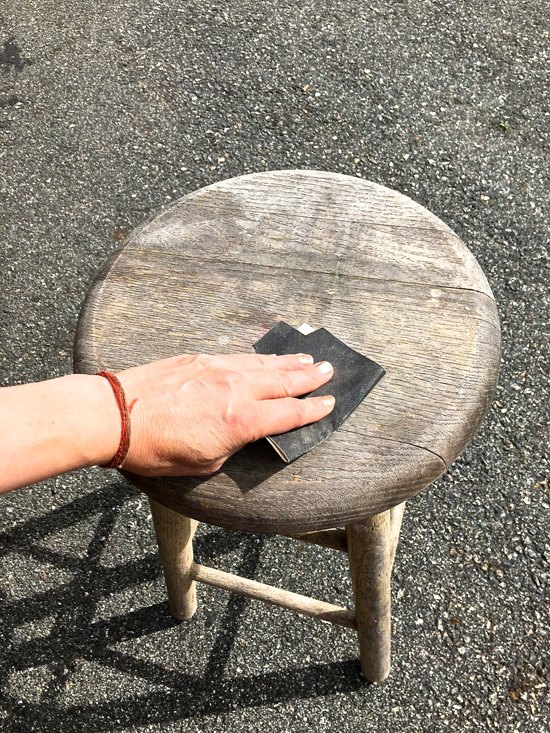
Step 1: Sand the top of your wooden stool
Make sure its smooth and ready for the next step. Get tutorial here
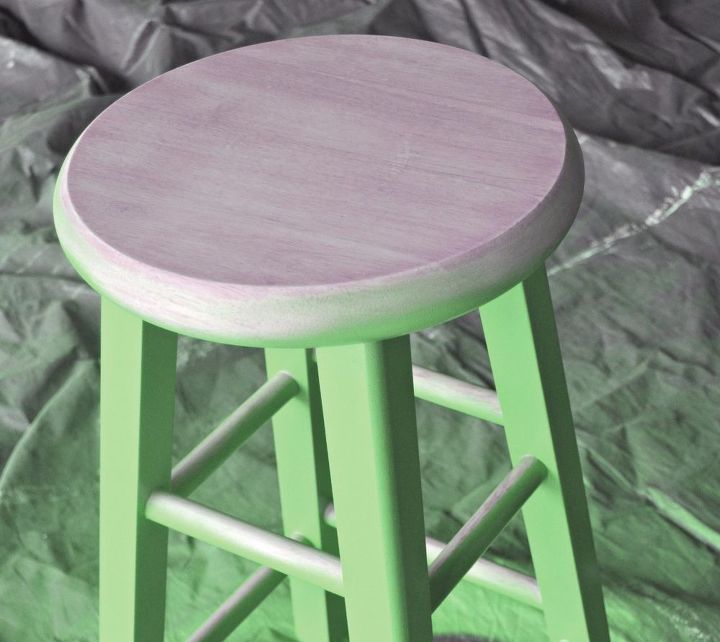
Step 2: Paint the stool a base color
This stool was prepped and spray painted lime green. Get tutorial here
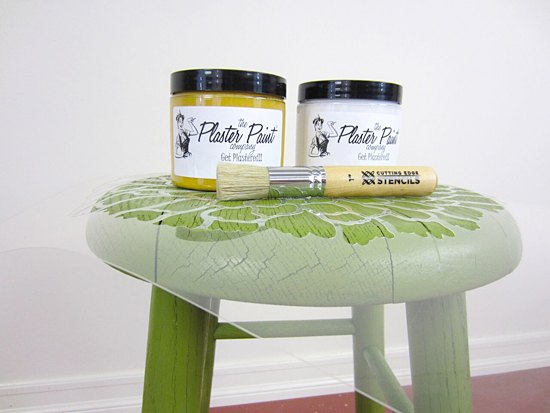
Step 3: Pick any stencil pattern you LOVE
This project is using the Summer Blossom Wall Art Stencil. Get tutorial here

Step 4: Prepare colors and a rounded brush
Remember to brush off any excess paint on a piece of paper towel. Get tutorial here
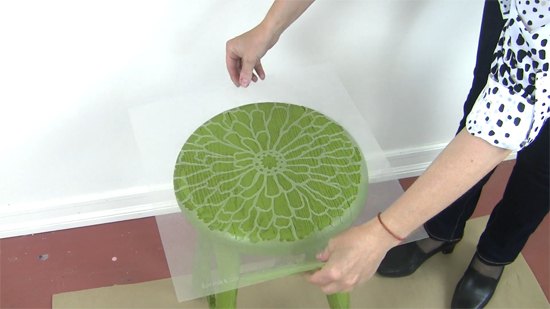
Step 5: Center your stencil
Use a removable spray adhesive to hold the stencil in place. Get tutorial here
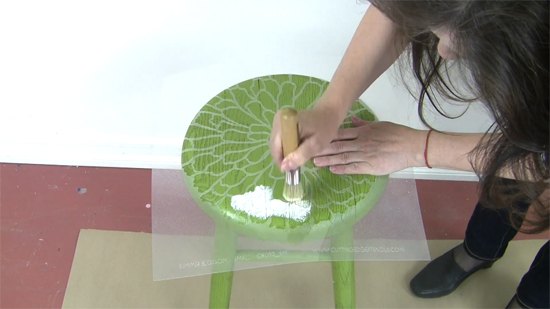
Step 6: Start painting in a circular motion
Please note: Too much paint will cause the design to bleed. Get tutorial here
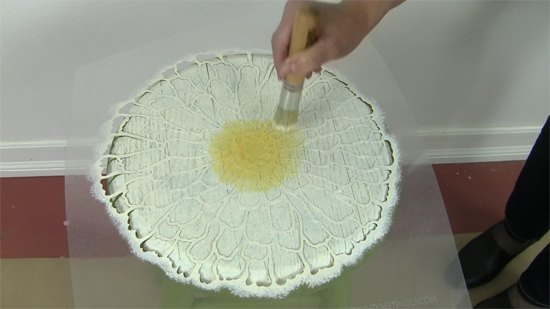
Step 7: Add details with additional color
You can paint a yellow center in the middle of the blossom. Get tutorial here
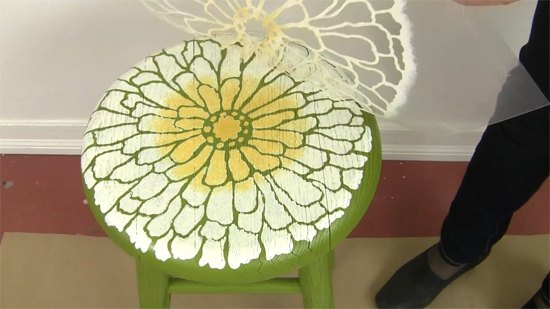
Step 8: Reveal your masterpiece!
Remove the stencil carefully before you paint dries. Get tutorial here
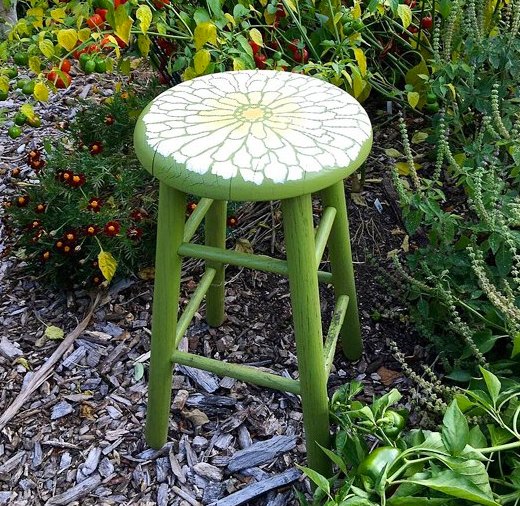
Step 9: Place your stool in your garden
Enjoy every moment of sitting on it and admiring your flowers. Get tutorial here