


How to Make an Envelope Pillow Cover Tutorial
Hi Creative Mamas! There are so many tutorials in this blog about creative sewing projects such as mini quilts, applique, embroidery and little fabric projects. There are also many amazing tutorials to dye your own fabrics and create beautiful colors and texture through natural ways of dyeing and by using food dyes such as avocado and onions.
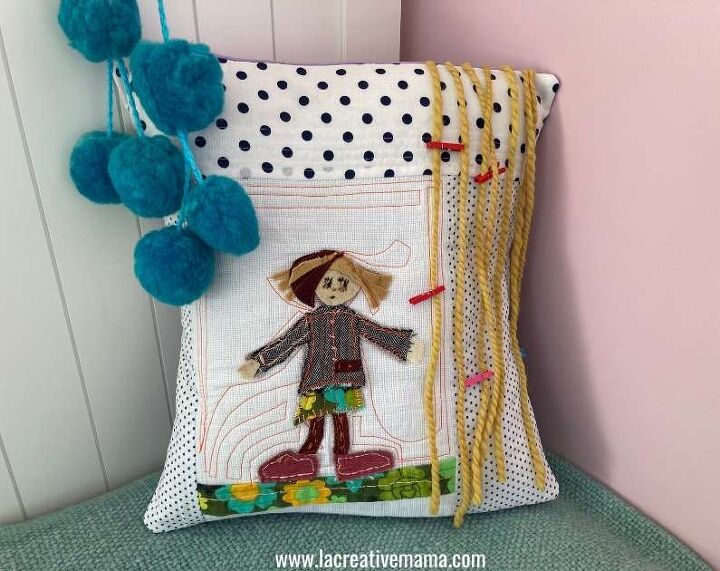
So I wanted to share with you a great way to use all those fabric projects and to make them into a pillow. In this post I will teach you how to make envelope pillow covers.

Envelope pillow covers don’t need any zips. It can be made out of one big piece of fabric which is folded in the form of an envelope.
In this case I am using 3 pieces of fabrics. The 2 pieces in the back are sewn together and overlap in a way in which the inner pillow can be inserted inside the cover. Let me show you!
This post contains affiliate links, which means I receive a small commission, at no extra cost to you, if you make a purchase using this link. Please see my disclosure for more details.
Sewing Materials and tools:
- Fabric for pillow (or you can use a mini quilt or an applique project as discussed above)
- Matching thread
- Sewing machine and sewing supplies
- 18” by 18” (46 cm x 46 cm) pillow insert/pillow form
In this case I am going for this final measurement: 18” x 18” (45.7 cm x 45.7 cm), but you can choose your own measurements depending on your requirements. The patterns and instructions provided follow this measurements guides.
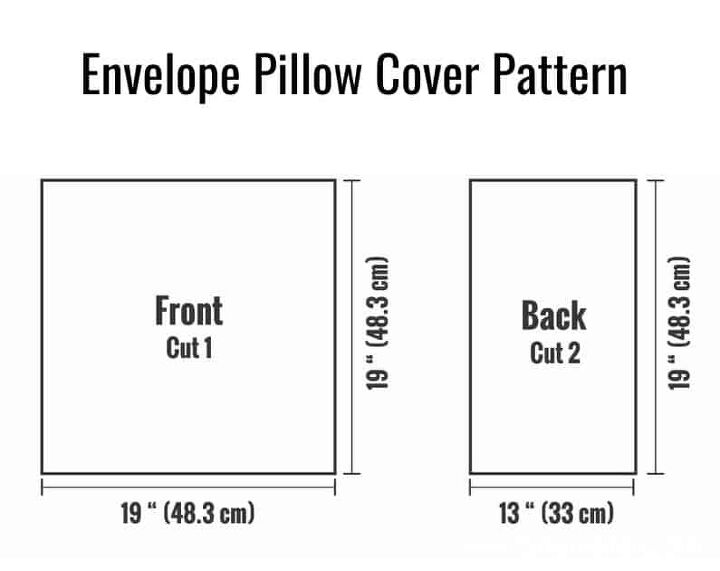
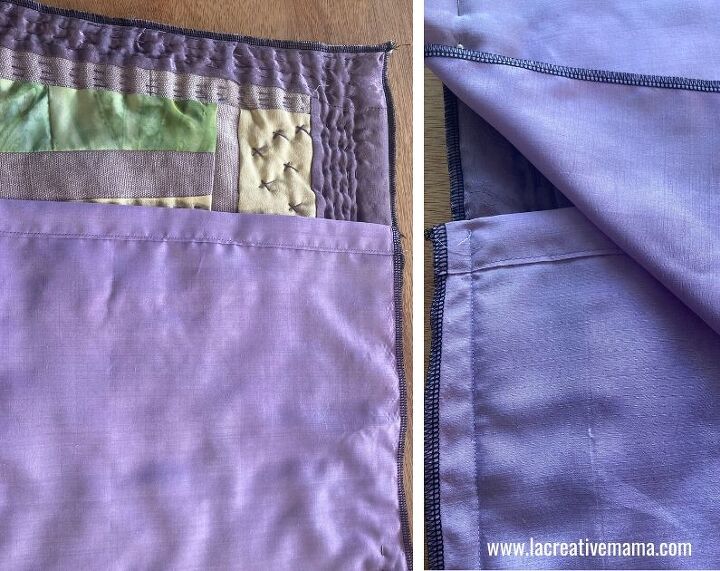
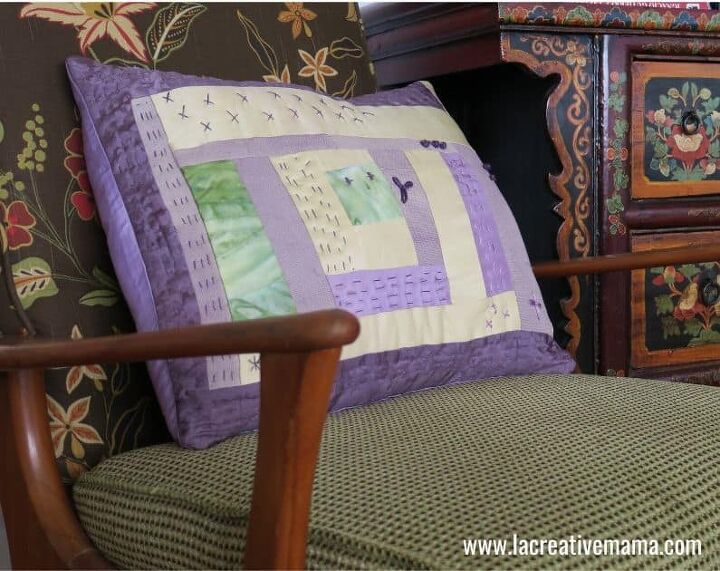
Cut one 19” x 19” (48.3 cm x 48.3 cm) front piece and two 19” by 13” (48.3 cms x 33 cms) back pieces. In this case I am using a mini quilt which is made out of fabric scraps which have been naturally dyed.
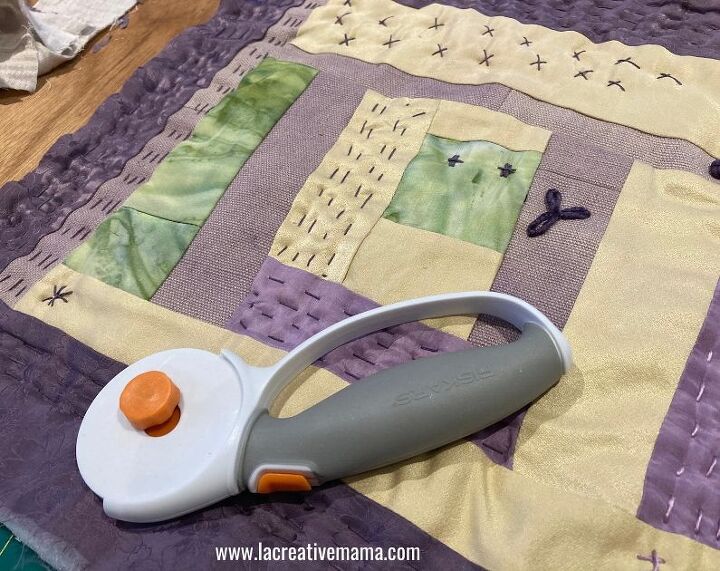
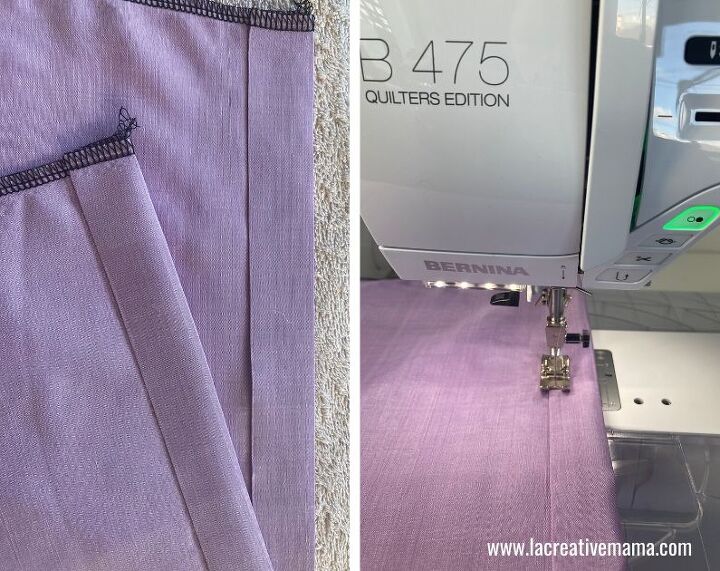
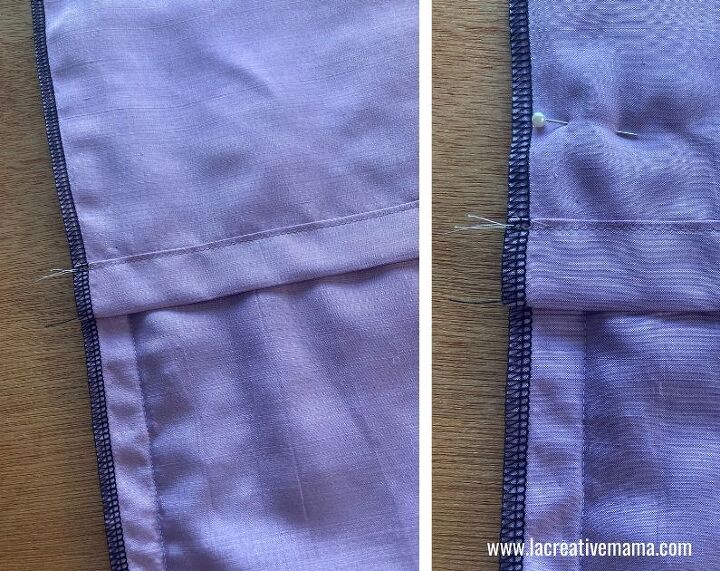
Zig zag or serge/overlock the edges of your pillow pieces (so that they don’t fray)
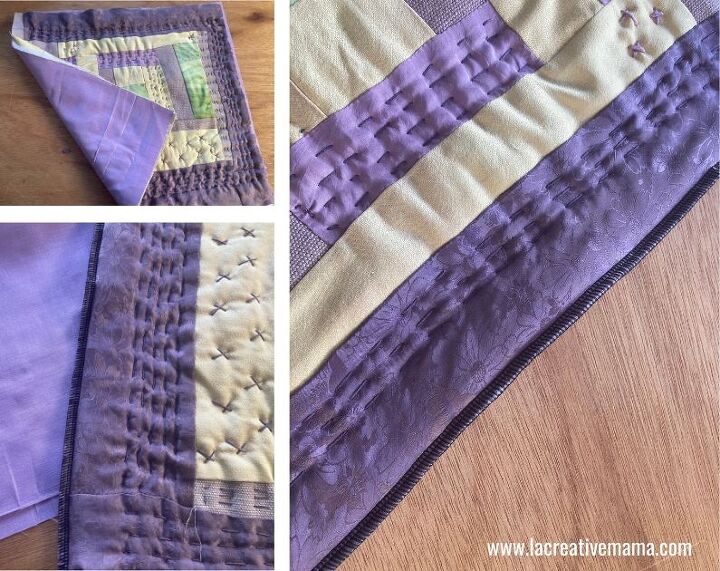
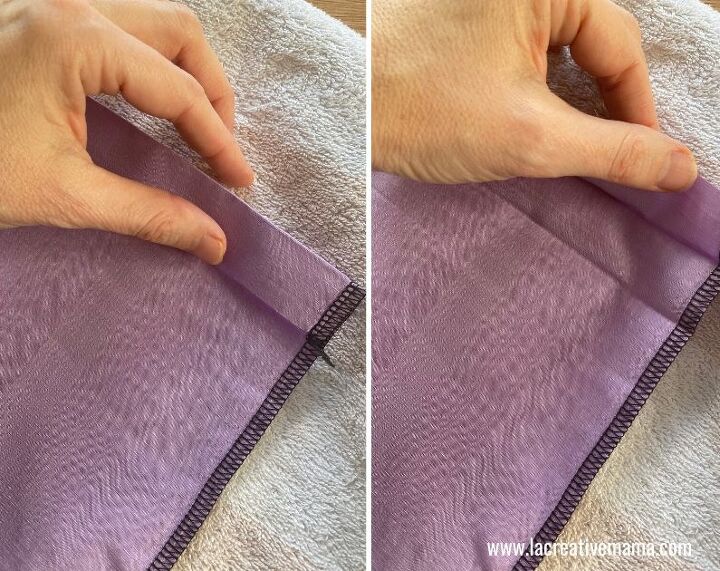
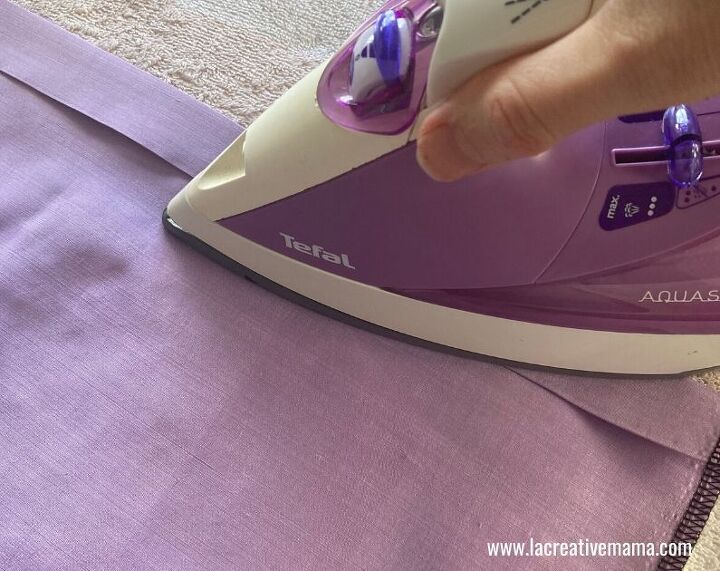
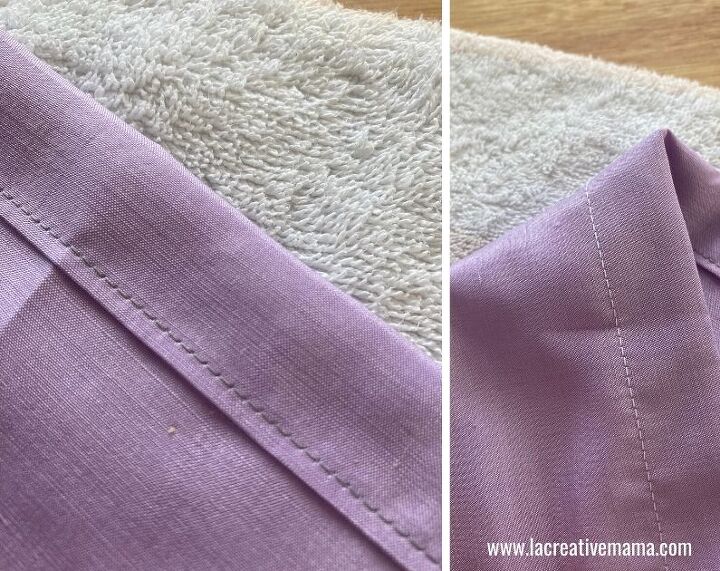
Sew a hem 1 1/2” (3.8 cm) deep on one of the sides of the back pieces. To do this double fold the hem so that there are no raw edges showing. Press to create a sharp edge before sewing.
Place each back piece right sides together with the front piece. The back pieces will overlap at the center back (this will be the insert opening).
Stitch around all edges allowing for ½” (1.3 cm) seam allowance. Clip the corners.
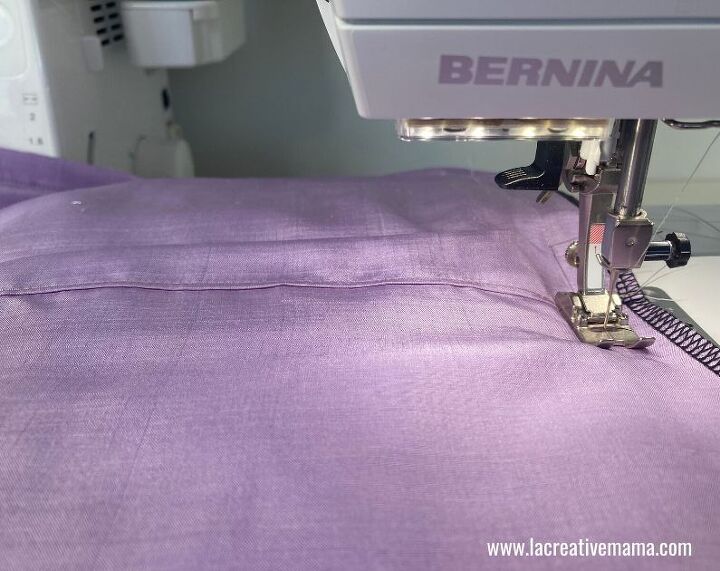
Turn pillow inside out and place insert (pillow form). ENJOY!

It will depend on the measurements of your pillow. However you must always make sure that there is enough overlap for the inner pillow to be completely hidden.
I love making envelope pillows since they are quick and easy to make. they are also super easy to wash and that makes it a great pillow pattern to use when making pillows for the home and the kids’ rooms.
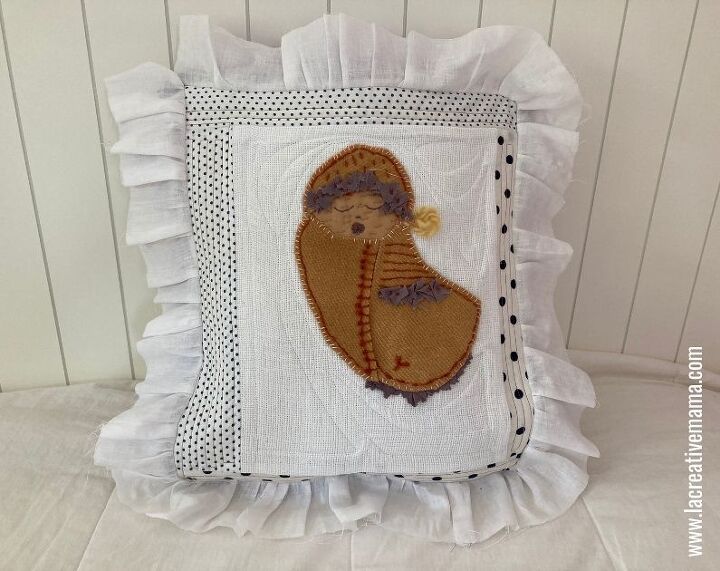
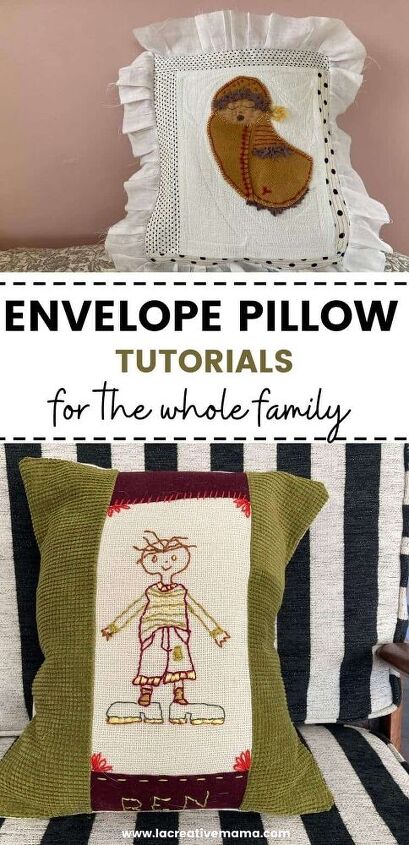
Check out these different pillow tutorials which are fun and super cute!
- How to make a baby pillow cover tutorial
- How to sew a quilted pillow cover for girls
- Hand embroidered pillow that your kids will love
- How to make an applique pillow by embroidering appliques {Great Father’s Day present}


Frequently asked questions
Have a question about this project?