


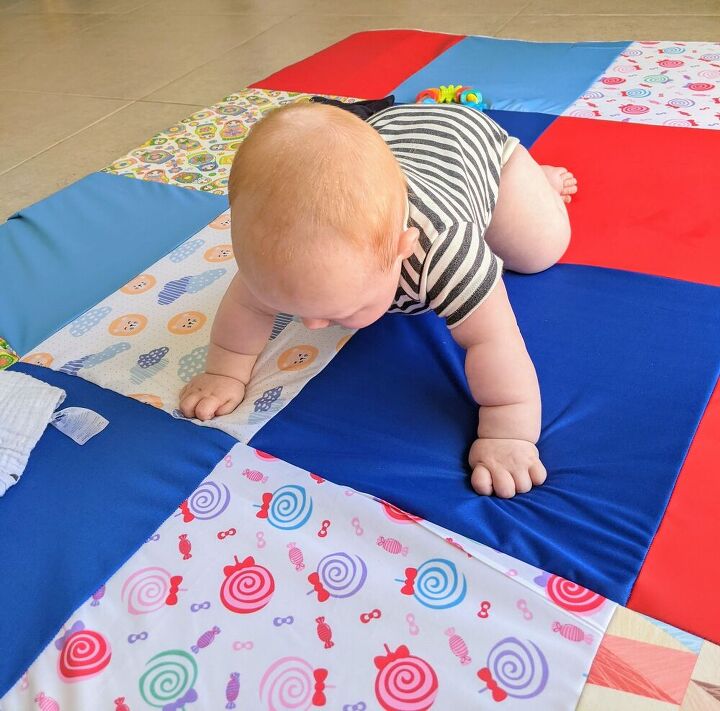
Foam Play Mat for Baby and Toddler With Removable Cover

I’ll give you instructions on how to fit this play mat project to any foam size.
Materials:
Medium-density foam
PUL fabric (the size of your foam + SA*2)
Polar Fleece fabric (the size of your foam + SA*2)
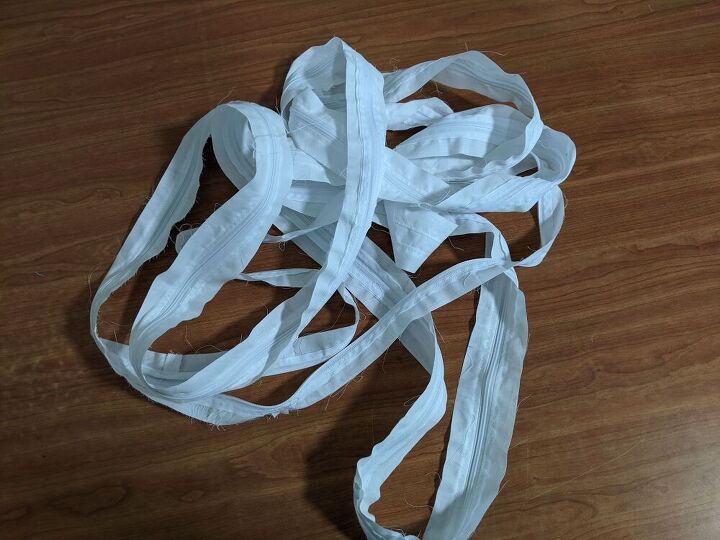
Number 3 zipper by the yard and zipper pull (required amount is calculated in post)
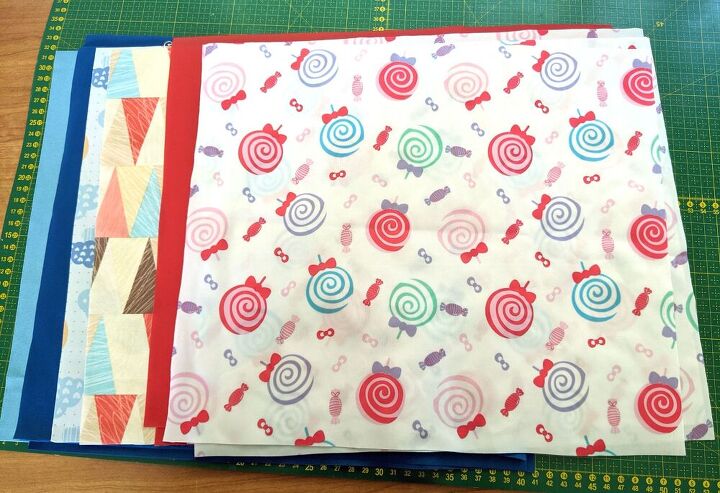
About ½ yard of 44” wide quilting cotton
Sewing machine
Matching threads
Scissors
Sewing clips or pins
Optional – few sheets of paper and paper glue
My foam size is 47” long by 55” wide and 1” thick. You can get whatever size that suits you. I’ll give you instructions on how to fit this project for any foam size.
- Sewing the top
- PUL fabric – I’m using PUL because it’s water-resistant.
- I’m using 3/8” SA, meaning I need 47 6/8” by 55 6/8”.You would need a piece of fabric according to the measurements of your foam + SA*2.
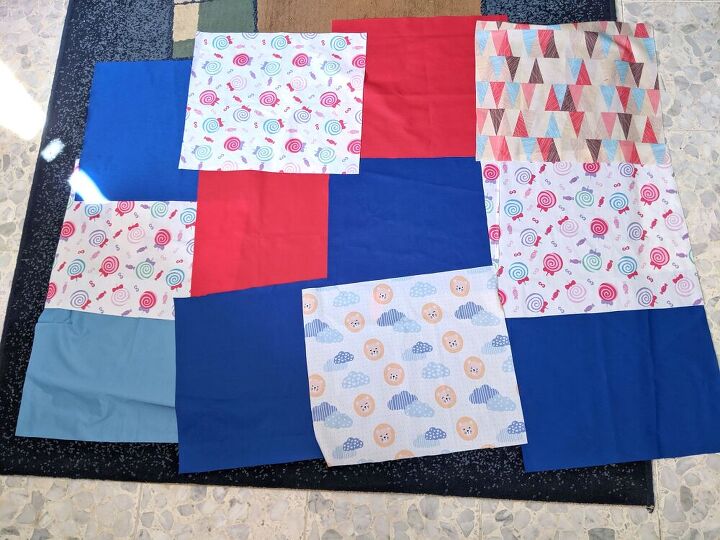
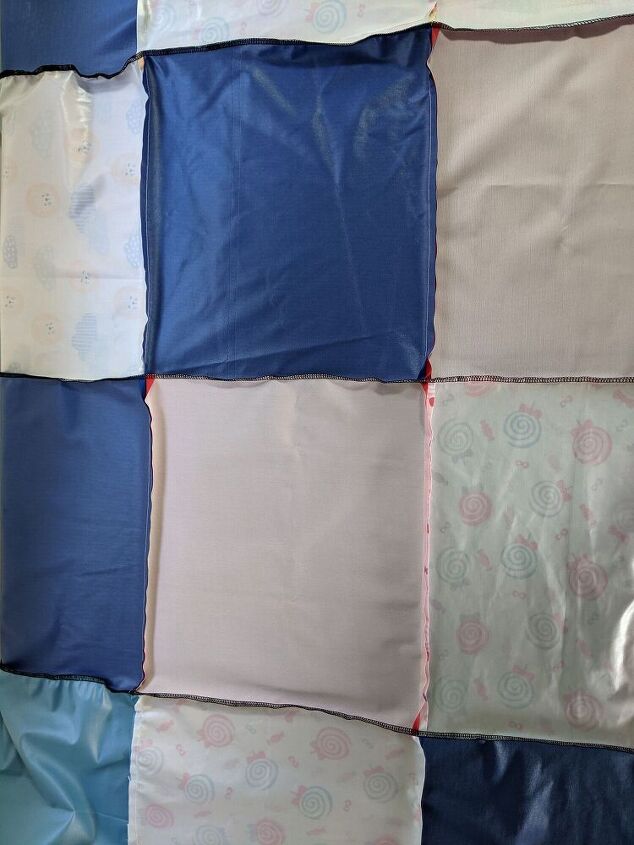
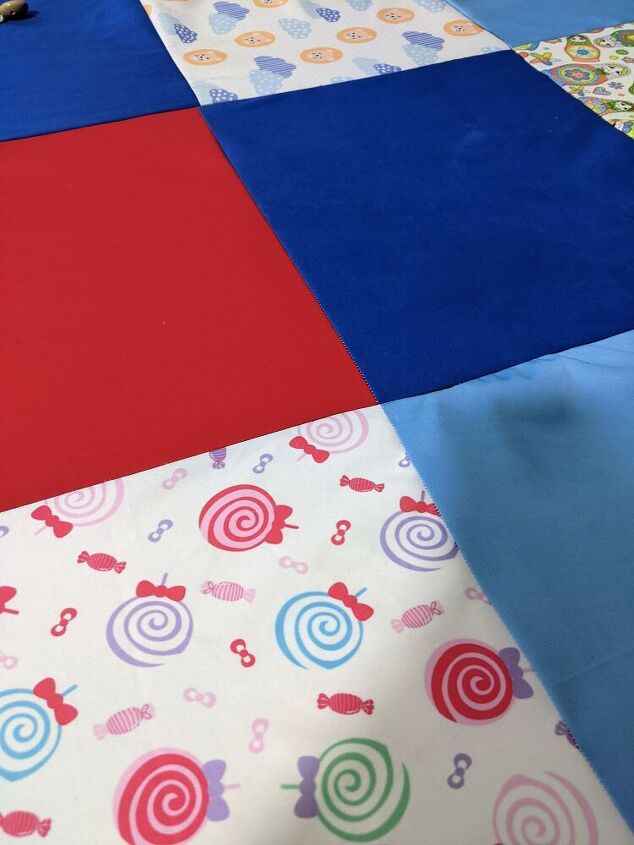
- You can use one piece of fabric and cut it to size or play with it as I did. For example, I had many PUL scraps from other projects and decided to make a quilt-like top with 16 rectangles, meaning 4 rows by 4 columns. Here’s how I calculated the measurements of each rectangle:
- I divided the total length 47 6/8” by 4. The result is 11.94”. I’ve added double the SA (3/8” *2), which gave me roughly 12 6/8”.
- I did the same with a width of 55 6/8, and that gave me the result of 14 6/8”.
- I made a template of that exact size from a few sheets of paper then used this template to cut 16 rectangles of 12 6/8” by 14 6/8”.
- When I had all my rectangles cut out, I laid them on a flat surface and played with them for a while till I found a positioning I liked.
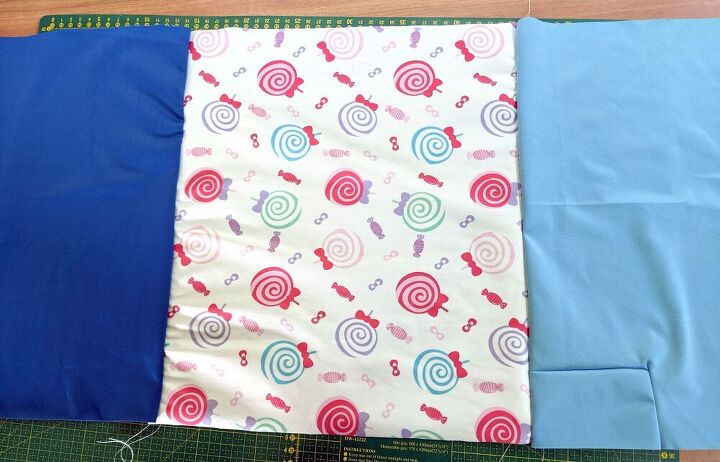
- I picked a couple of pieces, placed them RST and marked where I needed to sew before taking them to the sewing machine. After sewing, I placed them back on the rug.
- I sewed all the columns first, and then I sewed the rows.
You can also use a serger if you have one.
- Sewing the bottom
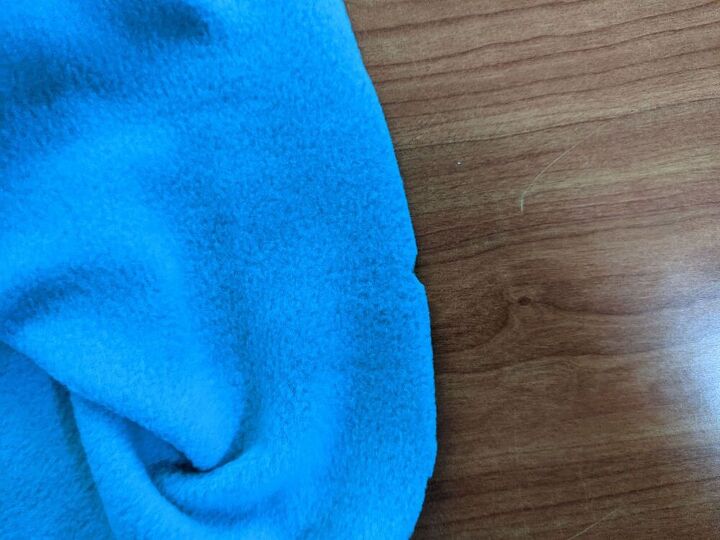
- Fleece fabric – I’m using fleece because it’s soft and plush.
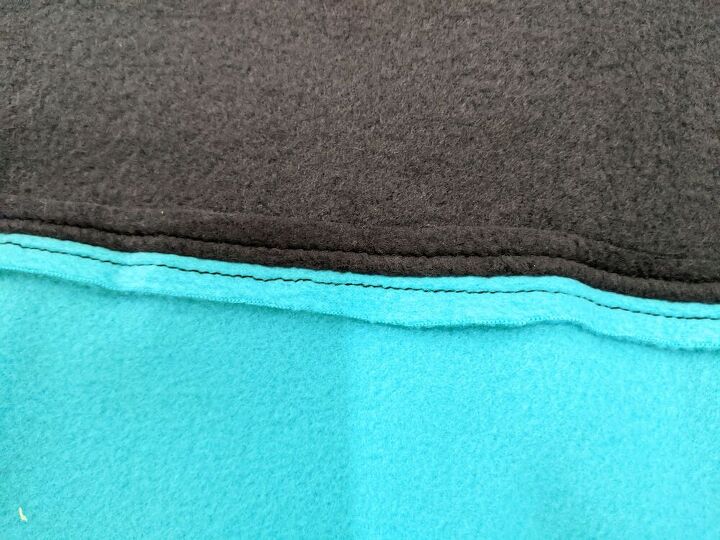
- You would need the same size as the PUL fabric. I used scraps as well and combined two strips from two colours. Here’s how I calculated the measurements of each strip:
- The large piece was 36” by 60”. So I trimmed the 60” to 55 6/8”.
- I cut the smaller piece to be the same width (55 6/8”) and the length to 12.5”. Here’s the math: (47 6/8-36 + SA*2)
- I sewed both pieces together then topstitched the seam open using ¼” SA.
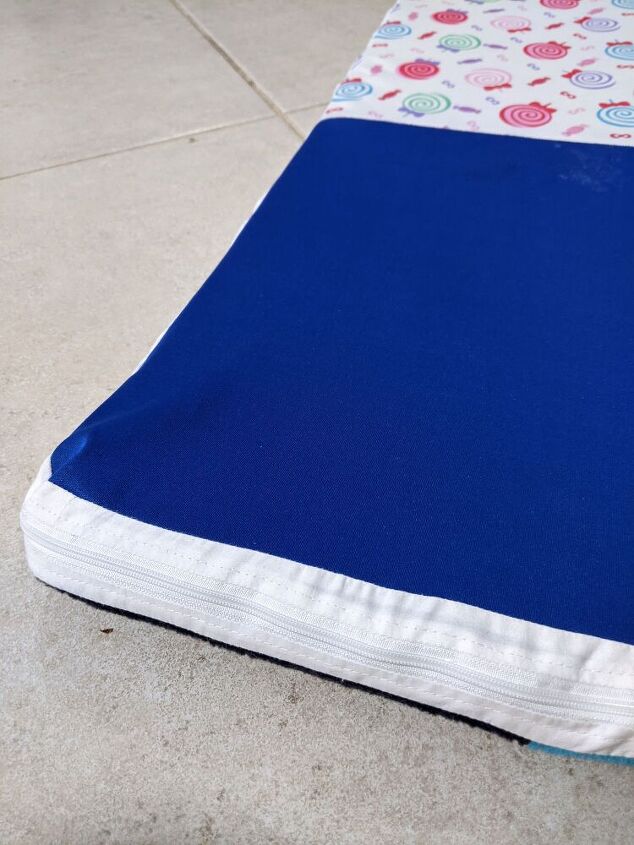
- Sewing the sides
- I wanted the cover to be easily removed, so I decided to have zip all around the exterior.
- Here’s the math to calculate the length of the zip required:
- First, calculate the max circumference required by (length*2 + width *2). For me it is 47 6/8*2 + 55 6/8 *2 = 206 ½”. Adding SA of 3/8” *2 yields 207 1/4”.
- Then decide how much space you would like to leave for your anchor. I’ve decided it would be 8”. I’ve subtracted 8” from the total circumference acquired in the previous step. Which got me 199 1/4“
- I buy a zipper by the yard, so I purchased 6 yards and cut it to size.
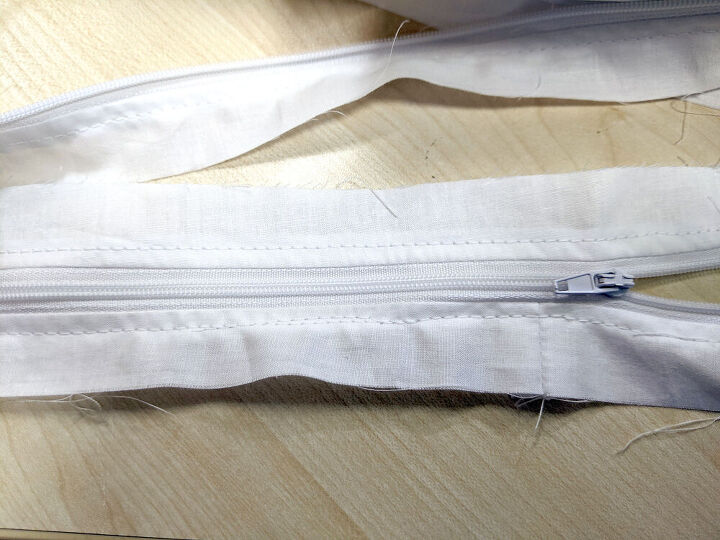
- The next step is to cut the anchor. This is a piece of fabric connected to both short edges of the zipper to create a circle. In the previous step, I’ve decided the length of the anchor is 8”, so I need to add SA, which makes the length of the piece 8 6/8” (8 ¾”). The width of the anchor is the width of the zipper, which is 1 ¼”.
- Placing the anchor RST with the long zipper, make sure not to flip the zipper! Instead, sew in place on both sides and then topstitch.
- calculate the amount of fabric required to cover the sides of the foam –
- Since my foam is 1” thick, I needed 1 6/8” width by 207 ¼” length to cover the entire piece.
- To add the zipper in the middle, I would have to cut the 1 6/8” to half, then add additional SA to it. Which would give about 1.2” width for each strip.
- But then I need to subtract the width added by the zipper, which is about 0.2”, which gets me back to 1”.
- So, I need2 pieces of 1” width by 207 ¼” long.
- To achieve that, I cut 10 1” strips of the quilting cotton (44” wide). First, I sewed them together by the short edges using 3/8” SA, then cut 2 207 ¼” strips.
- With RST, I sewed each strip into a circle using 3/8” SA, make sure the strip isn’t flipped!
- Placing each strip right side with the zipper, I used zipper foot and ¼” SA to sew.
- Then I topstitched the entire piece. It took a while.
Assembly –
- First, fold the long zipper strip in half, where one point is the middle of the anchor—Mark both half points.
- Now, bring those points together and fold again in half. Mark the new points.
- You now have divided the zipper into 4 quarters.
- Mark the middle points of your top and bottom pieces. You would have 4 marks on each piece.
- With RST, place the four points marked on your zipper strip on the four points marked on the top PUL piece and pin or clip in place. Add more clips as required and sew in place using 3/8” SA. Sew with the zipper on top.
- When you reach a corner, flatten the zipper and sew as close to the edge as you can.
- Repeat the same for the bottom piece but leave some of the zipper open.
Note: if you made an error with your math and the zipper piece doesn’t align perfectly with the top/bottom piece, you can fix it by cutting the zipper piece in the anchor's middle point and adding or trimming the amount fabric required.
Turn the cover inside out. Unzip it all the way, and put the foam inside;
Zip it all around and admire your work!
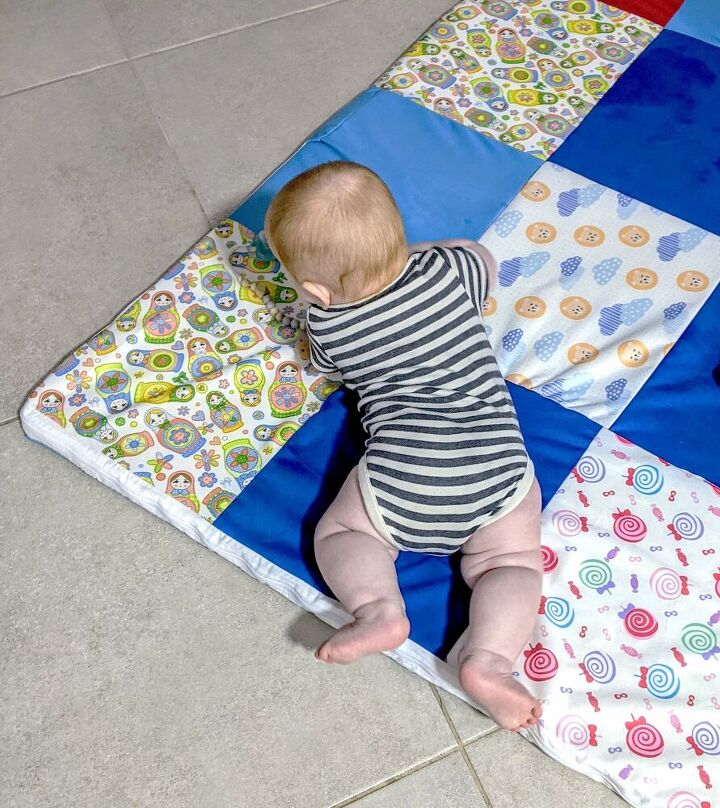
(Enjoy using it even in the middle of the night when your baby is eager to crawl at 1 am) 
Comments
Join the conversation
-
Wow! Well done. It seems like your gorgeous baby loves it!
-
It was smart of you to take the extra time to insert a zipper all the way around, as it makes it so much easier to take the cover off for laundering.


Frequently asked questions
Have a question about this project?