How do I remove furr down and build lit cabinets?

+9
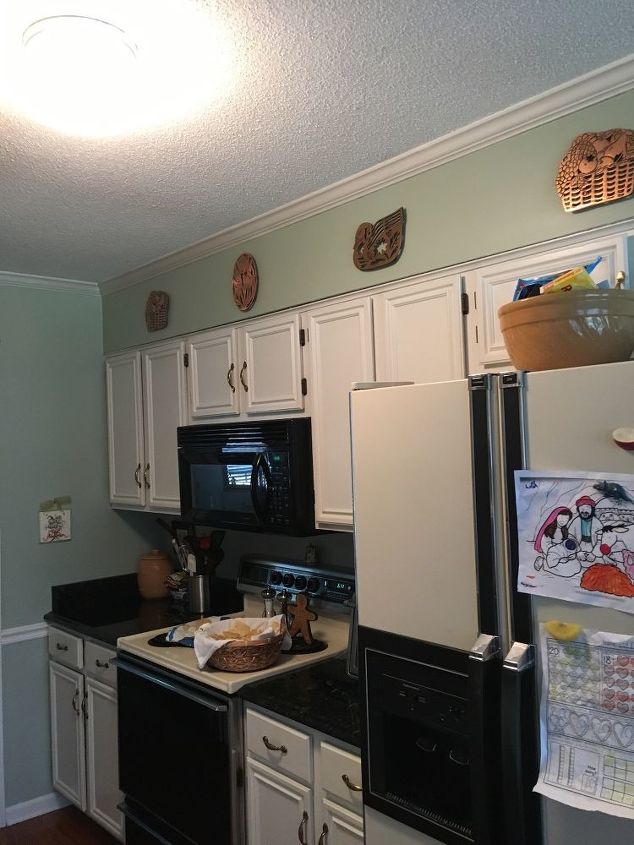
I want to keep my current cabinets but update my kitchen I want to smooth my ceilings, peel old wall paper that had been painted over, install recessed lighting, take out the furr down and add matching cabinets with lights above on a teacher salary- what do I begin with first as a do it yourselfer? Is there a way to recto the cabinets so hinges don't show?


By "furr", I'm assuming you want to remove the enclosed soffit above your cabinets. Just like scraping off your popcorn ceiling, this is a very messy job. It's most likely been enclosed with furring strips holding your drywall, with an unfinished ceiling behind it. The tops of your cabinets are also not going to be finished in any way, and will have a "lip" formed by the face framing. The next issue is going to be matching your cupboard doors, which is nearly impossible unless you are capable of doing it yourself in your own shop. I'm assuming not in this case. Source your complete cabinet or cabinet doors before ripping out the soffit or you may discover that it is too expensive or simply impossible unless you purchase custom doors. As for your hinges, no, your doors were designed for the exposed hinges. However, you CAN DIY a camouflage job. When you paint your cabinets, remove the hinges completely. Clean the very well with a degreaser and use a fine wire brush to remove any finish. Using a spray paint, spray paint the to match the cabinet doors. Replace the hinges after the frames and doors are completely dry. Once they have been screwed in place, use a small brush to dab paint over the screws to hide them, but don't overload them with paint. You may want to remove those screws someday! If you choose to do so, even your handles can be done the same way.
As for the order, I'd start with removing the popcorn from the ceiling. You simply scrape it off with a broad scraper, but wear a dusk mask & protective goggles. Tape plastic over doors and drape your cabinets & appliances as well. It's seriously messy, and easiest to do in a vacant house, so don't plan on cooking dinner mid-job!
Next, score the painted over wall paper. Wipe it down with a damp sponge, let it stand for 15-30 minutes. Try removing it by simply starting at an edge and peeling it. If it cooperates, celebrate! If not, try using a steamer. I actually have fantastic success by using a small portable clothing steamer and working with a small area at a time to remove ancient, incredibly tightly glued vinyl or paper wall paper. Be patient & work slowly, it's much easier if you get the paper all away at the same time rather than have to scrape it off of the wall in another step. Once all the paper is off, you'll still have a layer of sizing and glue on the wall that has to be removed. Try the glue removers from the store for that purpose. We also use "purple cleaner" we buy from Walmart but I don't remember the brand. It's an all purpose cleaner that will even remove paint at full strength so you have to follow directions & wear gloves. Once the wall is clean of the glue & sizing, wipe it down with clean water to remove any soap residue. Let it dry, then prime & paint as desired.
If you are going to remove the soffit, (hey, we're doing it in our house too, despite the mess and hassle) do that before you paint. That way, you won't damage your paint job. I also always paint the ceiling before the walls, and would recommend doing that before painting cabinets. It's the old thing about drips going down--I'd rather have them hit the old paint. Your last project will be repainting your cabinets, then reattaching your doors & hardware.
A few comments on above recommendations:
1. Do an asbestos test on the popcorn ceiling, you can get one at the hardware store.
2. Cut a square hole in the soffitt and shine a flashlight in there to see if its covering up any wiring or plumbing before you tear it down.
3. When taking down your wallpaper, try hot water and fabric softner applied with a sponge. let sit 20 mins before you take off. Power sand off any glue that won't come off when the wall is dry.
4. If there is no asbestos in your popcorn ceiling, tape plastic sheeting around whole room and floor. Get one of those yard sprayers and spray hot water on the ceiling, then it will come off easier.
5. When prepping your cabinents, number doors and drawers, wash with TSP, sand, prime and paint with satin, semi-gloss or hi-gloss for kitchens.
I would forget removing the soffit, instead paint it the same color and finish as the cabinets, then it looks like a solid wood trim to the ceiling. The recessed lighting is your biggest expense, you will need someone who knows what they are doing to fish wires and hook up the electric, this is not an amateurs job. You could remove a panel or two from your cabinets and replace them with glass for an updated look. Unless you love it, I would remove the scroll work around the plate rack, it really dates the kitchen, replace with other moldings
Just a thought, instead of removing the soffit, paint it as if it were a cabinet and attach fake doors to give the appearance of cabinets.
Replacing those Hinges is not necessarily impossible. Depends on the detail on the edge of the door. Pic I see is not detailed enough to know for sure. Edges of the doors for these "semi concealed" Hinges are usually made one of two ways. One is square at the back in which case you fill the nail holes, drill out the recess and install new hinges. Be careful selecting the hinges as cabinet makers use a wide variety of options on overlay. Fortunately there are hinge options for virtually unlimited choices on overlay. The other option most used for your existing Hinges is what's called a "30 degree reverse bevel." Even here there is a chance. Figure out what hinge you want to use based on overlay. Details on the inset for the drill bore on the door is available online for almost all models. Depending on how the bevel was set there is a reasonable chance it will still cover the hinge bore and you can install the hinge and it will function as though it were not there. If the dimensions are close just buy one and experiment. The dimensions on the cuts heels are sometimes conservative and you can often get away with a little more than they show.
As far as the doors above you don't necessarily have to follow suit with the doors below. I've had a couple times where a client wanted a less expensive solution and we build flat panel sliding bipass doors above. Mimics the soffit to some degree but does add storage. Most of the rest of above suggestions are good. Main one is look in all the soffit before tearing out. Biggest amateur mistake I've seen is start demo only to find everything from ductwork to structural members (not too likely but has happened.) Been building cabinets and running crews building cabinets for most of 40 years. Isn't much of this I haven't seen. Hope the descriptions are good enough. Holler if you have a question.
You can also cover over asbestos ceiling with beadboard or tin ceiling tiles for a nice look.