


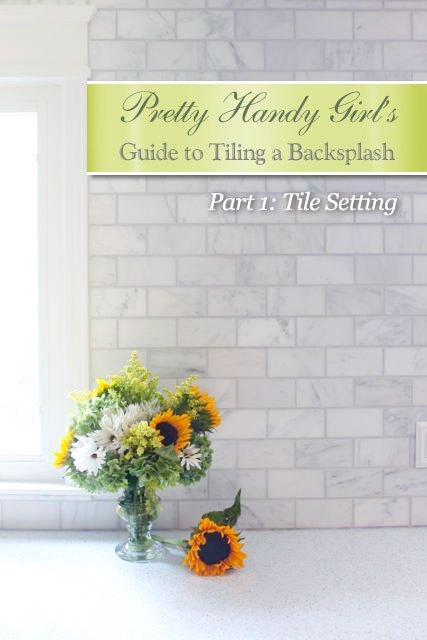
How to Tile a Backsplash - Part 1: Tile Setting #TileIdeas #WallCandy
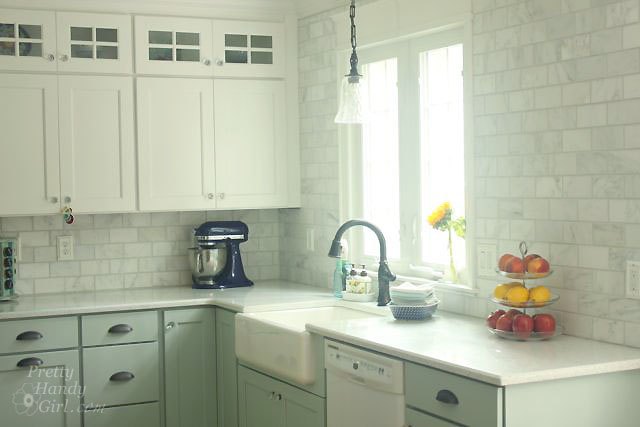
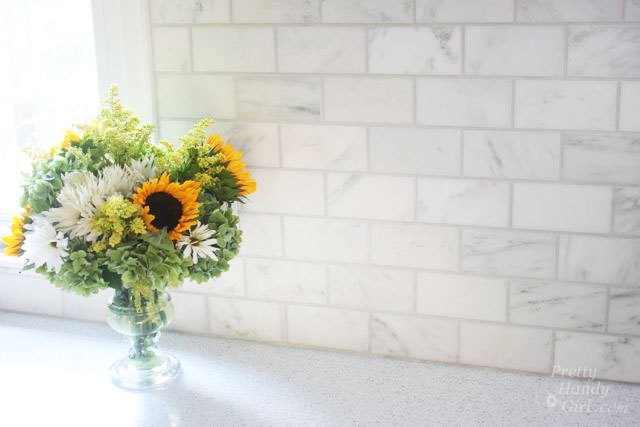
The backsplash and tiling truly makes my kitchen feel luxurious. In addition to the cork flooring, it was one of the things I REALLY wanted to have in our kitchen. And this is definitely a project that anyone can take on (with a good tutorial.)
There are loads of extra tips, tools required, materials list and full instructions on my blog.
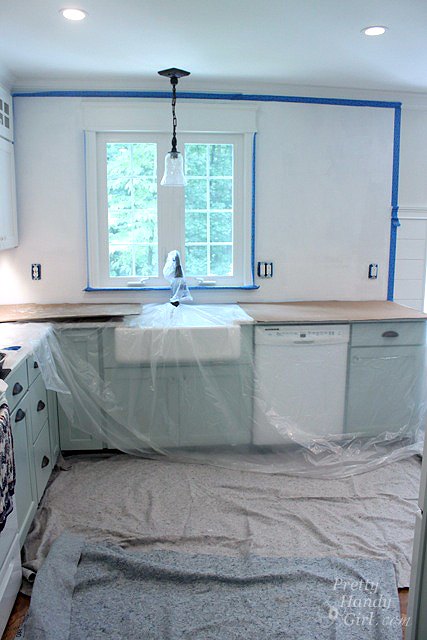
Cover EVERYTHING with plastic tarps or drop cloths. You might also want to use some big pieces of cardboard on your countertops to protect them from any falling tools or tiles.
This is the tutorial that I've been anxious to share with you! How to Tile a Backsplash! The reason I've been anxious to share is for two reasons!
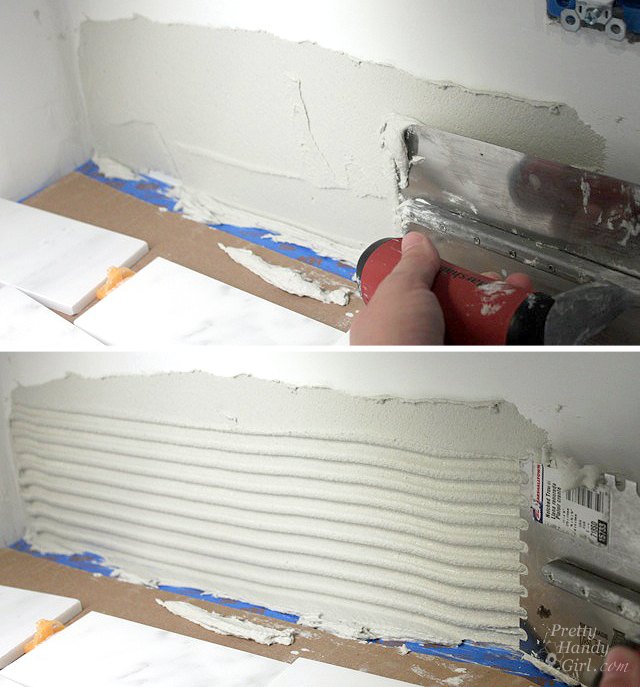
Use the spatula to spread mortar on the "un-notched" side of the notched trowel. Apply pressure and spread the mortar on to the wall. Flip the notched trowel over and scrape through the applied thin set with the notched side.
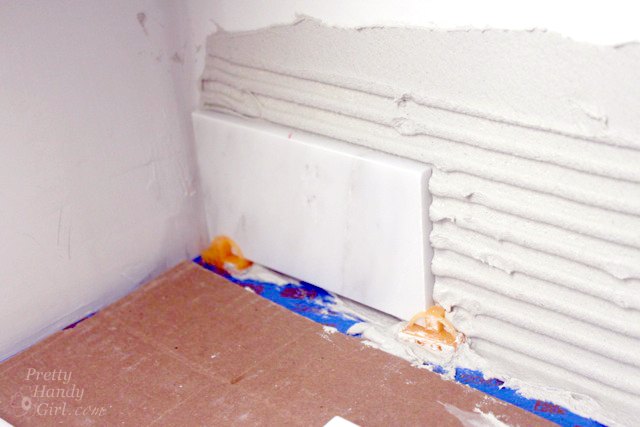
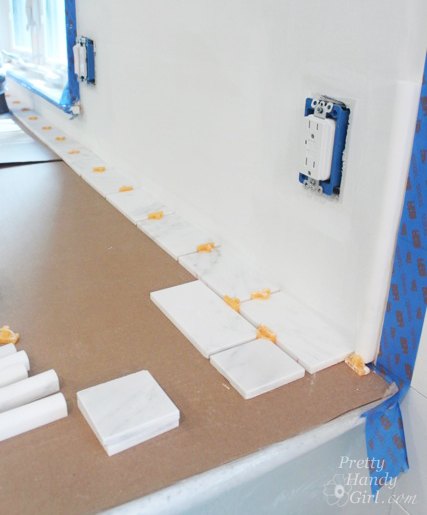
Set the first tile in place. Set spacers underneath the tile. Wiggle the tile back and forth to set it into the mortar.
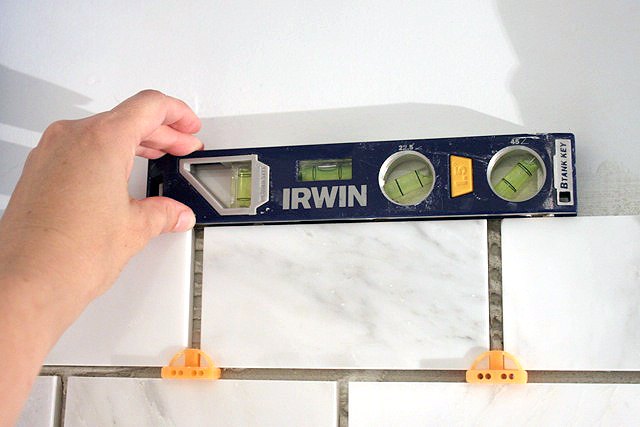
Check the level of your tiles frequently and make adjustments with toothpicks or scraps of shim as necessary.
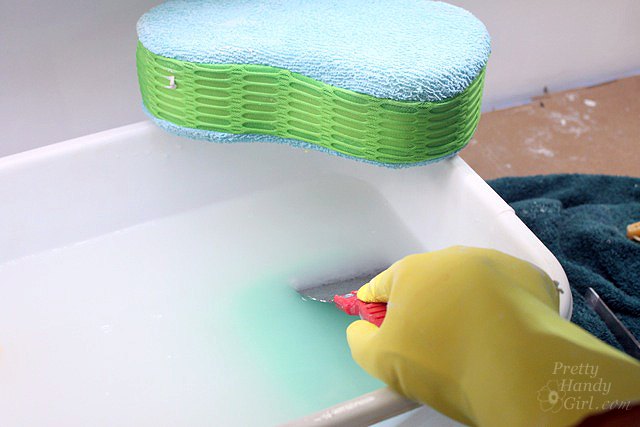
While working, clean off your tools periodically to prevent the mortar from drying on them. Also wipe off any excess mortar that may have settled on the tiles.
Hang in there, you're almost done. Learn how to grout and seal a backsplash here: http://www.prettyhandygirl.com/2013/09/tile-backsplash-part-2-grouting-sealing-backsplash.html
What do you think? Have you tiled a backsplash before? Any tips you care to share? I have many more tips on my blog. Hope to see you there!

Want more details about this and other DIY projects? Check out my blog post!


Frequently asked questions
Have a question about this project?