


Kitchen Update

by
Kari Landuyt
6 Materials
It really is happening! Not a complete gut, but an update to my kitchen to more of my taste!
Not complete yet, as the grandbabies are returning so cleaned and put supplies up for next three weeks.
Not complete yet, as the grandbabies are returning so cleaned and put supplies up for next three weeks.
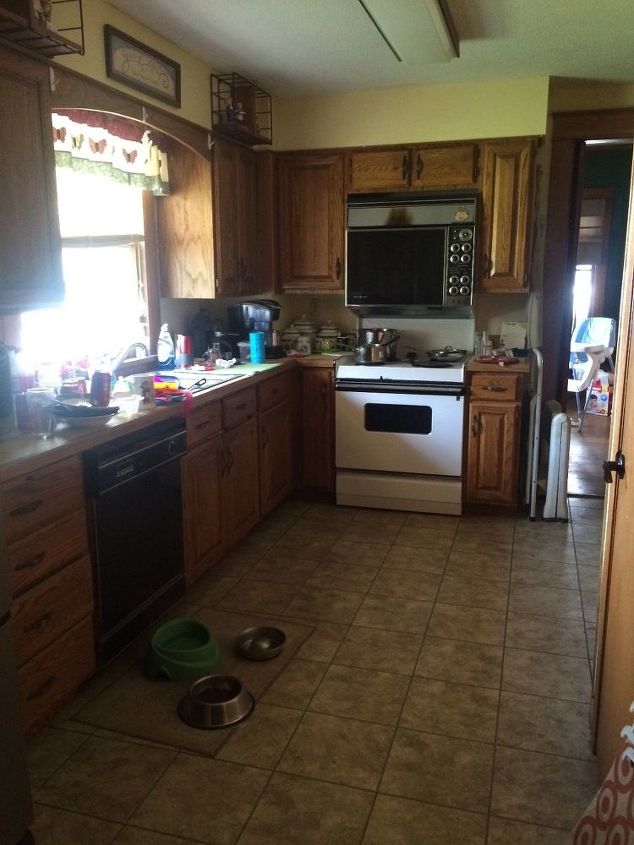
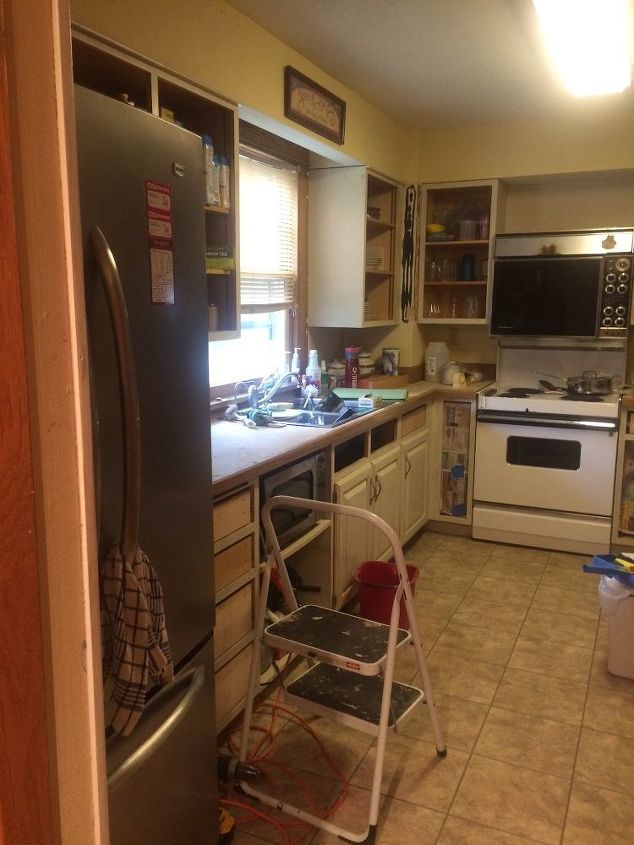
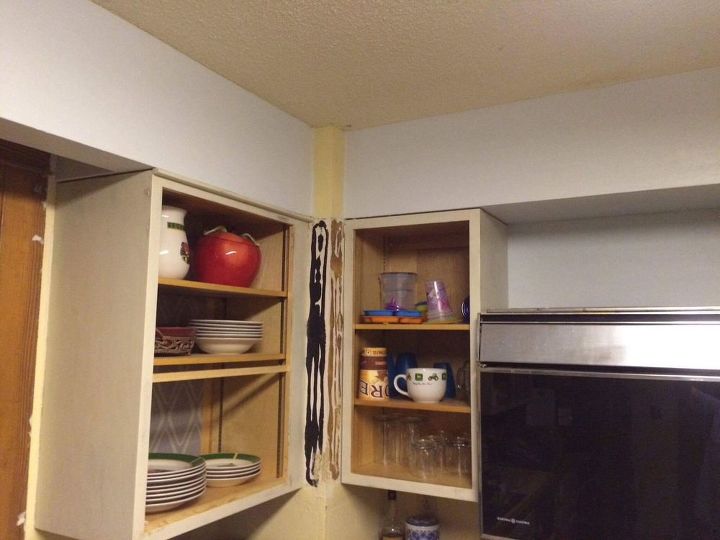
Remember when??
Started with a purge of the entire kitchen. Opened up a few shelves.
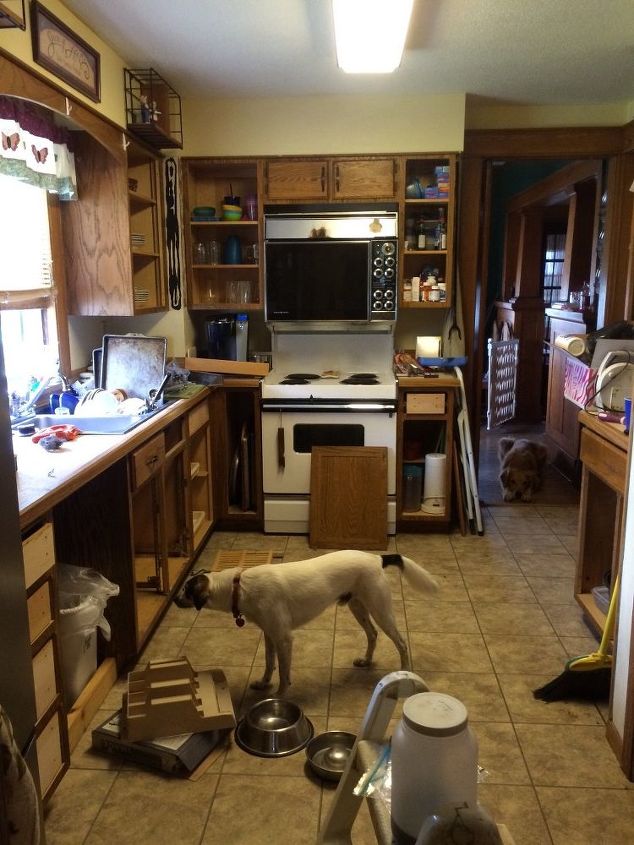
Doors and drawer fronts came down.
Removed the doors and drawer fronts and all the hardware. Used cocacola to clean the grime off of the hardware and then wiped down with TSP and rinsed with soapy water. When they were dry, we took them all out back (pulls and hinges) and spray painted them a weathered nickel.
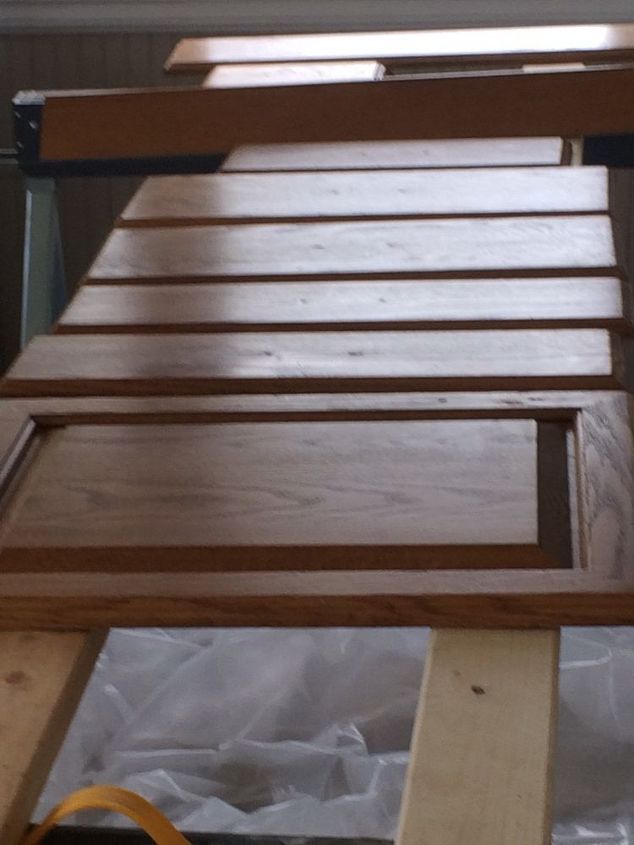
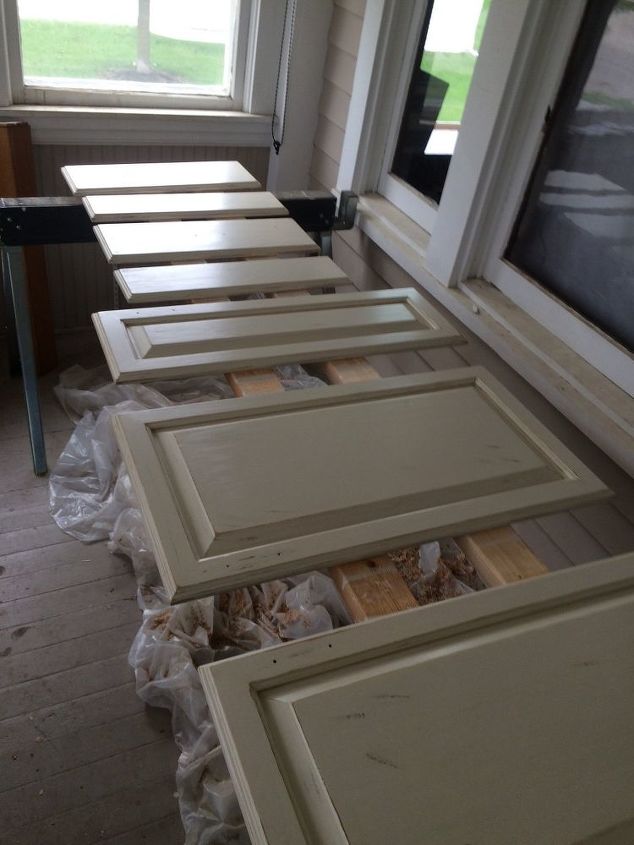
set up saw horses and a couple 2x4 's
Washed all doors and drawer fronts. Had mom come help with washing all the cabinets. Used TSP liquid substitute, water, and lint free rags. Wiped down with soapy water. Let them dry over night.
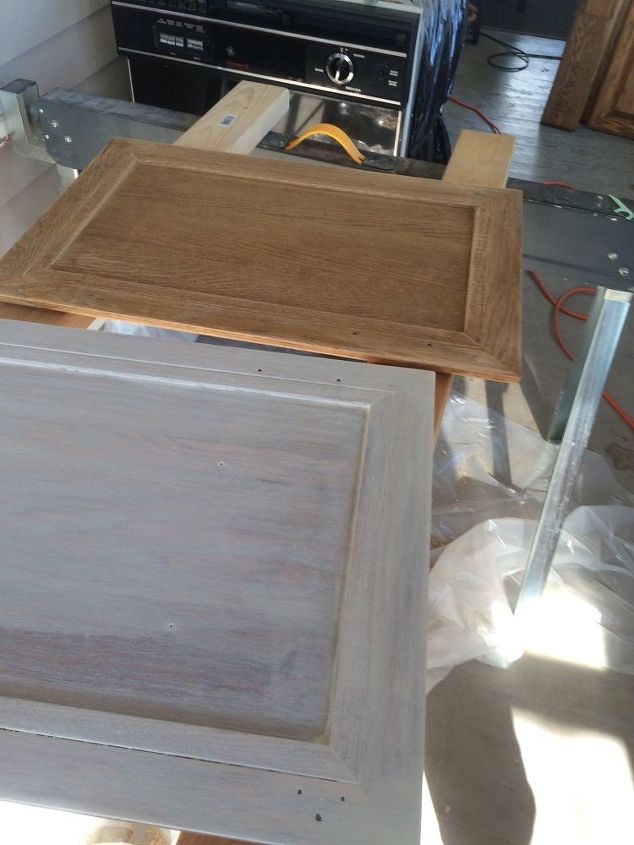
Let the paint flow!
Yes, I talked the hubby into letting me go forward with paint after washing the doors showed quit a bit of imperfections. We couldn't just clean and leave them. He gave me the go, and it is my project to do. Well, with some helpers as I needed.

I went with an Antique White
Olympic interior enamel 100% acrylic satin finish paint.
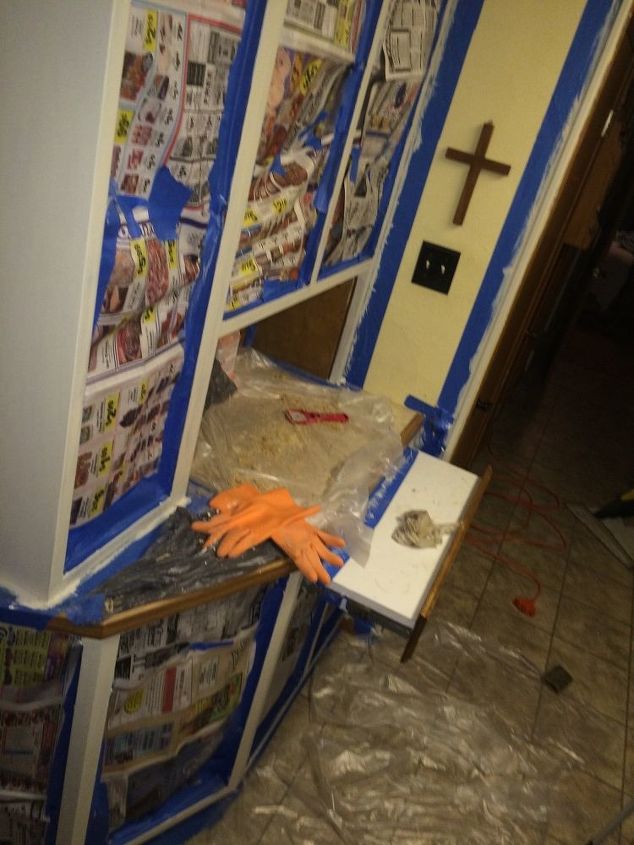
Mom had come to help with the blue tape and newsprint, so we wouldn't have to empty all cabinets. Then I stripped, sanded and painted the cabinets. I had my daughter and nephew help out with the toe kicks as I can't get down that dar anymore. They actually laid on the floor to get them done.
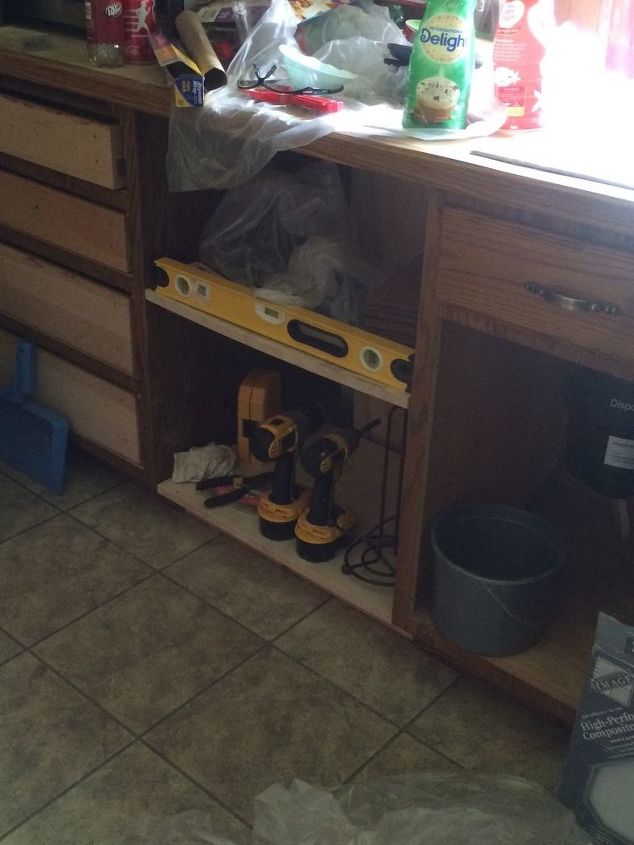
The old dishwasher space.
I picked up a pine board that was 24"x36" at Lowe's. I had the lumber dept guy cut the board in half so I would have 2 24"x18" boards for shelves. I used a 2x4" scrap piece we had in the basement to build the toe kick and support for the botttom shelf. Screwed them into the existing cabinets. I then placed the lower shelf in place and screwed into the support frame below. I messured up 16" to where the bottom of the upper shelf would go. Inhad purchased some L brackets 4, and screwed them into the bottom od the shelf. I also found a small scrap piece of thin plywood and attached it to the back side of the top shelf. Carefully positioning the shelf I placed the L brackets on lines I had drawn and screwed them into the cabinets one by one. The board ar the back is to keep the microwave from sliding back and off into the dead space behind the shelves.
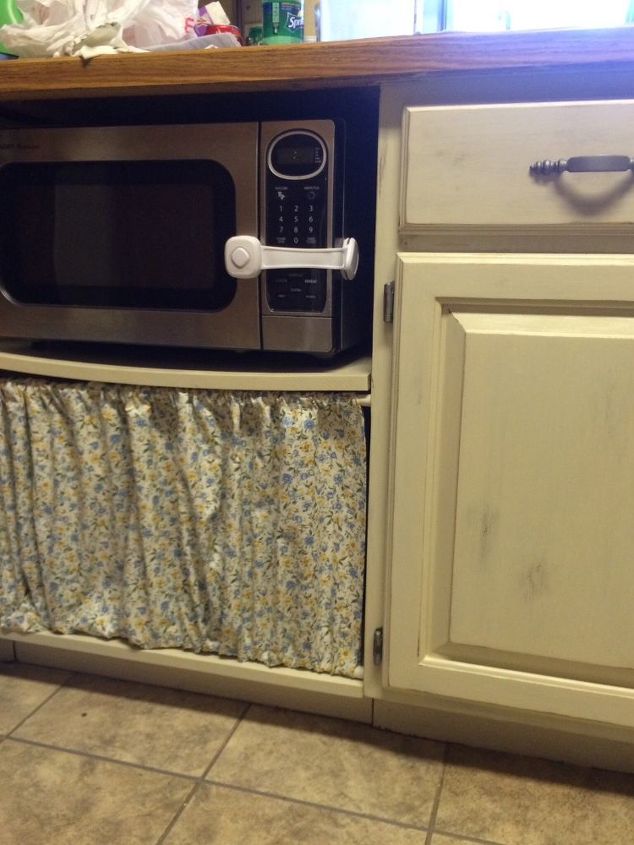
TA DA!
Yes, I built a microwave stand all by myself! Not only surprised myself but family too. I added a no sew curtain to the bottom shelf where some smaller appliances will be stored. I know the top shelf is bowed, it occurred with weight of the microwave. My hubby said he could get in underneath without tearing it all apart to install a brace. Hopefully tomorrow, crossing fingers.
Getting it done!
After the cabinet boxes were conpleted, we added the hardware back on to the drawers and door fronts as they were conpleted.
Almost there!
A couple more doors to go, these go up tomorrow.
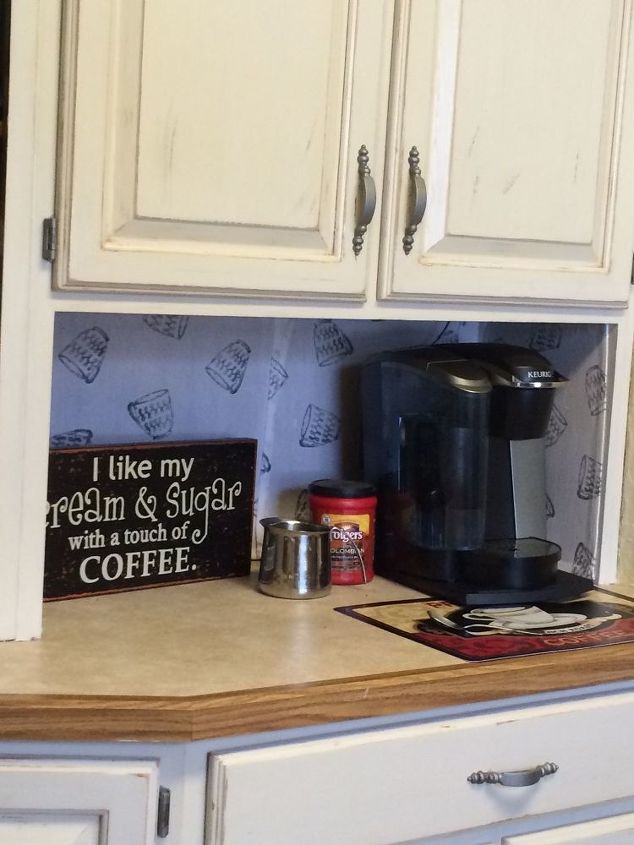
Appliance Garage to Coffee nook
I removed the pull down door for the appliance garage that didn't hold much, too narrow. I found a couple kitchen towels at Target with coffee mugs. I cut the towels to fit the walls, then I used Modge Podge to secure them. I found some wooden outlet and switch plates at the Restore and sprayed them same color as the other hardware and switched out the plastic. The placemat came from Walmart and the wooden sign from Hobby Lobby. With items on sale and items I already had I spent less than $20 on my coffee nook. Our mugs are in cabinet above the Kuerig and the sign hangs just above where it sits in photo.
Soffits painted a pale blue.
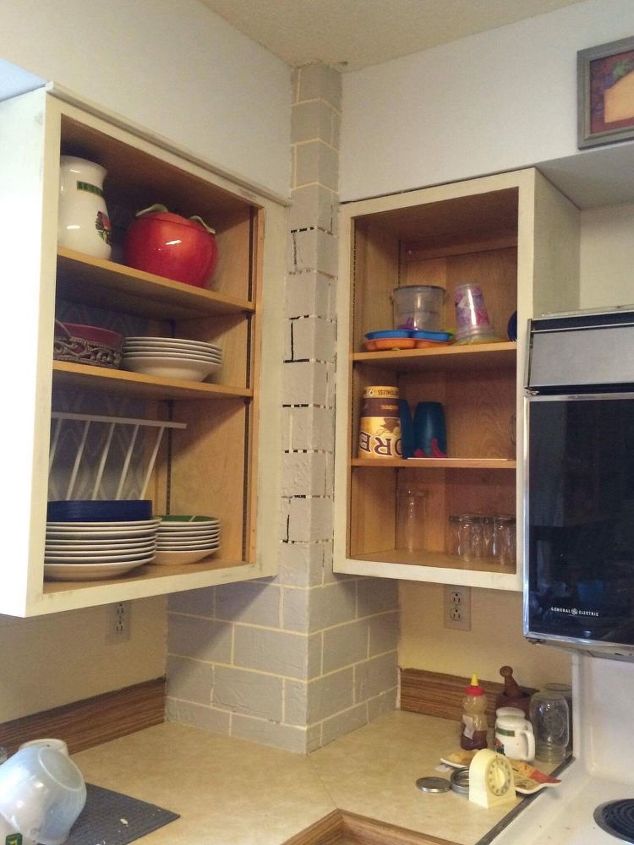
The dreaded coal chimney
I found the best and easiest way to get the brick look back in the old coal chimney that was plastered over.
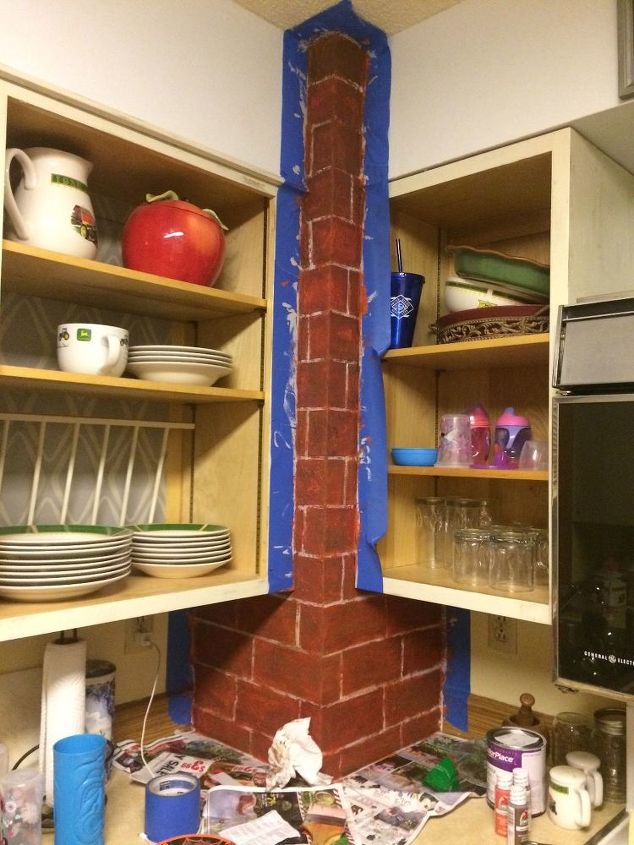
My artwork
After several days of allowing the mud to dry, I painted the entire chimney with a light grey satin paint. I allowed it to dry another day. Then began the art. I had chosen 3 acrylic paint colors at Walmart in the craft area. Starting with the lighter color I began creating each brick, using the darker color for shading and allowing a couple hours for it to dry and give me a break in between colors.
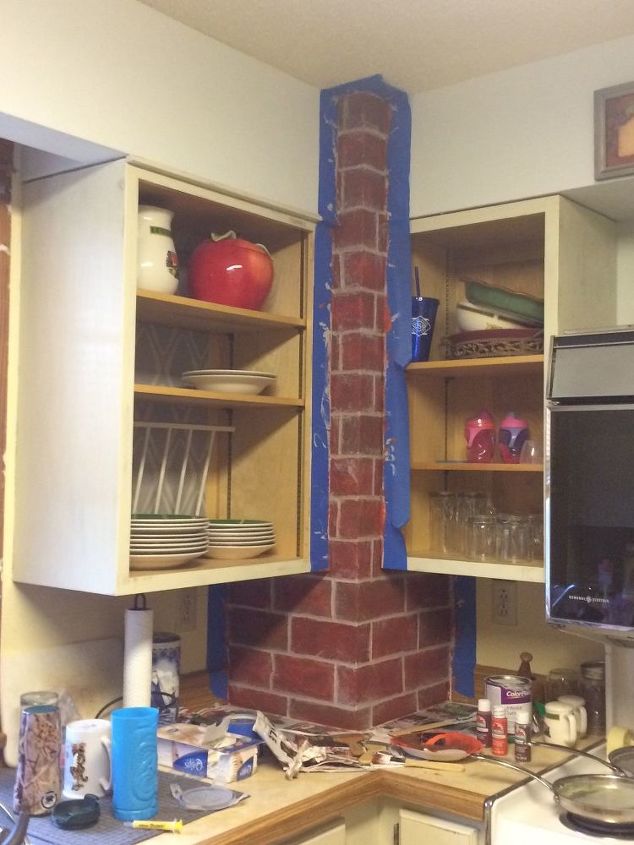
When all the bricks were completed, I used the grey paint to touch up in between the bricks, aka: mortar. Before removing the painter tape, I used some of the satin polyacrylic left from the cabinets to seal the artwork paint.
Comments
Join the conversation
2 of 14 comments
-
Can't use this project, but kudo's to a very strong willed lady who did it in spite of her aches and pains.
-
Thank you Dot!
This project is still on hold while we get caught up on our bills and get other priorities like rotting exterior trim replaced and broken gutters replaced and so on. Of course these are all hubby's projects. He has now finished classes for semester and found and hired full time on a 3rd shift job geared toward what his degree will be. Degree should come end of Fall semester then he will no longer be full time student & full time employee. Thank God that he is no longer laid off/unemployed full time student. Hopefully by end of summer I can finish the kitchen up.


Frequently asked questions
Have a question about this project?