


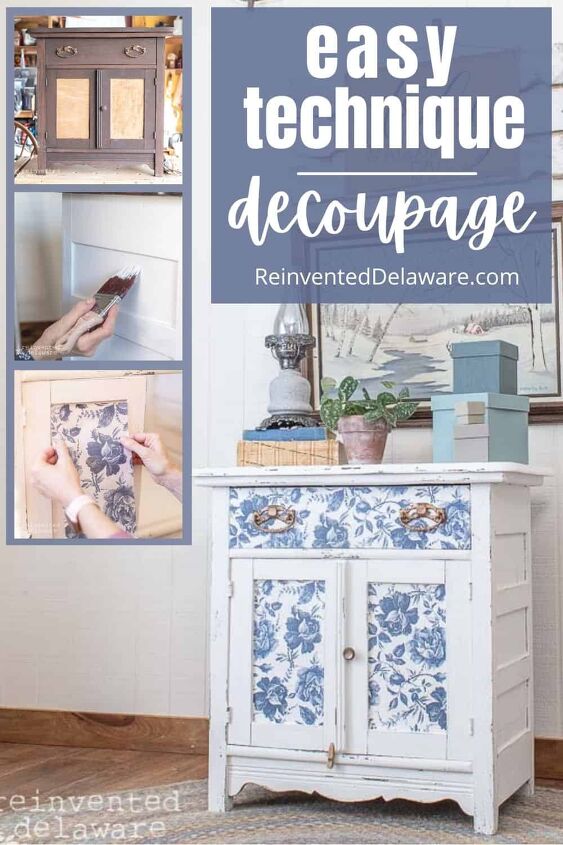
Decoupage Paper for Furniture

Are you looking for the best decoupage paper for furniture? Me too! Let’s do this easy decoupage project together!
As an Amazon Affiliate (and other companies including Dixie Belle Paint Company), we earn a small commission on products sold through affiliate links. Your purchases through those links help to support this blog at no additional cost to you. In purchasing the supplies we use and recommend via our links, you help to support the free tutorials we offer you and our other readers. Thank you so much! Read my full disclosure on my blog!
decoupage ideas for vintage furniture
Decoupage is making a comeback!! Yay! In the last few years, I have noticed more and more decoupaged projects including furniture pieces.
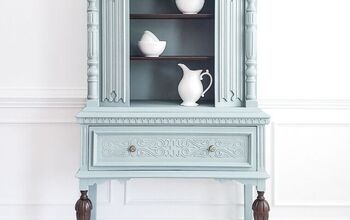
So, I am jumping on that bandwagon and I want to show you how easy it is to decoupage furniture pieces like this sweet little washstand.
Let’s talk prep for this slightly damaged washstand. Below are the basic prep steps I take with most of our pieces.
**There is a video at the bottom of this post of the process!
Furniture Prep Steps:
- remove hardware
- remove loose veneer
- fill big gaps or holes with Dixie Belle Mud
- lightly sand, especially in the areas the veneer was removed
- clean with a shop vac
- wash with a solution of White Lightning Cleaner and hot water
- rinse with a hose
- allow to dry thoroughly in the sun
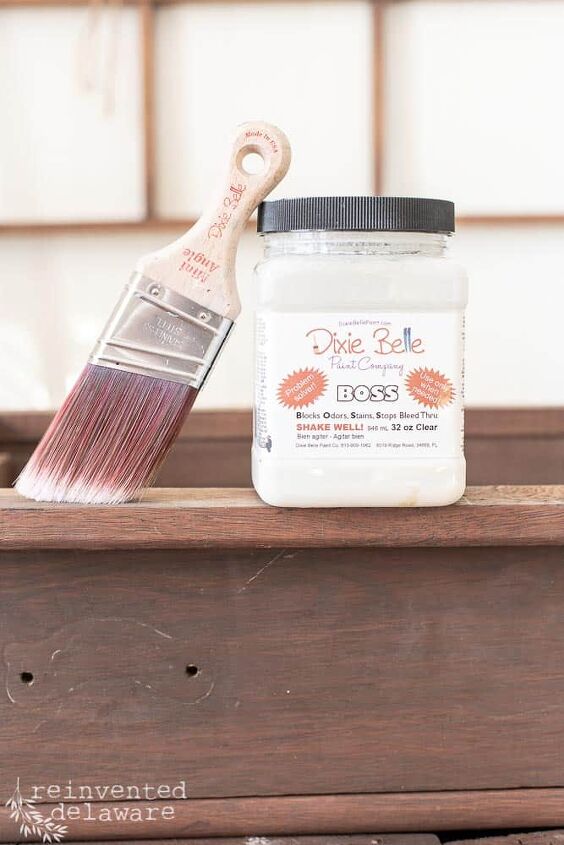
- apply two coats of stain/odor blocker like Dixie Belle BOSS

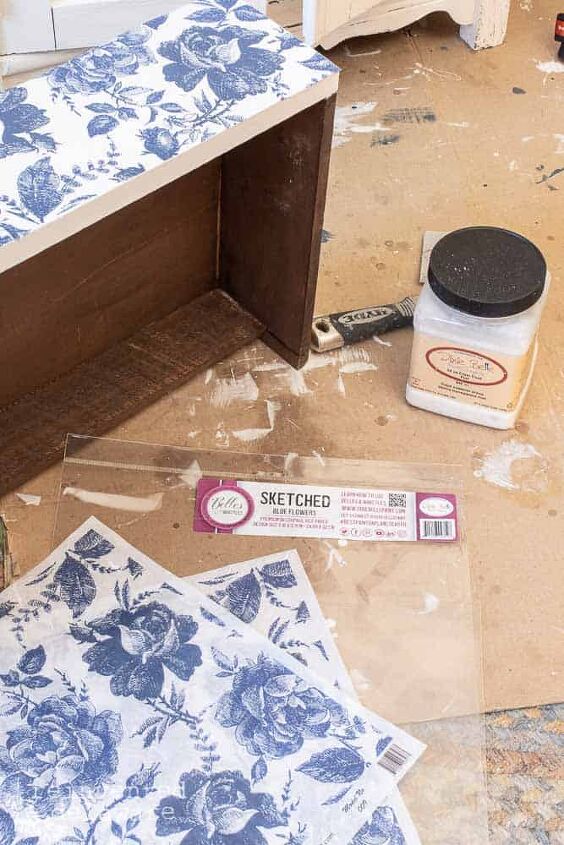
list of supplies:
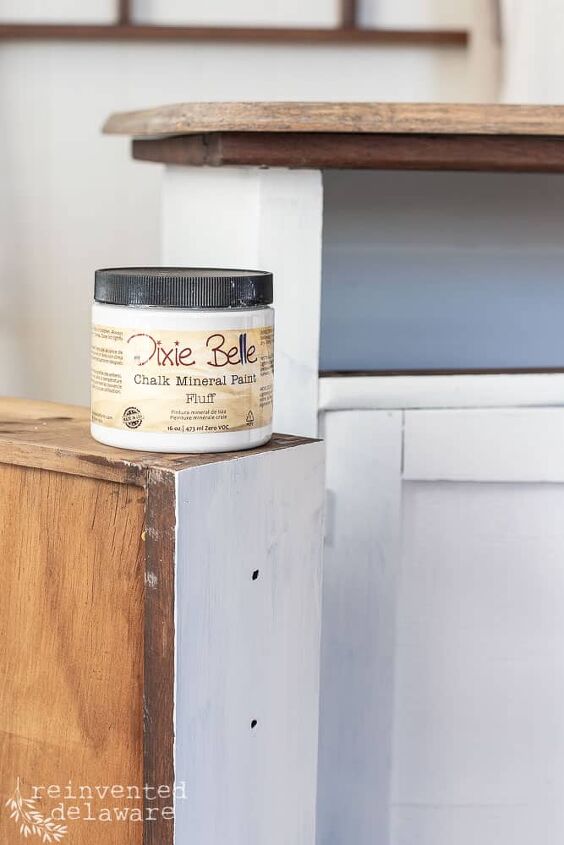
- Fluff chalk mineral paint
- Caviar chalk mineral paint
- White Lightning Cleaner
- decoupage paper (I used Blue Sketched Flowers)
- BOSS Stain and odor Blocker
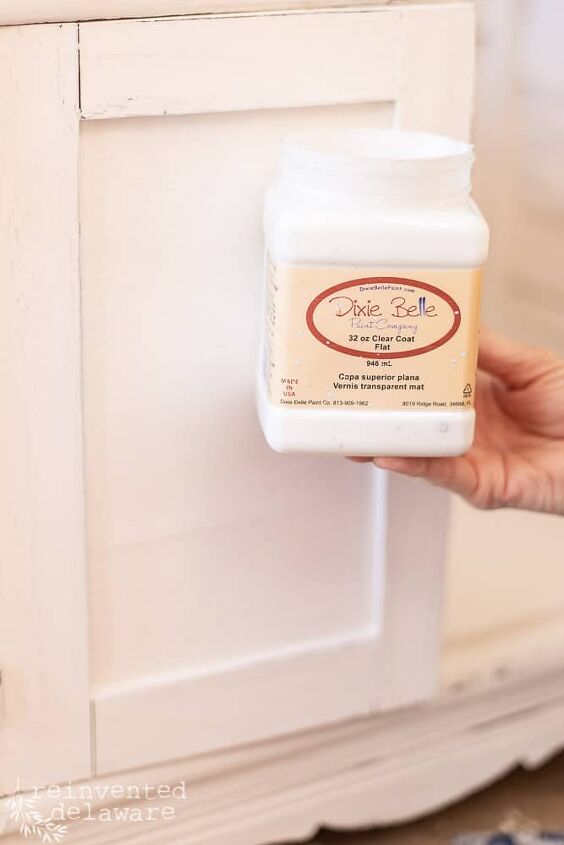
- Clear Coat (I use Flat finish)
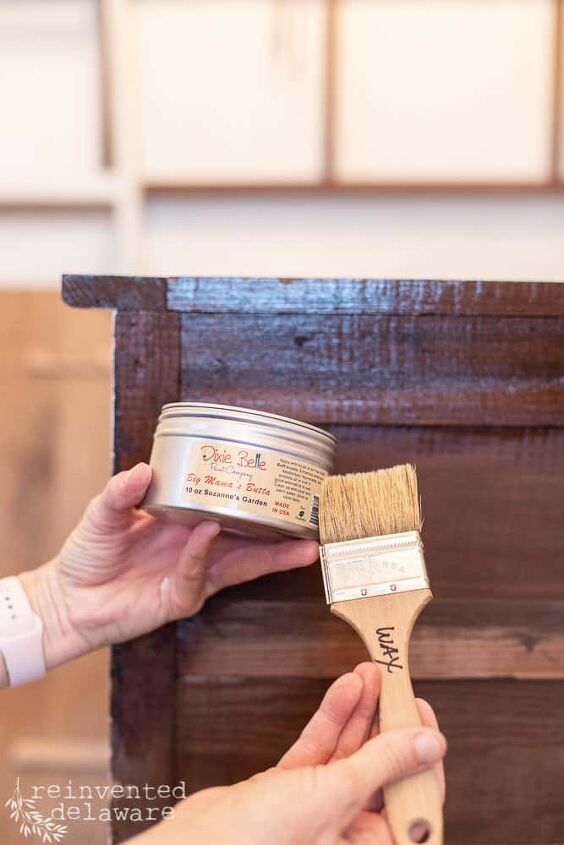
- Big Mama’s Butta in Suzanne’s Garden
- Paint brush (I like the 2″ mini angle brush)
- chip brush
- Gemstone Mouse in Amber (for the drawer pulls)
Use the links above to purchase some of the supplies for this project! You are helping to support this blog and all the free tutorials we offer here! Thanks so much!😊
You can also shop for more paint colors and decoupage rice paper on the Dixie Belle website. You will love the color selection as well as the decoupage rice paper prints they have!

After prepping this antique washstand, I used a chunk of beeswax in areas that I wanted the paint to chip away. I am a huge fan of chippy paint.
Then I applied two coats of Dixie Belle Chalk Mineral Paint in Fluff. The white tone of the paint matches perfectly with the background of the decoupage paper I chose for this furniture piece.
While the paint dried, I applied Big Mamas Butta in the scent Suzanne’s Garden to the back of the washstand. I also applied it to the inside and outside of the drawer and along the runners for the drawer.
This stuff is unreal. It hydrates the wood as well as makes it smell amazing! Think of a drawer sachet on steroids😉
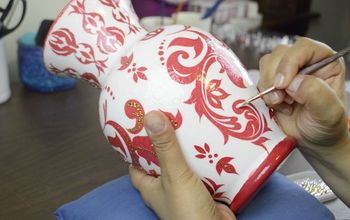
how to decoupage with Dixie Belle
You can use many types of paper to decoupage, but if this is your first furniture decoupage project, I highly suggest using decoupage rice paper. It is strong and stable enough to handle moving the paper around a bit and even when repositioning the paper.
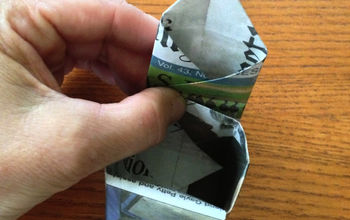
The first step is to precut the paper. Fit it to the area you want to cover and press a slight crease with your finger. Then remove the paper and cut along the crease.
Measure each section separately and don’t assume similar sections will measure the same. Remember this is vintage furniture and is often handcrafted and not machine-made. 😉
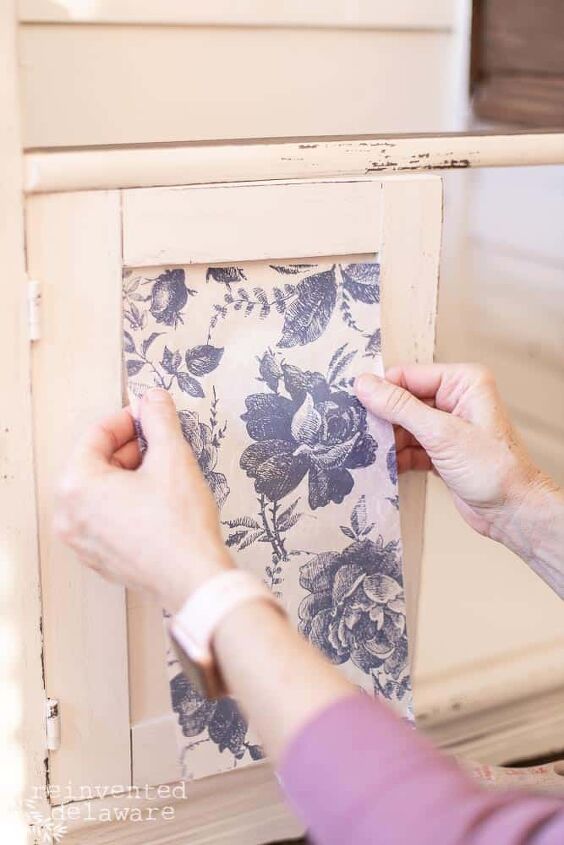
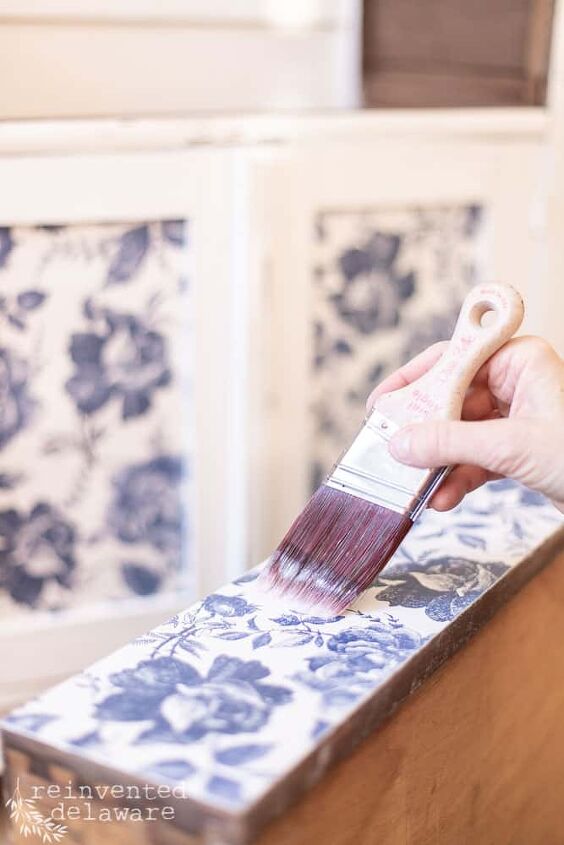
Once the paper is cut, apply a thin coat of clear coat to the area where the paper will go and then lay the paper onto the damp surface. I started along the top edge and worked my way down. If it doesn’t line up with the edge, you can peel the paper back, reposition the paper, and lay it back down.
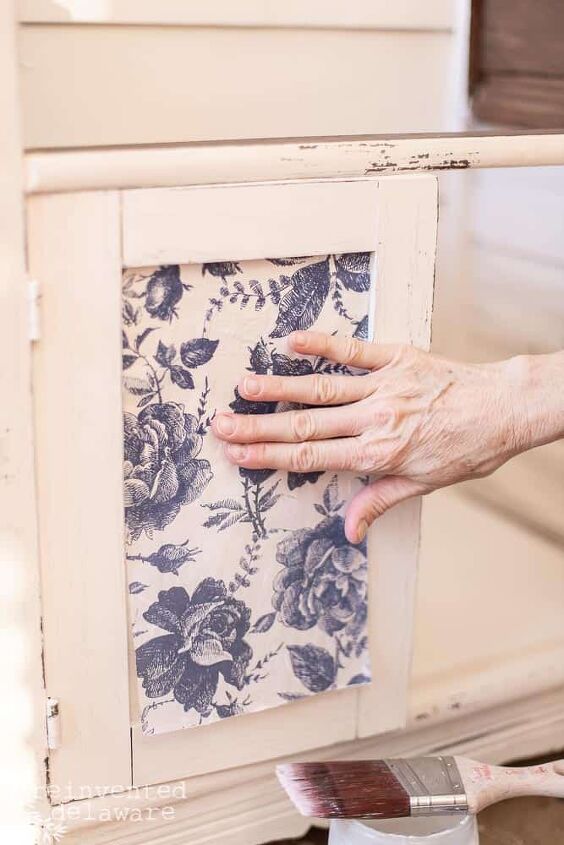
Smooth out the wrinkles as you go and make sure all of the paper has made contact with the damp clear coat.
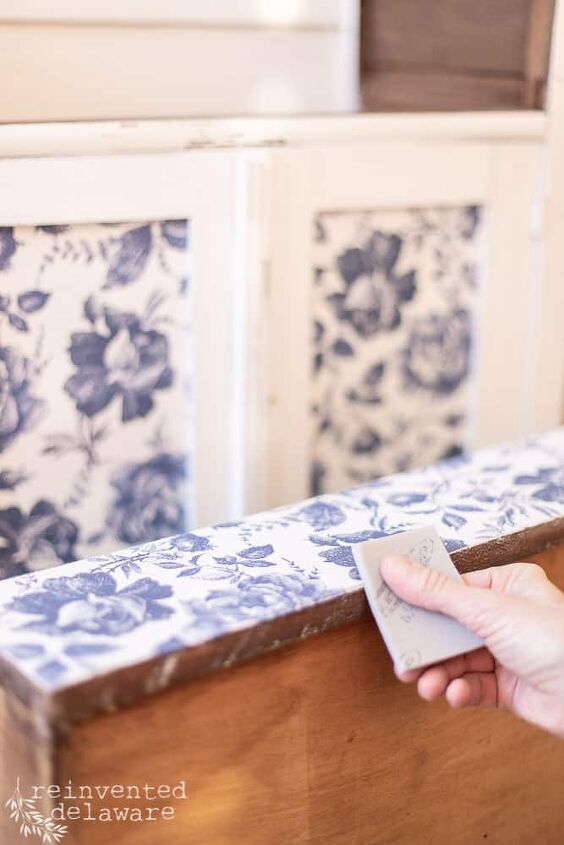
When the clear coat and paper have dried completely, use a sanding sponge along the edge of the drawer, slowly sanding off any excess paper.
Apply 1-2 coats of clear coat to the top surfaces of the decoupage paper.
prep for a chippy finish
The top of this piece gave me a run for my money. Not really, this washstand only cost me $30 so I wasn’t out that much!
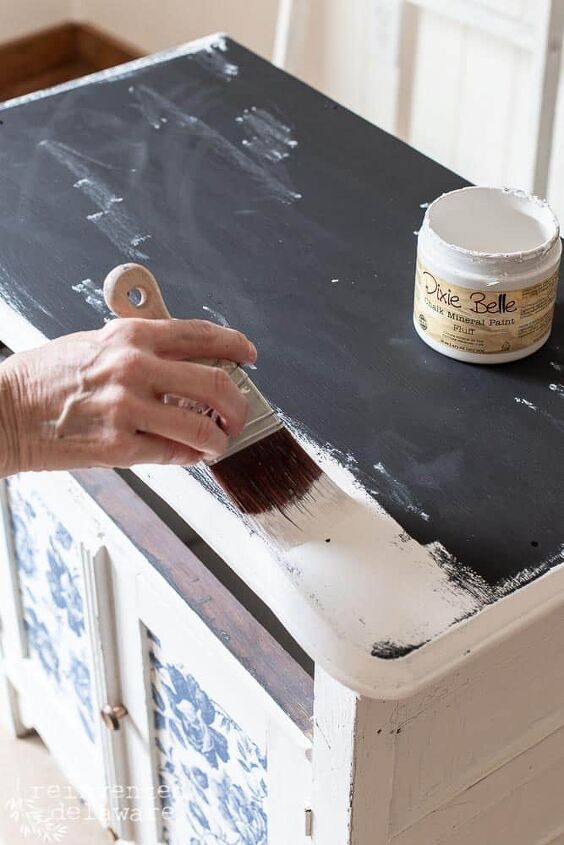
Anyway, I had already sanded the top of the washstand down to bare wood thinking that I wanted to do a whitewashed look. Epic fail! The results were a grayish/whitish strange color that did not look good with the amazing paint color and beautiful decoupage design.
So I went back to my plan for the body of the washstand and did a chippy paint finish on the top. I won’t go into the process here, because I have a post and a video to show you how I achieve the chippy paint finish with Dixie Belle chalk mineral paint. Click the buttons below for the post and for the video!
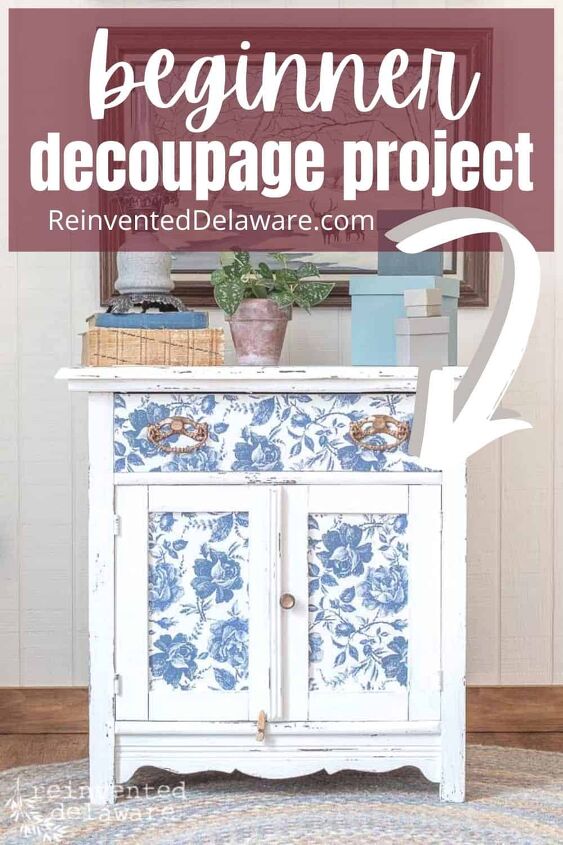
beginner decoupage furniture project
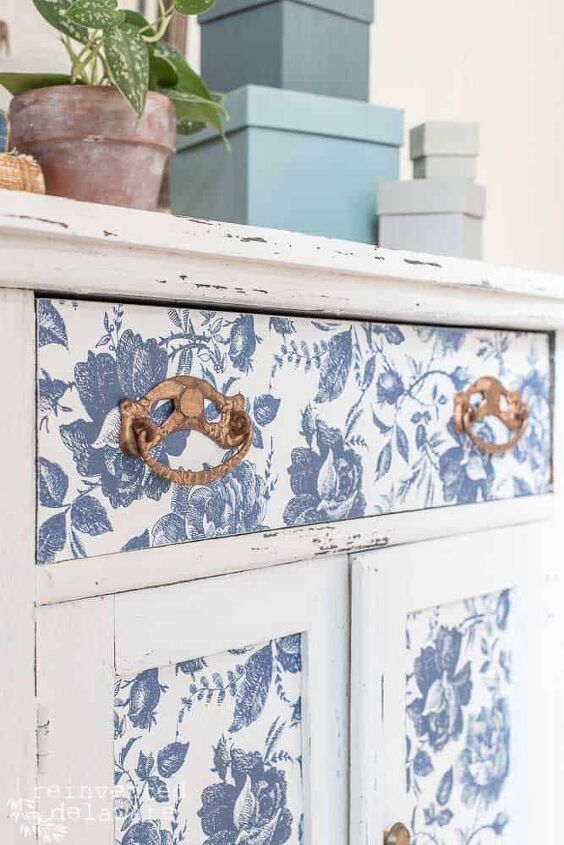
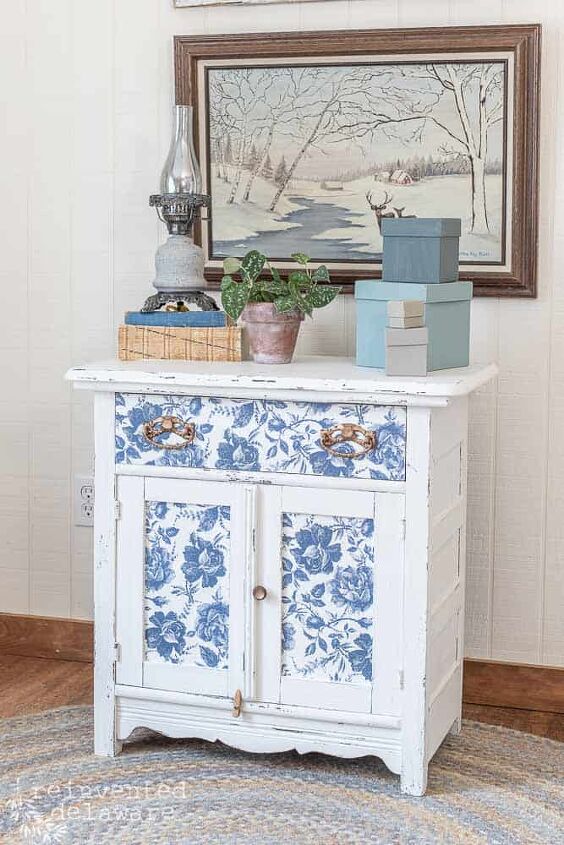
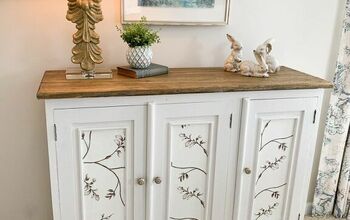
And there ya’ have it! Easy, right? And look at the results!
I didn’t mention it in this tutorial, but I used Dixie Belle Gemstone Mouse in the color Amber on the original hardware. It created this rose gold color that looks so pretty!
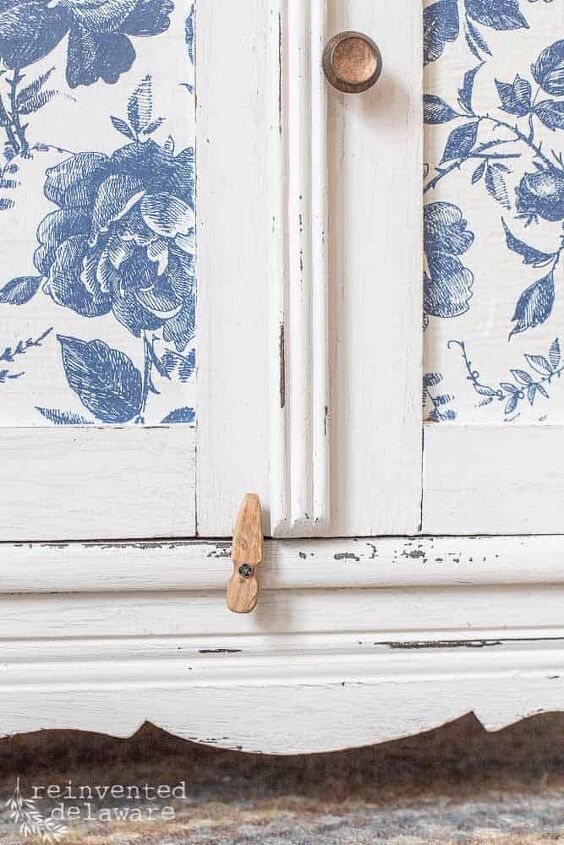
See the little piece of wood at the bottom of the washstand? Hubby made this little doorstop to hold the left door closed. Vintage furniture is often off just a bit so doors and drawers can be a bit wonky. This little piece will help to keep the woman of the house sane!
Does it drive you a little bonkers to have doors open? I’m thinking kitchen cabinet doors and closet doors. Just sayin’!
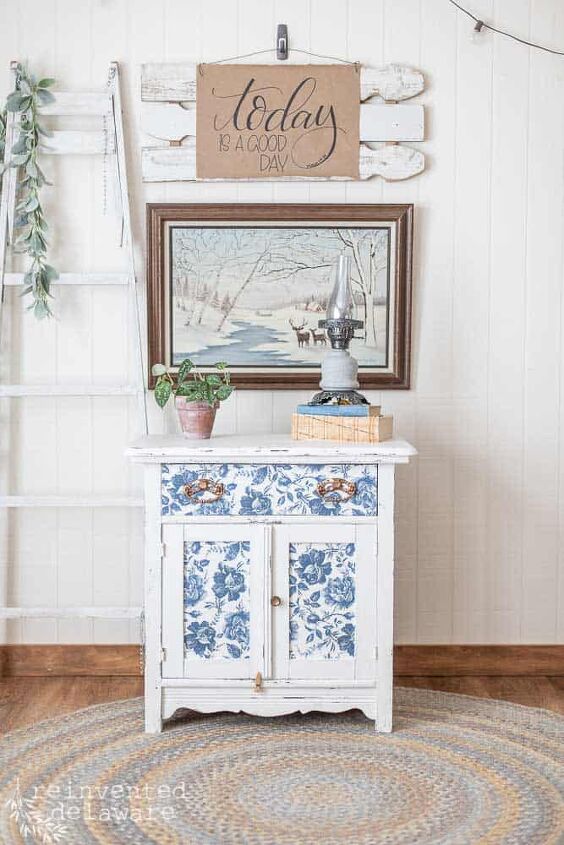
Cute, don’t you think? This piece reminds me of spring! It’s farmhouse fresh and would brighten any space!
I know, the painting in the background isn’t exactly spring, but the artwork colors look great with the decoupage paper for this piece of furniture!
decoupage for furniture doors & drawers
Take a good look at the two cabinet doors. I was careful to change the orientation of the rice paper so that the doors would not match exactly.
The drawer was wider than the decoupage paper so matched up the seam by cutting around some of the flowers as best that I could. This created a jagged edge that I puzzle-pieced together. That helps to hide the place where the two separate pieces come together. Can you see where they are joined?
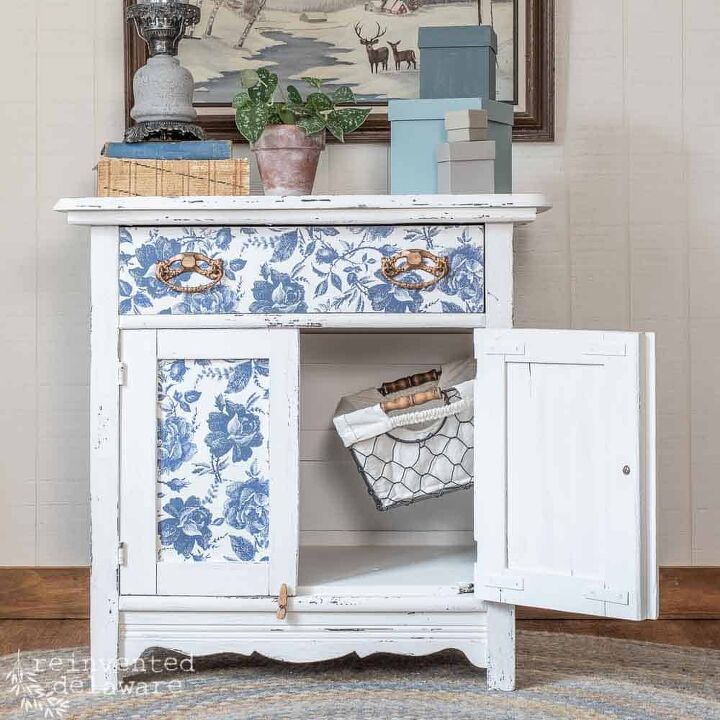
Usually, I don’t paint the interiors of cabinets but this piece needed it! The Fluff white paint really brightened the inside. I also hung a wire basket to two cup hooks that I screwed into the side of the washstand. This basket will add to the storage possibilities for this little washstand. And it can be easily removed too!
If you need any supplies for this project, be sure to use the links I have gathered for you at the beginning of this post! Thanks so much!😊
more inspiring posts!
See my blog for more tutorials!
Here is a link to my site: REINVENTEDDELAWARE.COM
Shop for Dixie Belle Products HERE

Pin the image below to your home decor and furniture boards! Just click the pin button at the top left corner!
Thanks for joining our journey!
Visit my Amazon Storefront!
Click the button below and head over to our online shop on Amazon!
Did you enjoy this post? I hope so! Feel free to pin any image in this post to your furniture makeover boards!
Thanks so much for stopping by today! I hope you are inspired to take on a decoupage project for your home!

Resources for this project:
See all materials


Comments
Join the conversation
-
Omgoodness, thank you so much for your encouraging words! I think you have a new design style coined "shabby chic farmhouse" I love it!! 😊
-
Beautiful. I have an old children’s desk in my basement that I’ve been debating what to do with. You’ve inspired me. Thank you


Frequently asked questions
Have a question about this project?