


Light up Pumpkin

by
Linda Sikut
3 Materials
$6
15 Minutes
Easy
Hi everyone, I am excited to post a project that is so much fun - for me and for my grandchildren. This was inspired by this project from Chas
http://www.hometalk.com/diy/outdoor/lights/flower-pot-to-solar-pumpkin-31661071
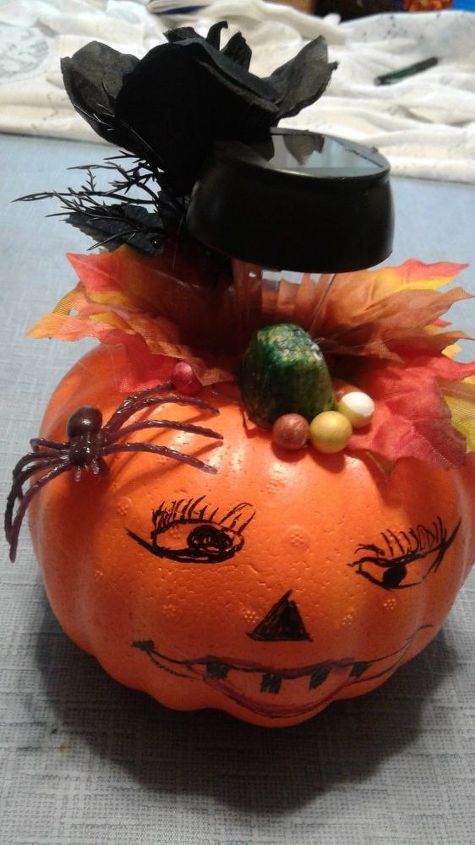
I thought it was so cute so I headed to the dollar store to find all the pieces we'd need to make these with my grandchildren.. My only problem was that I couldn't find any Terra Cotta pots and all of mine are painted, so I looked around Dollar Tree. I found some carveable pumpkins and I said to myself. "Self, those will work". I had some left over solar lights but I decided to get some new ones because ours were old. Below is what it looked like when I finished.
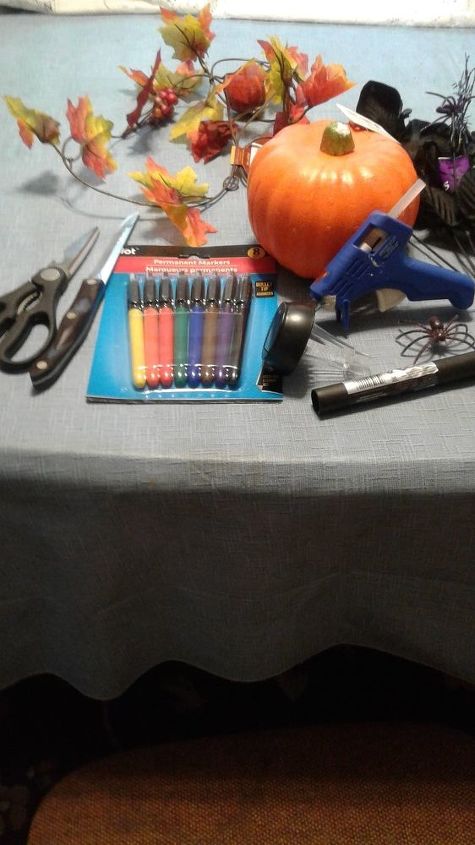
Here are the items I used - carveable pumpkin, solar light, faux fall leaves with some berries attached, faux black roses with spiders attached, knife, markers, hot glue gun plus extra glue & scissors to cut off the tags and leaves, berries, flowers, etc.
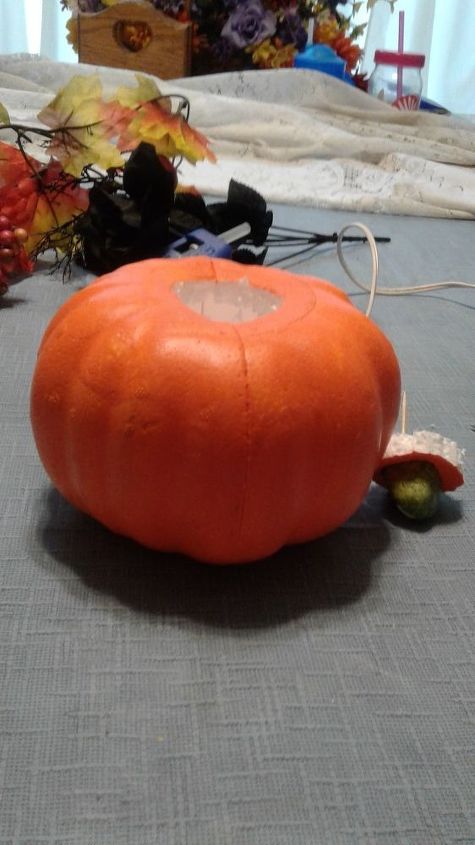
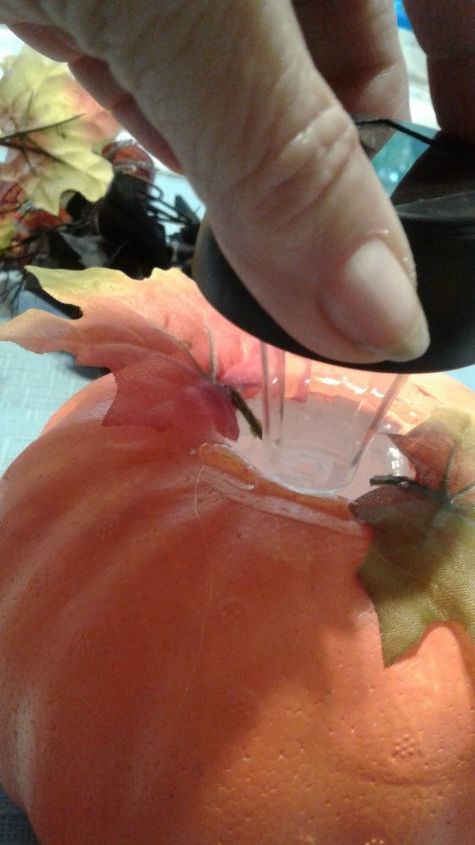
The first thing I did was to draw a circle around the pumpkin stem that would fit the solar light. (THIS WAS A MISTAKE - DON'T DO THIS YET) Instead, gently stick a knife under the stem all the way around and pull it off. Take your solar light off the stick and cut a SMALL hole that will fit the smallest part of the solar light. The picture shows the larger hole (DON'T MAKE THE MISTAKE I DID, MAKE IT SMALLER)
Next I started adding leaves around the hole.
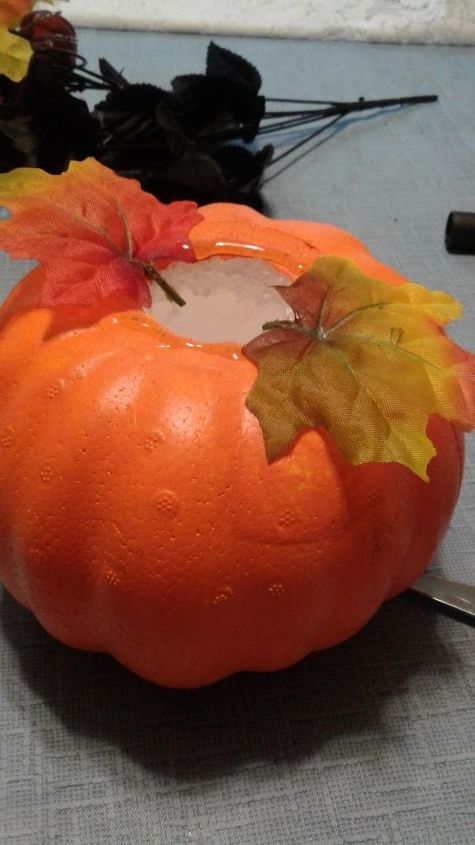
Then I put the solar light into the small hole (Remember the hole in the pic is too large) I glued the solar light in with my glue gun. It should show about as much as you can see in the pic.
Next I added the black rose and a spider. (Remember the solar light is too low) I fixed it later.

Finally she needed a face. I chose to draw mine on with markers but you could cut out the eyes, nose & lips then use and orange marker to cover up the white inside. You could also then put the light inside by using a larger hole so the light would shine through the facial features. (Did I just confuse you? Sorry.)
This is when I realized I had made a mistake! Yikes! I could have cut out her eyes, nose and lips, but I chose to fix the light instead so that the light was at the top.

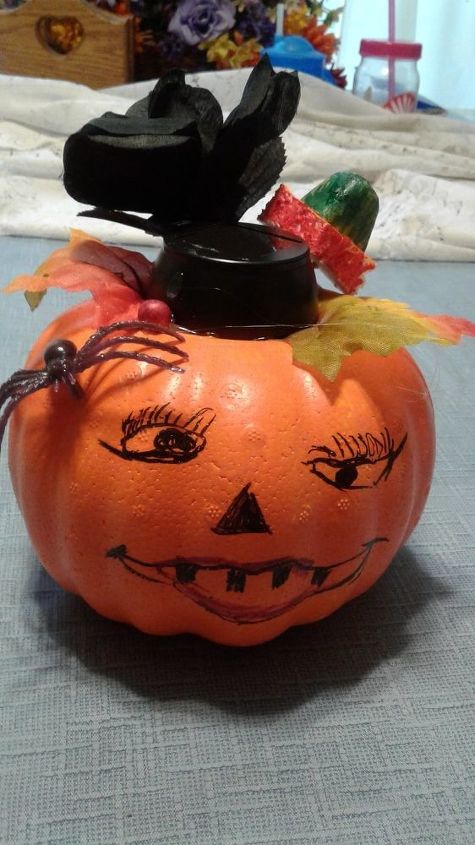
Here she is in all of her glory. Notice that the black rose almost make it look like she's wearing a hat I added a few more leaves and a few berries around the stem which I glued back on in the front. BTW, this one had a 'dent' in the stem. I simply cleaned up with a green marker. Set the pumpkin outside during the day so it charges the solar light and at night she will glow. You could even make several of them to light a walkway.
Total price $1 for the pumpkin, $1 for the leaves, $1 for the black roses, $1 for the marker, $2 for solar light and I had the rest so the total cost was $6. I got most things from the Dollar Tree. If I spent $3 more for a pumpkin & solar light, there was enough left over to make a second one. That brings the cost down to $4.50 each. Plus this was so much fun. Both of my grandchildren (3 & 6) had a ball making these and taking them home for their Halloween party.
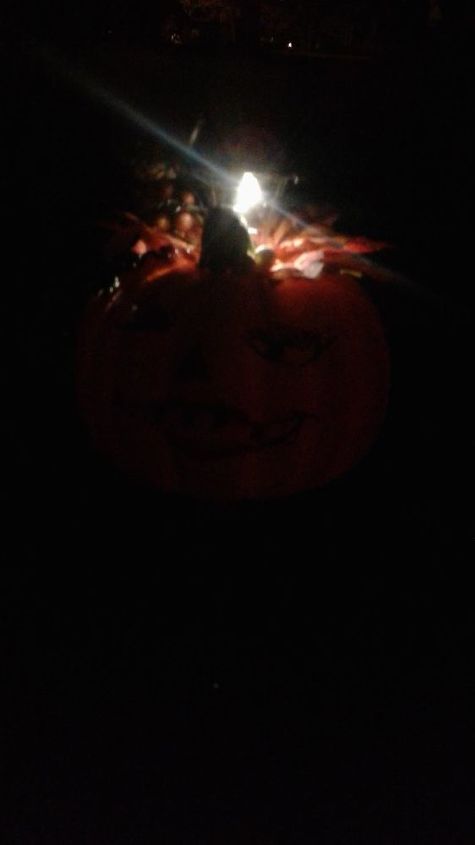
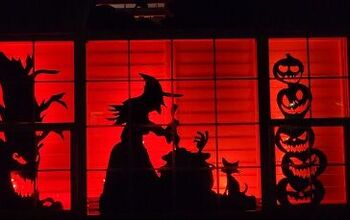
When I took this you could see the light through the pumpkin but it looks quite dark here. Our little pumpkin lady watches out for us through the night and keeps the ghouls & ghost's away so that we sleep well.
Comments
Join the conversation
2 of 5 comments
-
Wow Thanks for letting me know!
-
Cool simple idea.


Frequently asked questions
Have a question about this project?