


DIY: Jewellery Organizer Drawer Insert

When I revamped my walk-in closet recently, I knew I needed a wardrobe specifically to help organize some of my smaller accessories. Since I couldn’t fit a dreamy closet island in my space, I had to come up with a small scale solution that would work for my closet. Something practical but cute.
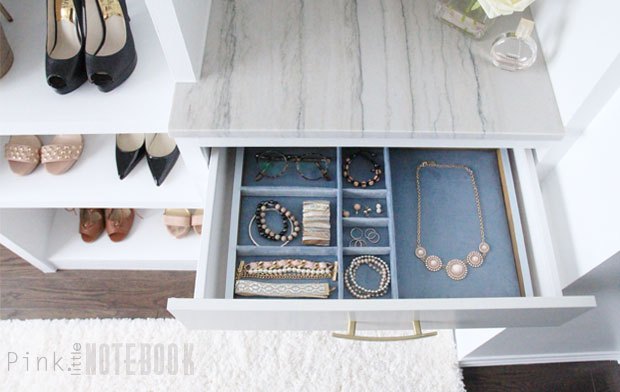
For this project, I had a max depth of 15″ to work with and the IKEA shallow base kitchen drawers (24″ x 14 3/4″) worked perfectly. However, the rare size made it next to impossible to find a jewellery drawer organizer. Most trays are made to fit the typical drawer depth of 24″.
Determined to stick to my vision, I decided to create my very own jewellery organizer drawer insert. Here’s how I did it.
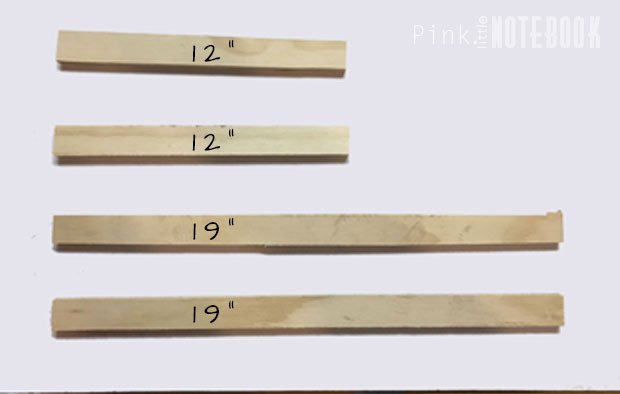
1. CREATE A FRAME
Since I had a bunch of scrape pieces of wood leftover from our closet built-ins, this is what I used to create the frame of the drawer insert. Although the IKEA drawer size is 24″ x 14 3/4″, the actual interior of the drawer is 19″x 12″. So, I cut the wood pieces to size, with a height of 1 1/4″. I secure the frame using a nail gun.
2. STAIN & PAINT
After a good sanding, I stain both the interior and exterior sides of the frame. Since cut plywood doesn’t absorb stain easily, I use a roller to paint the top edge in a light blue. This covers and hides the exposed edge.
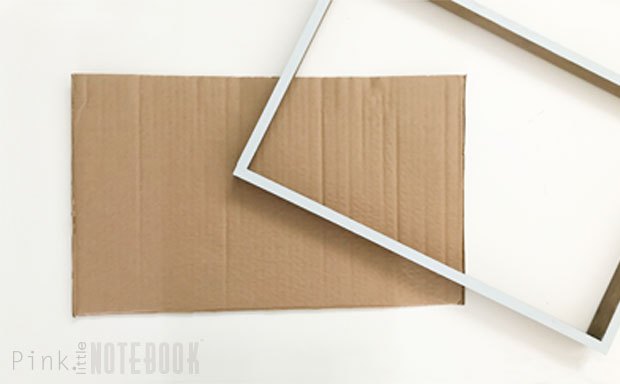
3. CARDBOARD BASE
Next, I grabbed a cardboard box and cut out the base of the drawer insert (18 1/2″ x 11 1/2″). Before you move to the next step, test it out. Make sure it fits snug.
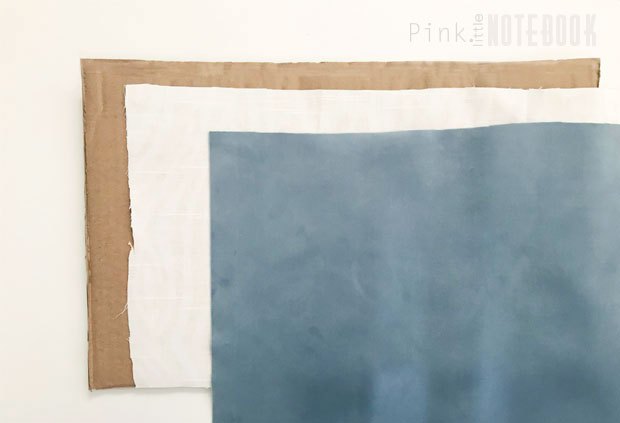
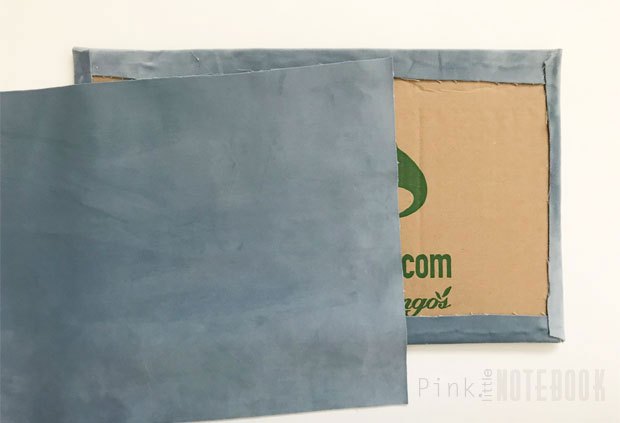
4. APPLY FABRIC
It’s important to line your jewellery drawer with velvet. This prevents it from shifting around when you open and close your drawer. Iron out all the wrinkles in the fabric before you begin.
Spray adhesive works best to glue the fabric to the front of the cardboard. This allows for no glue lines on your finish product.
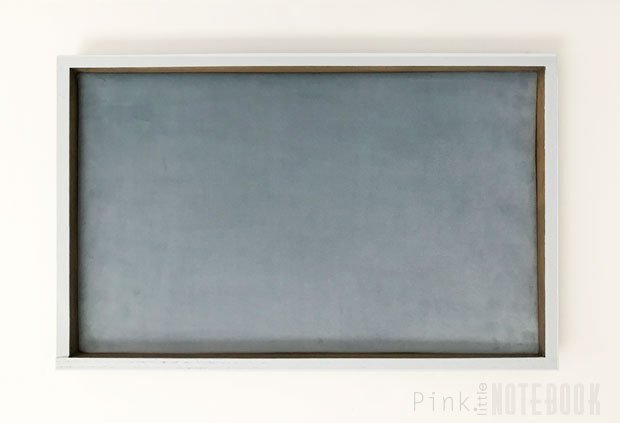
5. PUT IT TOGETHER
Since the cardboard is cut for a snug fit, you can slip the finished cardboard base into the frame. It shouldn’t move but for added protection, I add a dap of hot glue to each corner from the underside.
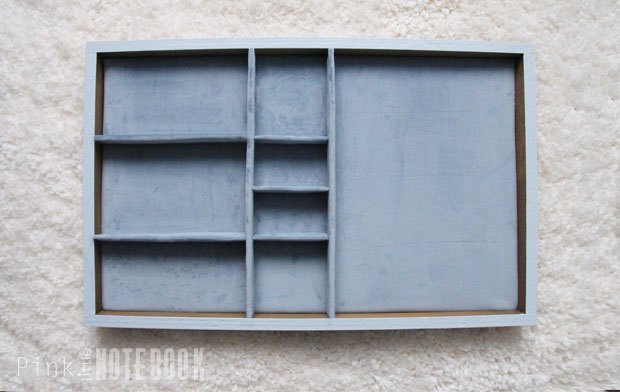
6. ADD THE DIVIDERS
To add dividers, I cut 1″ strips of cardboard in the appropriate lengths. You can add as many or as little dividers as you want.
To see more photos and details, please check out www.pinklittlenotebook.com


Frequently asked questions
Have a question about this project?