


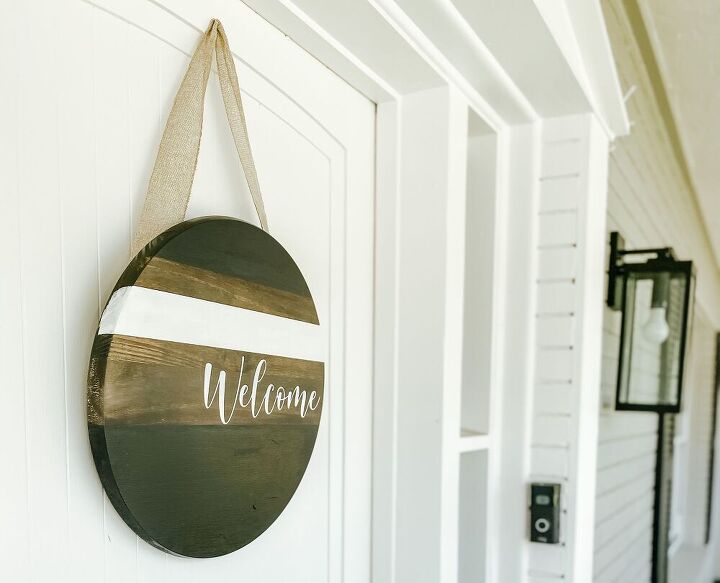
DIY Front Door Welcome Sign

Here is an easy welcome sign for your front door. Change it up with different colors for any season. Makes a great gift also! To see more, visit me on Instagram - instagram.com/mrsashleyfrench
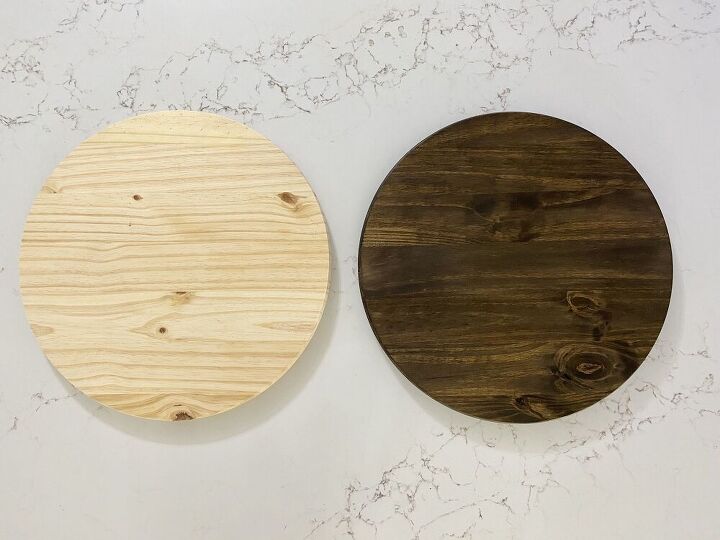
I started by staining the round piece of wood I picked up from Home Depot. I stained it with Minwax Dark Walnut. This step is optional and you can leave the wood natural if you choose.
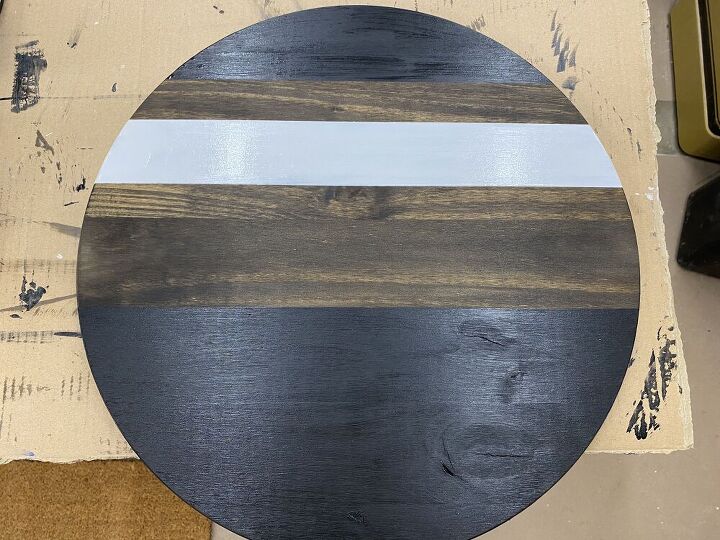
Once the stain was dry, I used blue painter's tape to make lines on the board. This was just random with no measuring. I pressed down firmly on the tape to make sure it was stuck to the board so that the paint would not bleed beneath the tape. After painting the stripes, I pulled the tape up while the paint was still wet.
I left the sign to dry overnight. While drying, I used my vinyl cutting machine to make a vinyl 'Welcome' sticker.
I used transfer sticker paper to transfer the vinyl sticker onto my board. If you do not have a vinyl cutter you can stencil the letters on with pencil before painting, or you could free hand the word 'Welcome'.

The final step was to attach ribbon to the back of the board. I used a staple gun to staple the ribbon to the back of the board.

Resources for this project:


Comments
Join the conversation
-
Another way of reducing the knocking in the wind on a sign such as this one is to attach a tiny screw to the bottom centre of the sign. Tie clear fishing line tightly around the screw, pull tightly, and tie on to another screw, or heavy duty staple, attached on the porch floor, outside window ledge, wall, (depending on the architecture of the house) away from the wall.
The sign may still move from side to side a little, but the tight wire will keep it from banging back and forth.
This tip also works well for wreaths.
-
Thank you! That’s a great tip!


Frequently asked questions
Have a question about this project?