Materials:
5/8” dowel (6” pieces)
Picture Ledge (23”)
LED remote control edge strip light (battery operated)
Gold spray paint (satin bronze)
Cable Two hole strap
2x3 lumber (12.25”)
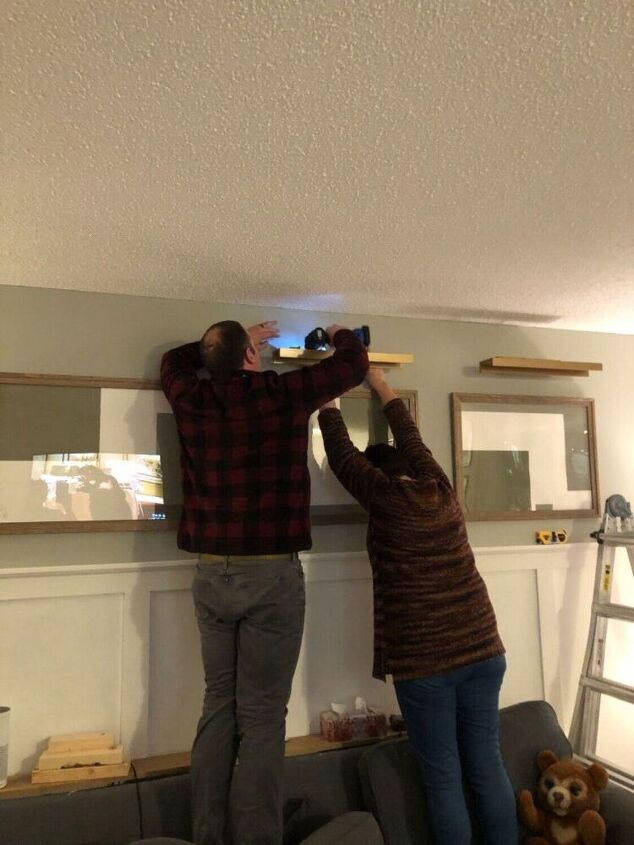
I’ve been struggling with lighting in my living room and I figured hanging some sconces above some family photos would be the solution! Well with no electrical on the wall, I didn’t want cords hanging down and puck lights just weren’t bright enough. I researched battery operated artwork lighting and prices ranged between $45-$300 but reviews were so mixed.
Soooooo why not make my own?! For around $35 each, I made my own battery operated sconces and I couldn’t be happier!!!!
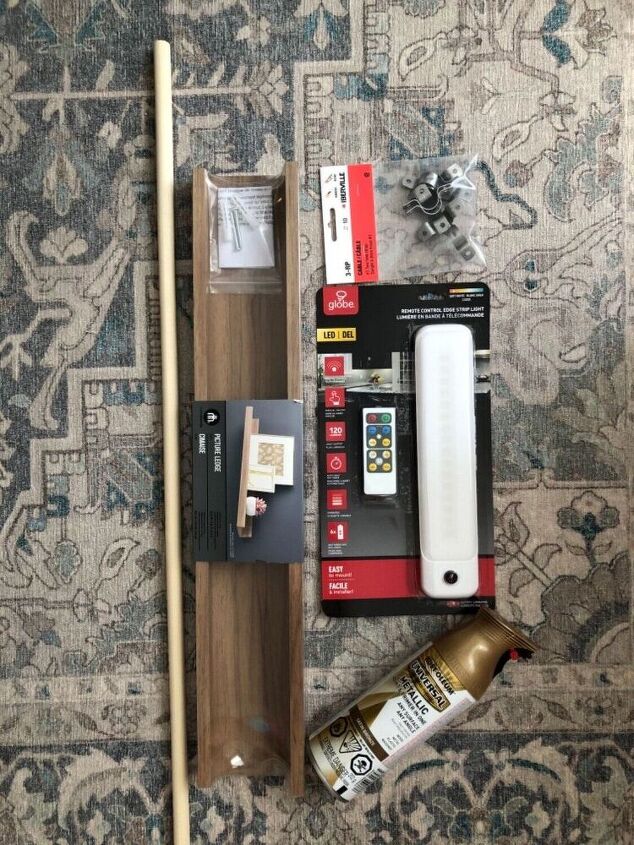
Materials:
5/8” dowel (6” pieces)
Picture Ledge (23”)
LED remote control edge strip light (battery operated)
Gold spray paint (satin bronze)
Cable Two hole strap
2x3 lumber (12.25”)
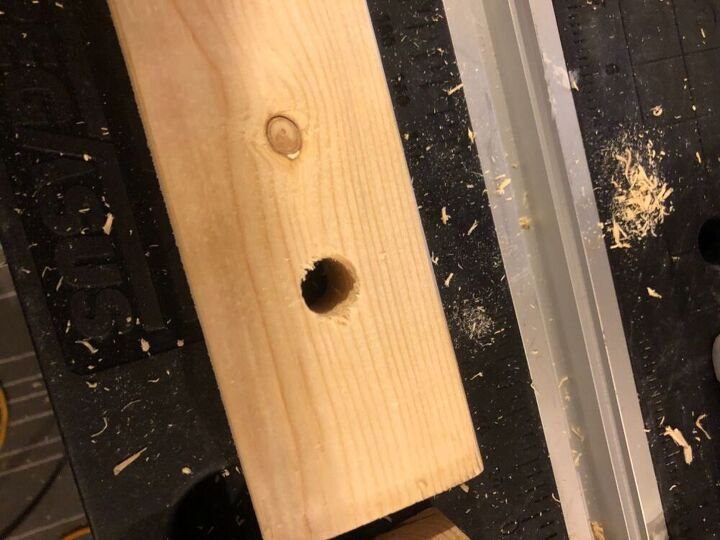
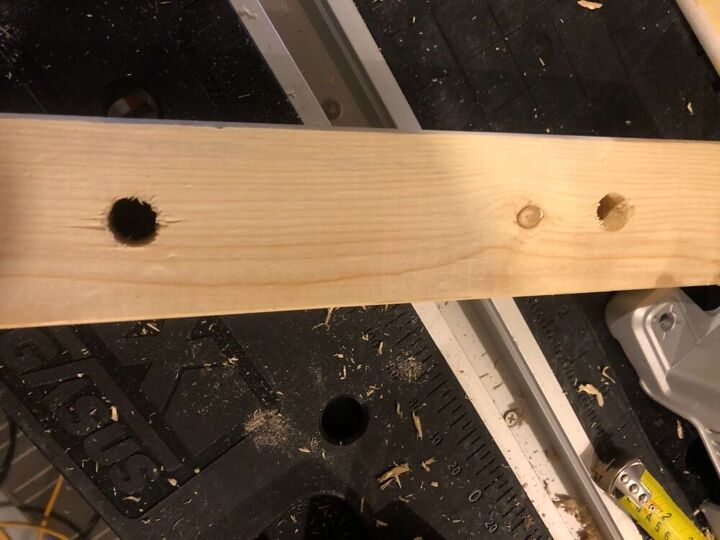
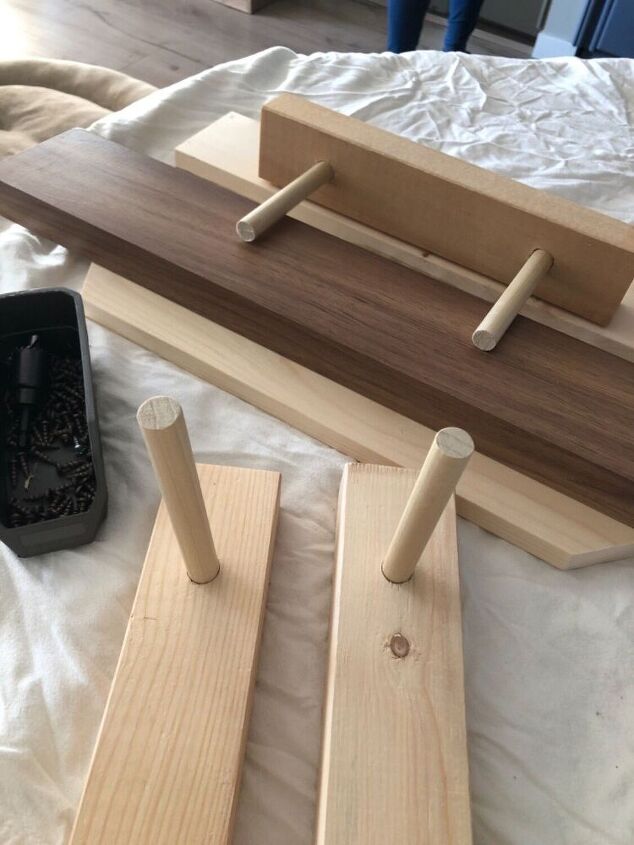
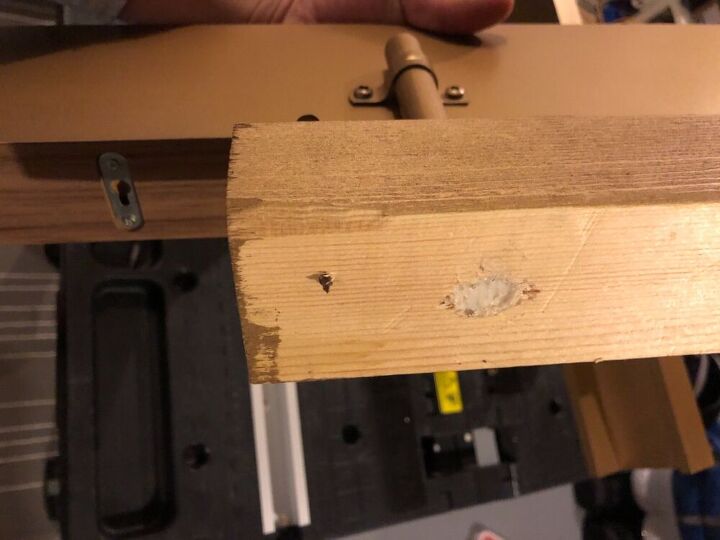
First step was to mark the 2x3 (cut to 12.25”) which would be the wall mount for the light. Measured half the wood which is 1.5”.
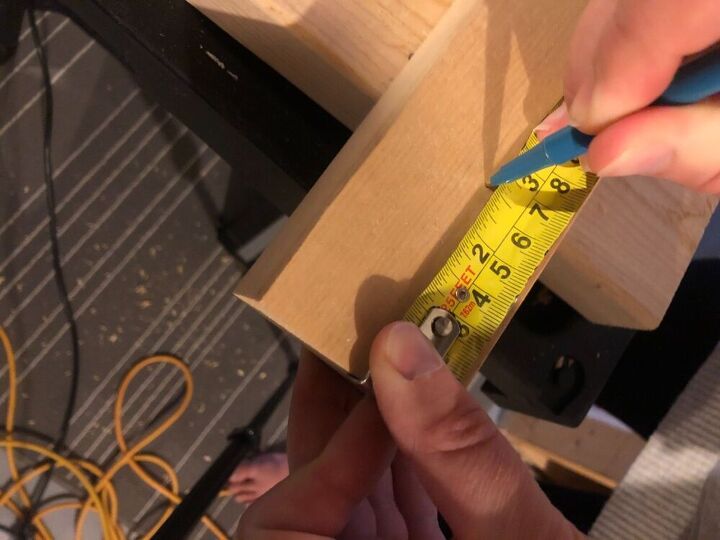
Then measured in 2.5” to make the hole.
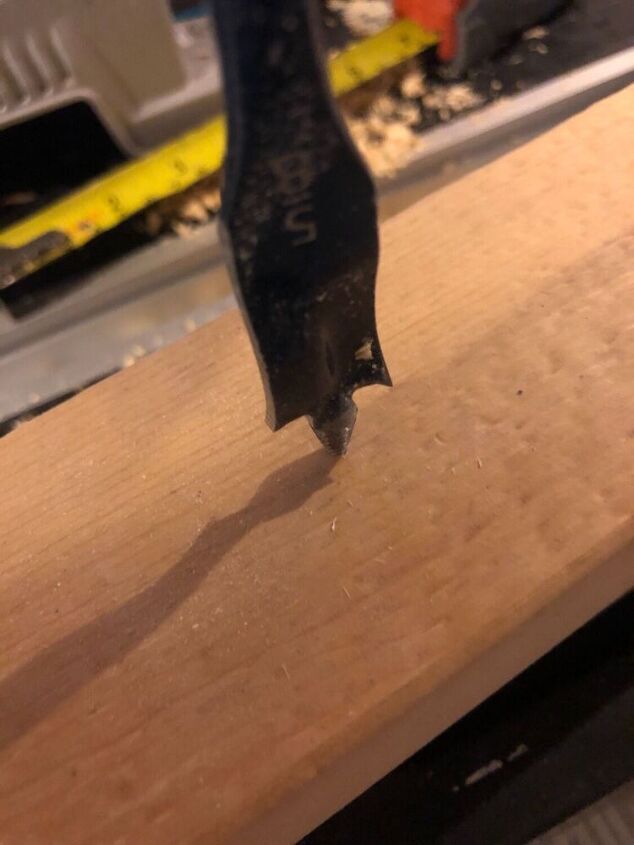
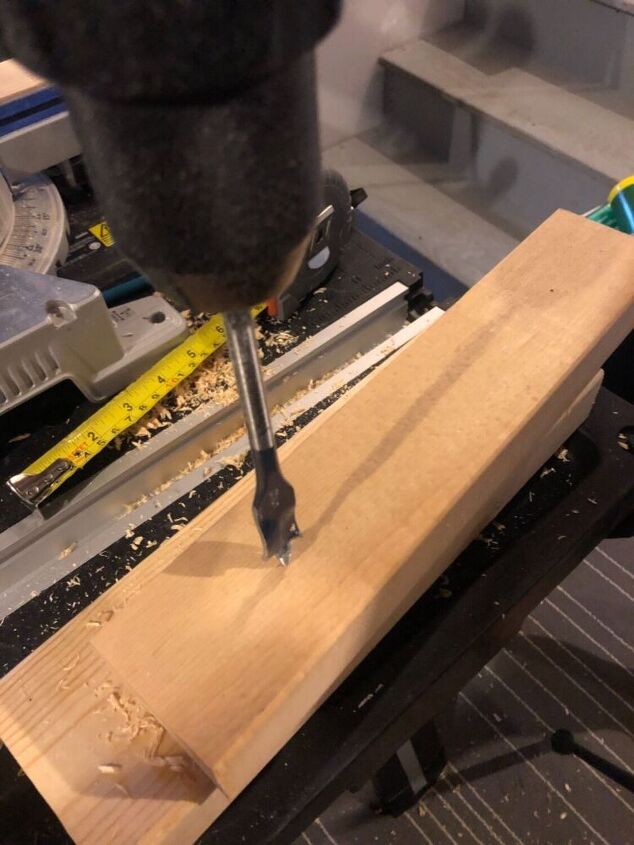
Using a 5/8” spade bit, we easily made two holes in each piece to place the dowel.
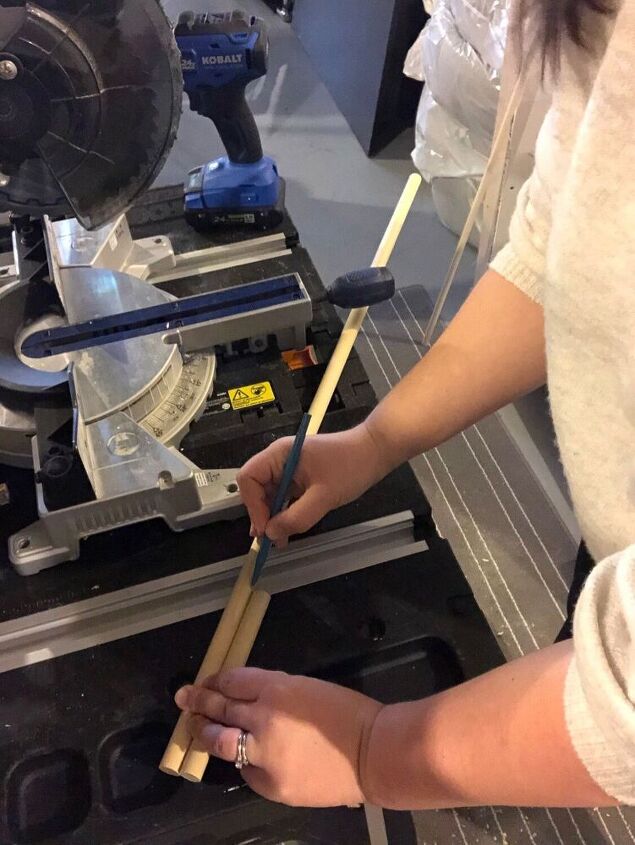
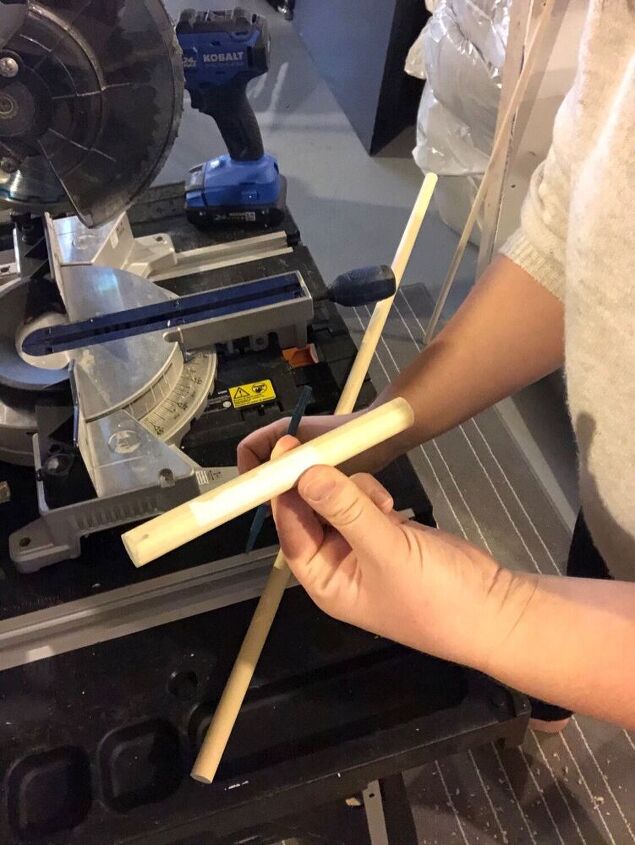
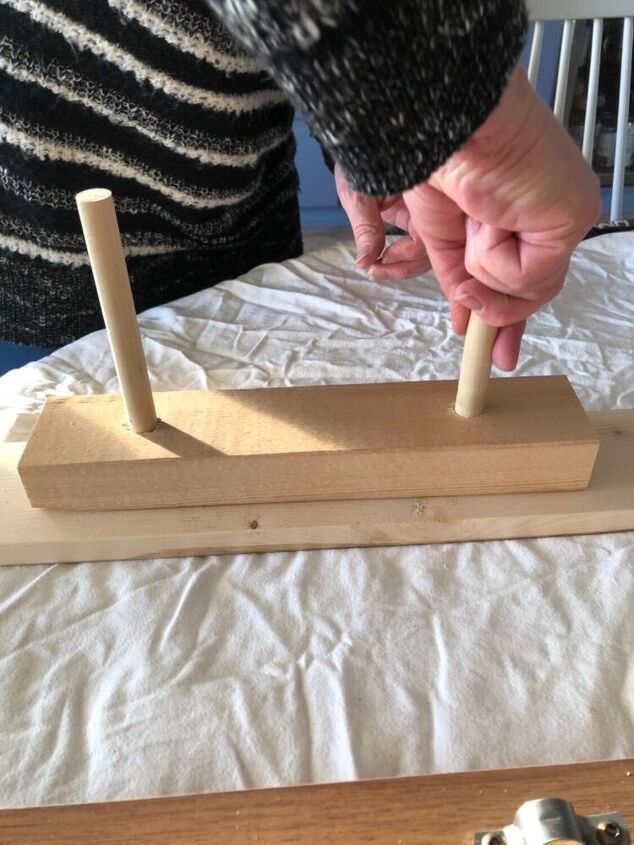
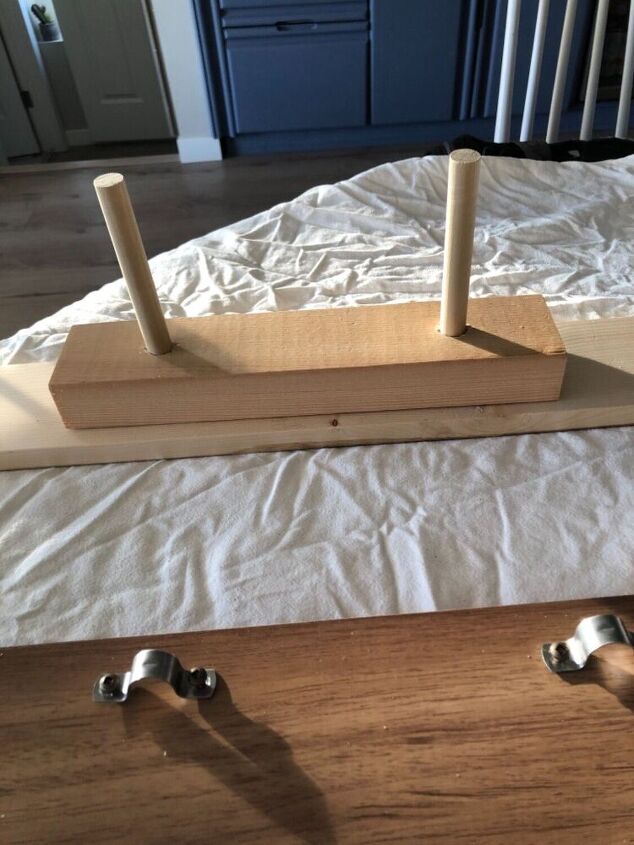
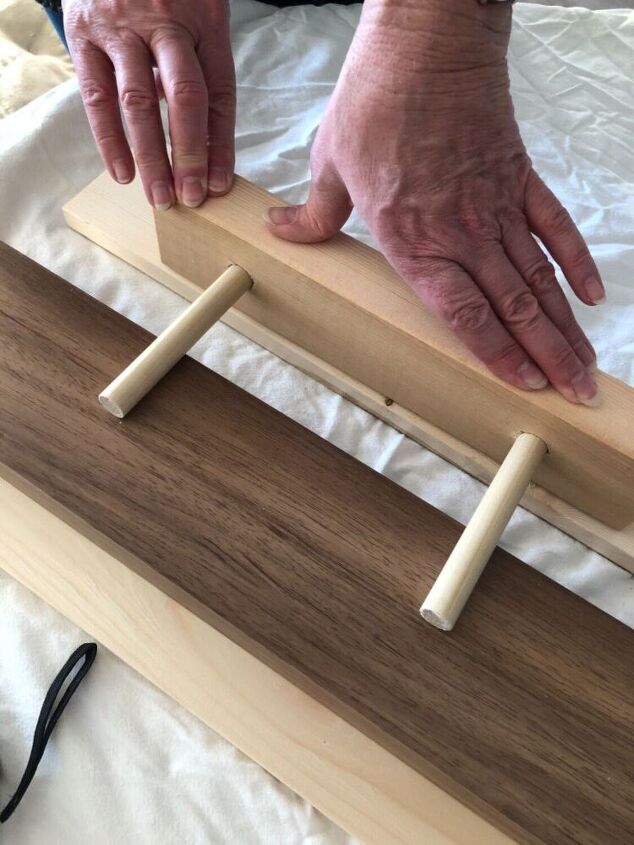
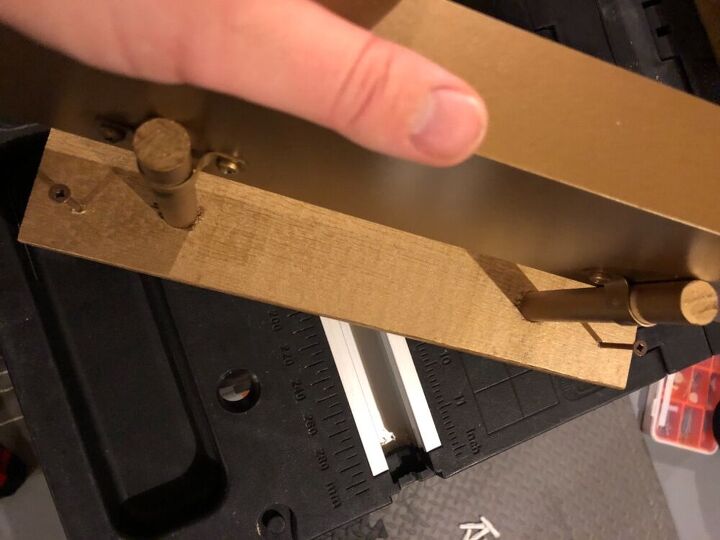
Next up was to cut the dowels. You can cut these to whatever length you want, depending on your finished light size. Mine were cut to 6” each.
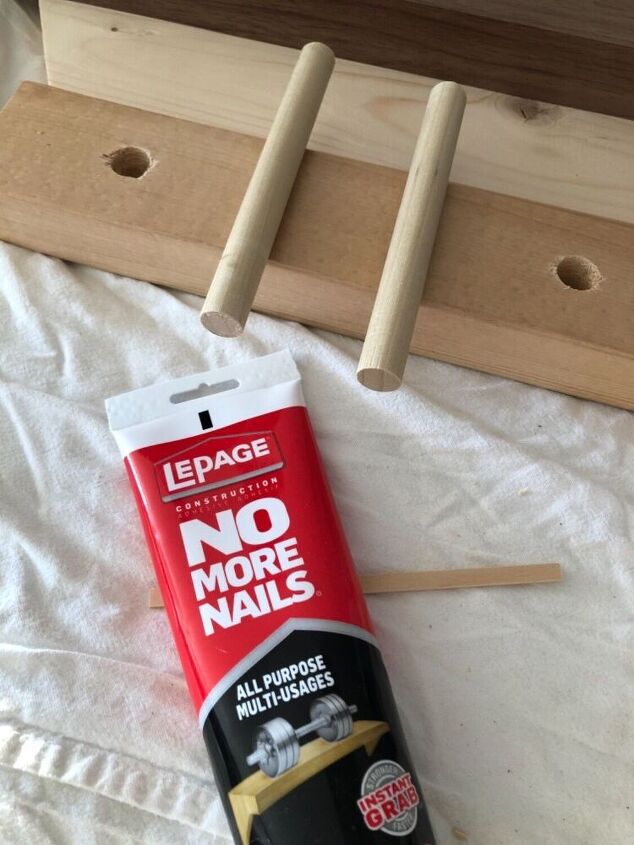
I then added some No More Nails glue into the hole the dowel would go through.
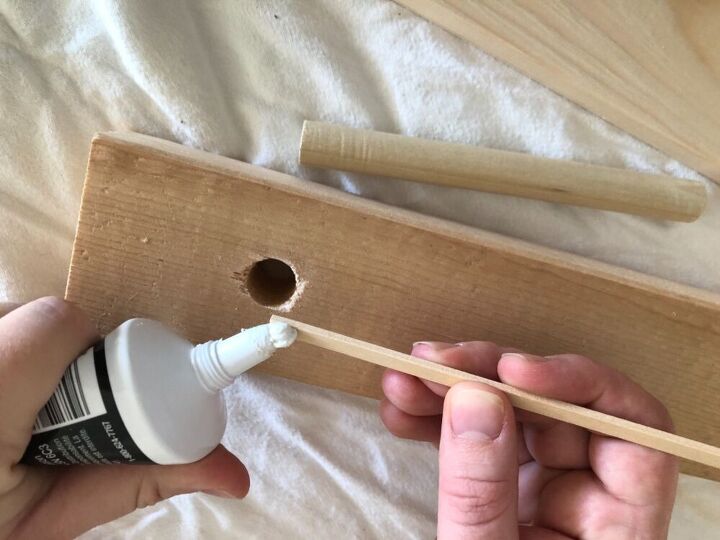
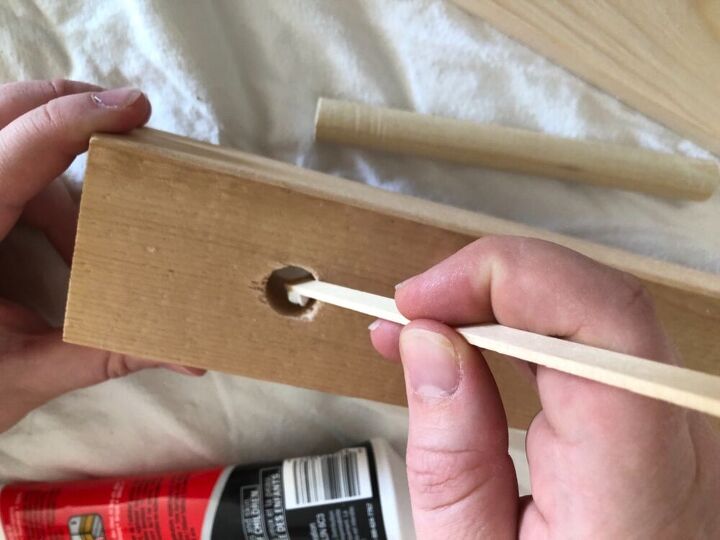
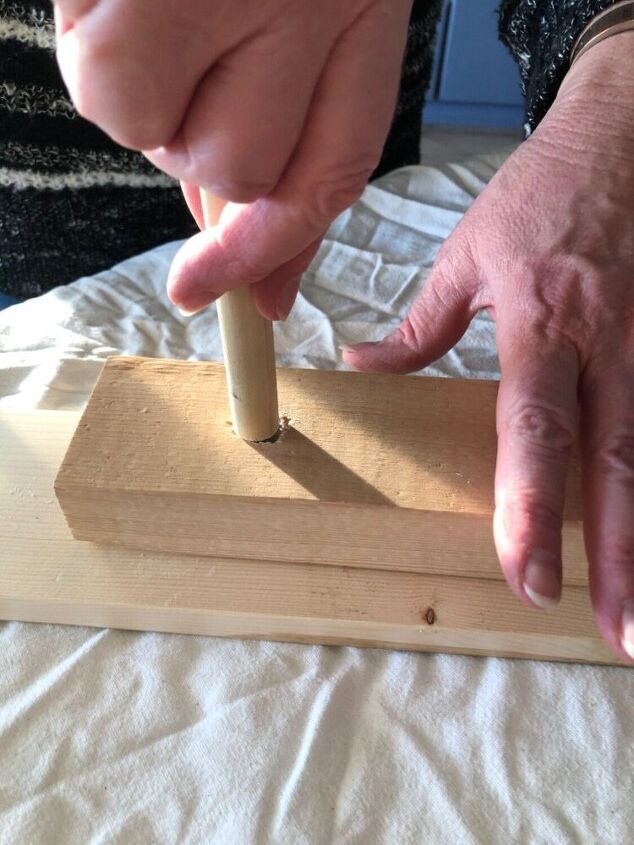
Be careful to not use too much and push the dowel down through the front so any excess glue squeezes through the back.
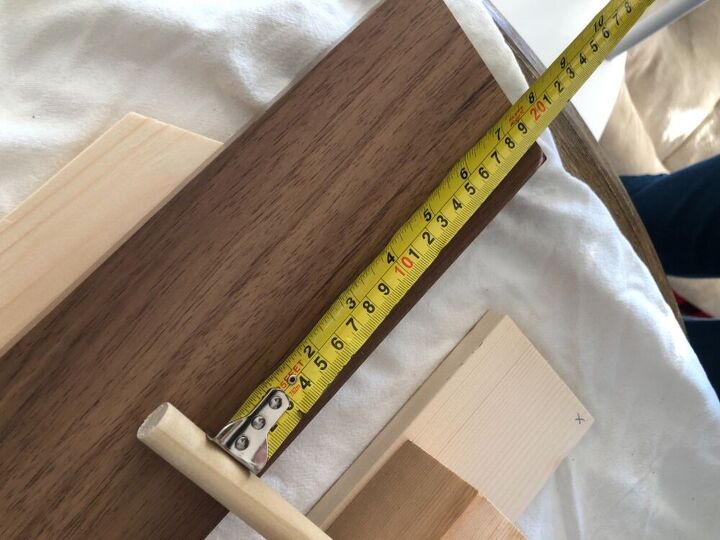
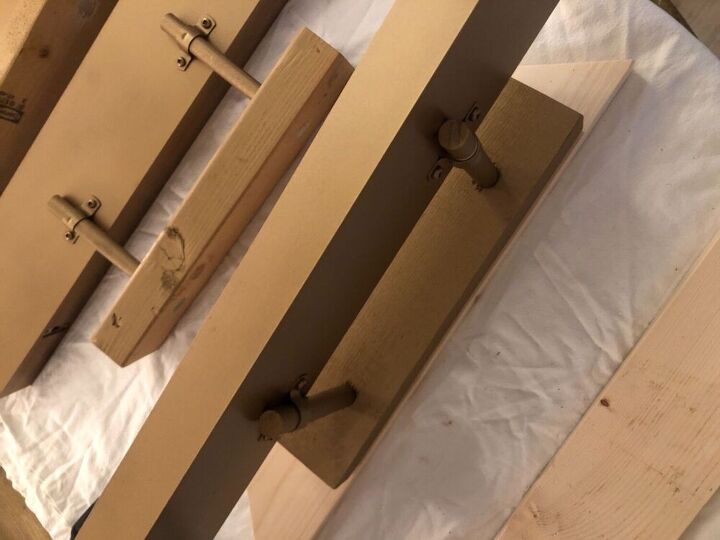
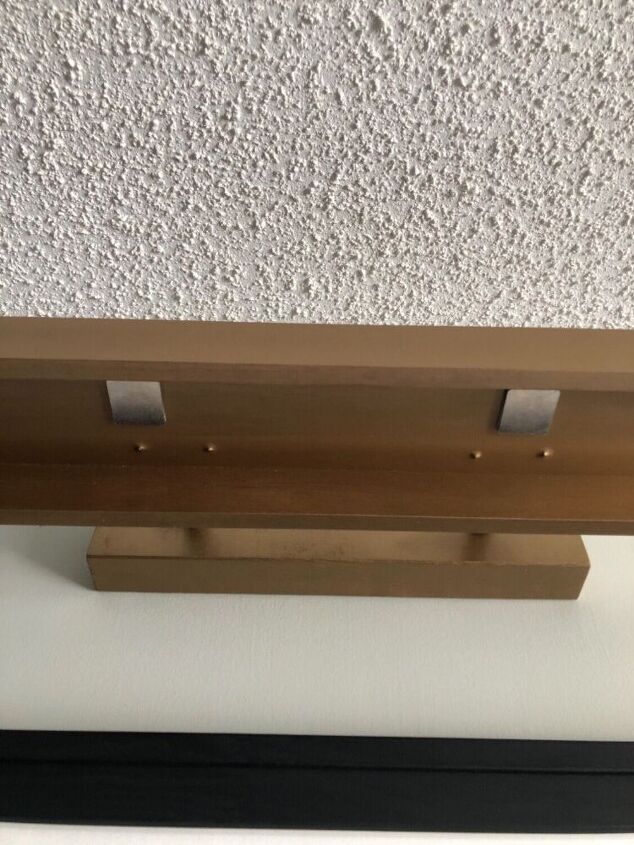
Next up is placing the two hole strap brackets and measuring it out on the picture ledge.
Once they’re centered, hold them while you place the strap brackets.
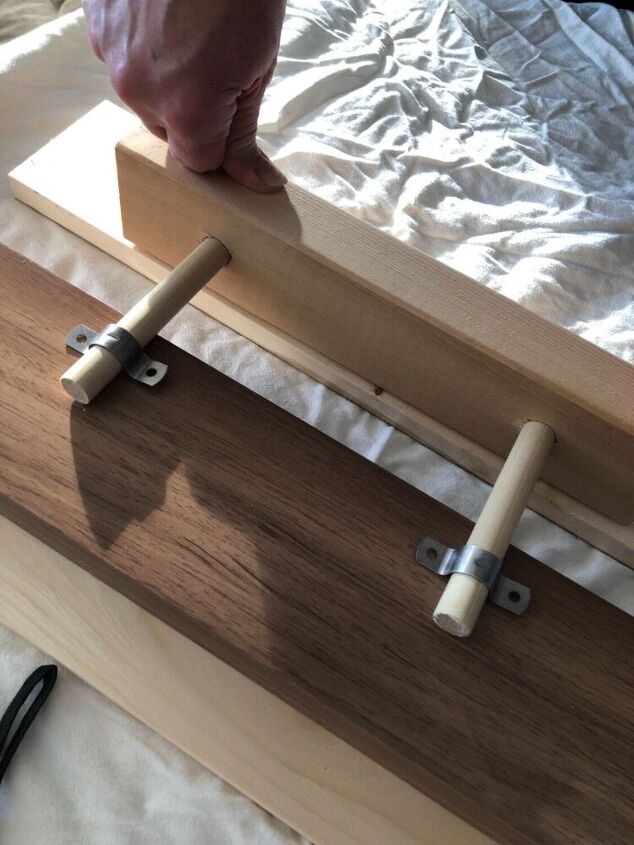
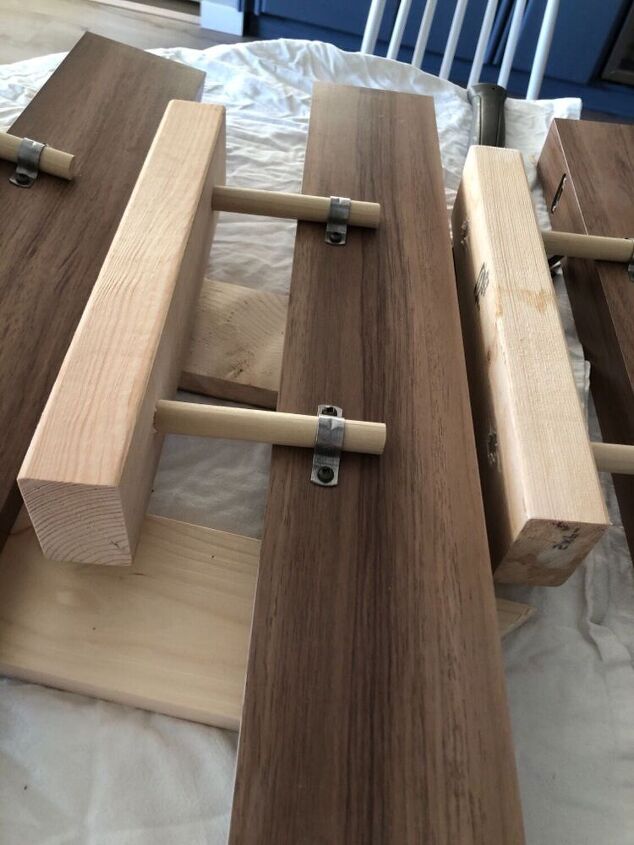
Screw them into place, and you have an almost finished piece.
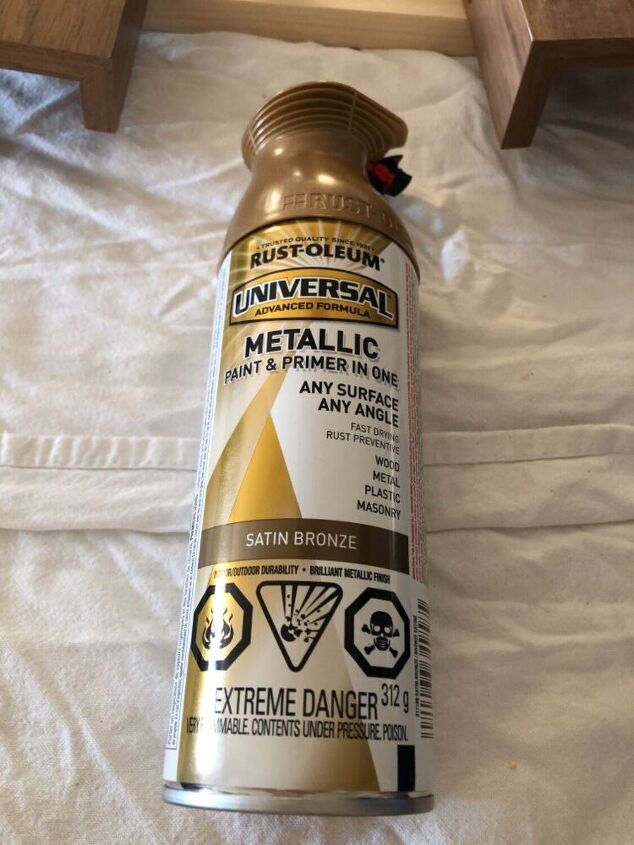
I then painted them using satin bronze spray paint.
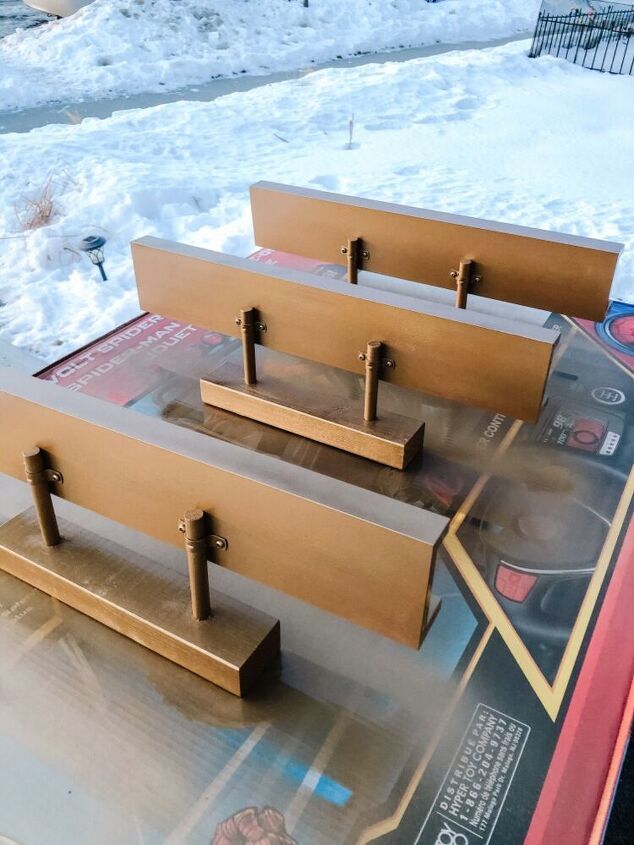
It gave them such a finished look that I loved.
We then screwed in some 3” screws which would be used to mount to the wall.
Having them stick out in the back, allowed us to push small holes in the wall for where the wall plugs would go.
Once wall plugs are in place, screw the light onto the wall.
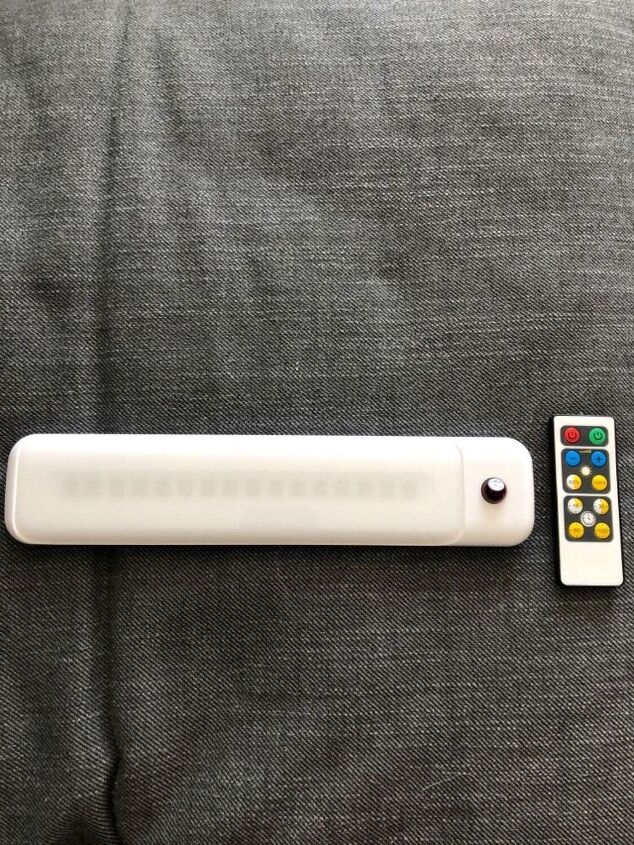
These lights are the coolest! They work with batteries and a remote.
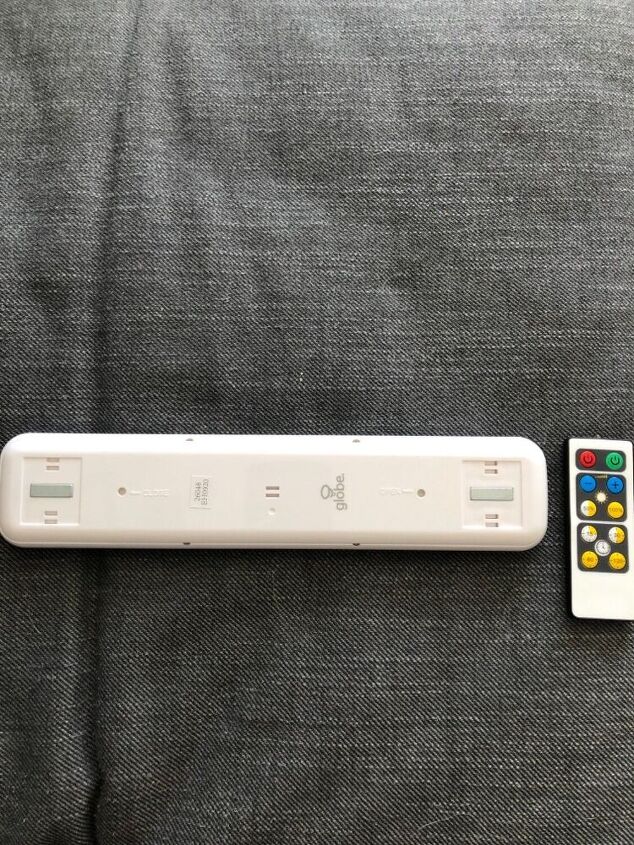
The back as magnets attached, and comes with double sided tape.
The light attaches to these magnets for easily attachment and removal for battery changes.
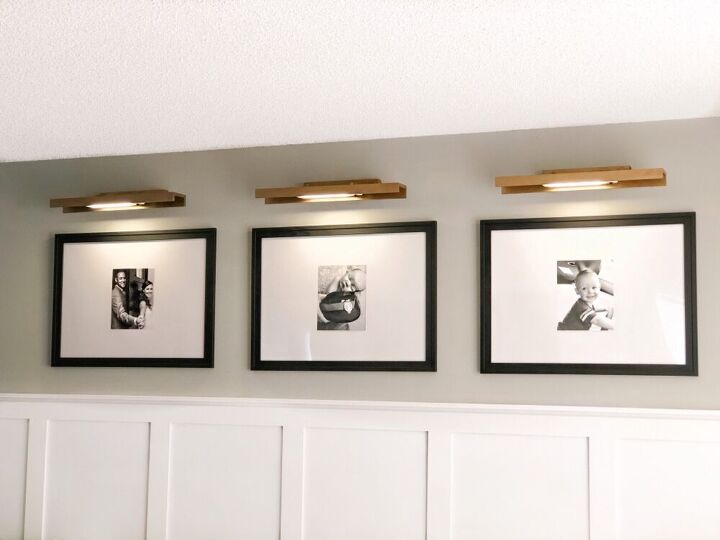
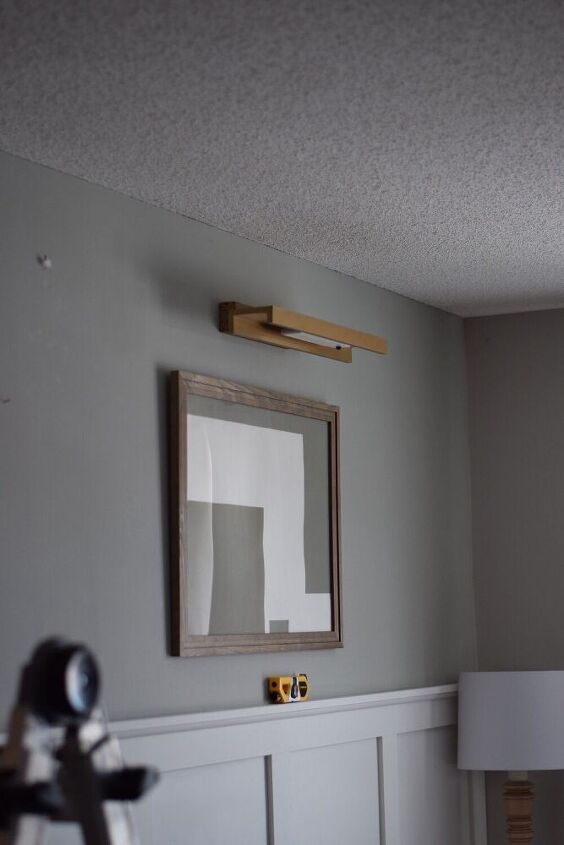
The finished look is exactly what I was going for.
Very creative , They came out beautifully . The clean lines and wood give them a contemporary meets country look. By the way, I live in the North East. When it’s too cold out , I spray paint in the (unheated) garage and bring in my project to dry.
Thanks so much!! I wish I had a garage!
I love unique things and when I saw these cute, natural little pots at the Dollar tree, I had an...
An oldie but a goodie! Easy to make, inexpensive and tons of fun! I like to use whatever I can find...
I love decorating for the holidays but sometimes I want those pieces to be out for a while (without...
This DIY uses products from the Dollar Tree as well as well as crystal garlands from Amazon and...
Solar Lamp DIY - Add style and ambiance to your outdoor living with this easy DIY project. Light up...
Here's a warm and cozy idea to chase away those winter blues and brighten up your home after the...
I wanted to add some color and character to my boring white-box rental apartment, and needed more...
Ahhh…the first snow of the season! Although I’m not much of a winter person (too cold!), I love the...
Hello creative friends! I may be a little late to the party, but I just discovered Pottery Barn. I...
Hi Friends! In this video, I made a great vase for room decor with plastic bottles. It is really...
February is a great time to spread some love.Well, actually, anytime of the year is a good time for...
We’ve all been there when we find what we think is the perfect piece for a makeover and then to find...
Built In Shelves In WallDoes your home lack storage? Are you tight on space? Perhaps you don’t even...
These cake stands are a super easy and quick project that will look so cute in your kitchen, are a...
Spring brings new life and with it new possibilities. I think that's what the Kayla pillow embraces!...
Hi Friends. I made an amazing recycle idea in tis video. I made a clay pot with plastic yoghurt...
DIY Mudroom Built In/Hall Tree with a Bench & Drawers
Y’all I’m so excited to share these cute placemats with you. They only cost $3.00 each to make and...
Makeover of this beautiful dresser that we were torn to paint, but were hired to refresh it with a...
Do you LOVE the book stack craze? (pun intended) Dollar Tree hardcover books and some craft paint...
Have you ever found a light fixture on clearance, at a yard sale, or while thrifting, but you didn’t...
I was hesitant about doing a bold colour on these side tables! But I am happy I did :) they’re are...
Sharing our 3 simple steps to protect your new luxury vinyl flooring. It’s so easy you’ll wish you...
I just ordered some beautiful real touch tulips. They are beautiful and really look and feel real!...
Y’all I’ve been obsessing over these earthenware lamps I’ve been seeing at Pottery Barn and...
Here’s a fun use for old cheap sunglasses, 3-D glasses and scratched readers that are laying around...
Below is the tutorial on how to make a Coastal Style Wood Bench: the perfect addition to any...
It's amazing how a little paint can completely transform a piece of furniture. And, this tilt top...
Having a tiny kitchen makes counter space a beloved item. Unfortunately I didn’t have it and had to...
St. Patrick’s Day is just around the corner and this playful Leprechaun Selfie Wreath is just the...
With our oldest boy moving rooms and his younger sister taking over, the gaming closet had to go. In...
I know there are so many board and batten tutorials out there, but after adding it to several rooms...
Hello, I'm Cindy and blog over at Cloches & Lavender where I share DIYU's, crafts and upcycling with...
Spring is a time of new beginnings; for this reason, as soon as the temperatures start to warm up, I...
If you want the look of ceramic or porcelain tile but not the price tag or hassle, try groutable...
Lately I’ve been getting into a cleaner and greener lifestyle. The crazy amount of chemicals I had...
Have a question about this project?
Nice. My questions is, you were spray painting outside in the winter? that would never fly here.
E95656, That's a given duh! We have 6+ months of "wait for a good weather day" winter/polar vortex which is why I was surprised at the snow in the photo.
How much time did this take?
I’d say around 3 hours or so. Wasn’t bad at all :)
Where do I buy those lights??? Home Depot??? Walmart??
great job.