Bathroom Renovation Under $1K
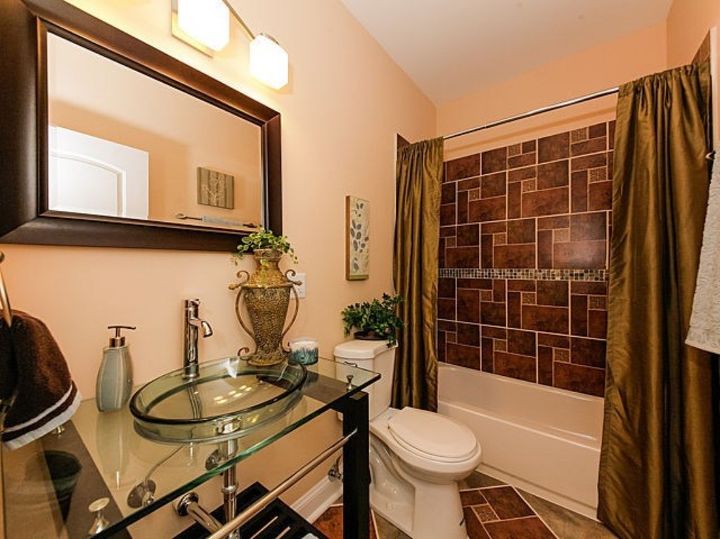
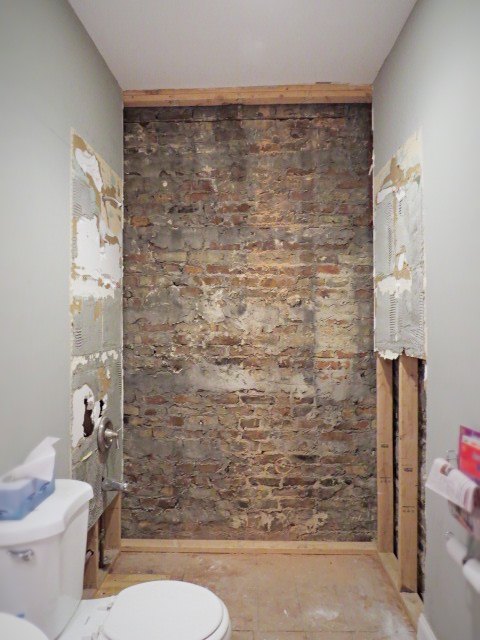
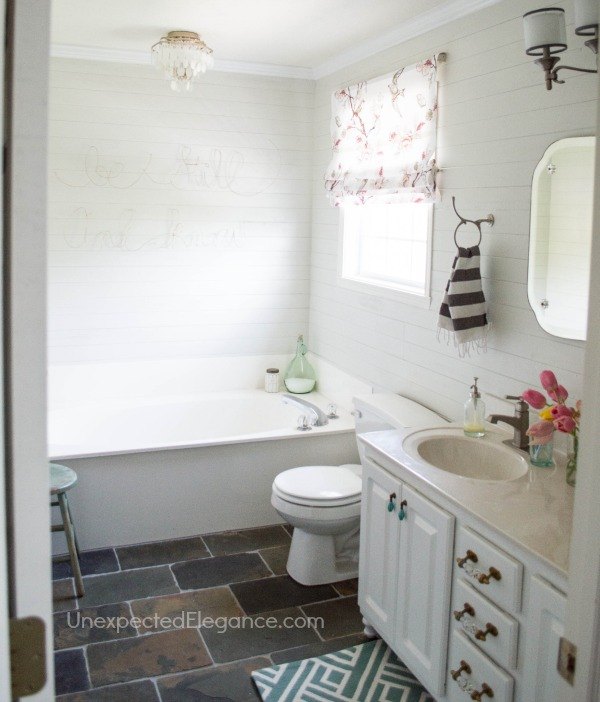
BEFORE
We found this bathroom unattractive and highly impractical with its glass sink, cheap fixtures, and strange tile Get tutorial here
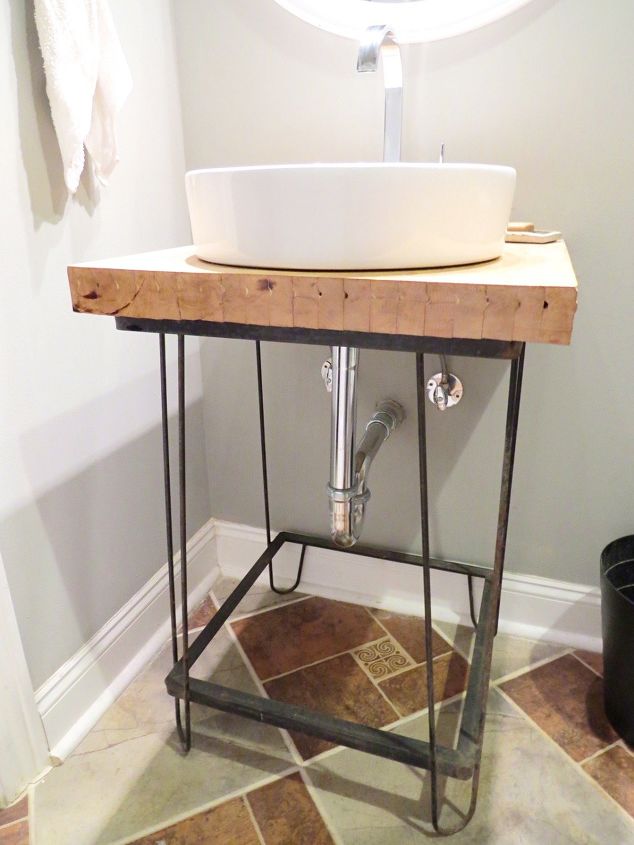
Step 1: Remove the rickety sink contraption
The glass sink was so dumbfoundingly impractical in a bathroom that gets, well, a lot of use due to its location Get tutorial here
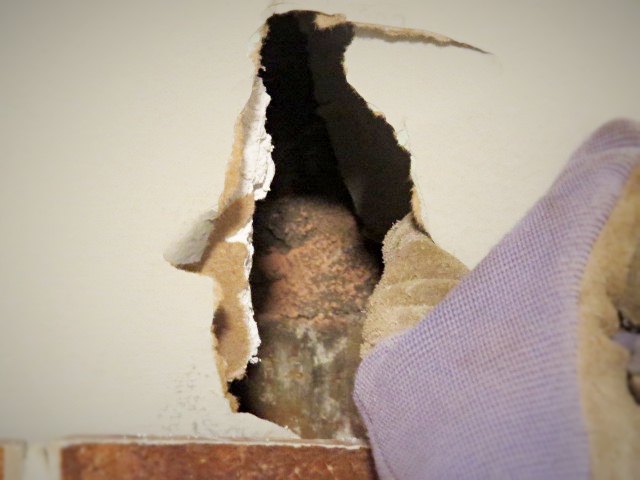
Next: A surprise find
Lo, what's this? Chicago Common brick from the 1880's?! Sweet. Get tutorial here
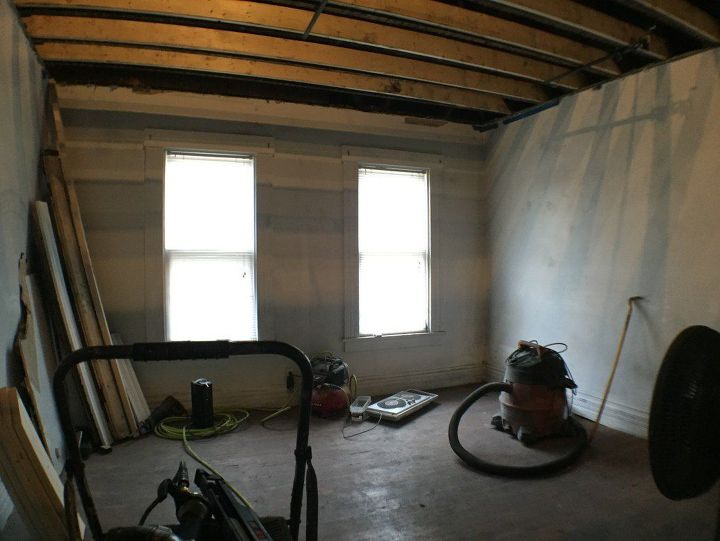
Step 2: Everything Goes!
Out came all the shower tile, all the floor tile, and the tub. Get tutorial here
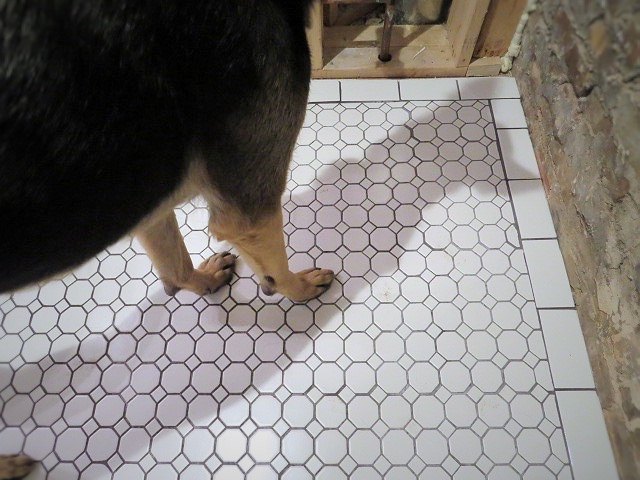
Step 3: In goes the floor tile
I purchased the octagon dot on Craigslist and picked up inexpensive subway tiles for a border. Get tutorial here
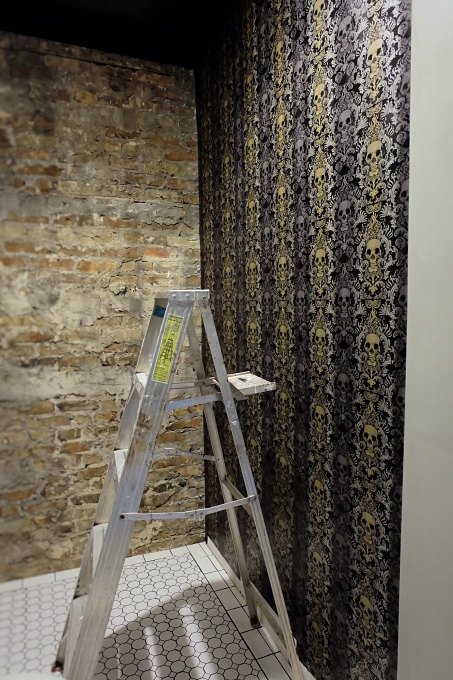
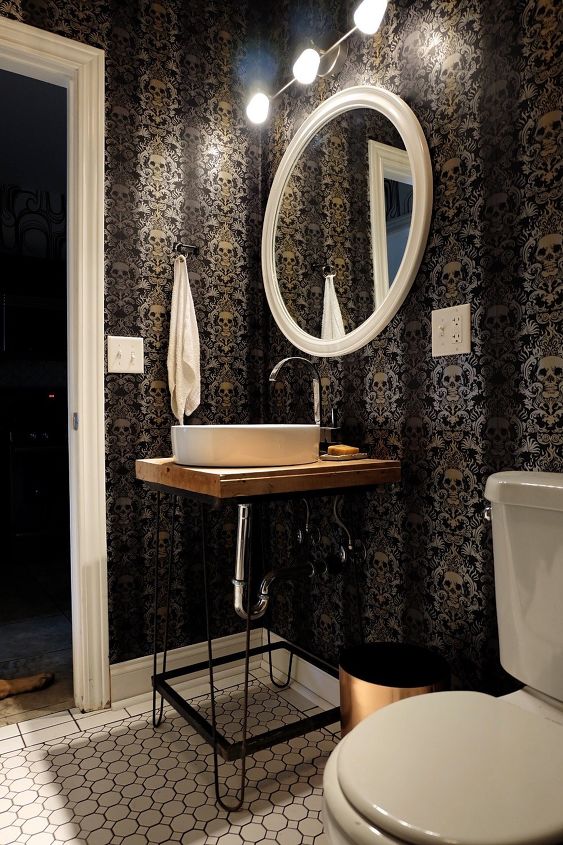
Step 4: Up goes the wallpaper
It hides damaged walls and brings color, pattern, texture, and shine (if you're lucky) to a space. Love it. Get tutorial here
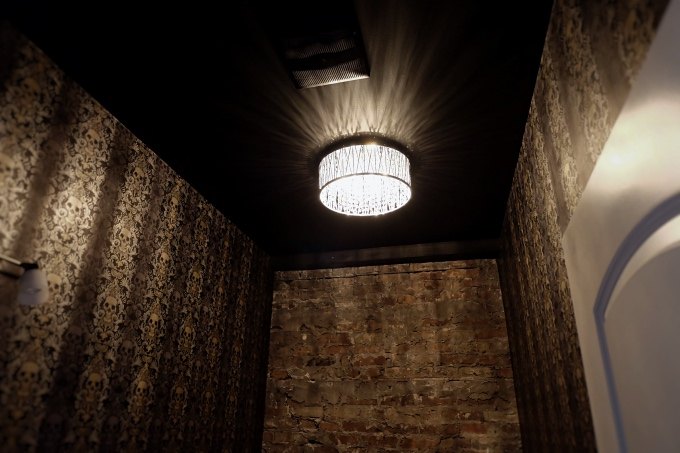
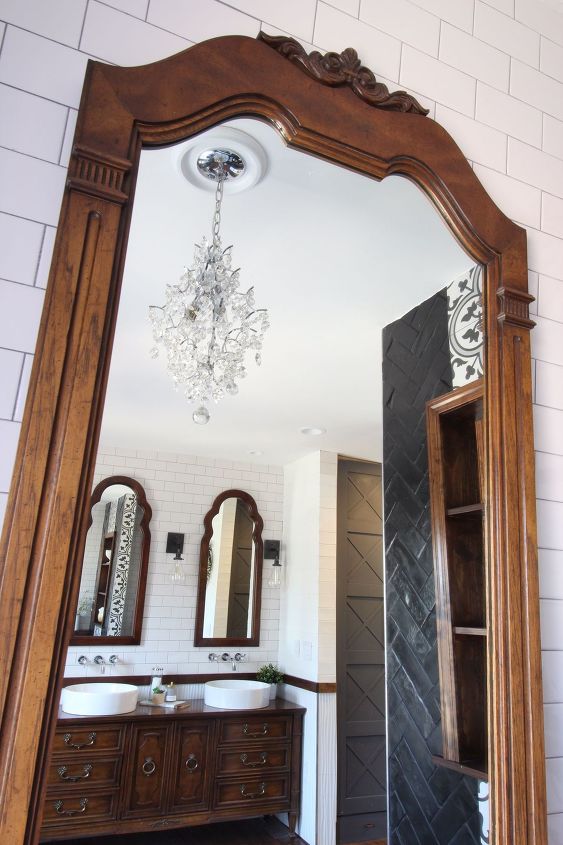
Step 5: The ceiling
I painted the ceiling black and added a crystal and chrome ceiling mount light fixture. Get tutorial here
Step 6: Add storage
I designed and built some custom cabinets to go where the tub once lived. Get tutorial here
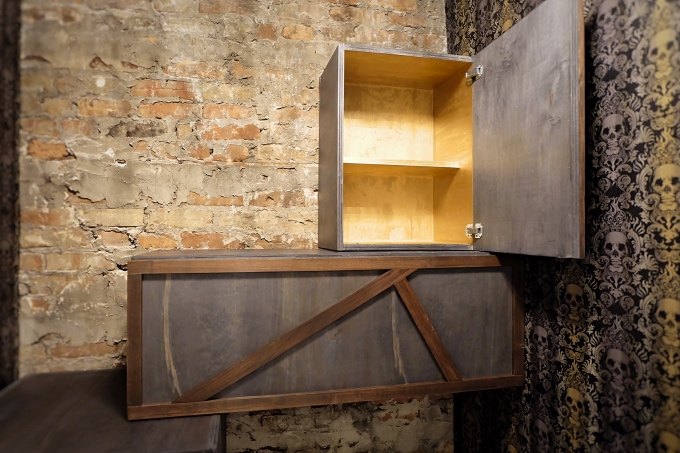
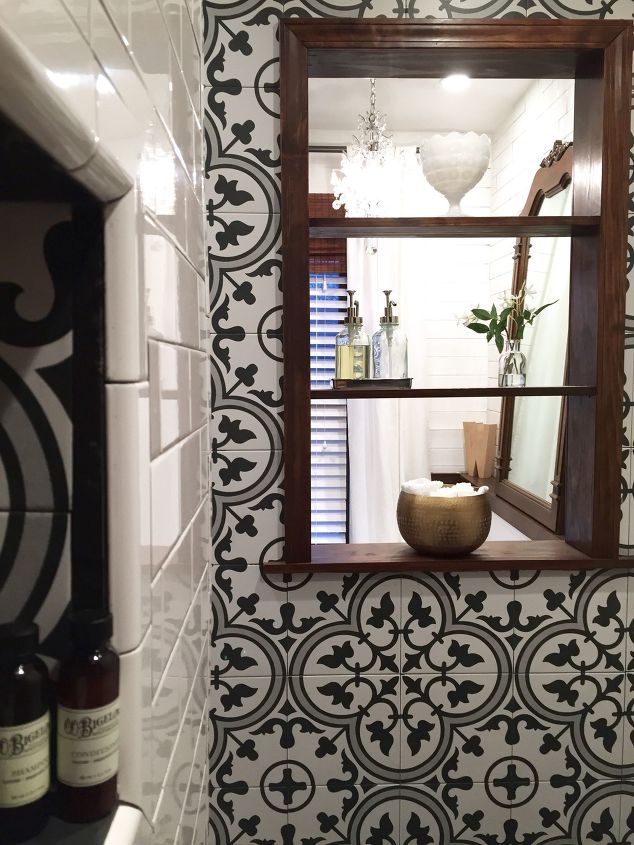
DONE!
The cabinets, exposed brick, tile, crystal fixture, vanity, plus an upcycled wood shelf with painted faux rust Get tutorial here
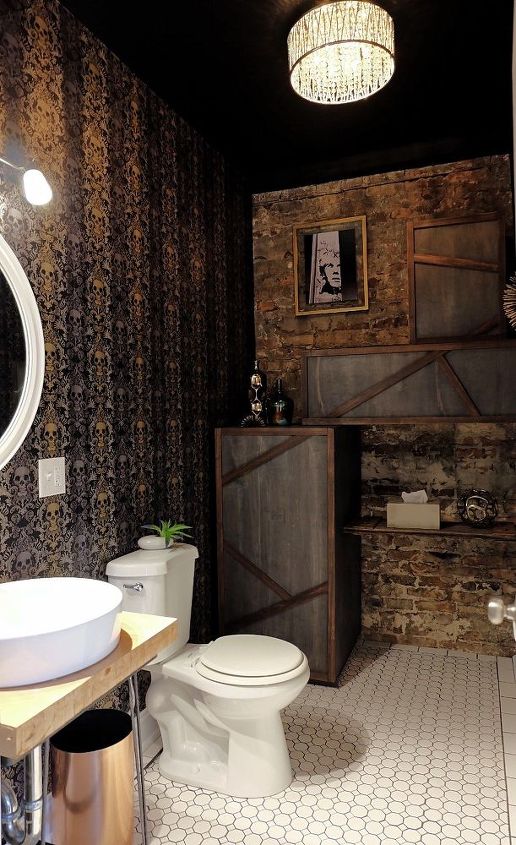
We absolutely love it!
All for under $1000 too! A unique, custom room for thousands less than one might expect. Get tutorial here

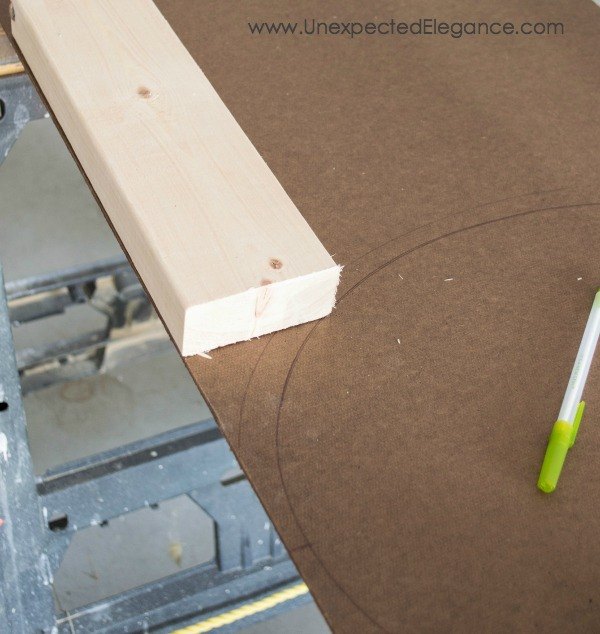
Step 1: Make the design
I created a pattern on a piece of masonite and used a jigsaw to cut around it. Get tutorial here
Step 2: Fit it to the tub
I painted it white and used a bathroom grade caulk to adhere it to the front. Get tutorial here
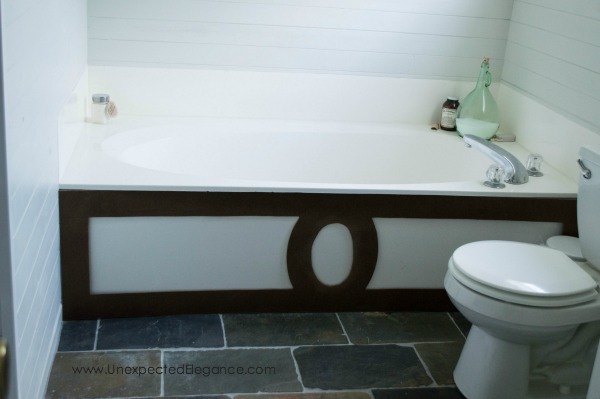
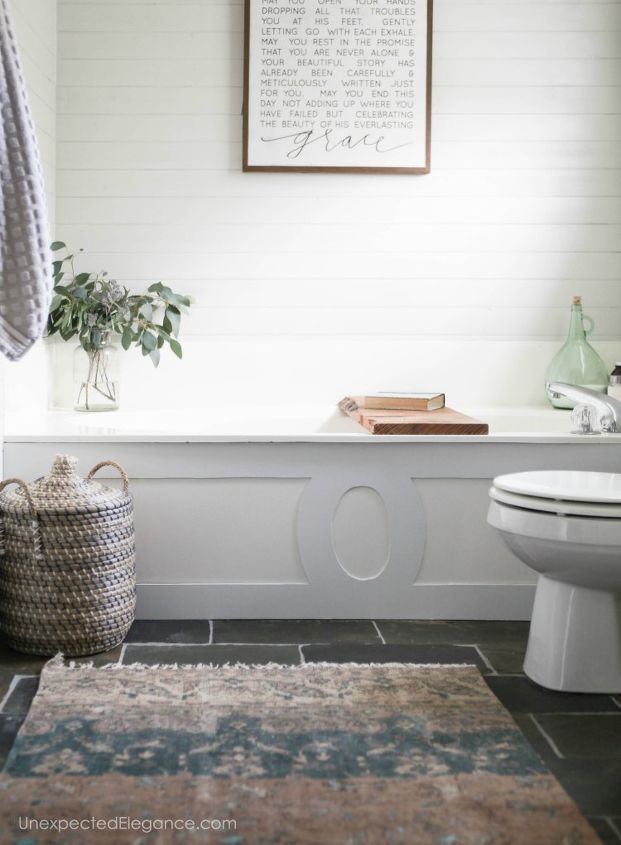
Beautiful!
Here's how it turned out! That simple and cheap change has made a huge difference! Get tutorial here

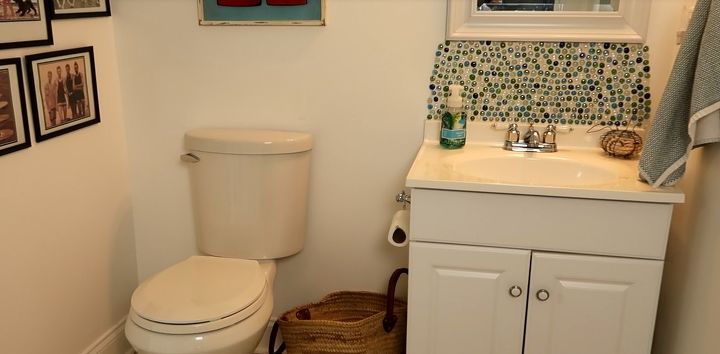
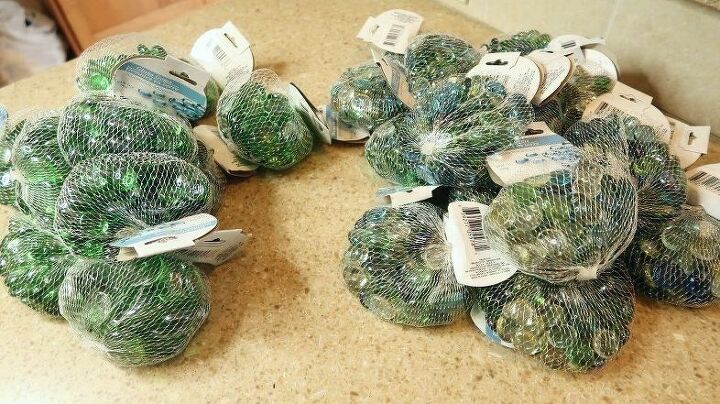
How to Create a Dollar Store Gem Back Splash
While I didn't want the entire wall covered with the gems, this is what I did... Get tutorial here
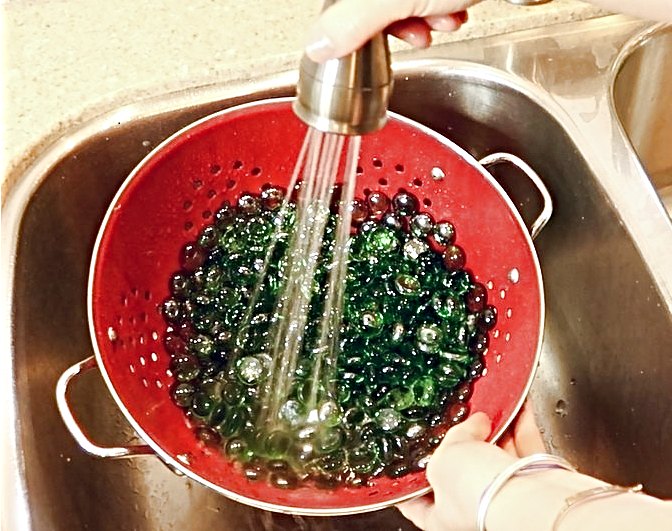
Step 2: Wash & Dry
They were really dusty, so I placed them in a colander, washed them with a mild soap and water, and dried them on a towel. Get tutorial here
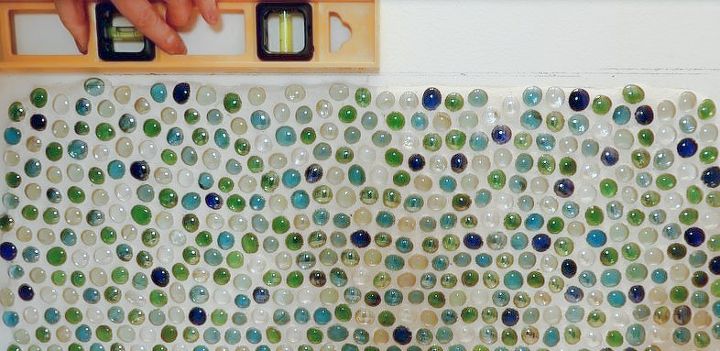
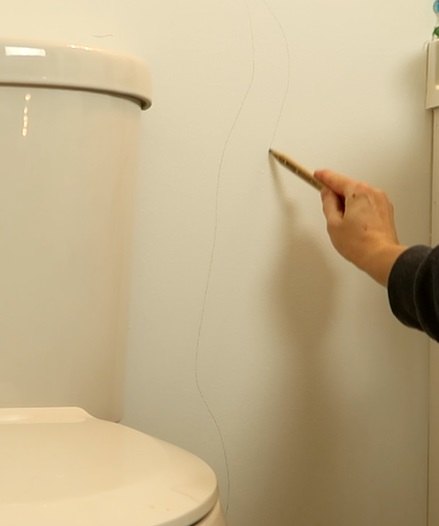
Step 3: Level
Using a level (which I bought at the Dollar Store) I made a line slightly above the back splash. Get tutorial here
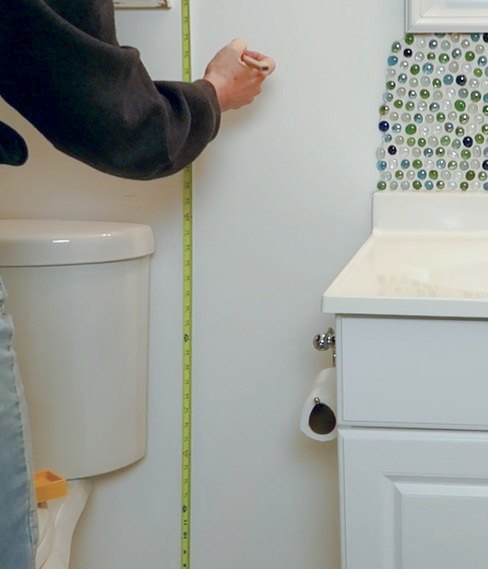
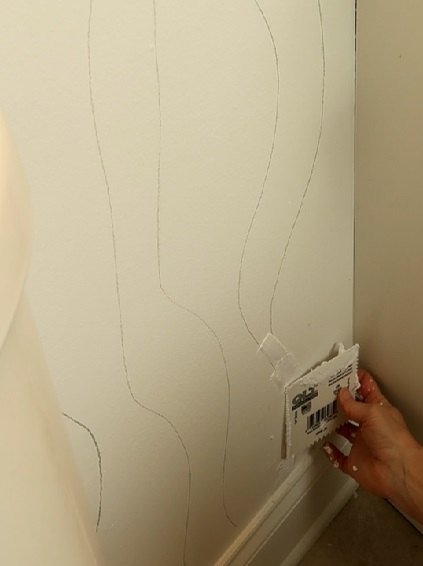
Step 4: Measure
I then measured to that line from the floor and marked the wall. I continued that line across the entire wall. Get tutorial here
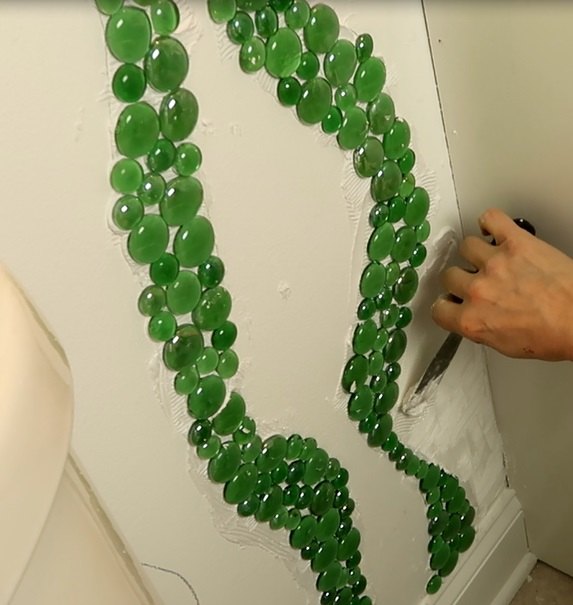
Step 6: Apply adhesive
Using mastic (which is a tile adhesive), I began by filling small sections of the the seaweed shapes. Get tutorial here
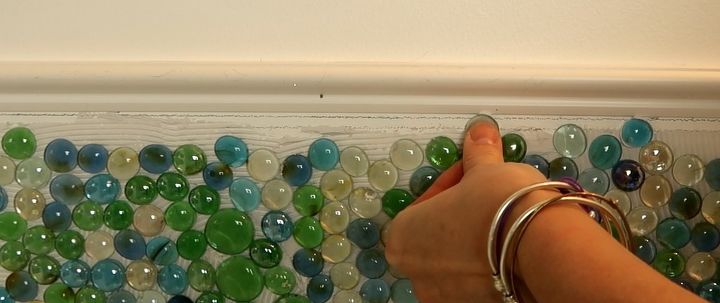
Step 7: Apply the gems
Once the seaweed was complete, I applied mastic to the rest of the wall, working in small sections. Get tutorial here
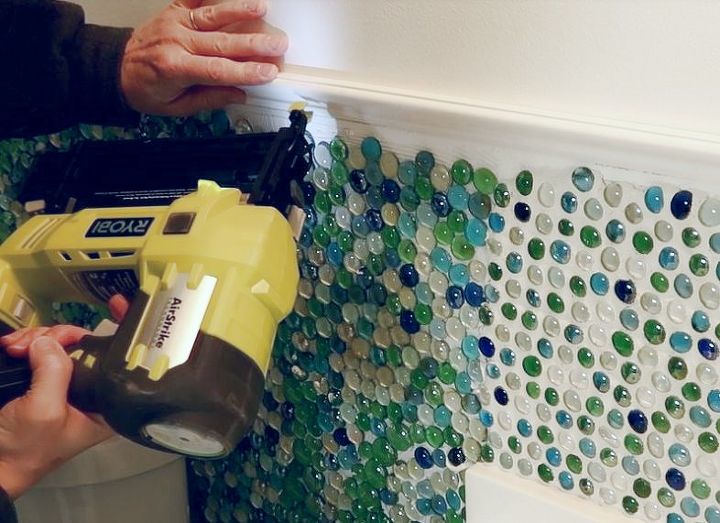
Step 8: Add molding
I nailed the molding onto the wall using a brad nailer. Get tutorial here
Step 9: Fill in the gaps
Instead of putting the mastic onto the wall, I applied it onto the back of each gem and put them onto the wall. Get tutorial here
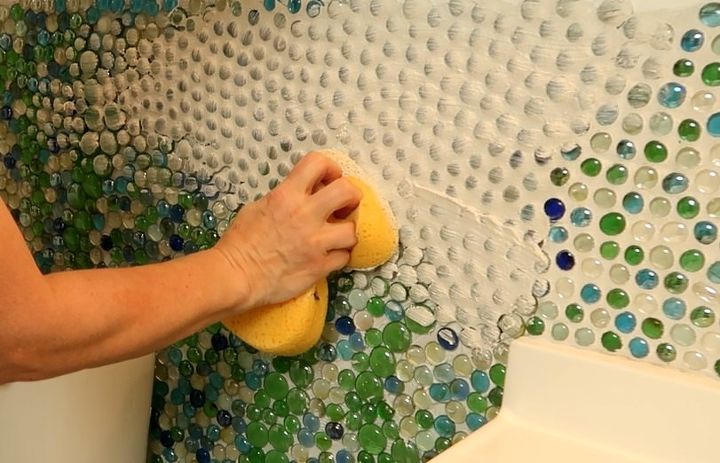
Step 10: Apply the grout
Once the mastic was completely dry, I applied the grout and wiped the excess off with a sponge and plain water. Get tutorial here
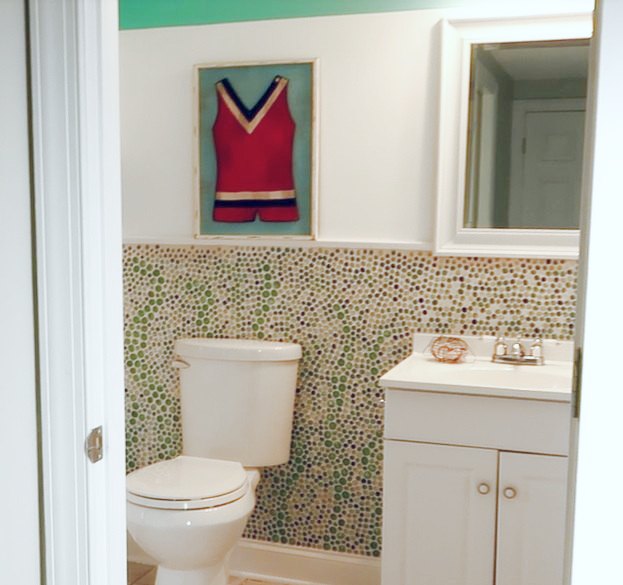
All done!
I love the way it turned out and the "seaweed" really looks cool. The room is one-of-a-kind! Get tutorial here
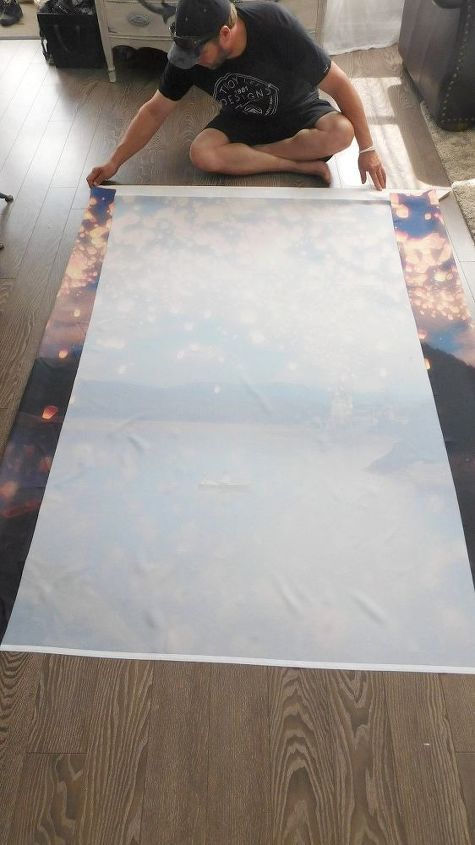
Shower Curtains Are Not Just For Showers!
I measured the wall to know what dimensions I'm working with and how big of an image I can fit on the wall. Get tutorial here

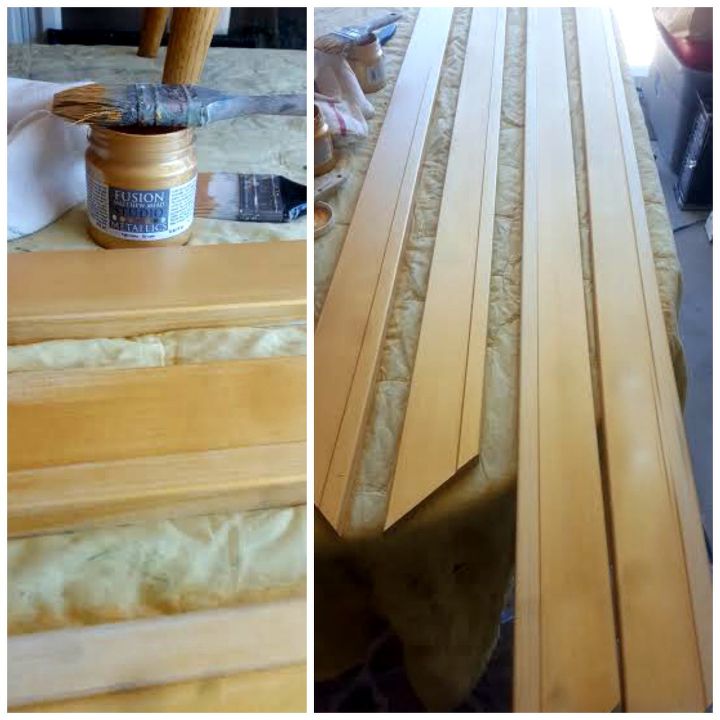
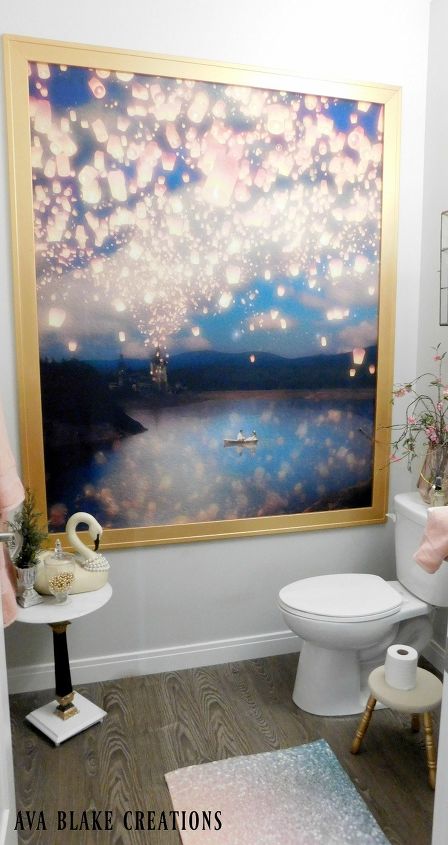
Frame & paint
I grabbed my Fusion Mineral Paint soft gold metallic and got painting the frame. Get tutorial here
Lay out the shower curtain
We laid out the shower curtain and upholstery stapled it to the top frame piece. Get tutorial here

Now that's a statement!
I added some small Whimsical decor items and BAM done! Get tutorial here

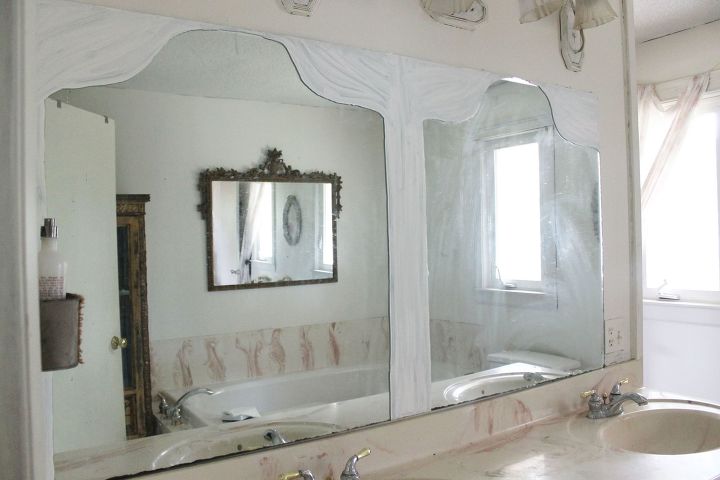
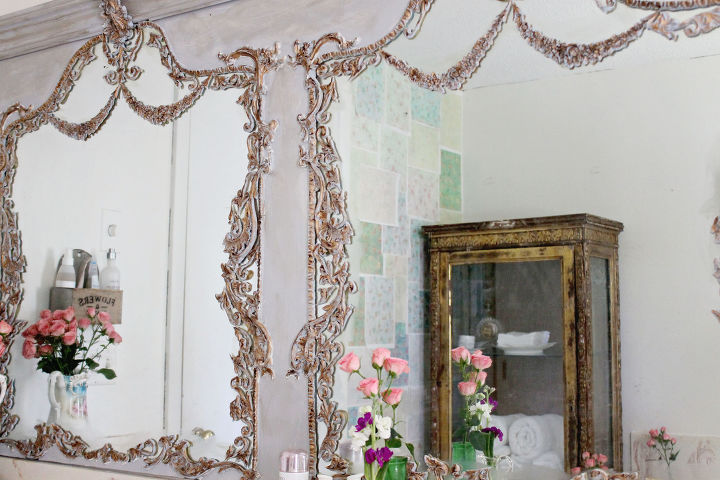
First: Add shape
I sketched out the shape of the frames on the mirror. Then I painted the outer edges with white paint. Get tutorial here
Next: Place the appliques
I used contact cement to glue the appliques onto the mirror. Get tutorial here
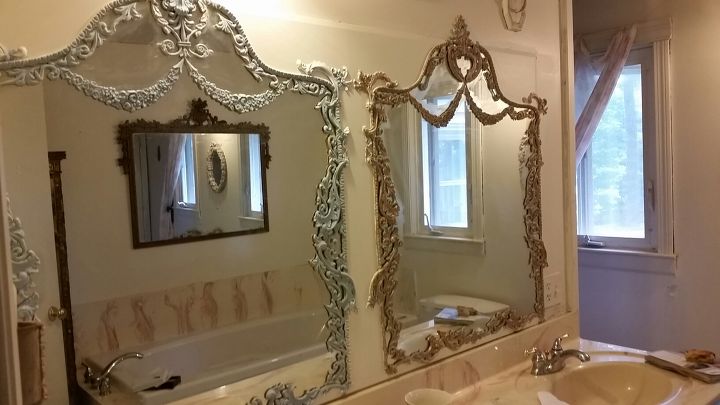
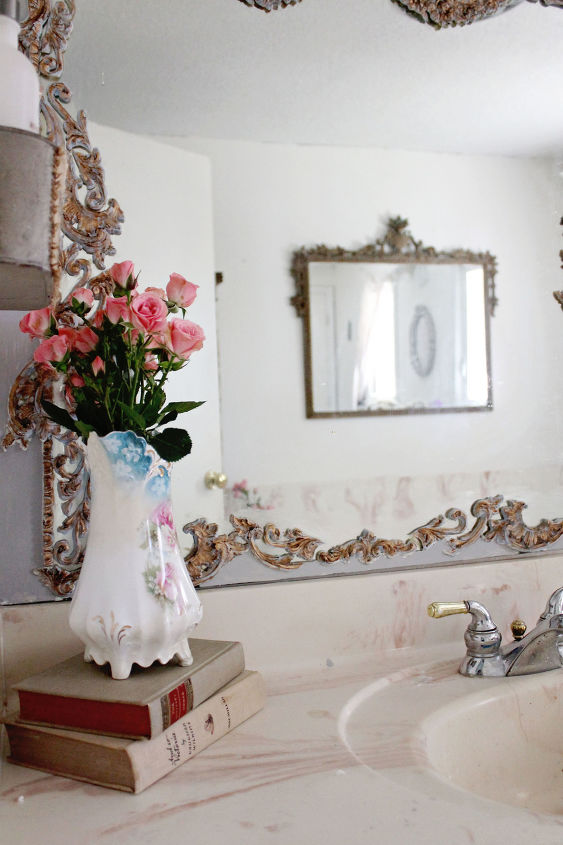

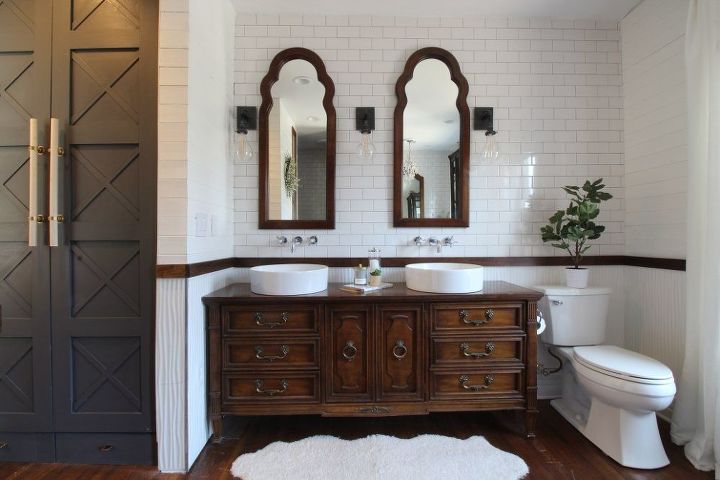
And here's the stunning AFTER!
We wanted this bathroom to feel classic and unique at the same time. Get tutorial here
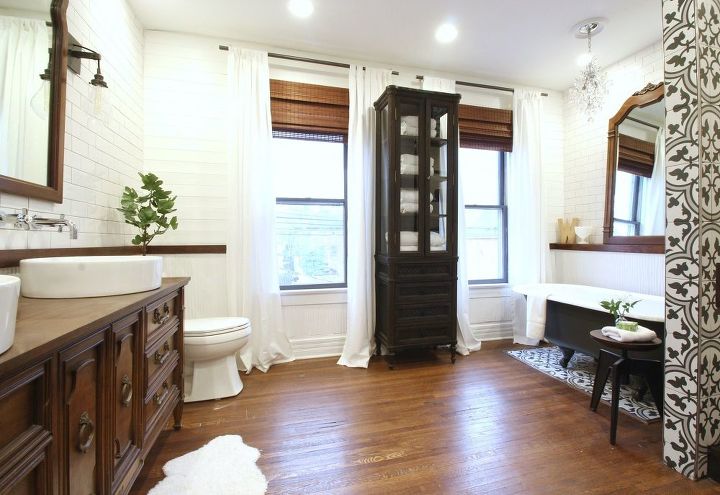
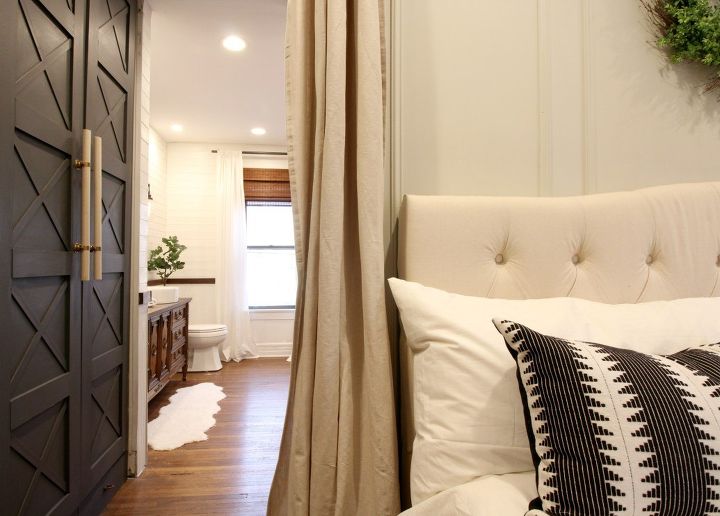
The wardrobe
We designed and built floor to ceiling wardrobes and painted them Benjamin Moore Gray. Get tutorial here
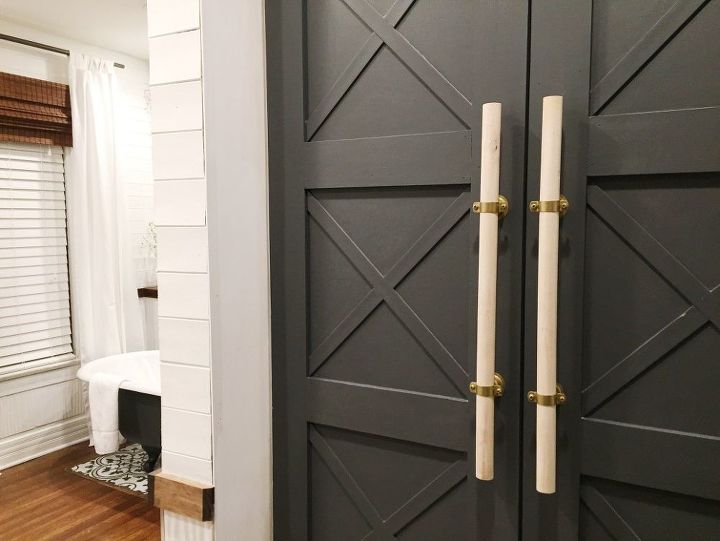
The hardware
We made the wardrobe hardware from copper bell hangers, brass spray paint, and unfinished wooden dowels. Get tutorial here

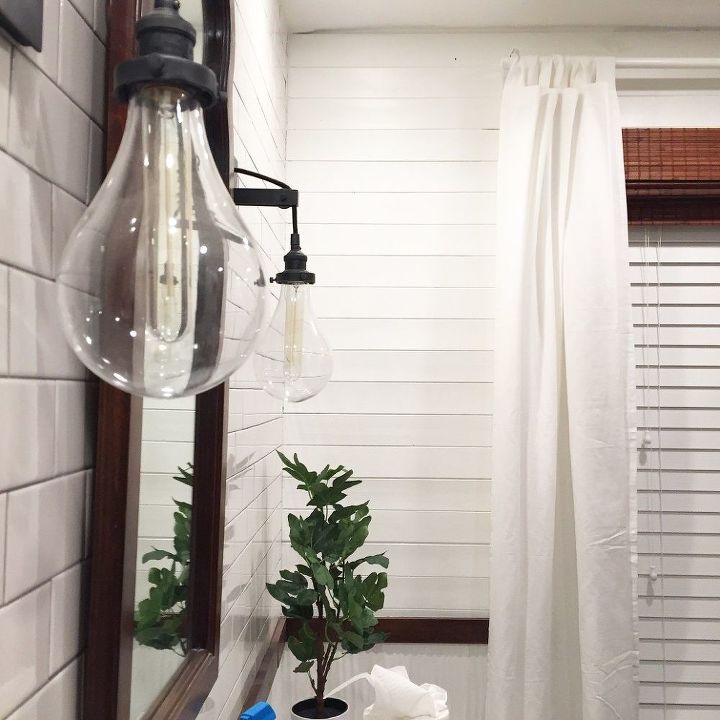
The Lighting
The sconces add an industrial element to the space and give off soft light. We found them on sale at Restoration Hardware. Get tutorial here
The Windows & Walls
The white blinds blend with the planked wall when they’re closed and are inside mounted, so they can be pulled up all the way and Get tutorial here
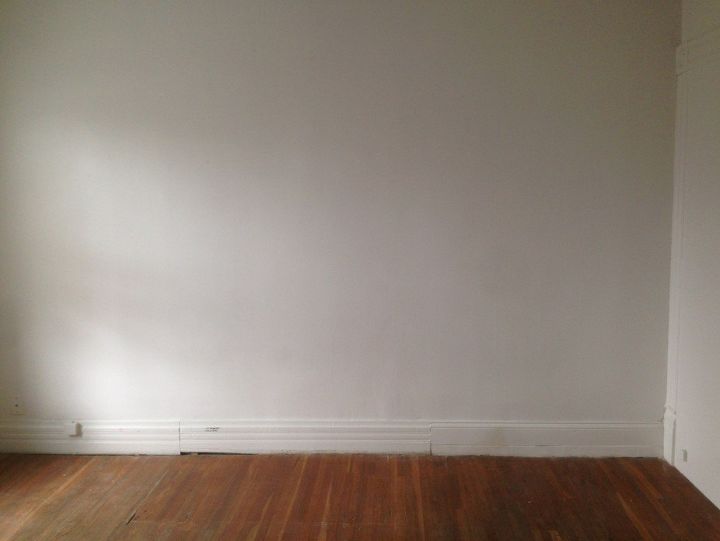
BEFORE the shower
We framed out a 48 x 72 shower on the right, and left room for an antique clawfoot tub. Get tutorial here
And AFTER!
By making the shower large enough, we actually saved ourselves money because we didn't have to buy a pricey shower door. Get tutorial here
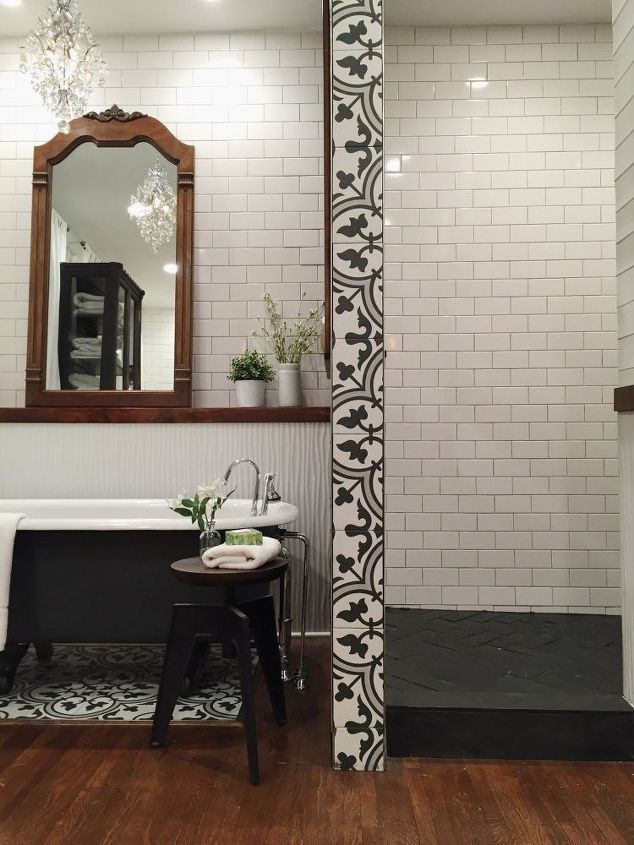
Inside the shower
Instead of putting glass up between the shower and bath, we created an open shelf. Get tutorial here