


How to Create a Gorgeous Gem Stone Accent Wall

Several months ago, I created a backsplash in my bathroom using gems from the Dollar Store. After that, a lot of people requested that I continue the mosaic on the rest of the wall. While I didn't want the entire wall covered with the gems, this is what I did.
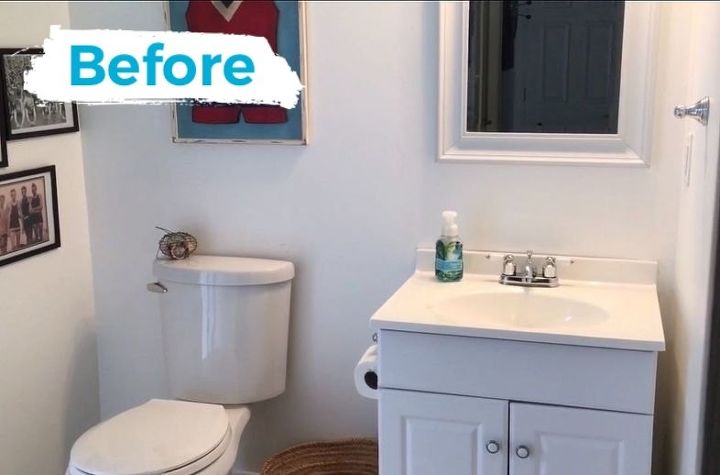
This is what my bathroom wall looked like before adding the gem stone accent wall.
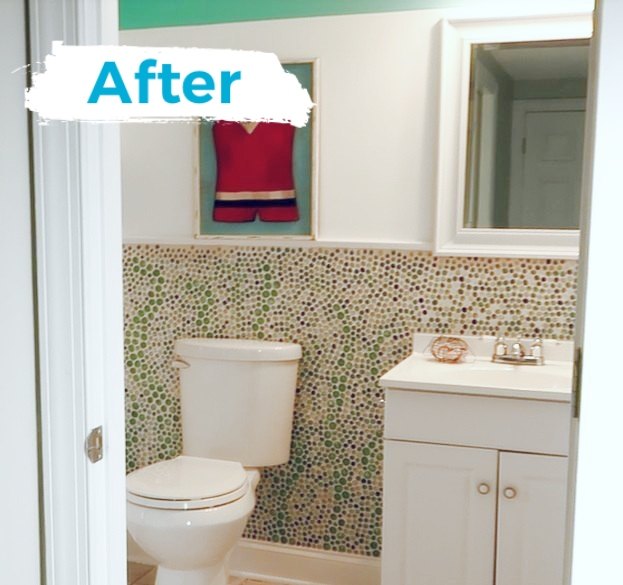
This is the bathroom after adding the Dollar store gem stones.
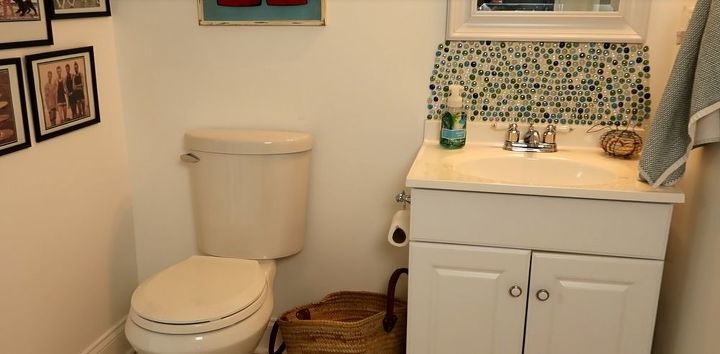
In the original project, I just added a gem stone backsplash above the vanity, so the above picture shows where I started the second part of my bathroom accent wall project.
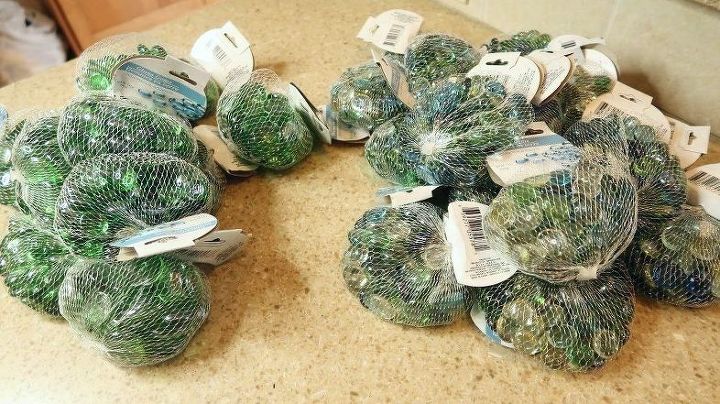
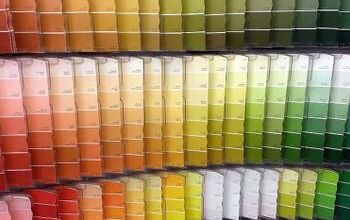
I used 3 bags of gems for the backsplash. For the rest of the DIY accent wall, I purchased 35 bags of gems.
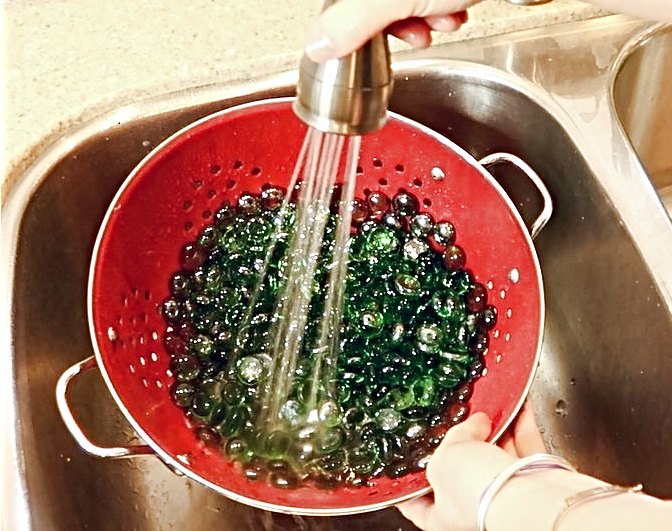
1. Wash the Gems
The gems were really dusty, so I removed them from the bags, placed them in a colander, and washed them with a mild soap and water.
After their washing, I dried them on a towel.
2. Measure the Wall
Using a level (which I bought at the Dollar Store) I made a line slightly above the back splash.
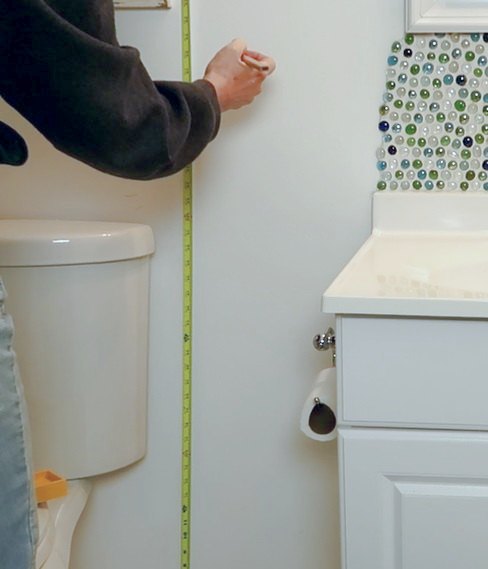
I then measured that line from the floor and marked the wall. I continued that line across the entire wall.
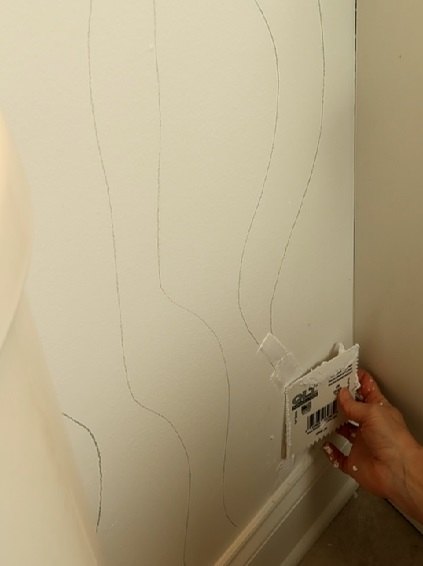
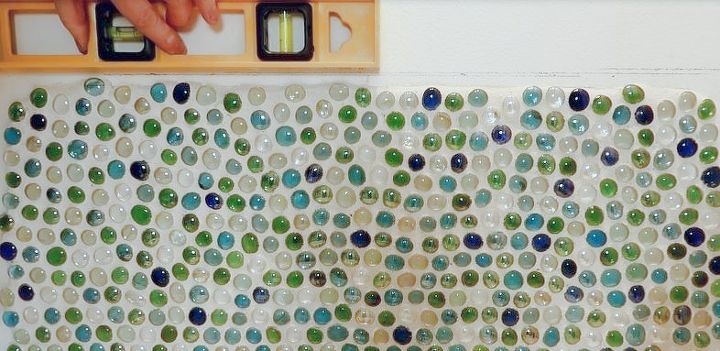
3. Draw a Design
Another comment from the original post was that people wondered why I didn't create some type of design on the wall. This time, I hand-drew seaweed shapes in various sizes.
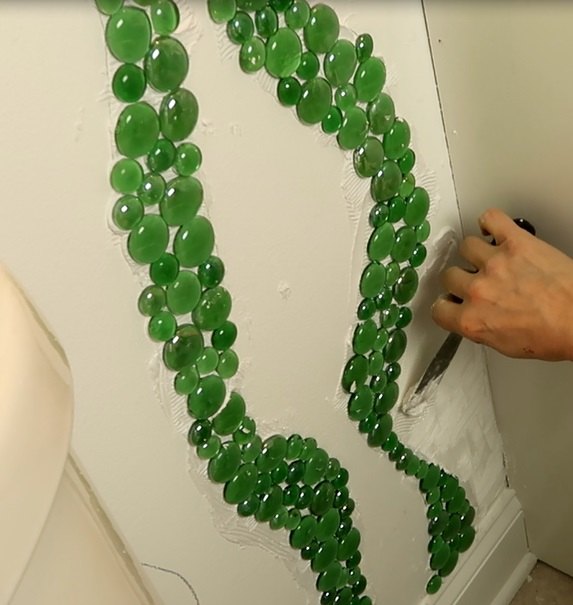
4. Apply Gems
Using mastic (which is a tile adhesive), I began by filling small sections of the seaweed shapes. Then I began attaching the green gems for the seaweed design.
I purchased two different sizes of green to give the "seaweed" a different look than the rest of the wall.
Once the seaweed was complete, I applied mastic to the rest of the wall, working in small sections.
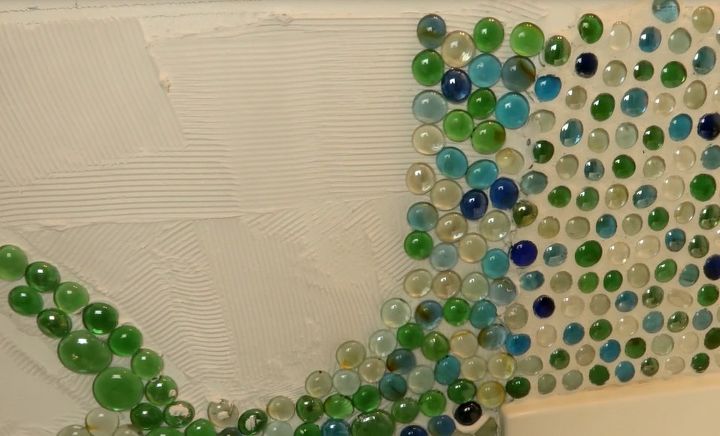
When I reached the point where I had to join the previous back splash with the new mosaic, I simply butted the mastic up to the previous and added gems.
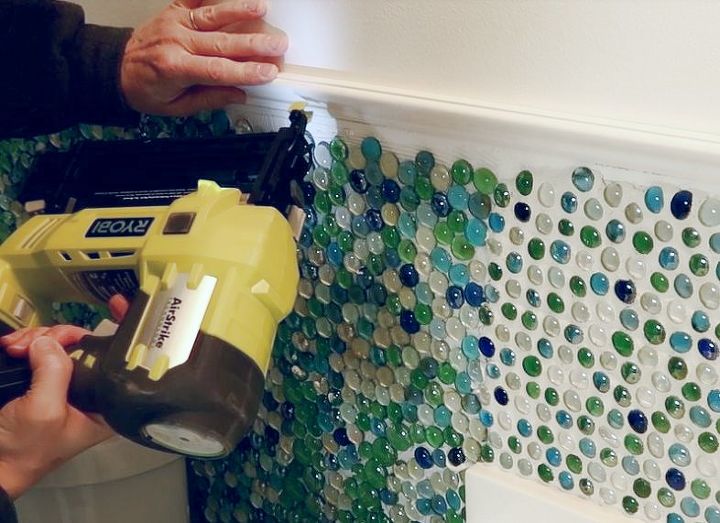
5. Add Chair Rail
While the mastic was drying, I measured and cut a piece of chair rail molding.
I used the line I had drawn on the wall as a guide. I nailed the molding onto the wall using a Brad nailer.
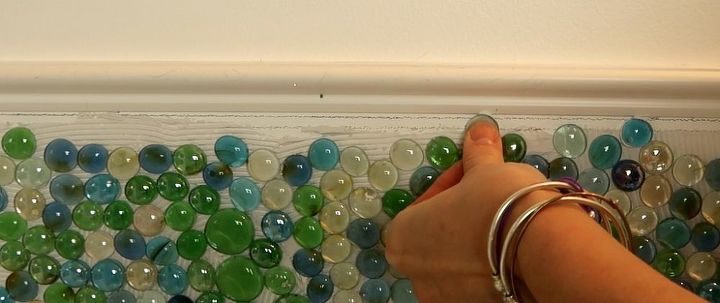
6. Continue Adding Gems
Once the chair rail was in place, I added more gems to fill in the gaps. Instead of putting the mastic onto the wall, I applied it onto the back of each gem and glued them onto the wall.
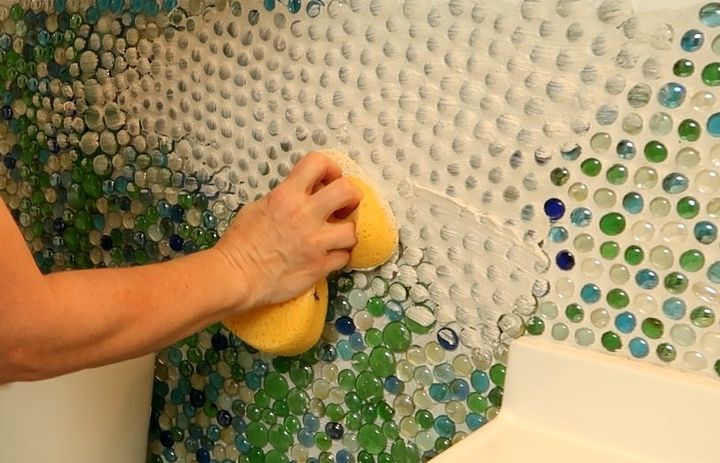
7. Apply Grout
Once the mastic was completely dry, I applied the grout and wiped the excess off with a sponge and plain water.
Once the grout dried, the "seaweed" really popped!
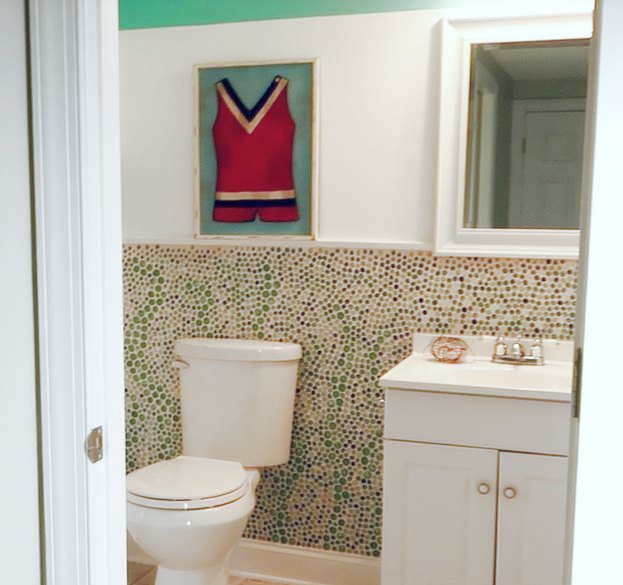
Here is the completed affordable bathroom accent wall project.
I would love to hear your thoughts in the comments below.
Resources for this project:
See all materials


Comments
Join the conversation
-
Nicely done.
-
I am definitely going to try this marbling technique. I love it.


Frequently asked questions
Have a question about this project?
just wondering, how would you remove this?
it looks beautiful!!
Awesome project and finished look!!!
I would think the moisture in the bathroom would loosen the gems ?