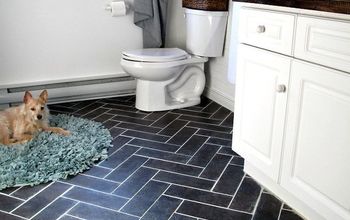
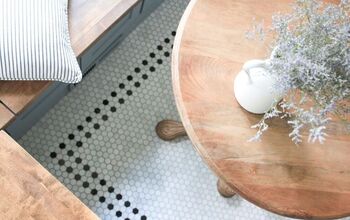
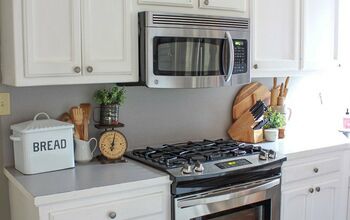
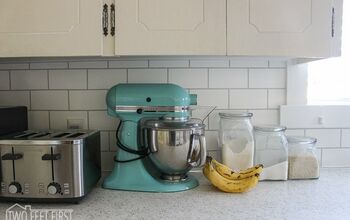
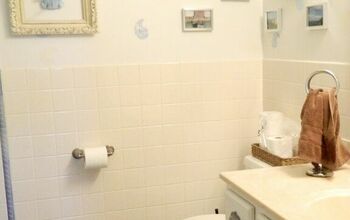
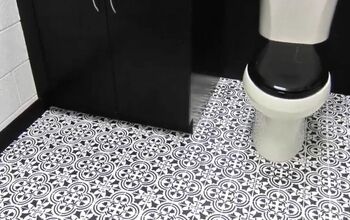
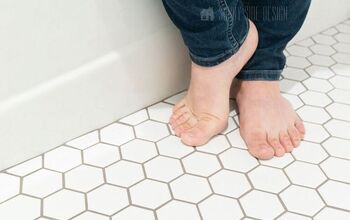
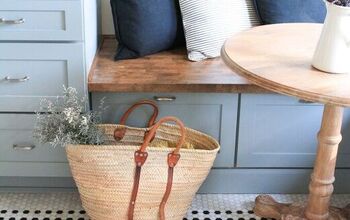
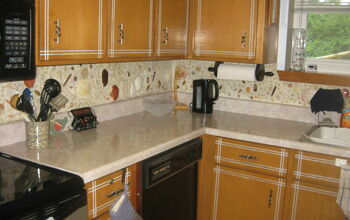
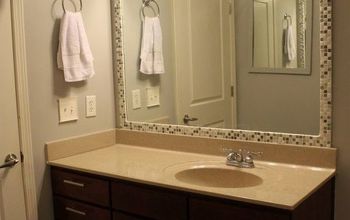
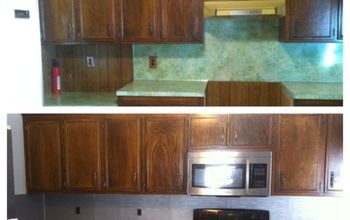
Our home was built in 1929 and we love all the charm older homes have. Unfortunately, ours was extensively remodeled in the 1960s. Some of the original wood windows with leaded glass were changed out to aluminium, faux wood paneling was put everywhere! The kitchen was totally redone with a sort of plywood cabinet covered in a vinyl, countertops and backsplash were the same. The wood floors were covered in linoleum. However, the bathroom floors were left intact. The penny tiles were very cute, but we needed to gut plumbing and electrical and didn't have time wrap our head around saving the tile. Instead, we used new black and white hexagon shaped tiles in a pattern reminiscent of 1920s tile patterns. We used the tile in our kitchen, bathrooms and the latest project is our back entry. The instructional pictures I used in this tutorial are from the back entry, but the before and after I included are from our kitchen. Process and tiles used are the same. We just didn't have the step-by-step photos from the other rooms and we haven't finished the back entry. Also, the back entry is adjacent to our kitchen, so we continued the pattern in this space. I split the tutorial into two parts because the process is very long. And if you are like us, working on projects in short spurts, the end of this tutorial will be a good stopping point. The first part, this tutorial, is preparation for laying tile and the second part is laying, grouting, dehazing and sealing the tile. Keep reading for the directions!

