


Remodelling The Old Nasty Carpeted Bathroom Floor
Some easy steps to remove old nasty bathroom carpet and remodel the bathroom floor with great looking tiles. These steps are as follows:
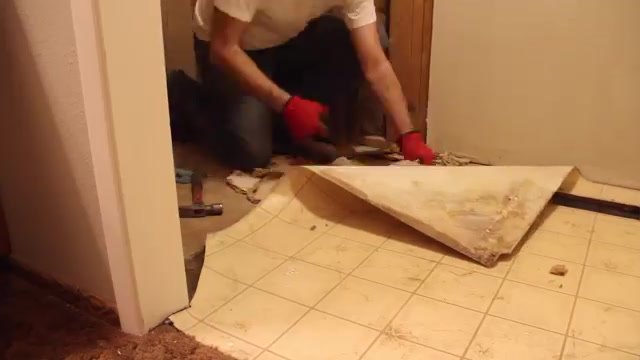
Step 1: Remove the old ugly looking carpet
Start taking off carpet from one corner or either cut it into small six inches pieces using utility knife and pull it out.

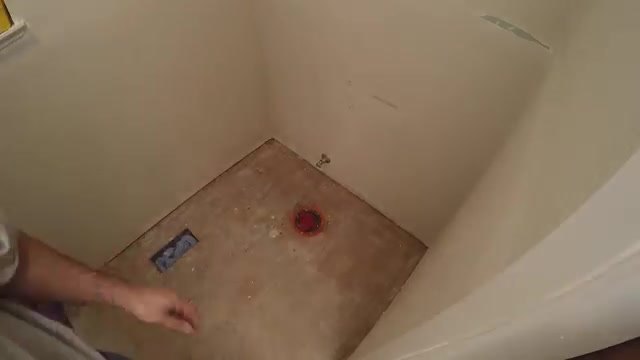
Step 2: Clean or vacuum the area after removing carpet
Once the carpet is pulled off and floor is down to nothing but plywood subfloor, sweep the area clean or vacuum to make sure the area is free of debris.
Step 3: Measure the dimensions and cut cement backer board
Measure the dimensions using measuring tape down to a quarter inch space and cut the cement backer boards accordingly.
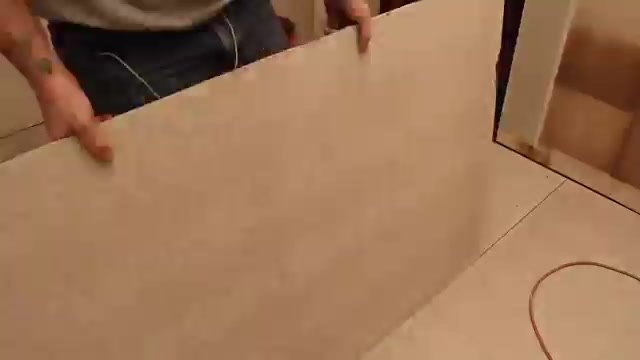
Step 4: Lay down the backer board
While laying the boards, use full sheets so that you can have as short of joints as possible. Make some cuts where necessary and cover the floor completely.
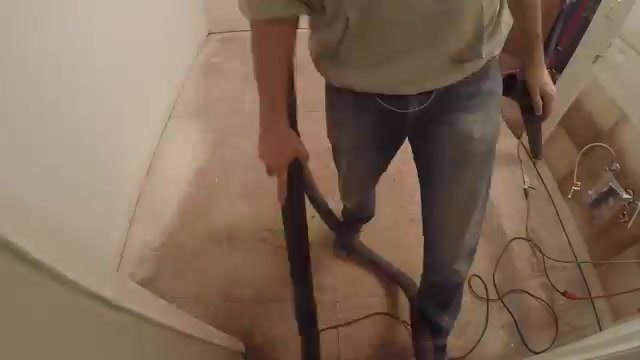
Step 5: Repeat Step 2
Now as the board is laid down, make sure the area is clean and there is nothing between subfloor and cement boards.
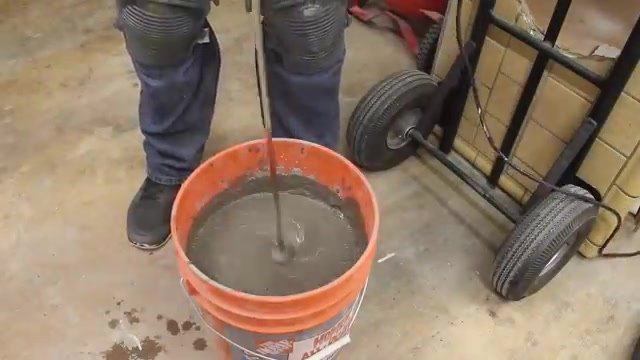
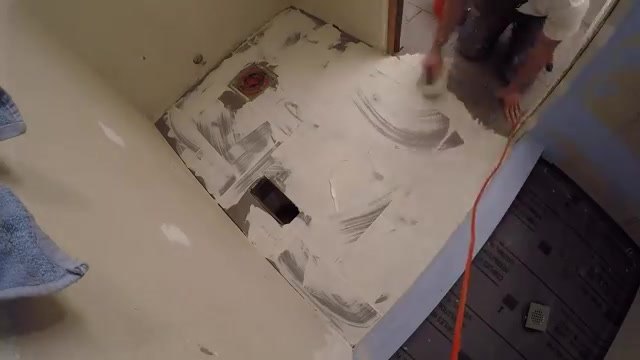
Step 6: Make a mixture of modified thinset and water
Take modified thinset that is used to prevent any cracking down the road, add water into it and make a mixture of perfect consistency.
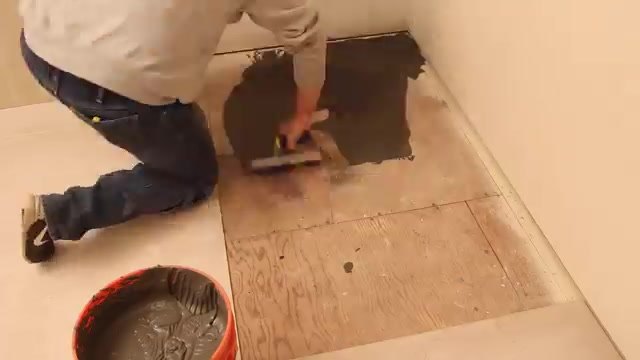
Step 7: Swap the mortar down onto the floor
Now remove board one by one. Then start swapping the mortar onto the floor and spread it around.
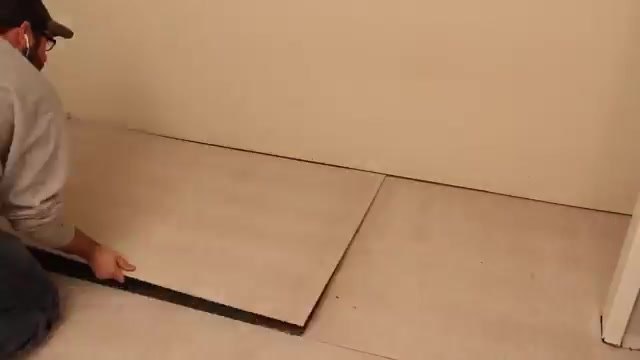
Step 8: Lay the boards down onto the floor
After spreading mortar, start laying boards. Once all the boards are laid down, walk on it so it has good bond to the subfloor.
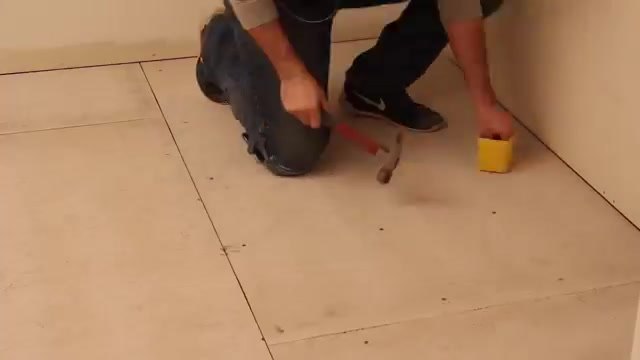
Step 9: Lock boards using nails
Now as all the boards are on place, lock them using roofing nails and drove them roughly every 12 inches.
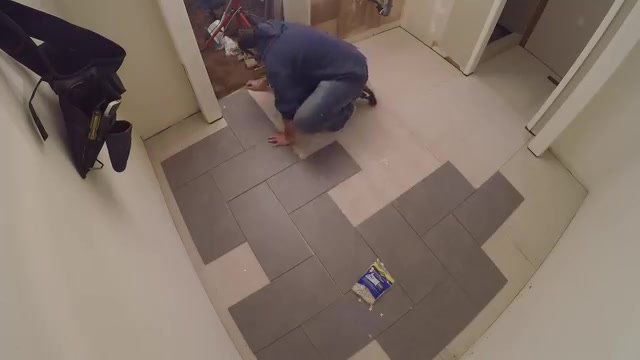
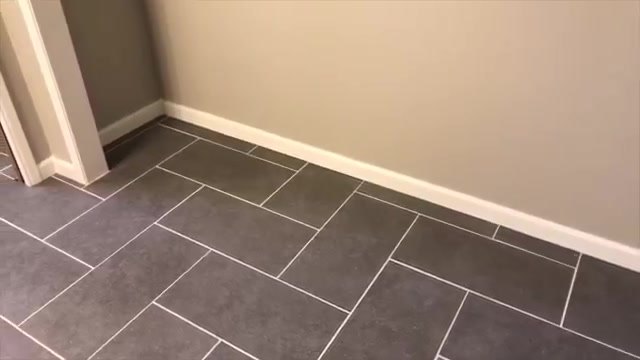
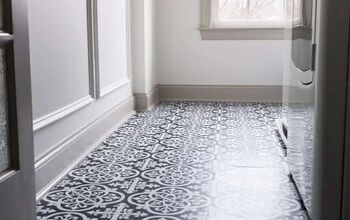
Step 10: Choose your tile layout pattern
Taking a chalk make a straight line in center and start placing your tiles accordingly. Choose the layout of tiles you want place them Don’t worry about the extra spaces.
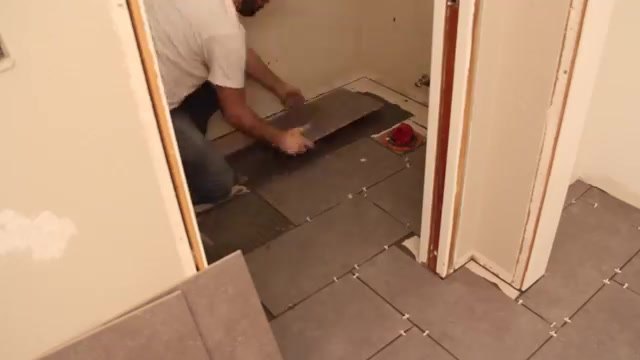
Step 11: Measure the extra areas around
Once you have placed all the tiles according to the layout you have chosen. Measure the extra area left around the tiles and cut the tile as per the measurement and place it over there.
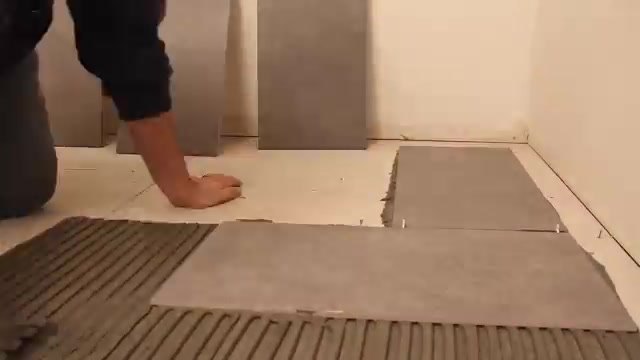
Step 12: Apply mortar on the floor
Now spread mortar on the floor and start placing tiles over it one by one.
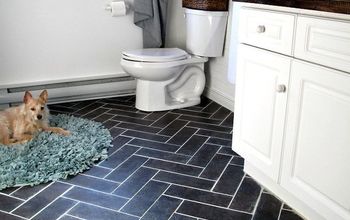
Step 13: Grout the area
After laying all the tiles, leave it to rest for a day and now apply grout down into it to fill the spaces or joints in the tiles.
Step 14: Clean the gout on the tiles
Last step is to clean the gout spread over the floor using warm water and sponge. Make sure you clean it up in an angle of 90 degree so that you will not remove the gout from joints.
Resources for this project:
See all materials


Comments
Join the conversation
-
I have a toilet in my old bathroom and am wondering how would the additional height affect the seal between the wax ring and the toilet that sits on it? It looks like there might be approximately 1" of extra height with the thinset, cement/backer board, mortar and tiles and from what I can see, it looks like I only have plywood, adhesive and linoleum installed from decades ago in my bathroom (The floor from the bathroom is slightly higher than my hallway and after removing the strip that covered the gap, I lifted up a piece of the linoleum to check). Any feedback or suggestions is appreciated.
-
You did a beautiful job


Frequently asked questions
Have a question about this project?
I pulled old tile up from my laundry room but can not get the sticky clue to come up!! Any suggestions
In step 7 you are saying to swap the boards and the floor. I presume you mean SWAB the boards and floor. If not then I have no idea what you are telling me to do.
You didn’t say what size notch trowel to set the cement board ! Why are you not using hardie board and what size half or quarter ! Yes wet the cement or hardie board for a better bond !