


Peel N' Stick Luxury Vinyl Tile Floors
7 Materials
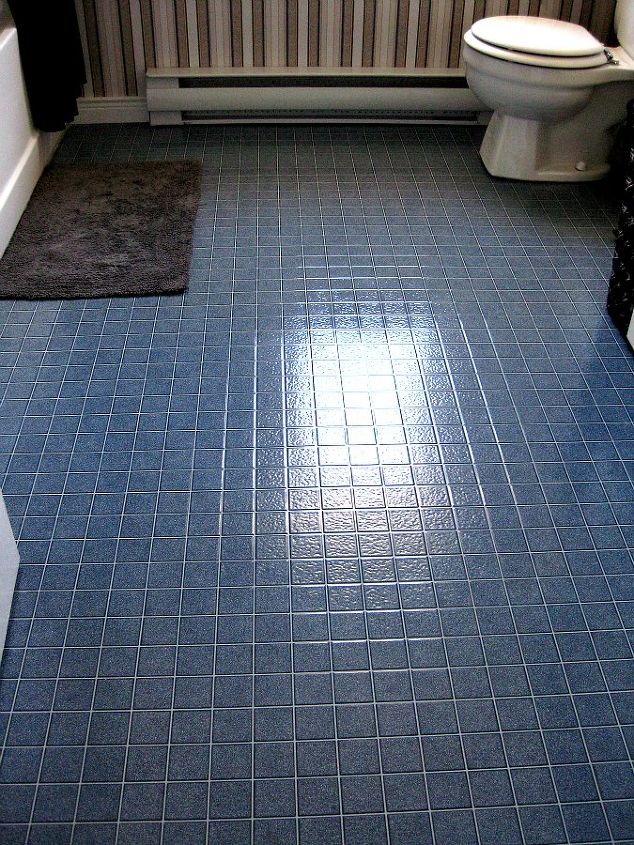
We weren’t initially planning on putting down a new floor, since the existing one was in really great shape, however after we updated the rest of the bathroom, the floor really stuck out like a sore thumb!
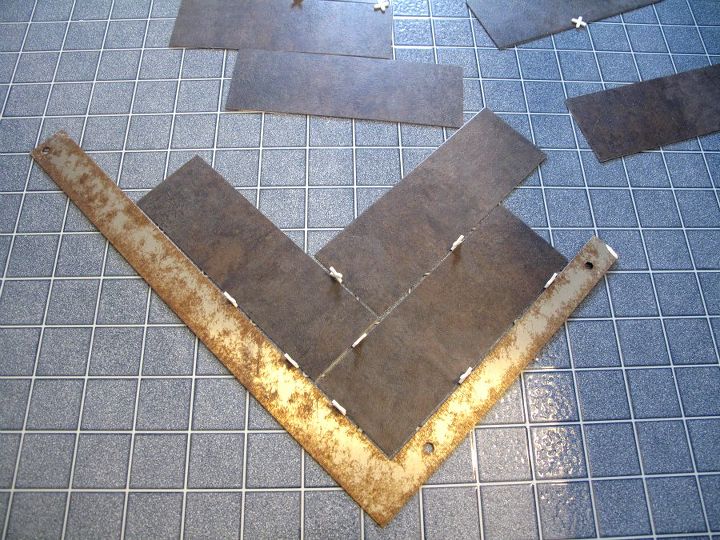
I measured the floor space and did the math on how much tile I would need. Just multiply the length of the room by the width, and that is your answer. Add on a little extra to allow for cut waste, etc. The tiles I chose are 12″ x 24″, so I had to cut them into 6 tiles measuring 4″ x 12″ each in order to get the look I wanted.
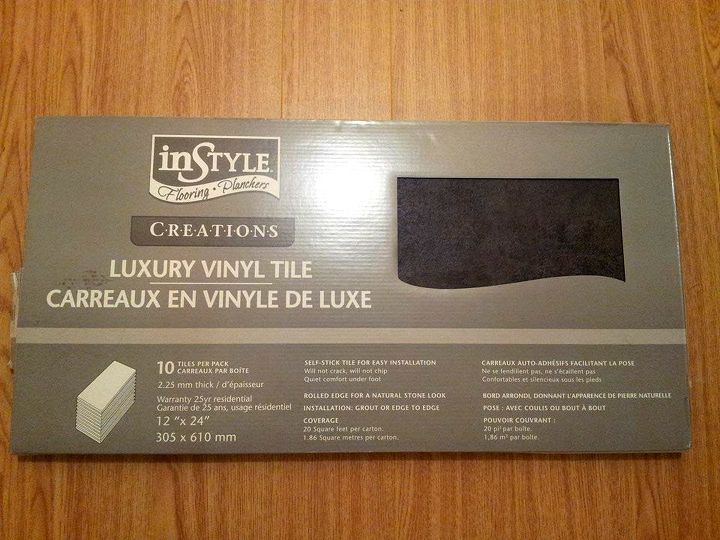
I chose Luxury Vinyl Tile because of its durability and the ease of installation and you can grout it, which I think instantly ups how “expensive” the floor looks. I opted for a nice slate gray, and they came in at $2.29 per square foot. Not the cheapest, but definitely not the priciest, either.
Measure, score, snap; measure, score, snap. I did a half row using my tetanus-laden square to start off. After I was sure I liked the placement/it was relatively straight, I peeled the backing off the tiles and stuck them on, pushing down really hard. After the first few, I just went from there, sometimes using tile spacers and sometimes not, peeling and sticking as I went. As you can see I stuck them directly on top of the old floor because it was in great condition.
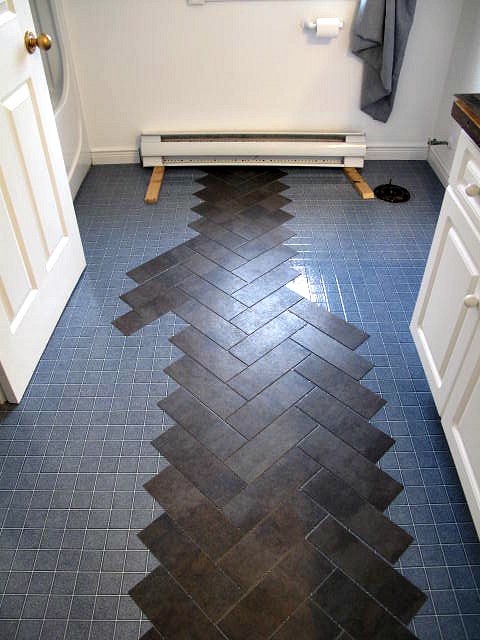
Obviously cutting the tiles by hand like this is not going to yield perfectly even, equal tiles which means you’ll have to improvise for some areas and adjust accordingly (or you could just be a lot more careful and precise than I was. Your call  .)
.)
.)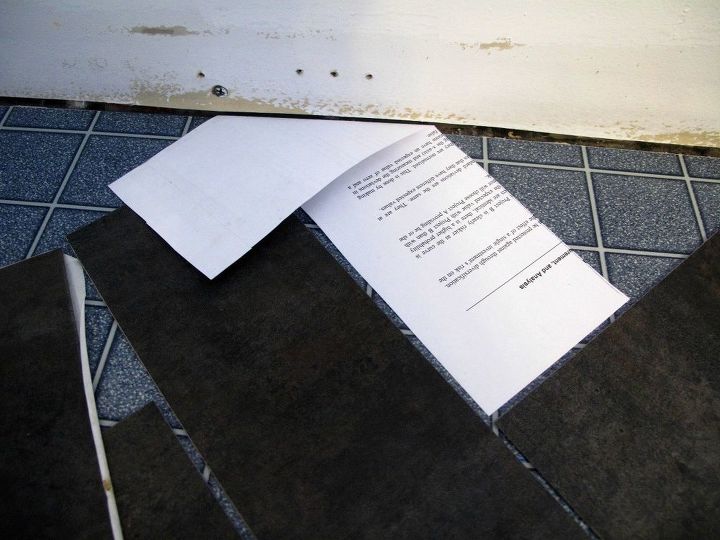
When I came to an edge, I used a template tile cut out of paper then put the paper tile stencil on top of the real tile and used a straight edge to cut it.
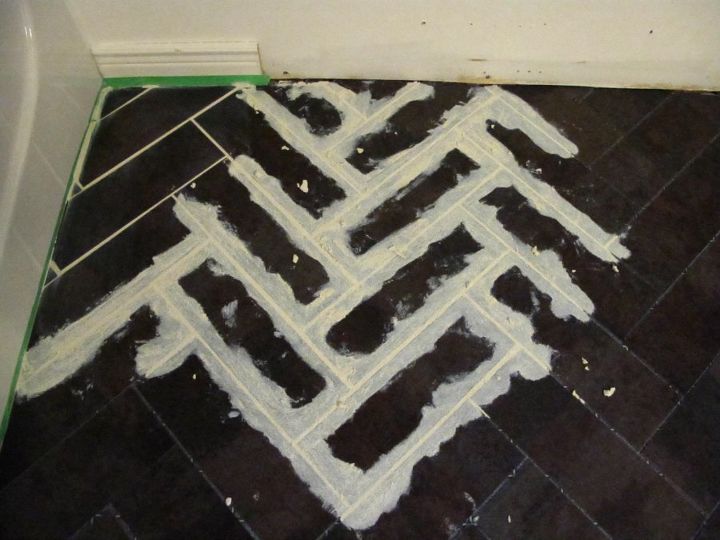
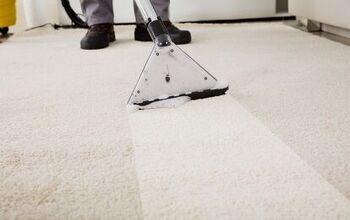
Once all the tiles were down, I grouted little areas at a time and then wiped off the excess with a damp sponge.
After I finished grouting, it was time for the unpleasant task of wiping off all the grout haze from the tiles. As you can imagine, because I used a very contrasting color of grout, this was not fun. I used Windex, as recommended by an LVT manufacturer’s website, and even still it did not come off easily.
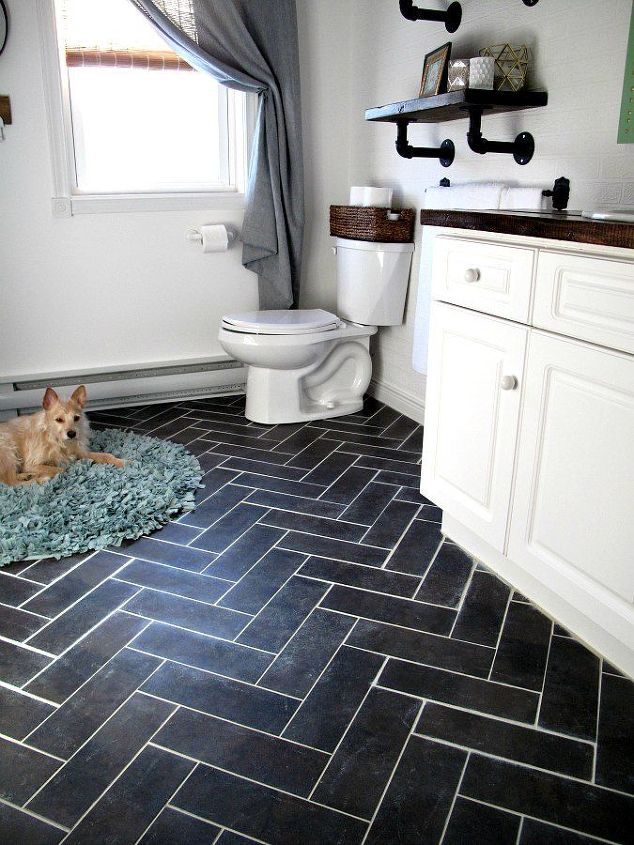
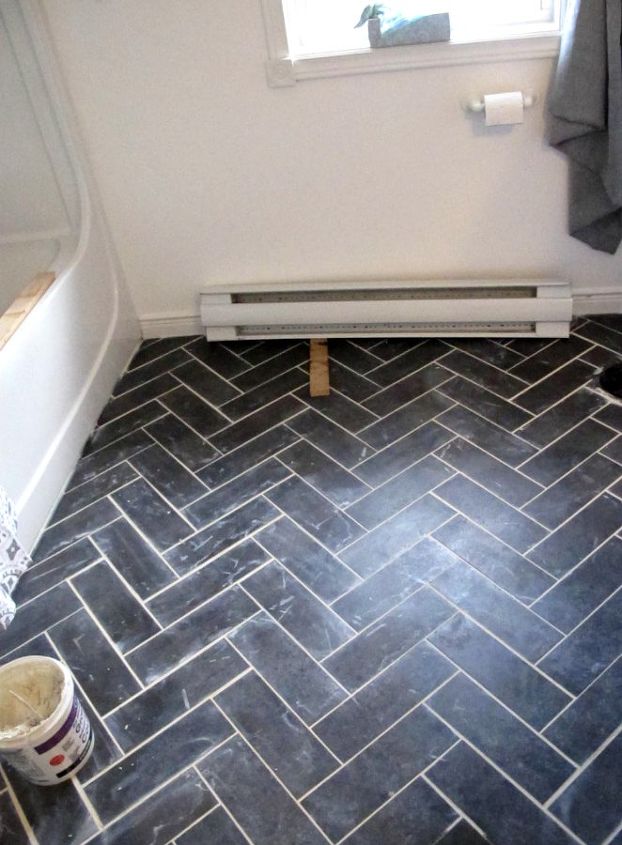
It was well worth the effort, as the floors turned out better than I hoped. I sealed the grout and even after a year it still looks fresh and white, and I have not had any issues with the tiles shifting or lifting. Those suckers are stuck down hard! You can find the blog post here for more info.
Resources for this project:
See all materials


Any price and availability information displayed on [relevant Amazon Site(s), as applicable] at the time of purchase will apply to the purchase of this product.
Hometalk may collect a small share of sales from the links on this page.More info

Want more details about this and other DIY projects? Check out my blog post!
Comments
Join the conversation
3 of 148 comments
-
I recaulked a 1939 tiled bathroom floor. I couldn’t get all the ‘haze’ off and I used windex with a magic eraser. It took forever!
-
Looks great


Frequently asked questions
Have a question about this project?
What kind of dog is in the picture of the finished floor? I have a yorkie-pom who looks exactly like your dog.
Where are the tiles? The link and blog (website etc) links are too generic and not specific to this particular tile you used. Thanks. Great job.
I have a dark colored vanity and bathroom sink and I am having a heckuva time finding a floor to match my vanity and my walls are going to be a cream white. Do you have any suggestions on colors for a floor and I’m gonna go with a vinyl plank click and lock flooring