


Stone Pebble Tiles on Top of Old Tiles

I recently did a bathroom Reno in my 3 way bathroom but here is how I did it without having to rip up all the old tiles and saved a lot of money by going straight over top of the old ones
edit .. I did have to take doors off and take off 1.5 cm of the bottom of the door to allow for the height of the tiles using a circular saw. Many uses of these tiles furniture laundry ,kitchen . Outdoor areas . Fireplaces . Bookshelf’s.
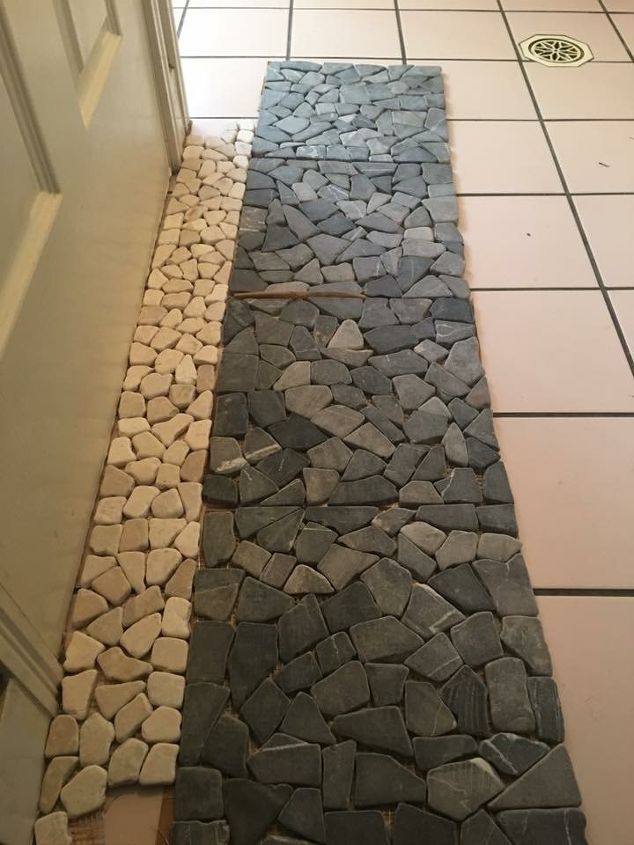
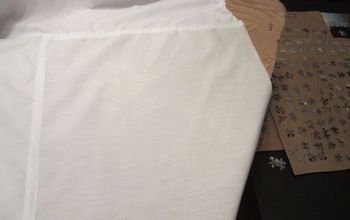
- I laid out the stone tiles to get the pattern I wanted and the amount I needed to do the job. I then used a grinder to take off the shine on the old tiles so every tile needed to be done to help the glue grab. I then mixed up the tile glue as per instructions on the packet. I was doing a large area and not just the one pictured, so I bought a large 20 kg bag of glue
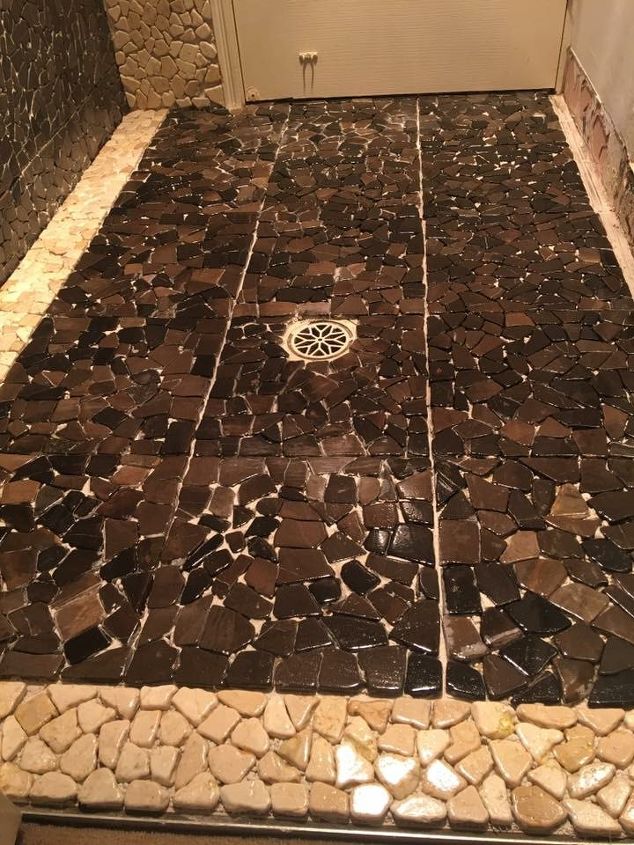
Once I had laid them all, I had to wait 24 /48 hours for the glue to set before mixing up the grout. I used a rubber grout trowel to apply the grout and used a pressing in and wiping on a angle away from me in on upward and out motion and kept that going the whole way. Using stone you go through a lot more grout than normal tiling due to the gap and depth around each pebble stone
Once I filled with grout I went over with. A damp cloth and a bucket of water to kept rinsing wiping away any excess . once it is dried another 24/48 hours your go back over properly to really buff up and clear of any residue . After a week it is good to add a stone sealer. It gives a beautiful shine and finish and protects the stone and maybe a quick top up of sealer each year to keep it looking fantastic and like new
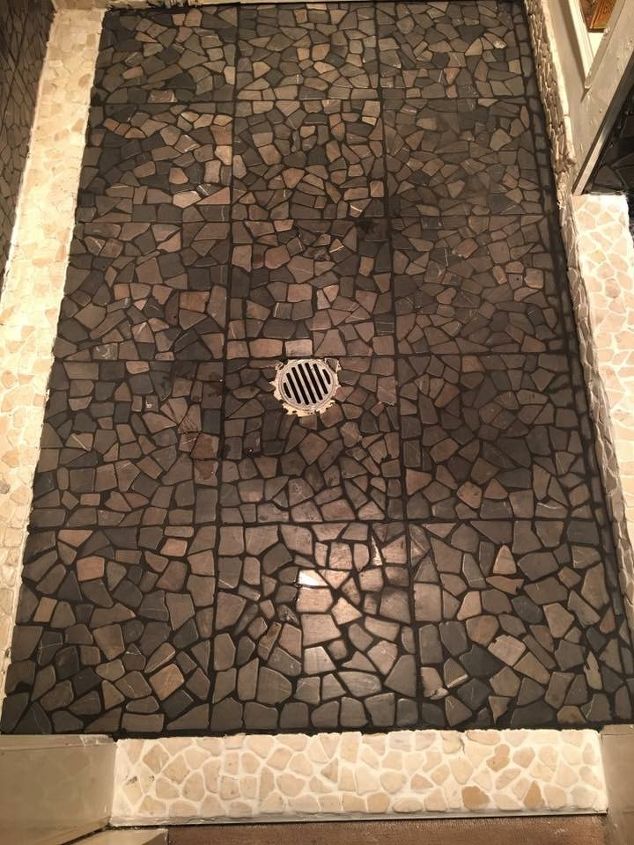
Extra pics of gluing down
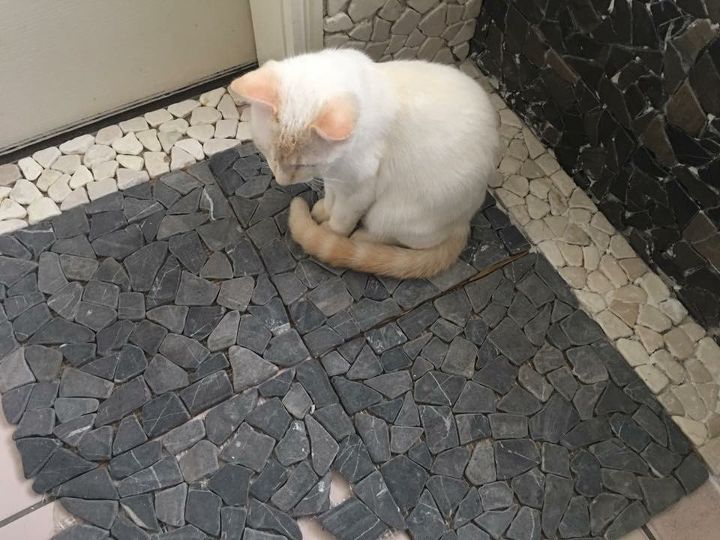
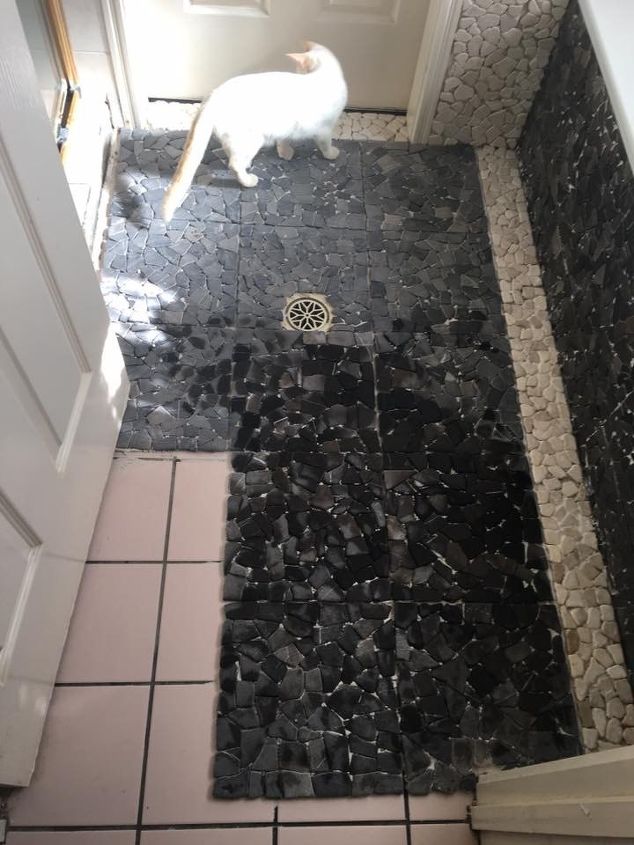
Even my cat joined in to help :/
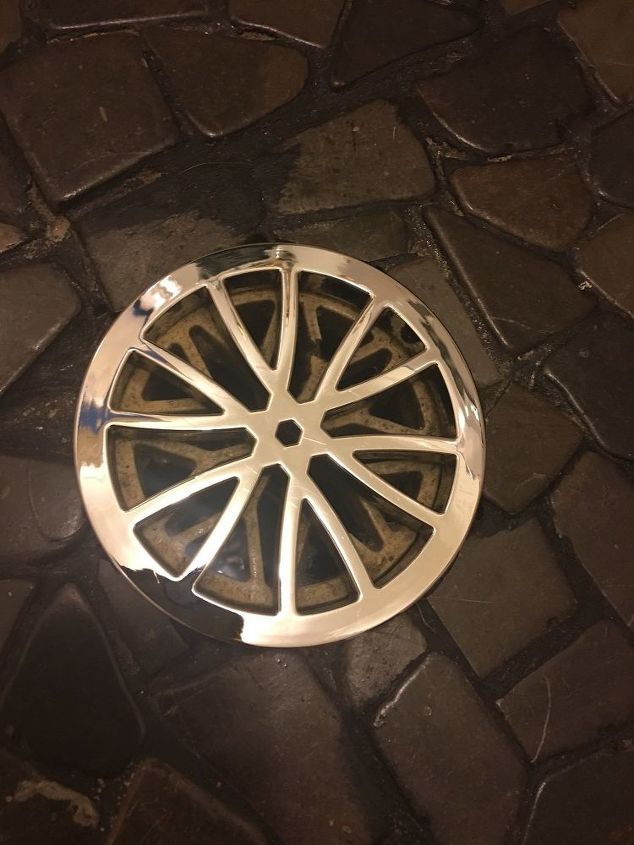
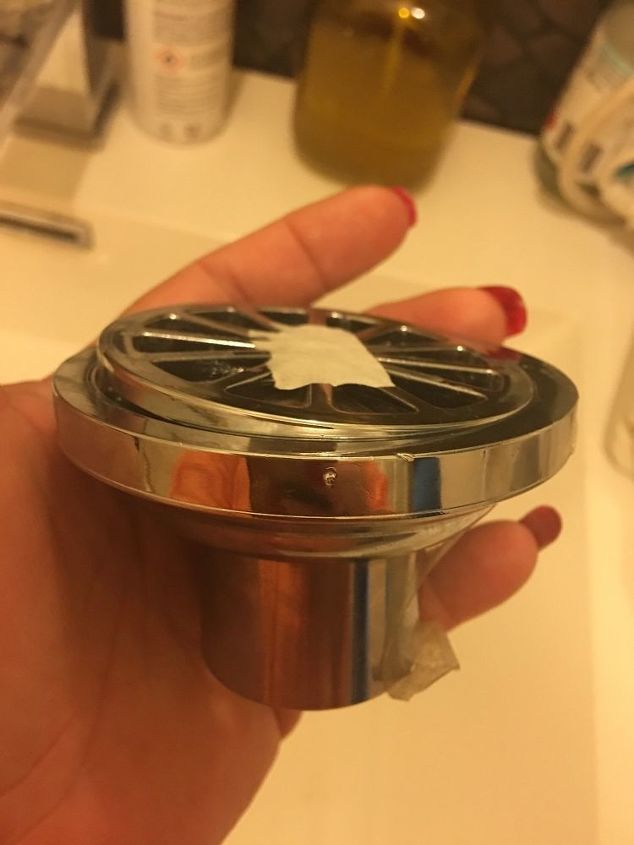
A few asked so I have added this bit .. as for the drain :/ I hunted around and an add to find a new top section mine was 90 mm it is a 2 piece item. When I got home I couldn't find a way to get the lower part out so I just used the top of the new drain and popped it straight on top and grouted and sealed. The pic below this is also another item I bought which may also do the job. It is an extension which would also work this one I will use in the shower itself drain hole and mine is. Smaller
Resources for this project:
See all materials


Comments
Join the conversation
-
I cant figure this out.
-
Jenny, it's Beautiful! Ignore the negative comments. A friend of mine did this year's ago and it's still beautiful.


Frequently asked questions
Have a question about this project?
Could this be done on a prefab shower insert? Could you do this on the shower walls? It looks great.
How did you put the tile around the toilet. Could it be a problem if you ever had a leak around the seal that I am supposing is now covered?
Question i just recently laid pebble stone down on my shower it looks great but one side isn't sloped enough, I was thinking about adding a 4 inch section. With the end tampered thoughts?