


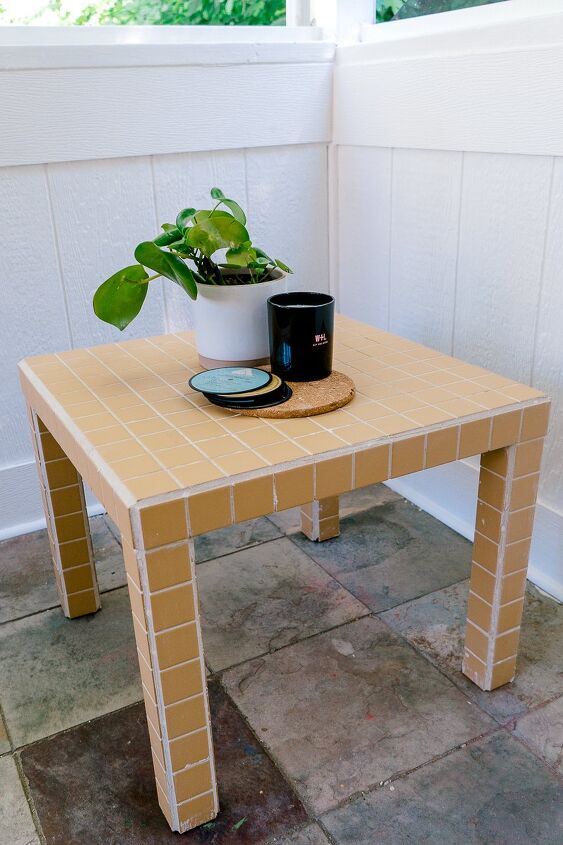
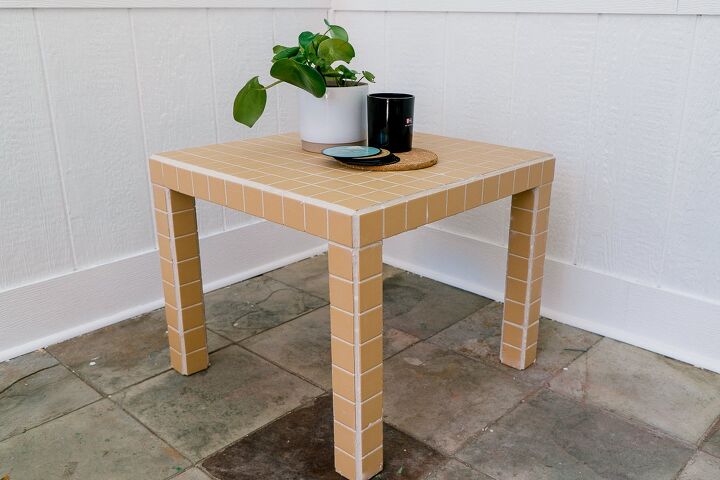
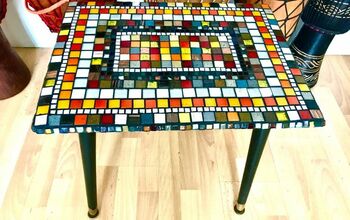
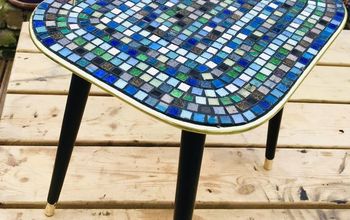
DIY Tile Table (as Seen on TikTok)

If you are familiar with TikTok, you definitely have seen this DIY tile table that went viral.
I decided to take IKEA lack table and tile the hell out of it 😁 , And I will tell you, it was so much easier than I thought!
Watch a video tutorial on YouTube and follow me on Instagram :)
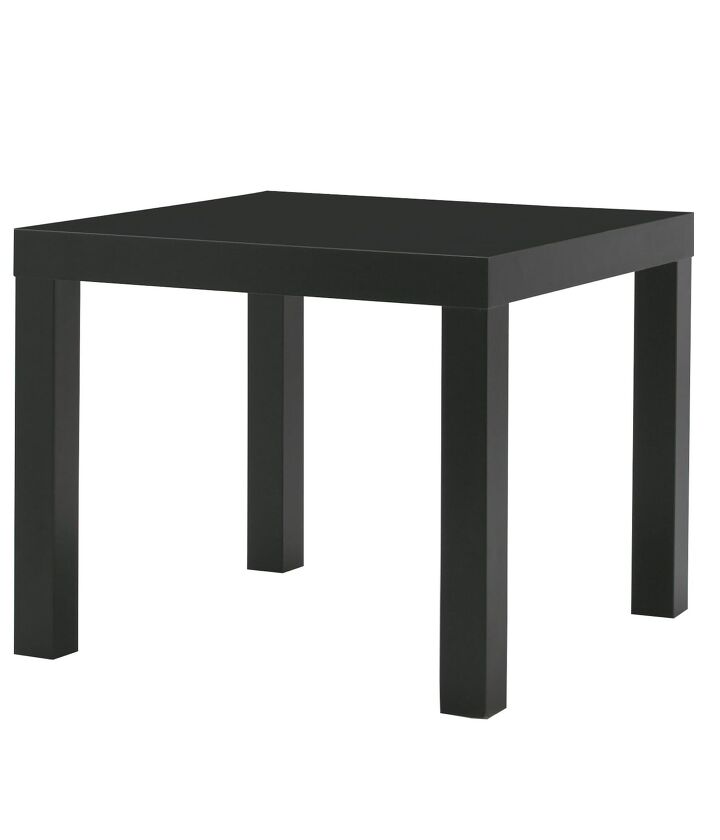
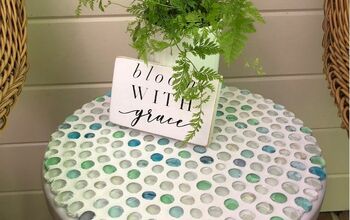
Before
Read the blog for more details on the tile and grout to choose from and the tiling process
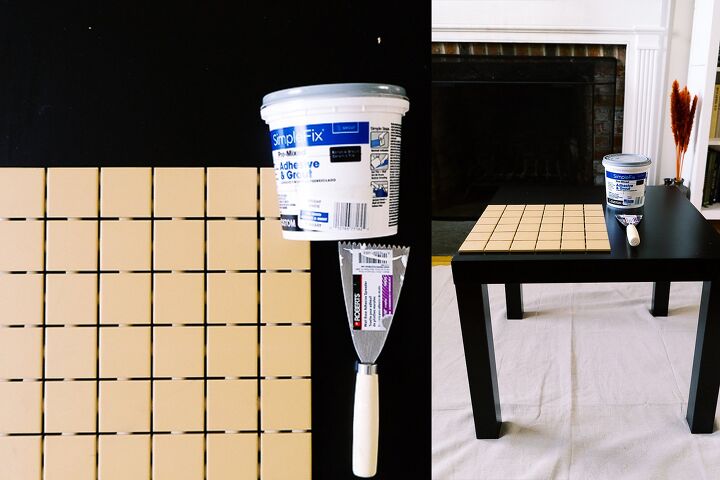
STEP 1
Position tile sheets on the tabletop, to see how you would like to lay them out.
STEP 2
Wipe your table with a wet cloth to make sure it's clean. Then, take the adhesive spreader and put the adhesive on the table. Choose the spreader that has V-notch.
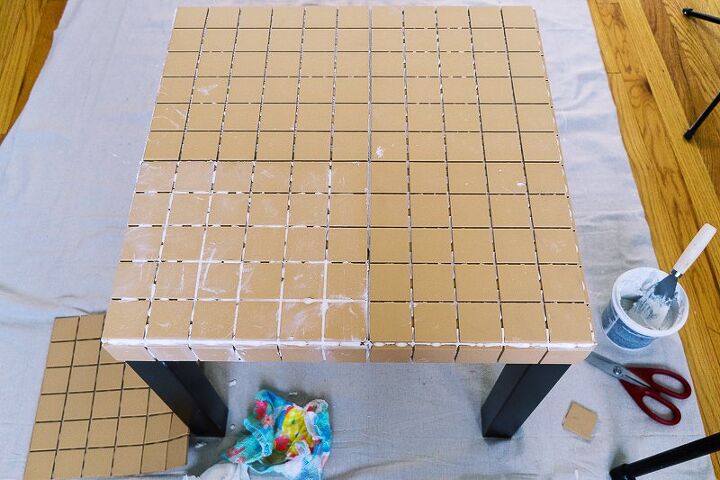
STEP 3
Put the tile down on the tabletop and gently press the tile to the adhesive. Wipe all the access with a cloth.
Cut the strip from the tile sheet and apply it on all the edges.
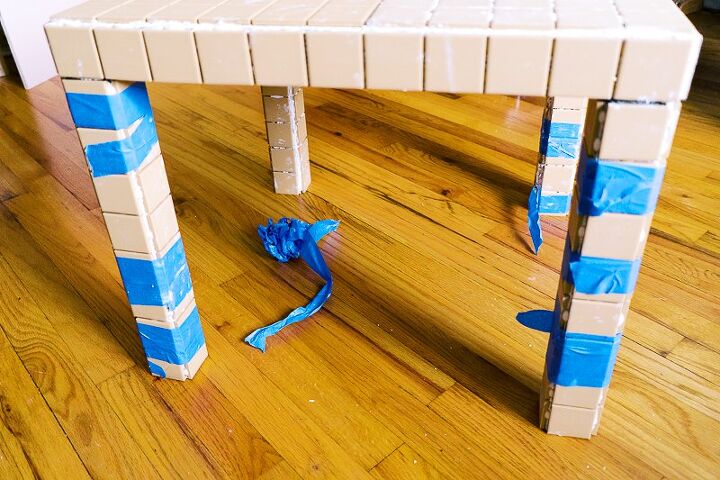
STEP 4
The biggest challenge I faced when tiling this DIY tile table was to apply tile sheets on the legs. Probably if I'd cut the sheet into strips it would be easier to put on, but who is looking for an easy way here?
After you apply a big sheet of tile on the leg, cut out a smaller part to cover the bottom of the leg. Do it 4 times and let it dry for 24 hours before moving to the next step.
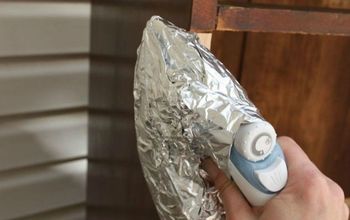
STEP 5
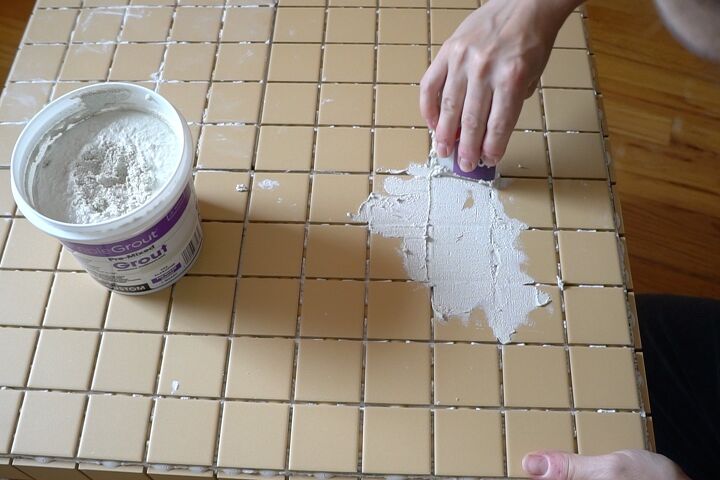
When the adhesive is completely dry, and oh you'll know when it is, it's time for the next messy step - grouting!
STEP 6
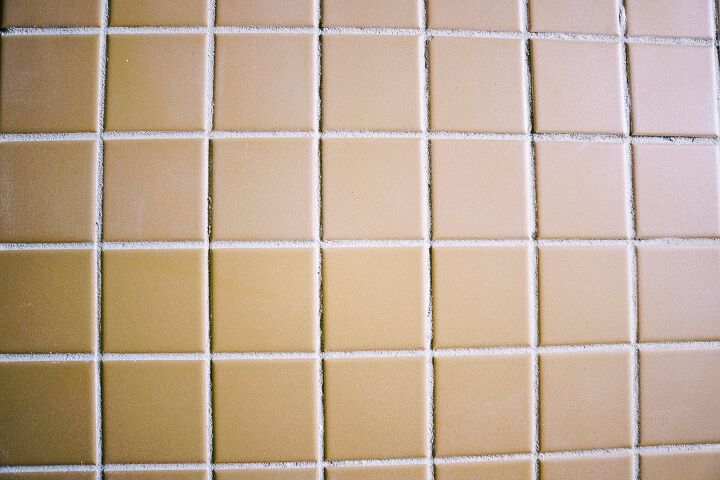
Leave the grout to dry and polish the tiles. Use the soft cloth and polish the tiles, one by one. It's very important that you don't touch the grout if it's not fully dried yet.
STEP 7
Apply a grout sealant if you plan to use it outside so you don't ruin your beautiful work.
Resources for this project:
See all materials


Comments
Join the conversation
-
That is a great idea and will make the table heavier and more stable.
-
I hope the table holds up it’s cheaply made from ikea, thick waffle cardboard, I know this because mine fell apart. Laminated glued on to cardboard. Worth less then what they charge for it. Any moisture will damage it.
blessings.


Frequently asked questions
Have a question about this project?
Do you think I can do this with glass beads instead of tiles ?