


Renter Friendly Wall Arch

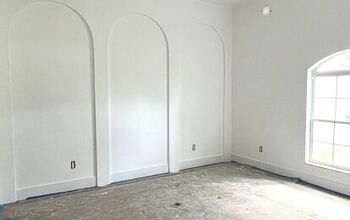
I'm sure if you've been on Pinterest lately you may have come across the famous arch - I know I've been seeing them everywhere. I have recently been putting together a temporary nursery for my baby on the way and felt like I needed a pop of color. Since this nursery is just temporary I didn't want to do a whole wall a color so I decided on doing a arch! I looked on Amazon and they do make pre-cut arches, but they're $50! Um no thank you! Especially for something that's going to have to come down and not be able to be reused! I found a solid color contact paper and decided I would make the arch myself! The contact paper was only $8.99 so I saved quite a bit of money!
This is a great project for renters, or someone who just doesn't want to take the time to paint.
Contact Paper - https://www.amazon.com/gp/product/B07ZLSTXKS/ref=ppx_yo_dt_b_asin_title_o05_s00?ie=UTF8&psc=1
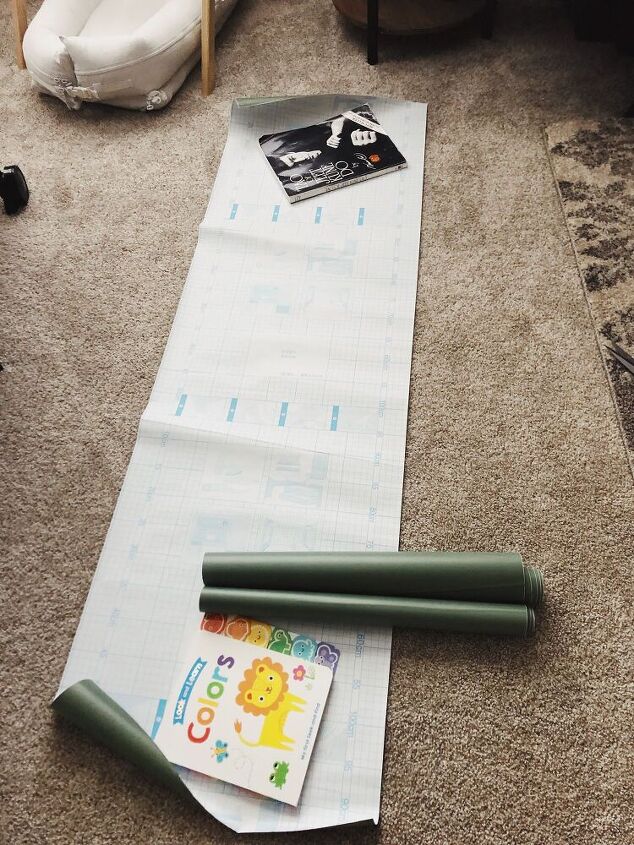
Step One- Cut Contact Paper
The roll I got was 118'' long. I laid it out on the floor and cut it in half.
Materials Needed -
- Contact Paper - https://www.amazon.com/gp/product/B07ZLSTXKS/ref=ppx_yo_dt_b_asin_title_o05_s00?ie=UTF8&psc=1
- scissors
- string
- pen or pencil

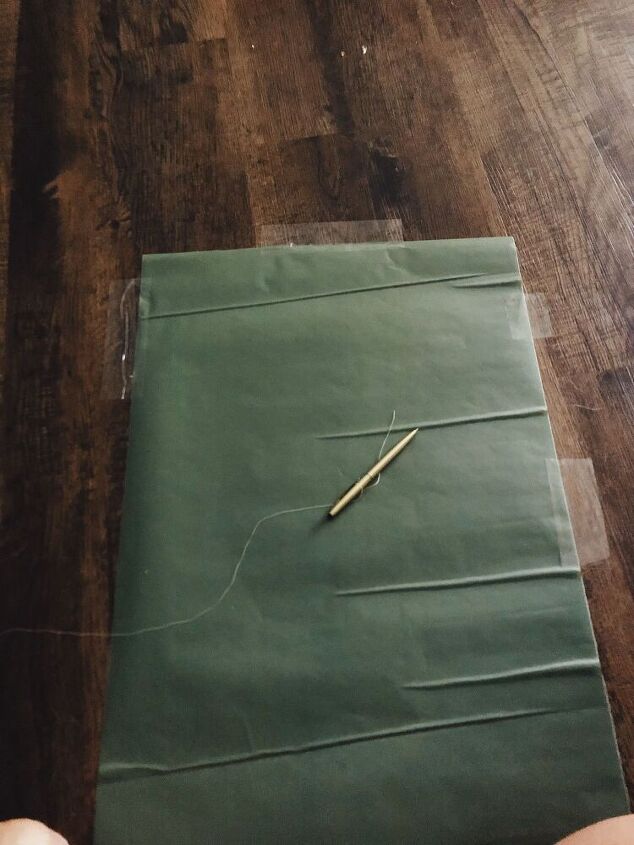
Step Two - Draw out Arch
I was going to wing this step (something I typically do lol) but decided I would just take a couple extra minutes and map it out so I didn't chance having to reorder. I wrapped a piece of thread around a pen and drew my arch. I held the string down on one side of the contact paper and did a couple practice arches before I actually drew it out.
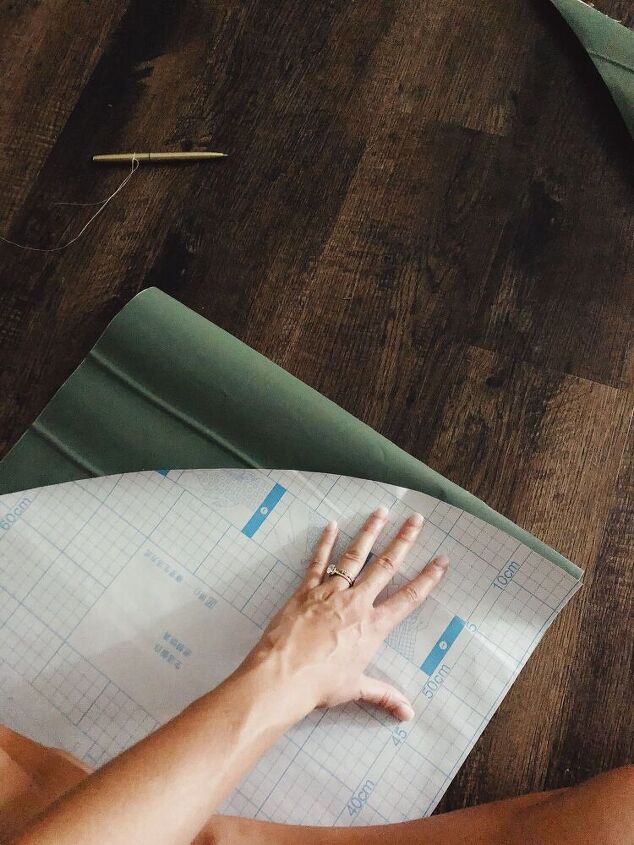
Step Three - Draw Out Arch
To actually draw the arch down I laid the contact paper down on my floor, I would suggest doing this on a hard surface, taped it down so it wouldn't move and drew it out! Now remember this is just half of the arch. I was originally going to draw a full circle, but when I was trying to line up both halves of the contact paper I was having a hard time getting it to line up just right and figured I would just do half at a time.
Step Four - Cut Other Half
I used the one side I just cut out and laid it onto the other - color parts touching. I then cut the second half to match.
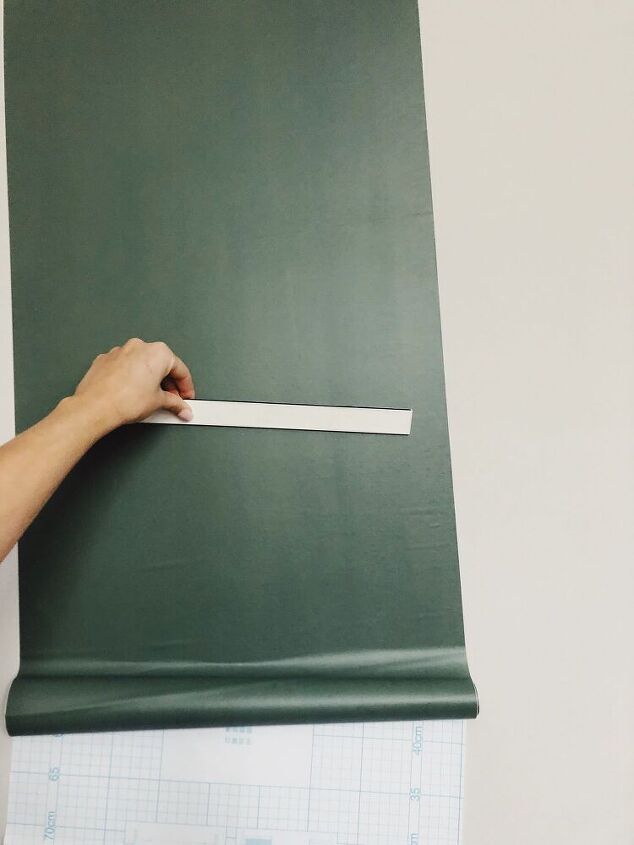
Step Five - Hang Contact Paper
This step is self explanatory - remove the backing and apply to desired spot on the wall. I used a ruler to help push out any air bubbles while applying this to the wall.
Step Six - Hang Second Half
Once the first half is on the wall, line up the second!
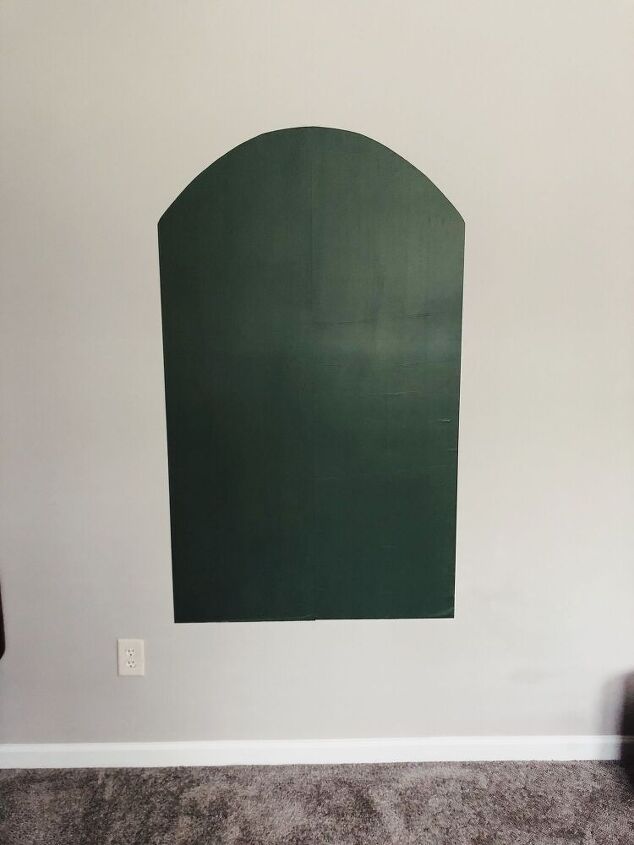
My arch doesn't go to the ground, I have pretty high ceilings and I wanted the top of the arch to be relatively high. I'll have a pack and play in front of it so you won't even see the bottom! Depending on the size of the arch you want and your wall height, order more contact paper as needed! This arch could be made into any length and height configuration - the possibilities are endless!
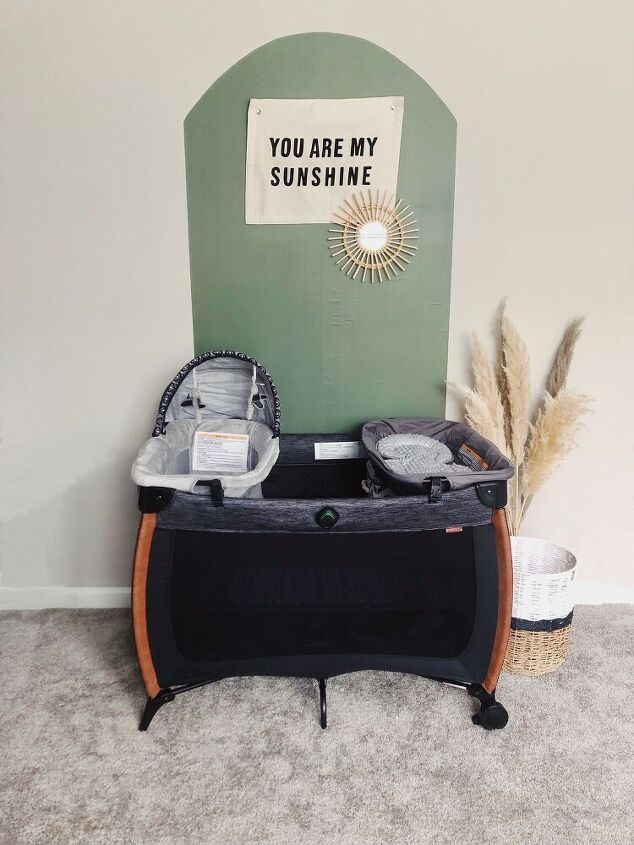
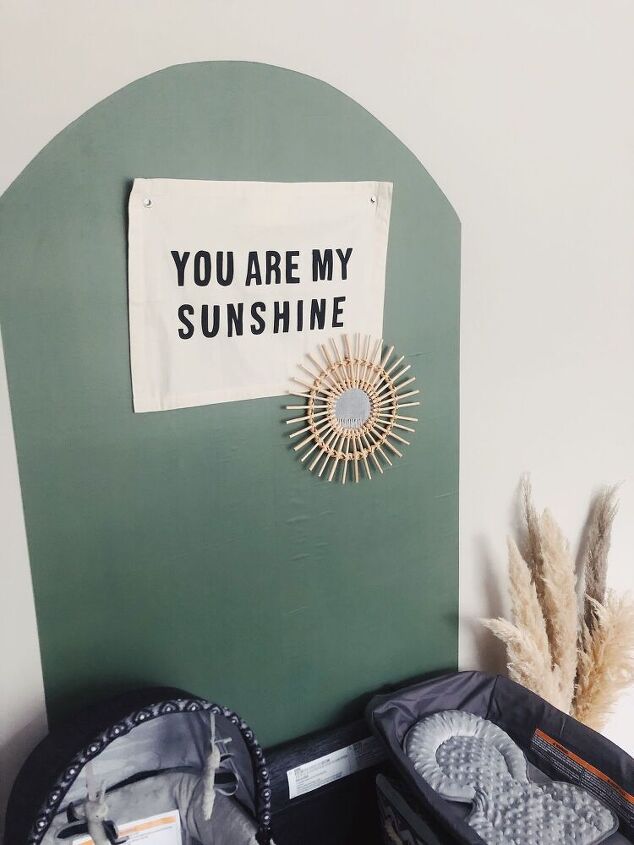
This is the final results and I love the way it turned out! For $9 this is something that didn't take too long, it's easily removable and gives a space a pop of color!
Resources for this project:
See all materials


Comments
Join the conversation
-
Love it!
-
I love contact paper, and you just ramped it up a notch. Great job!


Frequently asked questions
Have a question about this project?