


How to Make a Funky DIY Plexiglass Table in 6 Easy Steps

Today, I’m going to show you how to make a funky DIY plexiglass table in just a few quick and easy steps. I love to make super high-end design on a very tiny budget and I’ve been seeing this wiggly waggly table everywhere recently, so could not wait to remake it.
Once I figured out how to cut plexiglass at home with a jigsaw, then I knew I could recreate those fun curves without the designer price tag (plus a load of other DIY plexiglass projects came to mind!). Here’s how to make a DIY plexiglass table with a custom plexiglass tabletop!
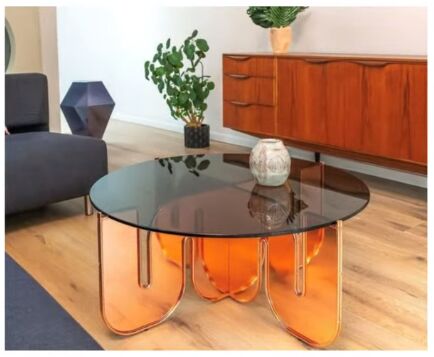
Table of contents
Tools and materials
- Plexiglass
- Measuring tape
- Marker
- String
- Jigsaw
1. Remove stickers
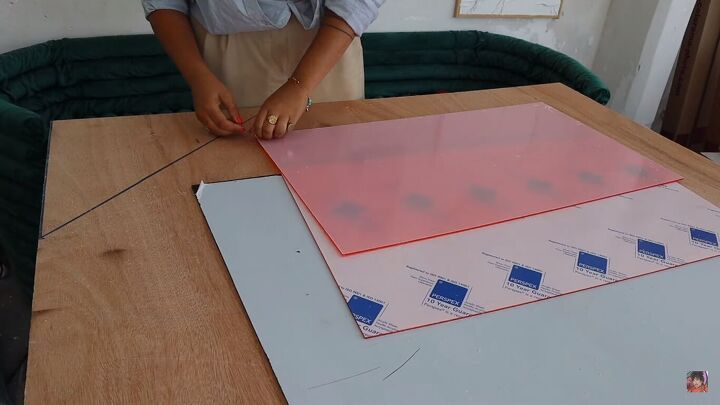
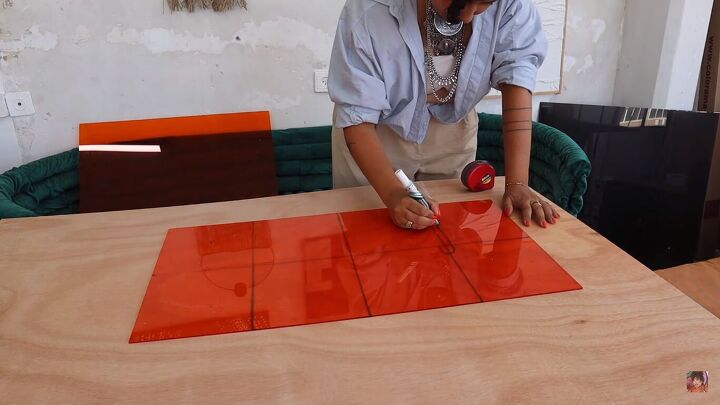
2. Measure and mark
Let’s start with the table legs. We want two curves at the bottom and three at the top.
The length of my plexiglass is 70cm (27.5 inches), but you can adjust these measurements to the table you’re making. I marked the halfway point, then halfway again, so at the 17.5cm mark (7 inches); that’s where I want my first curve. You should have a grid like this:
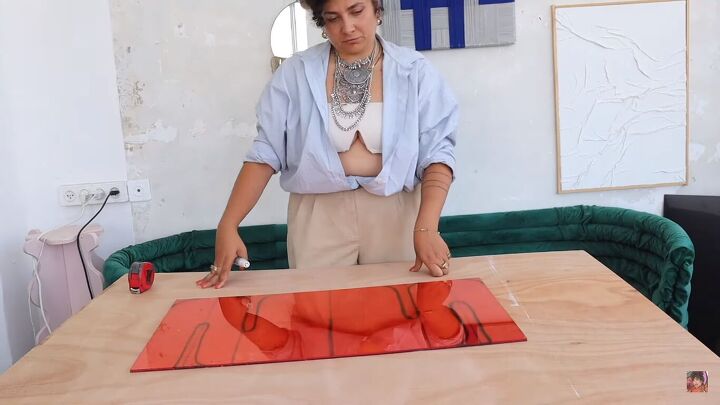
3. Draw the curves
Next, we draw the curves, as shown below. Once you have done one, trace the second piece with the exact same shape; this is easy because the plexiglass is transparent.
Notice that the center does not have a cut-out curve. That’s because the two plexiglass pieces will clip together here.
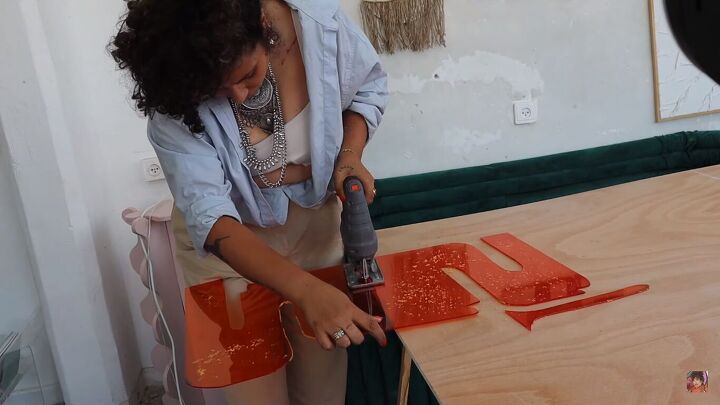
4. Cut out the curves
Cut out the curved shapes with a jigsaw.

How to cut plexiglass
I had a couple of pieces snap off while cutting. What I learned was that vibrations can make the plexiglass break. So, the cutting is fine as long as you hold the floating edge of the piece, as below:
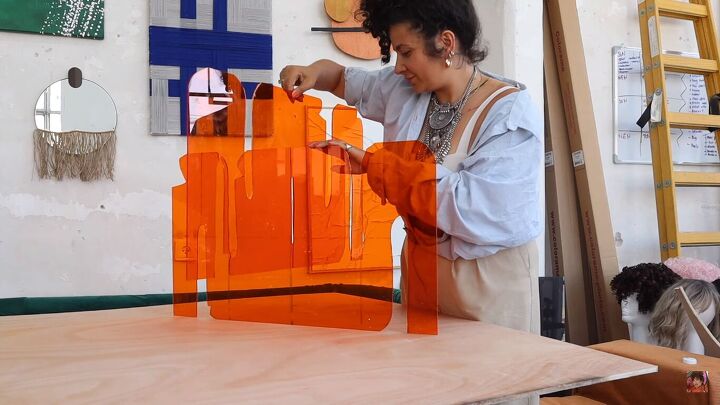
5. Slot the base pieces together
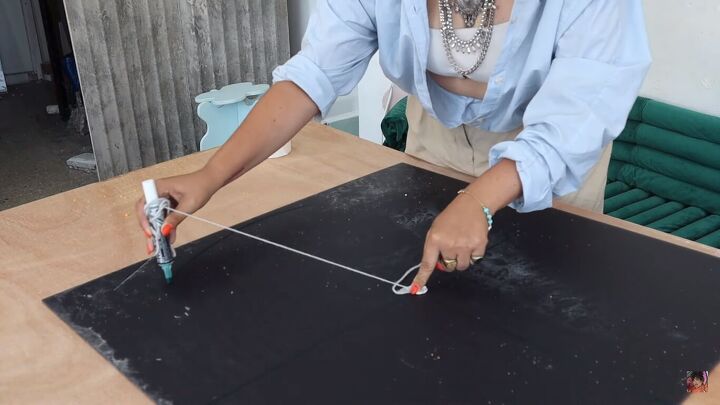
6. Make the tabletop
To make the round tabletop, find the center of your plexiglass piece, then use the old string-and-marker technique to draw a perfect circle.
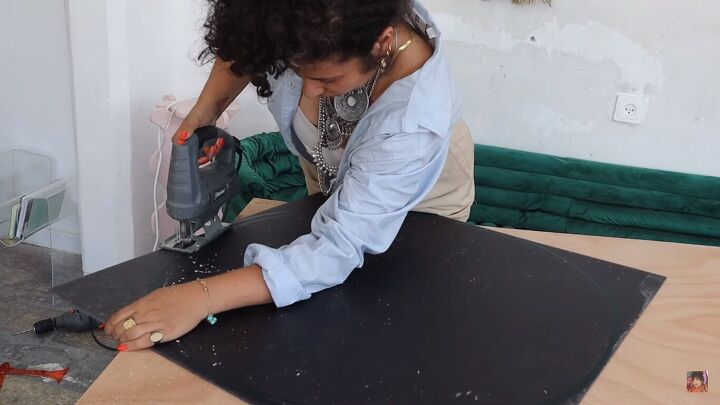
Then, cut the piece out.
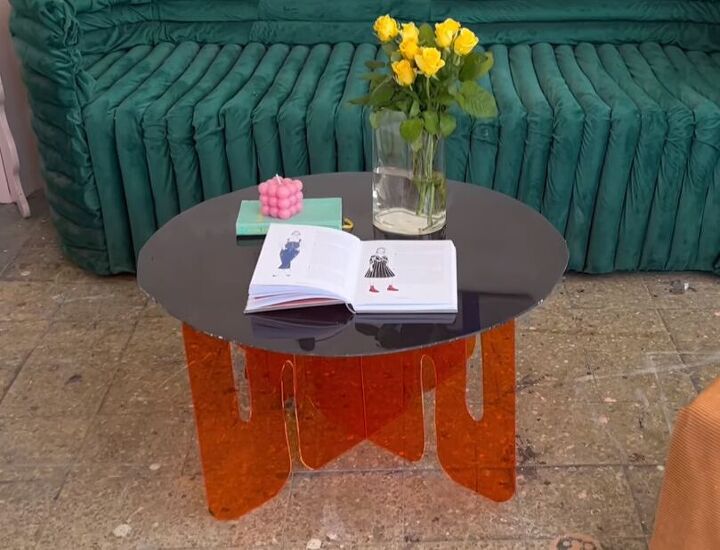
DIY plexiglass table
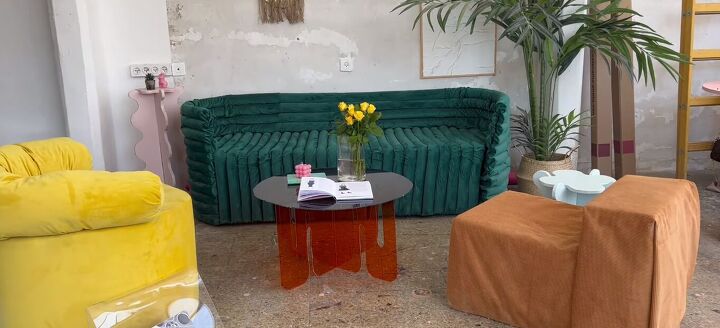
What do you think of the finished DIY plexiglass table? I think it came out so close to the original, so for a fraction of the cost of a designer piece, plus the quick turnaround time, I believe this was a major success. Has this inspired you to start any DIY plexiglass projects of your own? Let me know in the comments below.
To discover how I made the other DIY furniture and decor in my living room above, take a look at my previous tutorials on textured wall art, how to make a cardboard chair, my DIY pool noodle couch, and how to create an exposed industrial accent wall.


Frequently asked questions
Have a question about this project?