Upcycling a Round Folding Table

I had a round folding table that had sturdy legs but a badly water-damaged top. I've seen a few diy tutorials that add wood to the top of folding tables to give it a more finished look and I thought that could work for this project. However, since the original tabletop was damaged, I decided to remove it completely and replace it with a brand new top.
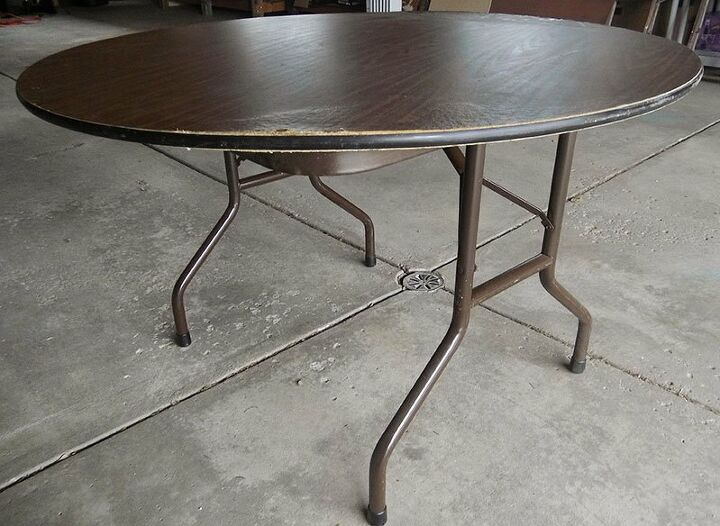
Here is the original table. You can really see the damage around the edges.
I picked up a couple 1x10 pieces of lumber. Each piece was 8 ft long but I had Home Depot cut them down to 4 ft. I glued three of the 4ft pieces together with wood glue, clamped them together, and added some weight to keep them laying flat while the glue dried.
Once the glue was dry, I used a circular saw to cut the edges straight. I added wood filler to any gaps/holes and when that was dry, I sanded the entire tabletop.
Removing the old tabletop was easy! I just had to remove the screws that held it in place. The original table was round and had a square metal frame around the base of the legs. Since I was changing the shape and size of the top, I didn't need to use the square frame. (Any good ideas for what to do with that?)
I lined up the old legs on the new tabletop and started screwing in all the screws. I started out drilling pilot holes, but there are a lot of screws for these legs and I realized that they screw in fairly easily without pilot holes. So this process went quickly after I stopped all the extra drilling.
For the trim, I cut leftover wood into two inch strips using a table saw. I used wood glue and clamps to secure the trim in place. Once the wood glue dried, I added a few screws to each side. In this photo, you can see I was using regular silver screws, but I eventually switched them out with darker screws so they blend in with the dark stain I used.
I used Minwax Dark Walnut stain for a darker look. I gave the table two coats of stain and three coats of Varathane semi-gloss polyurethane.
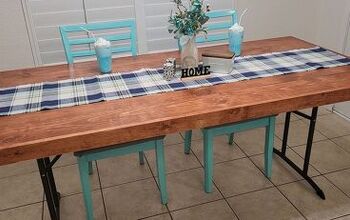
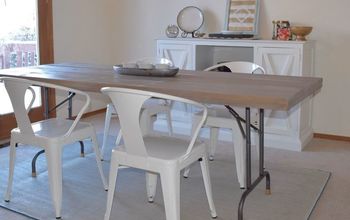
Here is the finished look! I had all of the materials on hand, except for the wood, so overall, this was a fairly cheap project with an awesome result.
A gorgeous, new kitchen table!
Before and After
Enjoyed the project?
Resources for this project:
See all materialsComments
Join the conversation
-
 Donna Couvillion
on May 21, 2019
WOW FANTASTIC IDEAS THAT I LOVE
-
-











Frequently asked questions
Have a question about this project?
Are you still able to use the legs and put them up whereby you could store something like this on your garage wall and use it for special occasions when you need an additional table?
My dining table is made of particle board with formica type top. The top is kind of fading. How can I refurbish this table without replacing the wood. Can you give me advice about redoing this table top? I liked your project on ur table.
Table looks great but I am actually looking at your window in the background. I love the sunburst effect - what did you use?