How to Turn Your Table Into a Farm Table

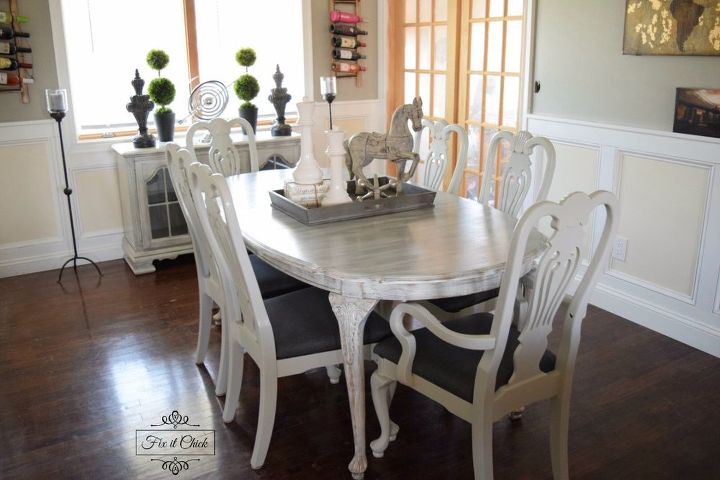
Currently trending right now, Farm Tables and Farmhouse Decor are EVERYWHERE! I recently had a client that wanted to transform her outdated dining room table she had for years into a rustic Farm Table without breaking the bank. I was able to do just that using just one material- PAINT! This DIY Farm Table is super simple to tackle and create and will save you a ton of money. You'll be loving your new farmhouse decor in literally a day.
The best thing about this technique is that you don't have to use a natural wood table. Even if your table is mahogany or dark cherry wood, just by using a good oil-based primer and some paint, you can transform it into a farm table. Try this technique out on any table in your home, whether a coffee table, end table, kitchen table, or even a headboard or wood plank wall. Anything made of wood would look amazing using this process.
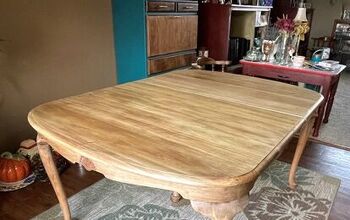
To start, simply sand down the entire table to get off any rough spots or debris. Wipe clean and prime the table entirely using a good oil-based paint if your table has a shiny varnish topcoat, or is super dark. If not, a regular water-based primer will work just fine.
After that dries, apply your first coat of paint. In this case to match the walls of her dining room, I used 3 different paints; dark grey, light grey, and cream. I apply the darkest color first, adding a little water to the paint, which in turn makes it easier to apply and sand when dry.
After that coat dries, lightly sand down the table allowing the white primer and original table color to show through here and there. Start with a 150 grit sandpaper and go down in number if you need to sand off more.
Wipe clean and apply the lighter grey color (or your second lightest color), again diluting it with a little water. Apply the same steps after that dries as above.
The last step is to spot-paint with the white or cream colored paint. This is your last paint to apply so smooth it out as you go and apply where ever you think some light spots should be. You're going to sand this down as well after it dries to blend it in to the entire table.
Your final step after fully wiping the entire table down of any debris or dust, is to put on a final finishing coat. I prefer Rust-oleum's Chalked Matte Clear topcoat or Minwax's Polycrylic in Satin (water-based). Avoid making it too shiny because this is a farm table and we want to keep it as rustic and natural looking as possible.
Lastly have fun with it! This shouldn't be stressful AT ALL! The colors you choose are YOUR CHOICE and should be ones that match the colors of your home or room. The table shouldn't look perfect so if you mess up it's totally fine, just paint over whatever spot(s) you don't like and sand it again to blend in. If after you paint your last coat with the white/cream color you feel it's too light, no problem. Just go back into either of the darker colors and paint on some darker spots. Again this your table so make it adhere to your taste. Fix it however you like before putting the final finishing coat on. And enjoy your new rustic DIY FARM CHIC Farm table!
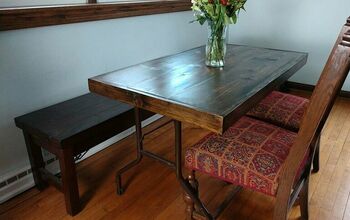
My clients love this table transformation in their home!
And a refinished hutch to match~
Enjoyed the project?
Resources for this project:












Frequently asked questions
Have a question about this project?
Hello, I’d like to know what colors you used in the table that this post is saved under. The dark one.
This costs $50?? You've obviously never been to New Zealand!!
Why is finish so splotchy. I have same set but this sloppy looking to mr