


I Bleached My First Piece of Furniture!

I've refinished lots of pieces of wood furniture over the years, but it wasn't until recently that I heard about bleaching wood. The dining set I have belonged to my folks. When they originally got the table & buffet, they had been dyed black with what I was told was India Ink. I was also told that since different woods were used to make furniture 'back in the day', the pieces were dyed so they could be sold as a matching set. Mom painted the set in the 70's with the 'antiquing' technique that was new at the time.
After we were given the set, we decided to have the paint & stain stripped off. With the finish removed, we could see the different types & colors of the wood. The tabletop was red oak; I'm not sure what the legs and skirting were made of, and the buffet was white oak with red oak on the side panels. We chose to use an oak stain on the buffet and a dark walnut stain on the table. This meant that the two were no longer matching but at that time, that didn't bother me.
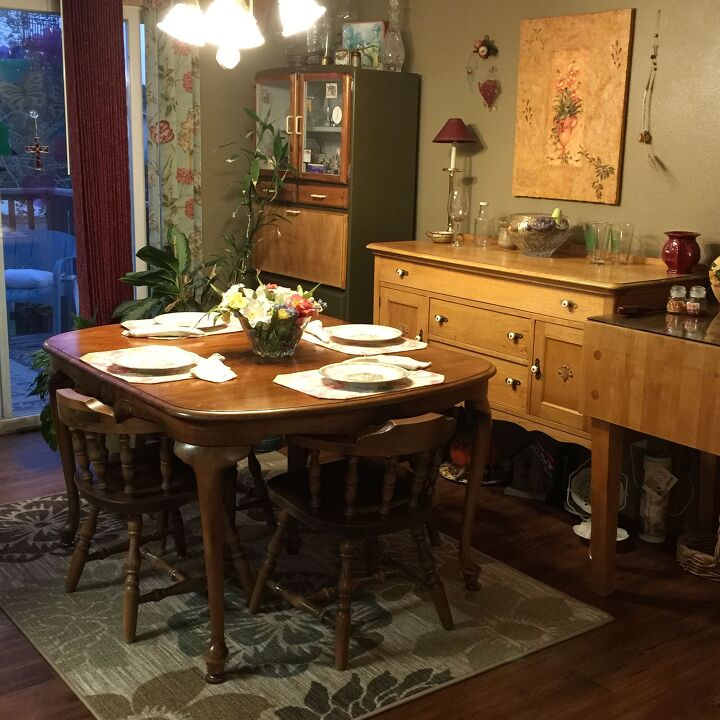
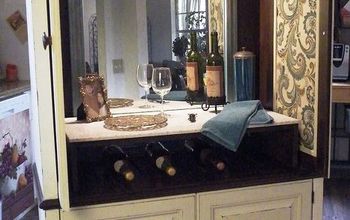
Here is a picture of the table & buffet after refinishing them years ago.
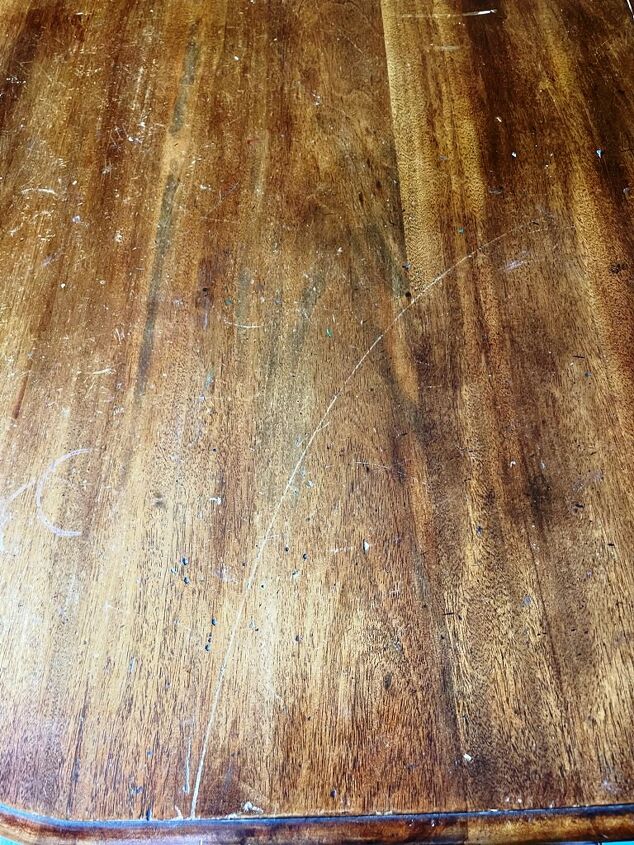
For years, I covered the tabletop with a tablecloth but for the last several years, I have left it bare to enjoy the wood. Recently, I took a good look at the finish and realized that it really needed to be refinished!
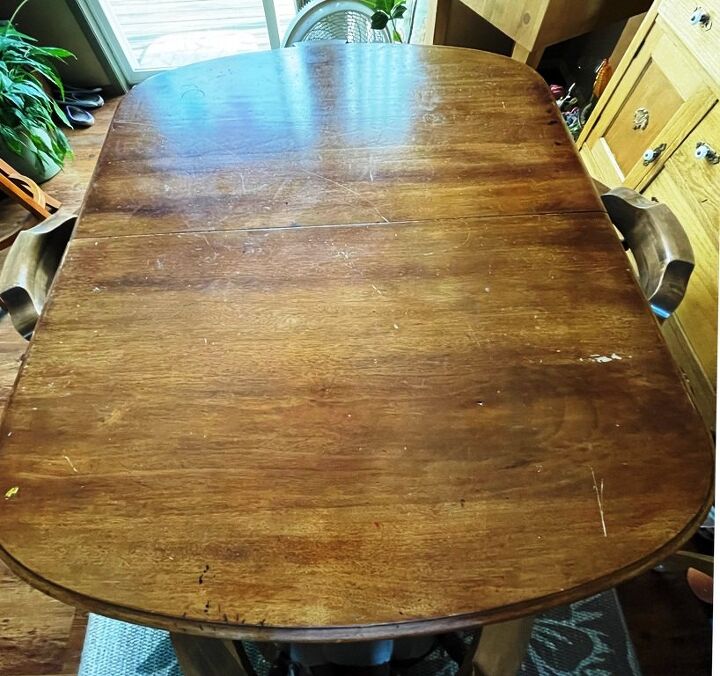
There were scratches, paint, indentions from a Stryrograph from when the now-grown kids were small. Yes, it was time to refinish the table!
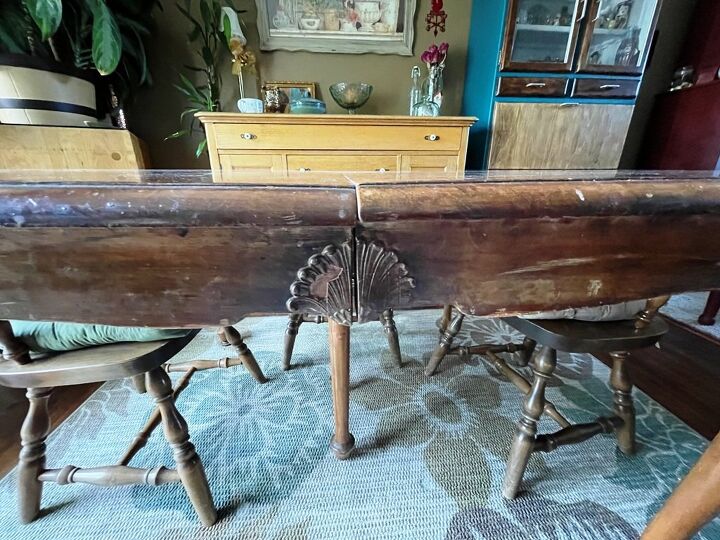
The skirting on the table has damage from the chairs we've been using. The original chairs are still stored at mom's. I should say that 3 of them are, we don't know what happened to the other 3. I am finally having the remaining 3 shipped to me.
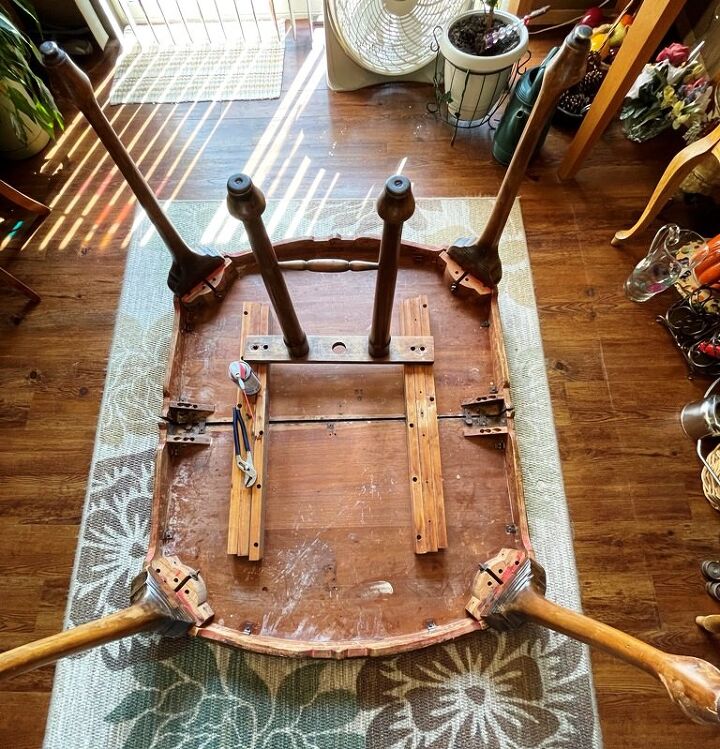
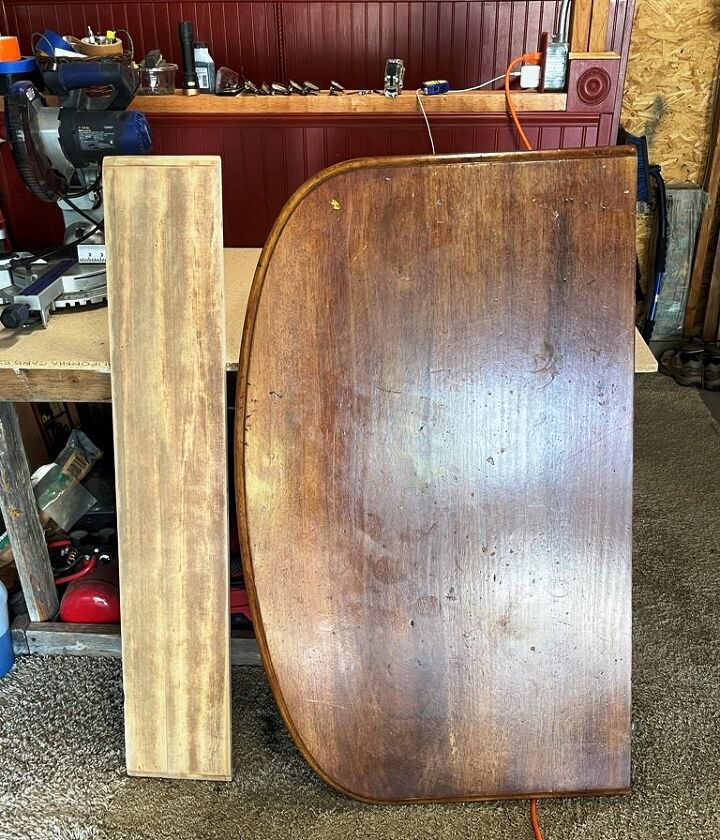
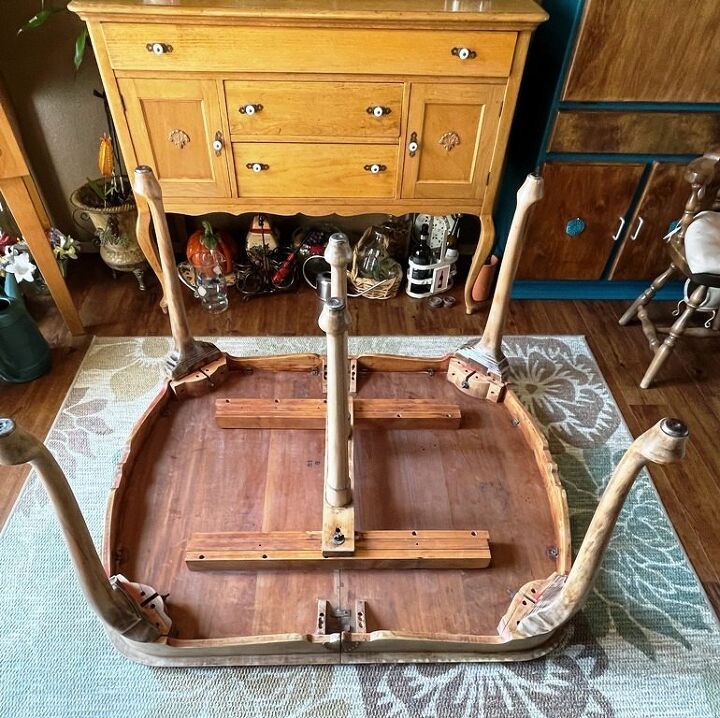
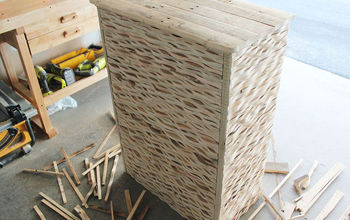
The first step in the project was to take off the legs, disconnect one side of the table from the sliders then move the table to the garage. When I flipped the table upside down, I was shocked to see the underside! I'm sure we never cleaned it!
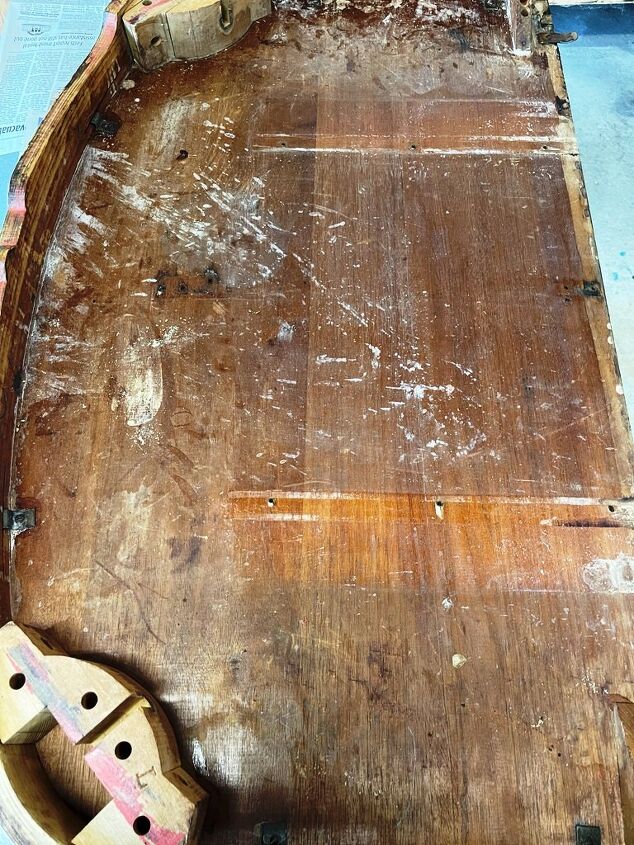
How can I be so sure? Because the white that you can see looks to be dried stripper from the refinishing over 40 years ago.
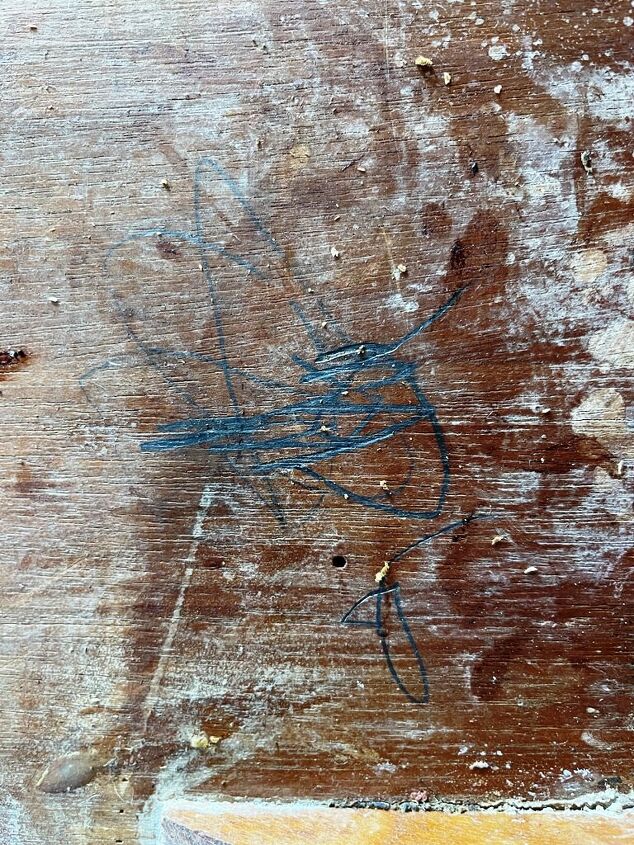
There were also a couple of areas that had pencil scribbles. I don't know if the scribbles were made by my sisters and me or by my kids. Regardless, I wanted to keep them so I decided to clean the wood as opposed to sanding it.
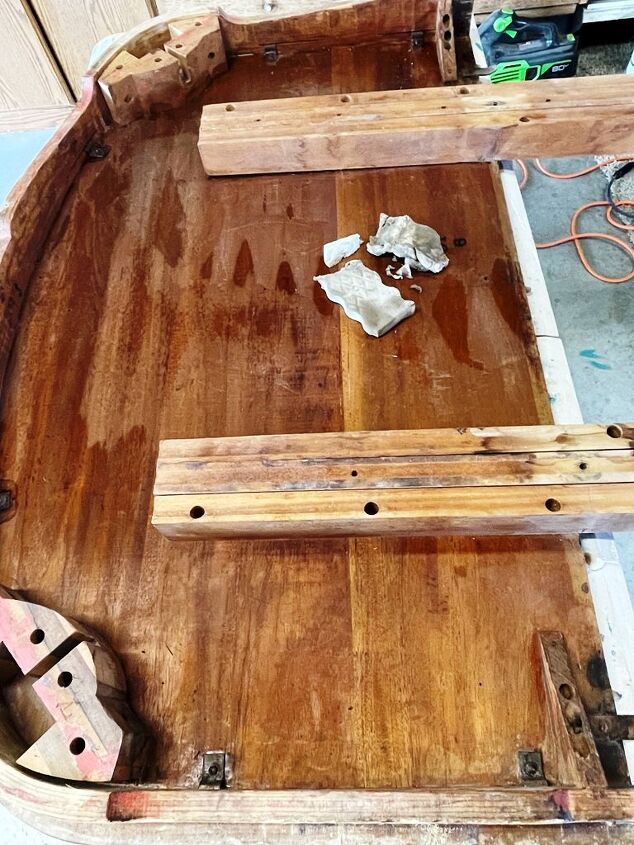
I used several Mr. Clean Magic Erasers on the wood and am sure I could have used more. I actually feel like there were 100+ years of dust on the underside of the table! I mean, who cleans the underside of their dining table?
Now that the underside of the table was clean, it was time to sand off the old finish. Using my orbital sander and 120 grit sandpaper, I got to work. It would have been faster to use 80 or even 100 grit but I didn't want to go to the hardware store and also didn't want to accidentally rough up the surface.
I chose to start the sanding on the leaf so I could get a feel for how the finish would come off. I'm not sure what we used 40+ years ago - maybe laquer - but it was still well-intact on most all of the surfaces.
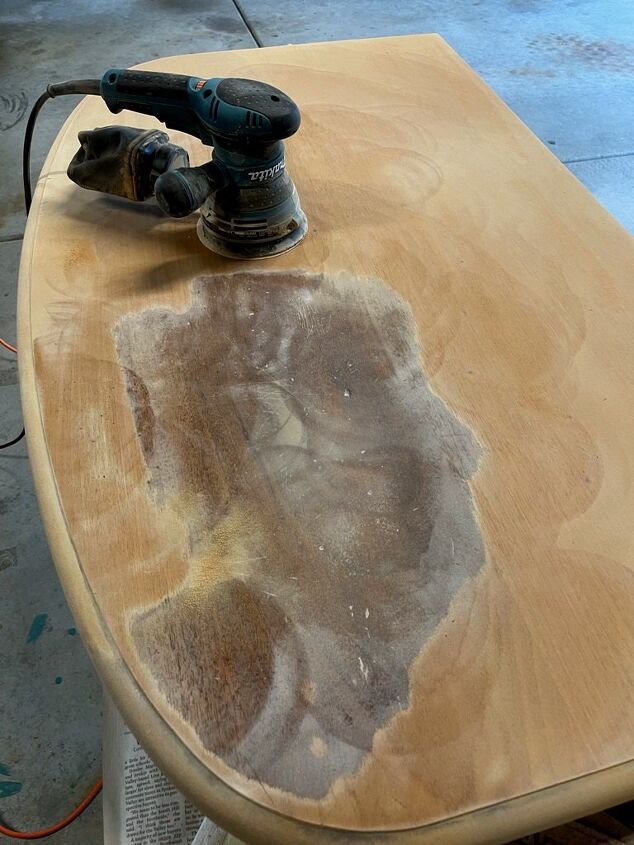
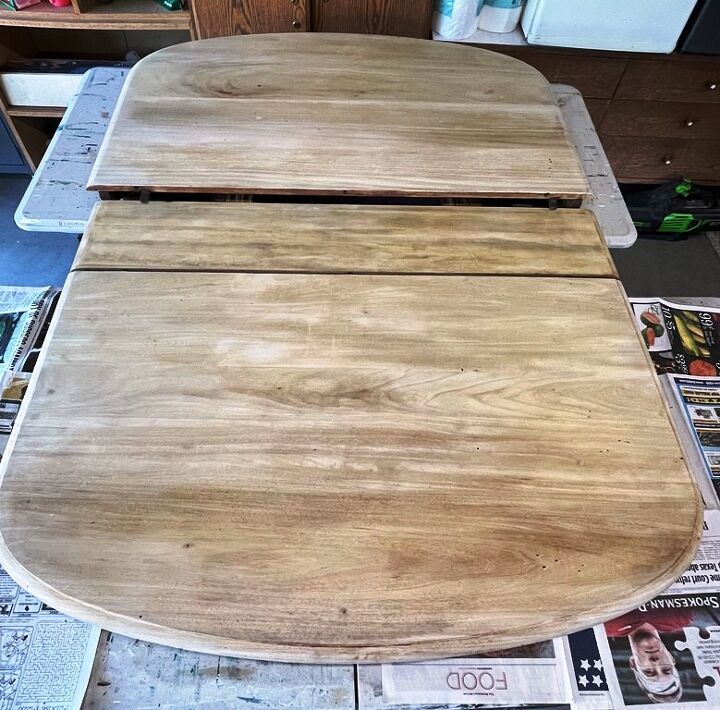
After the leaf was down to bare wood, I focused on each 1/2 of the tabletop. It was slow going, but eventually, all the finish was sanded off. There was still black ink in the groove around the tabletop. I considered leaving it but then decided I would try to remove it.
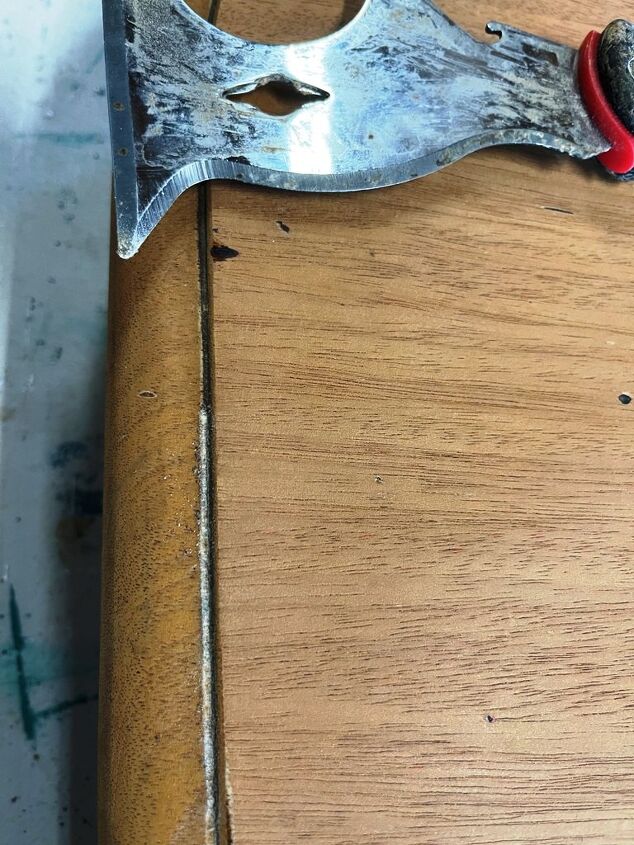
I couldn't use the sander without risking losing the groove so I started with a piece of sandpaper. I sanded for a bit but realized that it wasn't working. I then used my 9 in 1 tool to scratch out the old finish. It worked really well but I found that I had to move slowly or it would jump out of the groove and scratch the tabletop.
Because the legs are curved, I decided to use a stripper to remove the finish then sand them after most of the finish had been removed. Using a paintbrush, I applied CitriStrip to all 4 legs and the center leg piece. After allowing the stripper to work for a couple of hours, I removed the stripper using a piece of steel wool dipped in mineral spirits.
I use gloves for this process to protect my hands. It is a messy way to remove the finish but is effective so I'll use it when I can't sand the piece of furniture that I am refinishing.
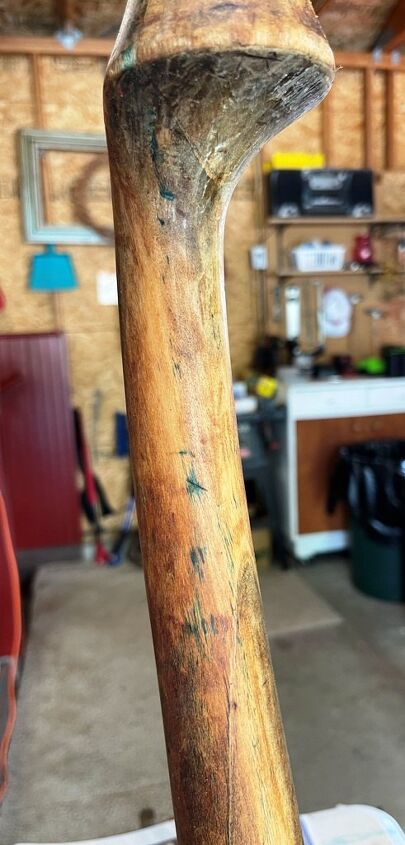
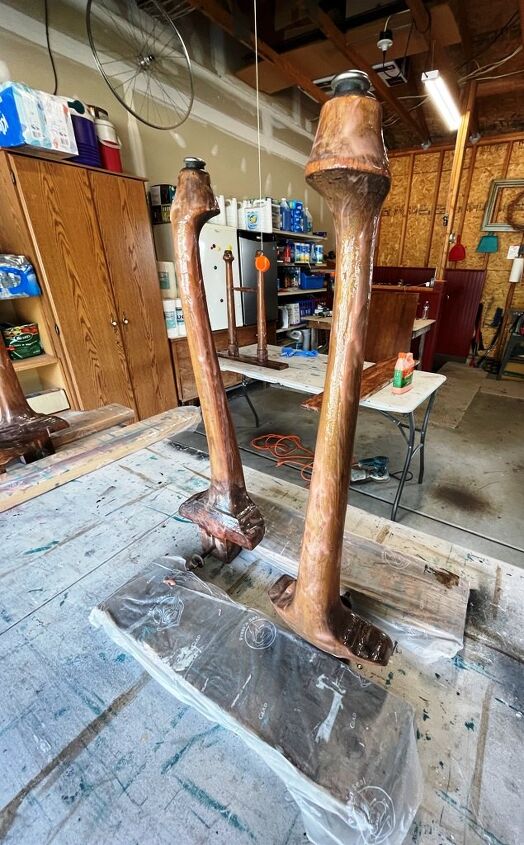
After the legs were stripped and the wood was dry, I sanded them with my orbital sander and 220 grit sandpaper. For the extra curvy areas, I used a sanding block to remove any leftover finish and to smooth the wood. You can see that there is some green marker that did not come out of the wood with the stripper.
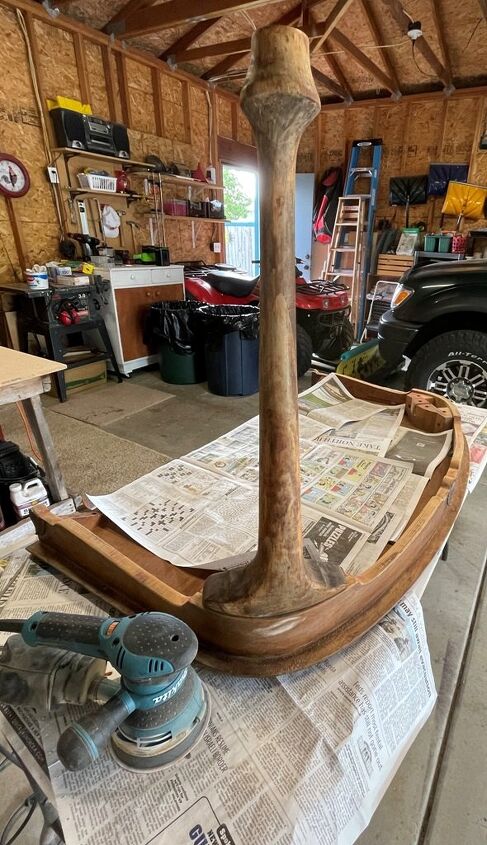
I'm not sure why I didn't think of doing this when I applied the stripper, but I realized that I could set the legs back into the tabletop to hold them while doing the sanding.

There are places where the old black ink shows, some of the deep scratches are still visible, and there are places where the red paint mom used is still there. I am ok with this because I am trying to preserve some of the history of what the table has been through.

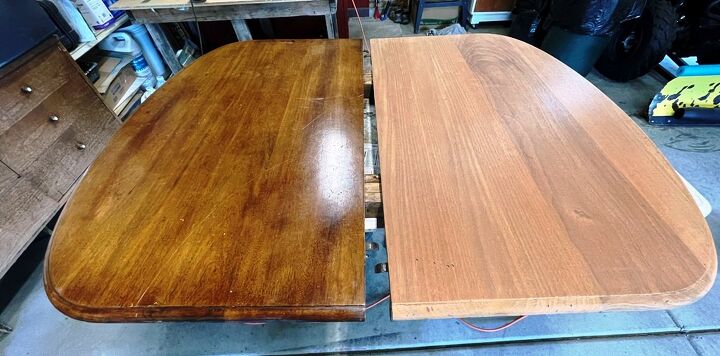
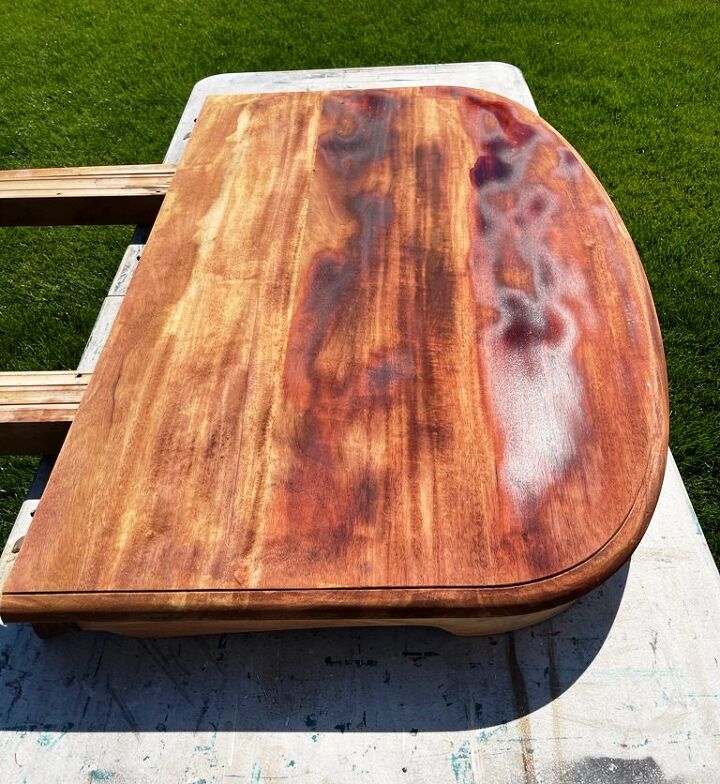
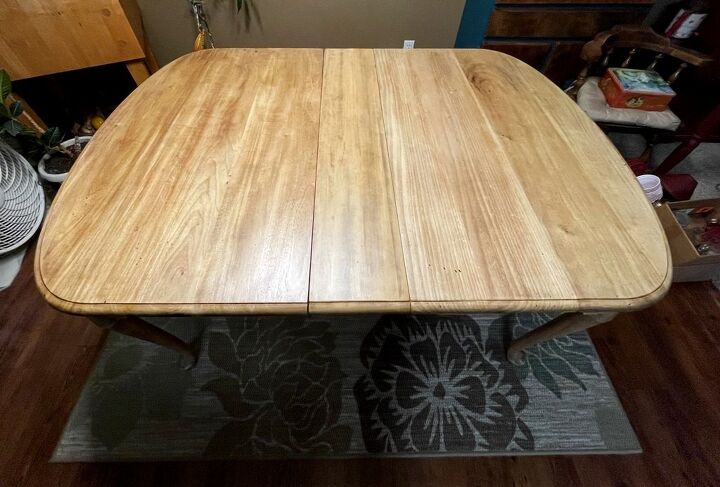
Now that the table & legs were stripped & sanded, I could really see the difference in the types and colors of the wood that was used to build it.
When I decided to refinish the table, I knew that I wasn't going to apply stain. I had planned to just use a clear coat of sealer so the real color of the wood would shine through. However, the red oak was really red and the leaf was made from different wood than the rest of the tabletop. The wood on the skirting and the legs were different than either the tabletop or the leaf.
Hmmm....I wasn't thrilled with the red color so that's when I decided to bleach it. I've recently seen people bleaching their wood furniture. I thought that might be the solution to the different wood colors. I researched how to bleach red oak and found an article that had a DIY recipe for doing so. The products needed were hydrogen peroxide and lye. I had everything but lye (and did end up buying more peroxide). I read all the details, steps, and warnings then went to the hardware store to buy lye.
The process of using the DIY bleaching technique is to prepare the ingredients, apply the solution, rinse wood. Below are the directions from the website I used along with notes on what I did differently. The link is here.
- Important: When handling or working with lye, you should always wear gloves and eye protection. Also, never pour water into the lye and don’t pour a bunch of lye into the water at one time.
- Fill a plastic container with 1 qt of water. It’s important that you use plastic and not metal. And if you are doing a lot of wood, you might want to make a gallon
- I made smaller batches, using 2 cups water & 1/2 the amount of lye
- Slowly add 3 tablespoons of lye to the water, stirring the water slowly between each tablespoon
- Once the lye solution is made and ready to go, set it aside and pour the hydrogen peroxide on the red oak
- I used a foam brush to apply the hydrogen peroxide on areas that were not flat
- Spread it with a foam brush to make sure the entire surface is covered
- Using a foam brush, spread on the lye solution thoroughly over the entire surface
- Let dry completely - it's helpful if you can do this process in the sun
- After the wood has completely dried, using water, rinse the surface of the wood and wipe it dry with a towel. If you are outside, the sun will dry it.
- I used a mixture of 1/2 water & 1/2 vinegar
- Then let it completely dry again
- You can repeat steps 2 – 4 until you are happy with the color
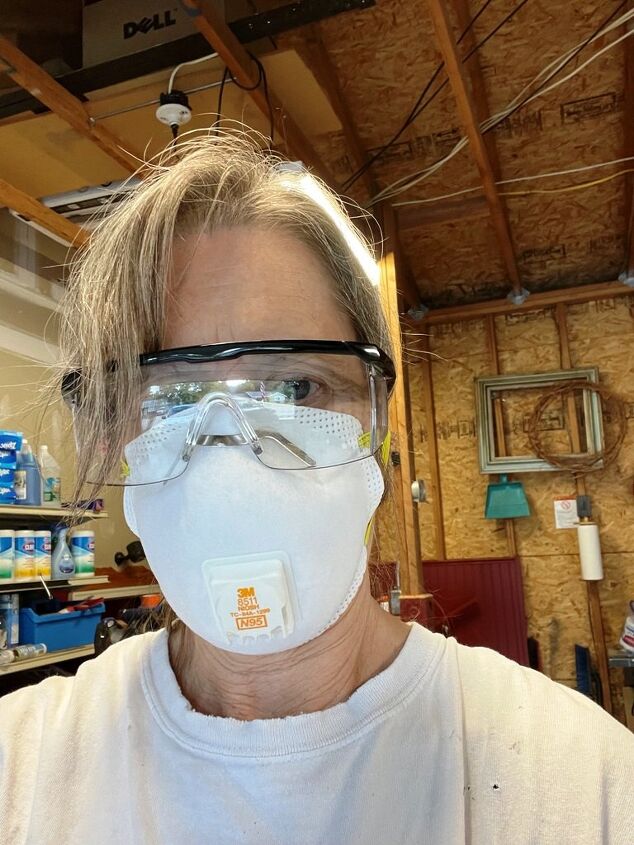
While you can't see them in the picture, I wore heavy cleaning gloves during the bleaching process. I put on my mask, my goggles, then put on the gloves. After each application of the hydrogen peroxide & lye, I washed the gloves with soap and water, dried them, and then removed them. After they were removed, I removed my goggles then mask.
I applied the hydrogen peroxide to a section of the piece I was bleaching, then applied the lye & water mixture while the hydrogen peroxide was still wet. Since I was working in the sun, I applied the 2 products in sections to prevent the wood from drying too quickly. It took 4 applications to remove most of the red.
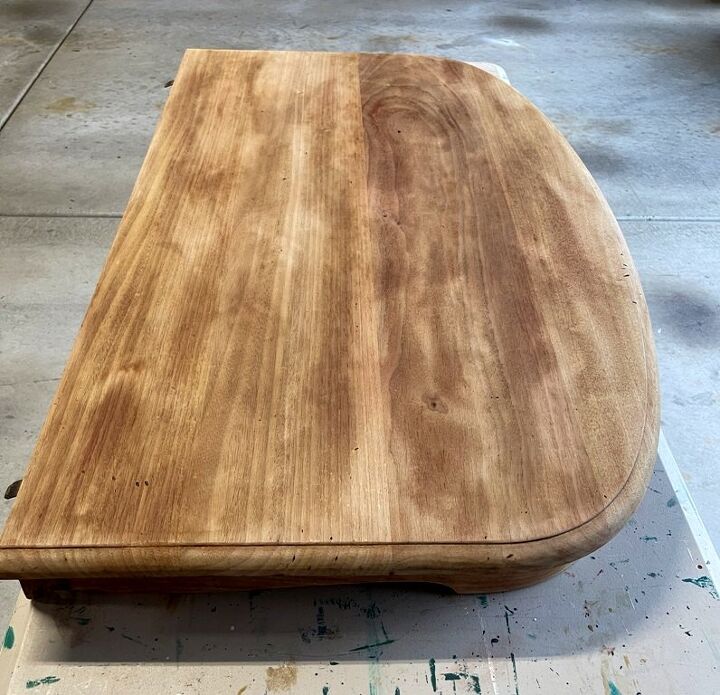
There was still a little red remaining and since I liked that, I left it. When I was happy with the color, I rinsed the wood with vinegar & water (mixed 1/2 and 1/2) by applying it with a rag. The wood on the skirting around the tabletop is not red oak so I bleached that section only 3 times.
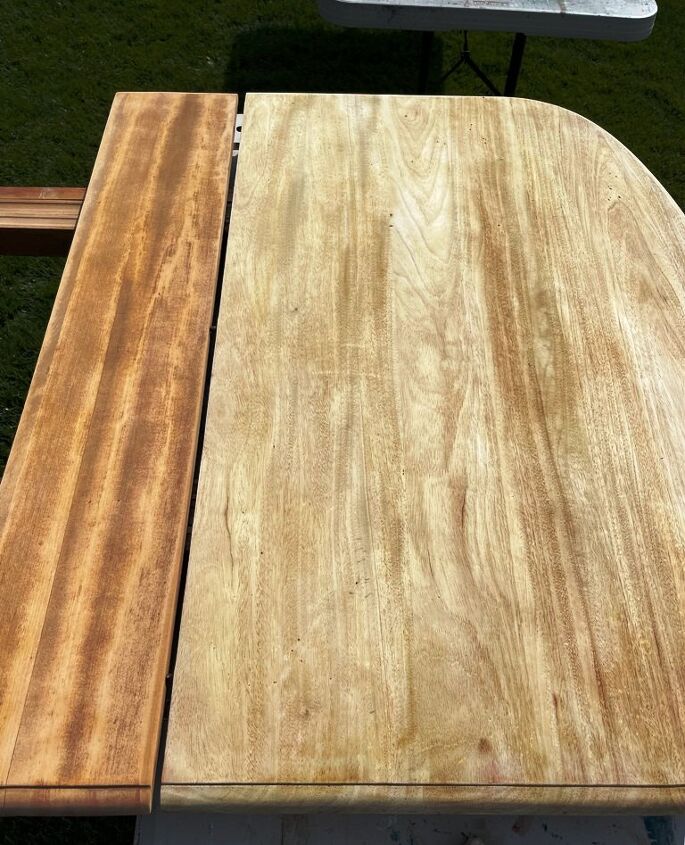
Once the tabletop was bleached, I was surprised to see that the leaf was now too dark. I used the same bleaching process on the leaf but only applied the solution 3 times.
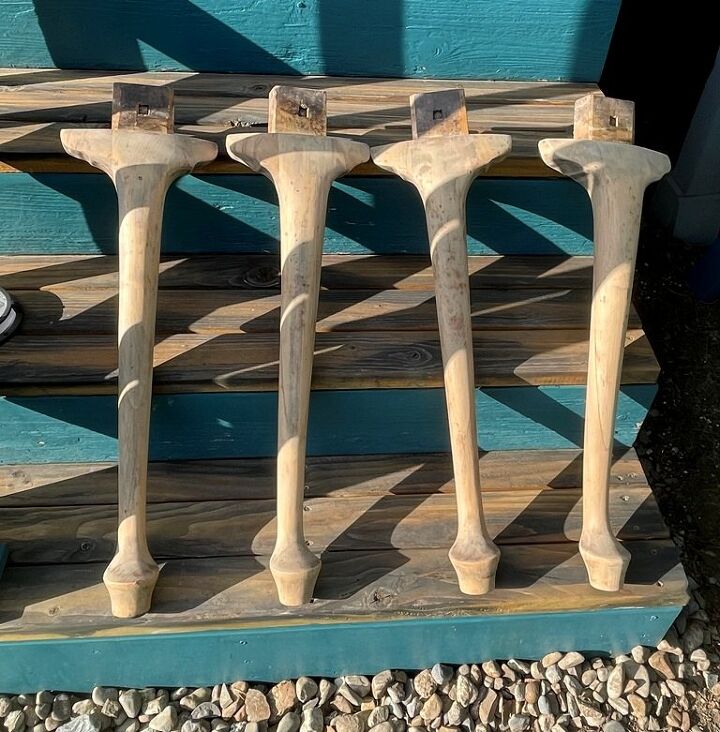
The wood on the legs is different than the tabletop or skirting but with the color variation on the top, they looked like they would blend nicely together so I did not bleach them.
I let the tabletop & leaf dry overnight, then gave the pieces another sanding with my orbital sander using 220 grit sandpaper. Once all the pieces had been sanded, I used a tack cloth to remove all the sawdust in preparation for sealing the wood.

To seal the wood, I applied 3 coats of Varathane water-based polyurethane in satin on the skirting & legs using a 1 1/2" angled paintbrush. I allowed 4 hours between coats for drying time.

For the tabletop, I used oil-based Minwax Spar Urethane in satin. I applied 3 coats using a 2 1/2" paintbrush. Between coats 1 & 2, I allowed a drying time of 4 hrs. I allowed the 2nd coat to cure overnight before applying the last coat.
Before applying the next coat of either the water-based or oil-based sealers, I lightly sanded the surface using a 220 grit sanding block. Once the last coat had been applied, I left the table in the garage for 2 days to cure to help reduce the oil-based sealer fumes.
***UPDATE on sealer**** After the table was in the house for a while, the smell from the sealer was still evident. I did some research and read that water-based poly dries harder than oil-based. I had always assumed (and you know how THAT goes) that oil-based was a better sealer. So, I ended up sanding off the oil-based sealer and applied 3 coats of water-based polyurethane.
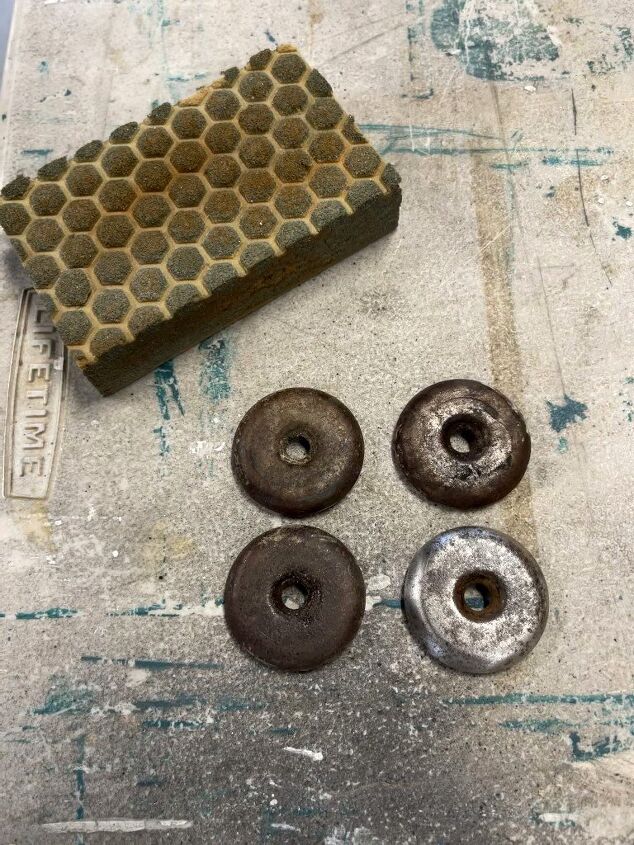
Using an 80 grit sanding block, I sanded the rust off of the metal footings that go on the bottom of the legs. I was able to unscrew the metal pieces from the 4 main legs but the two on the center support would not come off so I sanded those while they were in place. Once the pieces were as clean as I could get them, I sprayed them with a clear Rustoleum sealer and screwed them back to the bottom of the legs.
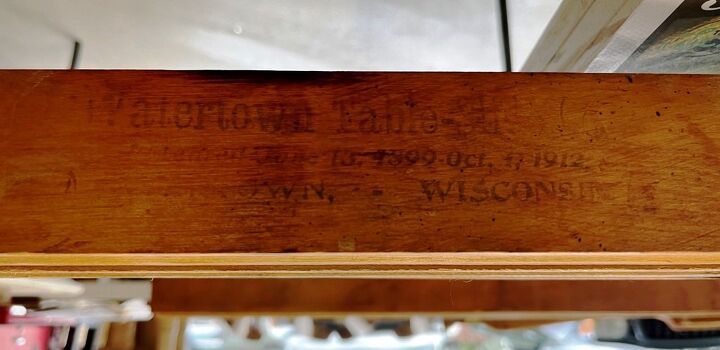
Once the finish was good and dry, I carried the table pieces back into the dining room. I reattached the slider - which was made between June 13, 1899, and October 17, 1912 - to the tabletop and bolted in the legs.
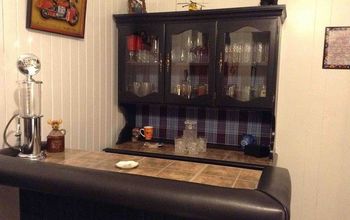
When I started this refinishing project, I didn't quite know what to expect as far as the color of the wood. As I was bleaching the tabletop, I thought the color was going to match the buffet. However, once it was completed and we had the table in the dining room, it was obvious that the buffet was much more golden than the new table color.
The top of the buffet has water damage and it has also been on my list of projects for this year....so....we'll see what it looks like once the old finish has been removed.
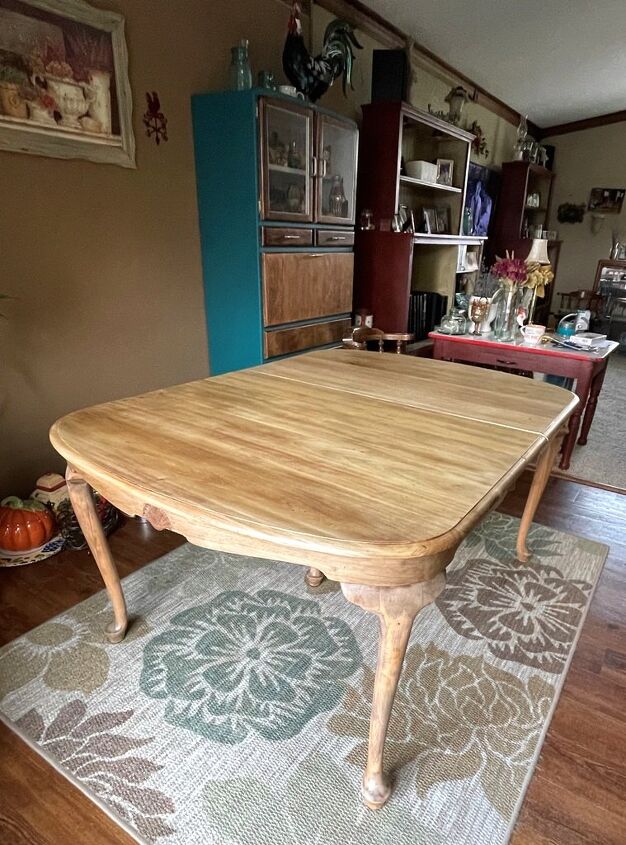
The damage is gone from the table and the new color is beautiful!
Instructions:
Remove finish
- With sander & 120/150 grit sandpaper
- and/or
- CitriStrip
Remove CitriStrip with steel wool dipped in mineral spirits
Once wood is dry, sand with 220 grit
Remove sawdust with soft cloth then tack cloth
Bleach wood by applying
- Hydrogen Peroxide using a foam brush
- then
- Lye mixture
- Allow to dry in the sun
Reapply bleaching solution until desired color is acheived
Rinse wood with water or water/vinegar mix
- Allow to dry in the sun
Once wood is thoroughly dry, sand with 220 grit
Remove sawdust with soft cloth then tack cloth
Apply two to three coats of spar urethane to tabletop
Apply two to three coats of water-based polyurethane to skirting & legs
Attach tabletop to legs
I had all the supplies & tools already with the exception of more sandpaper discs, hydrogen peroxide & lye. The cost to refinish furniture will depend on how many of the supplies/tools you need to purchase.
Resources for this project:
See all materials


Comments
Join the conversation
-
Wow! I have my great grandmother’s dining room table and it had been stained so dark and I have been considering stripping and sanding it down I may give this a try! Your table came out awesome!
-
Wow! You are great at providing the necessary steps and all that hard work definitely paid off! You don't miss one single detail (unless you count not dusting the underside of the table! Lol! I personally have never considered dusting the underside of my table and now I'm going to go do it right now! 😉)
Table looks great! Now you've made me consider doing this to my own, but I'm petrified of the different colors of wood I might find! If I decide to do it, I'll definitely use your tutorial!


Frequently asked questions
Have a question about this project?
Curious.....why did you use the oil based varathane on the top? Why not use the water based all over? Tks
PS.....Truly amazed at all your hard work and the outcome was beautiful!
You did great job! As per my earlier question....why did you use oil varathane on the top rather than the water based you used elsewhere?
Wow! Lots of hard work girl.
Thank you so much for your tutorial and it looks absolutely lovely! Great job!