


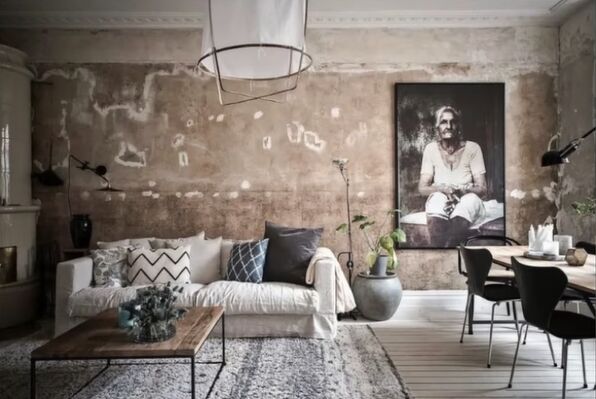
How to Create an Industrial Exposed Concrete Accent Wall For Free

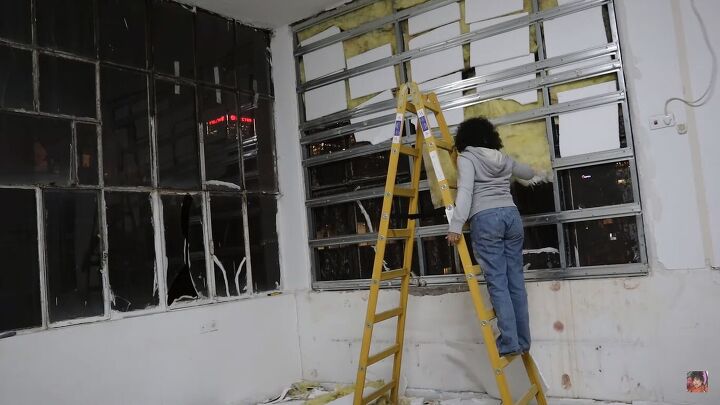
We’re in my new studio! I finally have a space for all my DIY projects, plus I now have the fun task of making over the studio itself. I’m obsessed with the industrial look and my absolute favorite feature is an exposed concrete accent wall.
Today, I’m going to show you how to create your own DIY concrete accent wall without spending a penny—all you need is a precision knife and scraper! It cannot get cheaper than that.
Table of contents
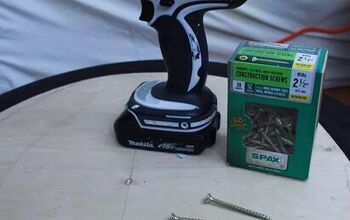
Tools and materials
- Precision knife
- Scraper
- Broom
- Sealer
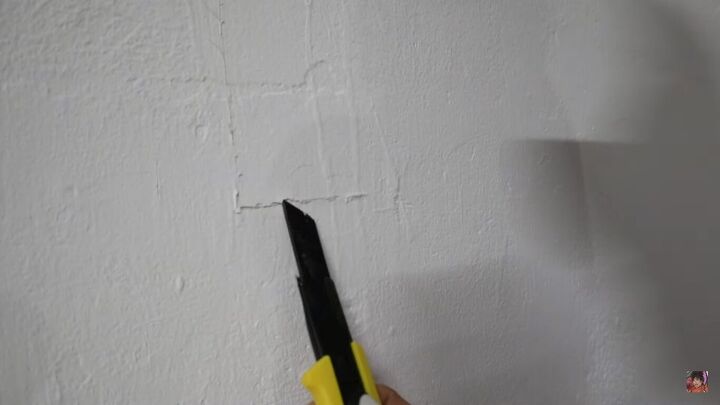
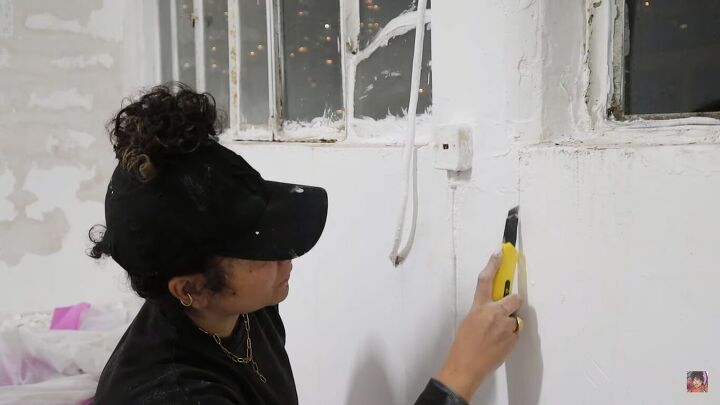
1. Cut a square
Start by cutting a square in the layers of paint with a precision knife, so you can lift up the paint and you have somewhere to scrape from.
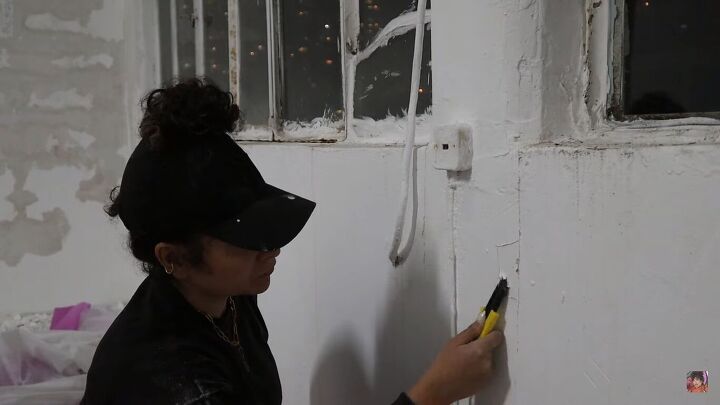
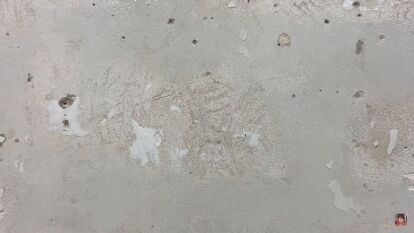
2. Scrape
Start scraping! After a while, it will become easier and easier to scrape off the layers of paint. It’s so satisfying!
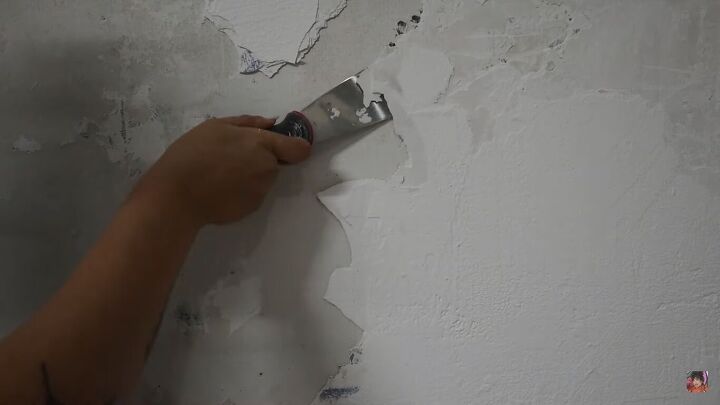
This only took me 20 minutes and it’s exactly what I wanted.
Faux or Real?
There are loads of videos out there about how to create a faux concrete wall, which involves a lot of layers of texture, fabrics, making incisions, and waiting for things to dry… when you can just expose your own concrete wall for no money and much less time.
If you’re not into saving money, you can rent a machine to do the work for you (around $80 per day), but why do that when you can totally make a workout out of this? Your arms and shoulders are going to be so strong after this!
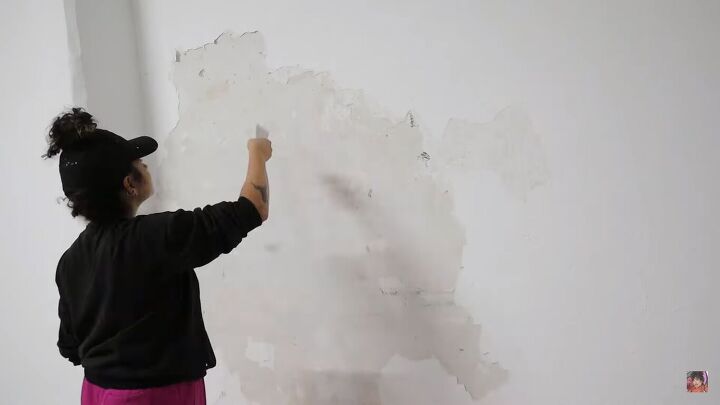
How to separate exposed and painted sections
I’m leaving a third of my walls painted for a fun effect, so I’ll show you how to do that cleanly. Basically, take your precision knife and draw a straight line to separate the sections
Then, as before, create a square along that line and start scraping from there. That way, you’re going straight along the edge you drew.
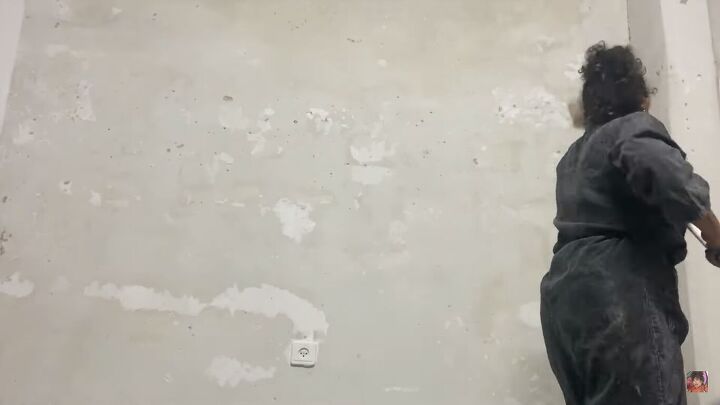
3. Dust the wall
Once you’ve scraped everything off, you’re going to realize just how much dust there is. Make sure you go over the whole wall thoroughly with a broom and sweep up all the dust. Otherwise, you’ll be living in and breathing in all that dust.
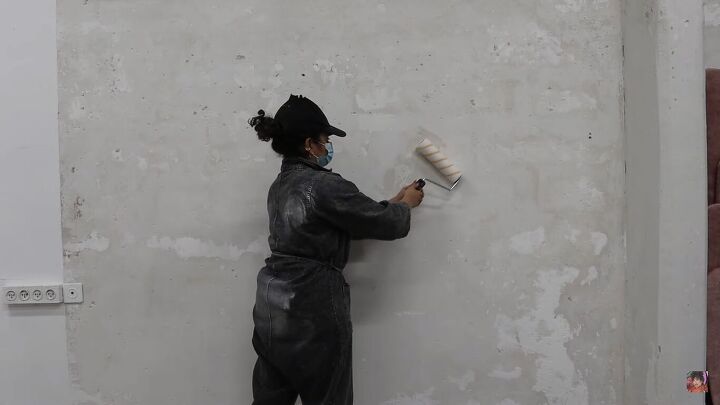
4. Apply sealer (optional)
You don’t have to do this step, but if you really want to combat the dust, then you can apply a sealer to the wall. This is a type of paint that has no color at all. It also adds somewhat of a shiny effect to the wall. Let it dry overnight.
Something that was unique to my project was that I discovered that the corner window had been covered up and walled over. So, I went ahead and pulled the wall away to expose the windows behind. Who doesn’t need more natural light?
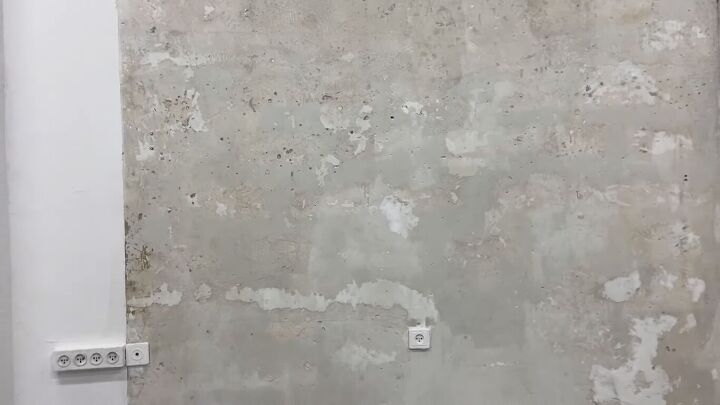
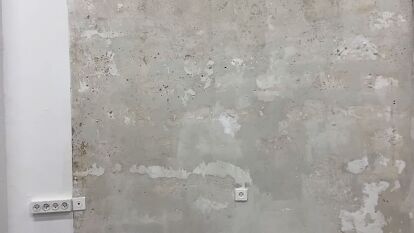
Exposed concrete accent wall
Here were have the finished exposed concrete accent walls! I’m really pleased with how this turned out and I love the texture. You can scrape more or less, depending on how “3D” you want it to be.
Let me know what you think of this DIY concrete wall in the comment section below!


Frequently asked questions
Have a question about this project?