


Create a Designer Look For Less With This Easy Textured Wall Art DIY

Are you searching for a unique piece of wall art for your home? Then look no further than this textured wall art DIY tutorial. We’re going to create a framed fabric wall art piece that looks high-end but only requires budget items. Let’s get started!
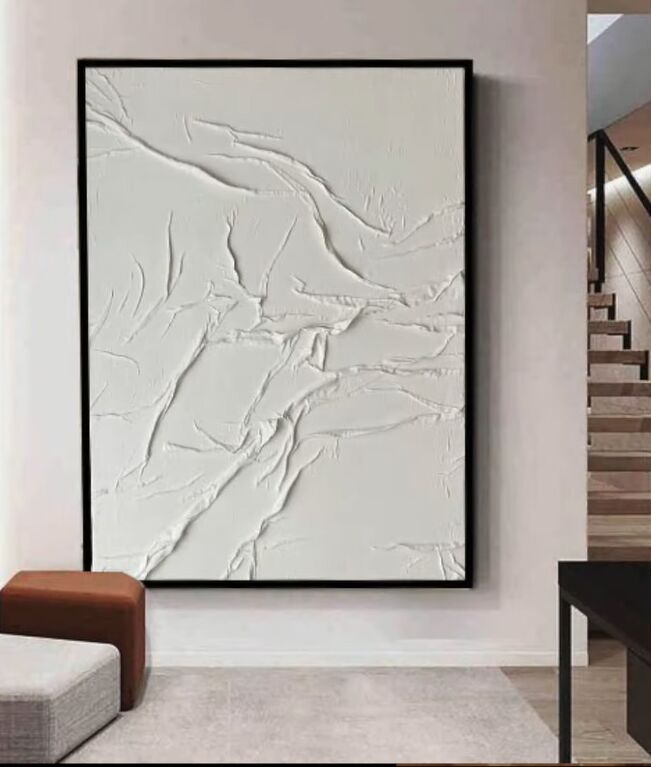
I saw this gorgeous piece of textured wall art online and knew it would be perfect, not only for my decor but for DIY! The original costs thousands of dollars, but we can recreate the same look on a tight budget, like $10.
Tools and materials
- Fabric
- Canvas
- Glue
- Water
- Paintbrush
- Scissors
- Paint
- Wood pieces
- Marker
- Saw
- Hammer
- Nails
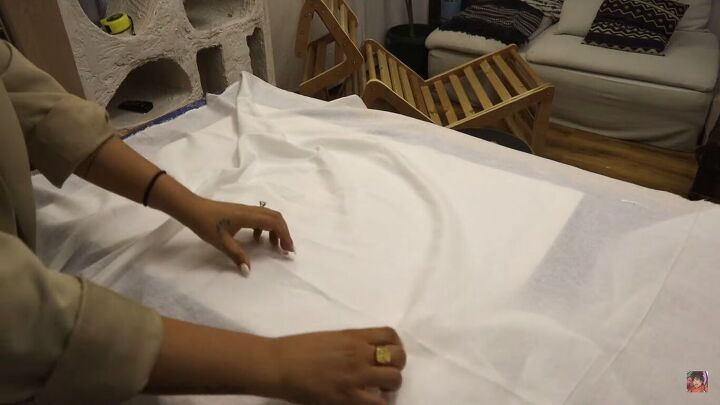
1. Fold the fabric on the canvas
You’ll need a piece of fabric, such as an old pillowcase or similar, a canvas, and some glue, such as ModPodge or any other water-based glue. Place the fabric on your canvas and create folds with it to experiment and see what the end result could look like.
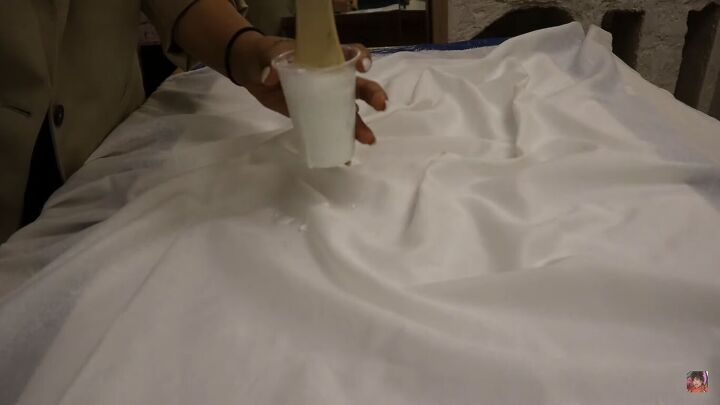
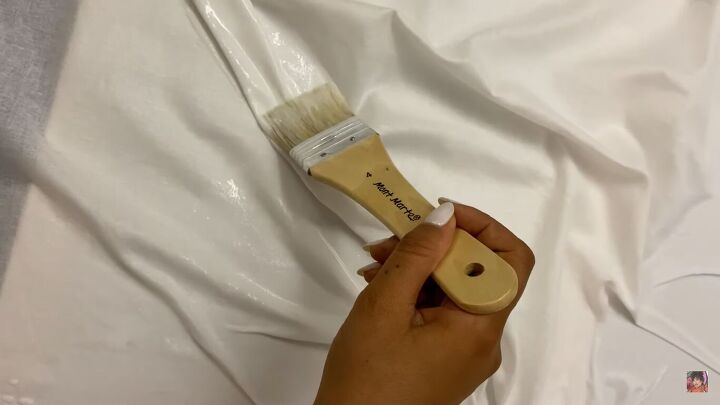
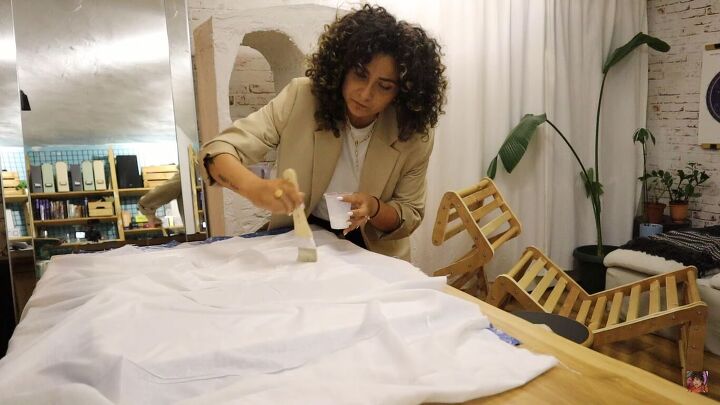
2. Apply a mixture of water and glue to the fabric
Once you’re happy with the rough design, make a mixture of glue and water. It’s best to have two-thirds glue and one-third water.
Use a paintbrush to apply the mixture. Cover all of the fabric, keeping the folds in place as much as possible. If the folds are squashing a little bit, lift them up again with your nails.
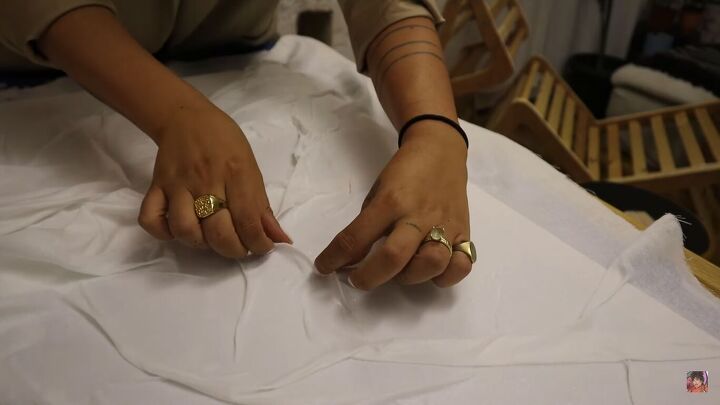
3. Pinch the folds
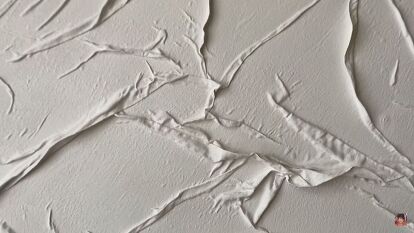
Once the whole canvas is covered, go back in and pinch the fabric to make the folds as tall as possible.
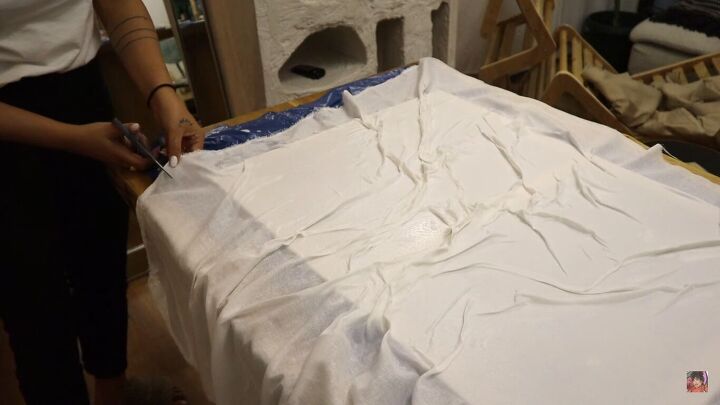
4. Fold over the edges
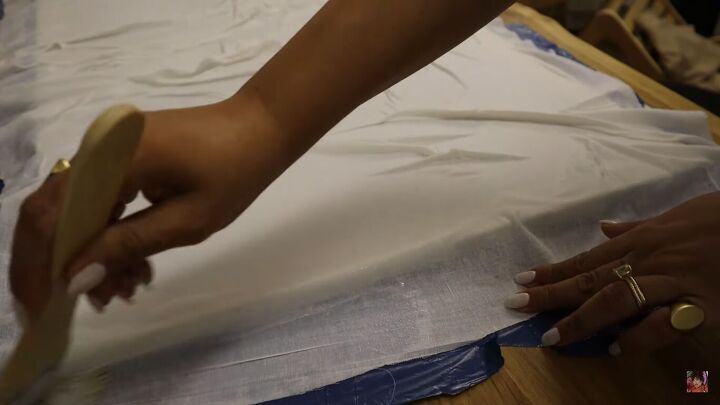
Once you’re happy with the shape, cut away the excess fabric, leaving enough of a gap to fold the edges over.
Apply glue to the edges, then fold them over.
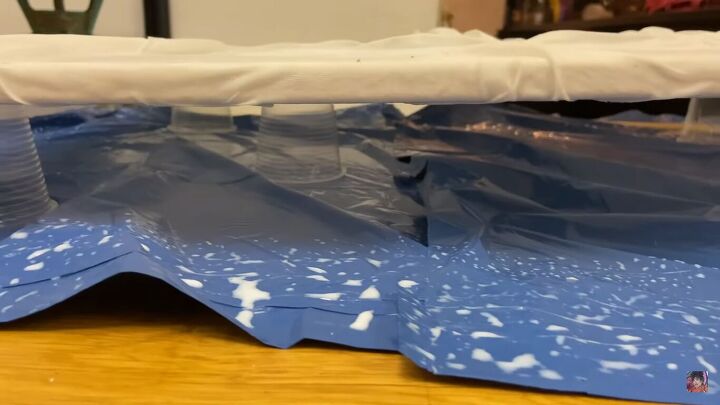
Let the glue dry. I suspended my canvas on plastic cups to help this.
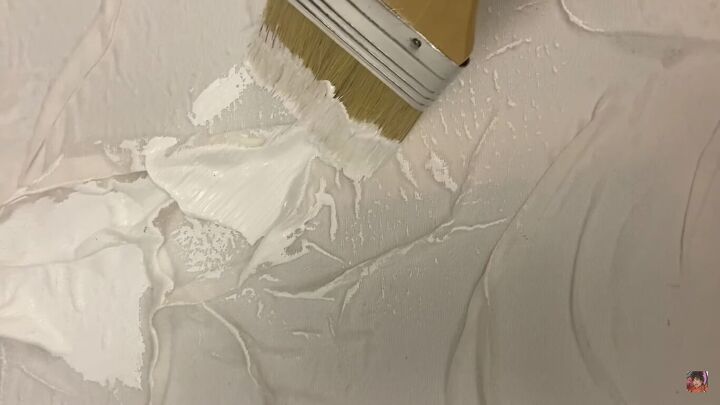
5. Paint
Leave the canvas to dry overnight. The next day, come back and cover the textured piece with your chosen color of paint. I’ve gone for white. Be generous and remember that this is fabric, so it will absorb more paint than you think.
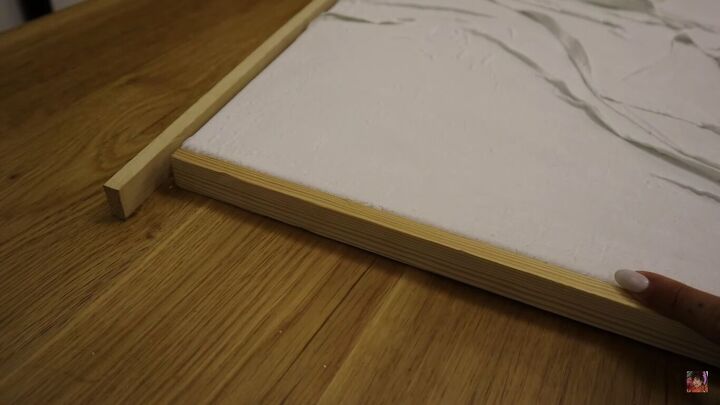
6. Make the frame (optional)
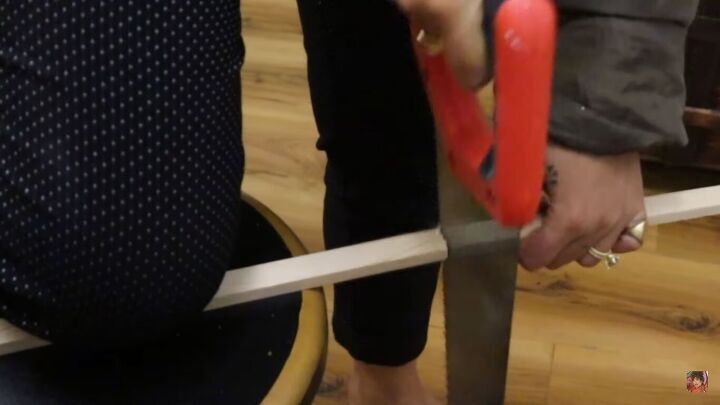
To take this to the next level, you can create a custom frame for your textured wall art. Position one piece of wood next to the other and mark where you need to cut.
Cut the pieces to size.
Nail the frame to the canvas.
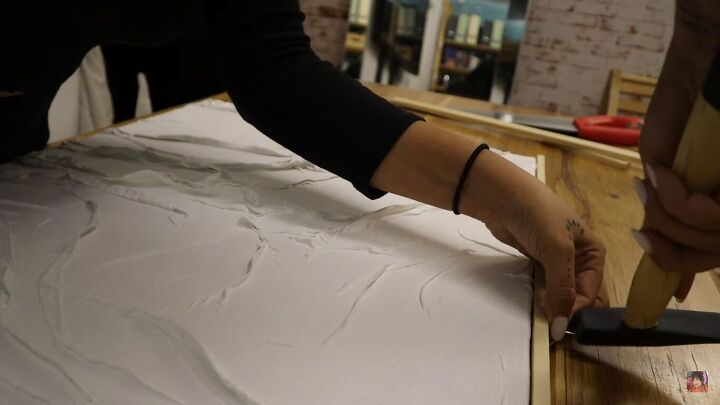
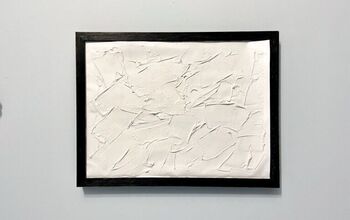
Framed DIY textured wall art
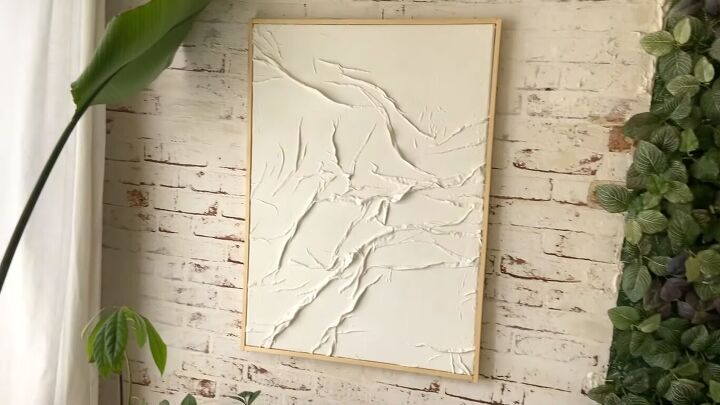

Textured wall art DIY tutorial
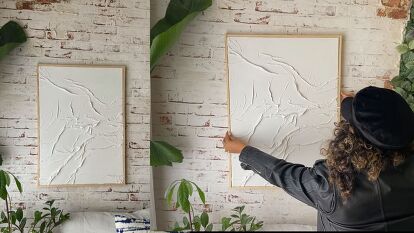
Here’s the finished framed fabric wall art! What do you think of this textured wall art DIY? It’s so easy to do and the result is really striking. Let me know in the comments below.
Comments
Join the conversation
-
I think if you bought this piece in an art gallery it would cost big bucks. This is a fab idea and looks high end.
-
I've seen similar with spackling compound but worried about cracks and looking too home-made. This is beautiful, I will try it!!


Frequently asked questions
Have a question about this project?