


DIY Poster Hanger
A few weeks ago I shared a small selection of DIY gift ideas on my blog and my followers went crazy for my easy poster hangers! So much so that I had tons and TONS of requests to make it into both an Instagram highlight bubble as well as a written tutorial for reference.
Now lets get to making!
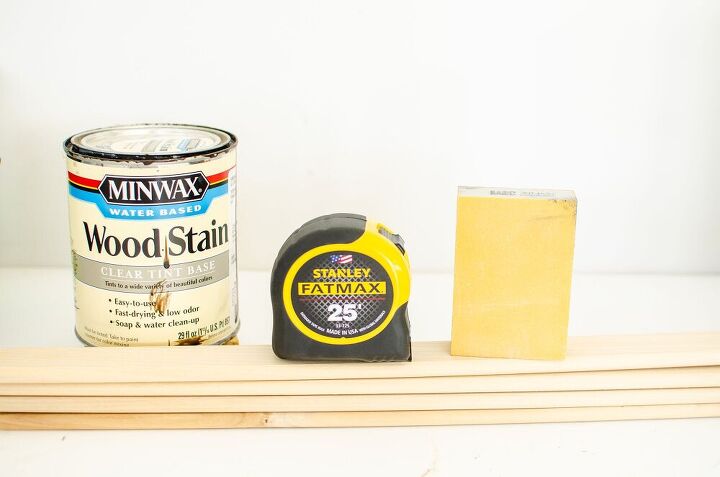
Project Materials:
- 1x2 select pine boards OR 1.5in trim pieces of choice (I tried both to determine my favorite and I’m a fan of the thinner trim pieces but the 1x2 worked fine as well)
- 220 grit Sanding Block
- Stain of choice
- Polycrylic (or similar sealant)
- Faux suede cord
- Poster of choice
- Poster Hanging Strips
Tools Needed:
- Miter Saw
- Staple Gun (I have this electric one, but a handheld would probably work fine too.)
Step 1: Measure the bottom of the poster that you wish to make the hanger for. Add ½ inch to your poster measurement. Mark and cut 4 wood pieces to the exact length of new measurement. (Example: If the bottom of your poster is 18 inches, cut your wood pieces to 18 ½ inches.)
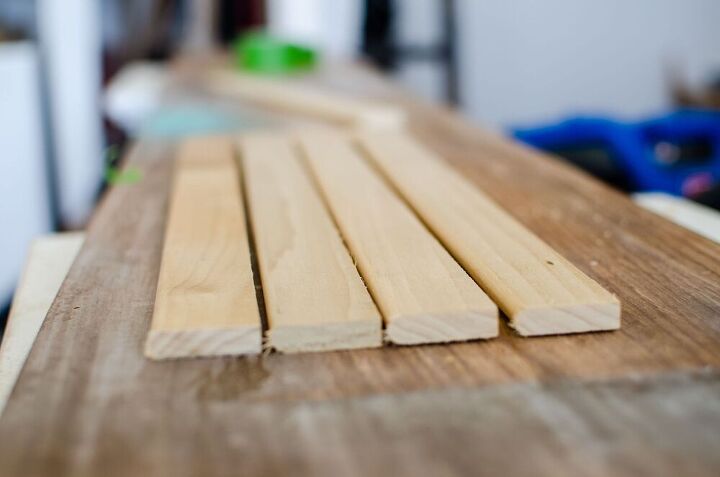
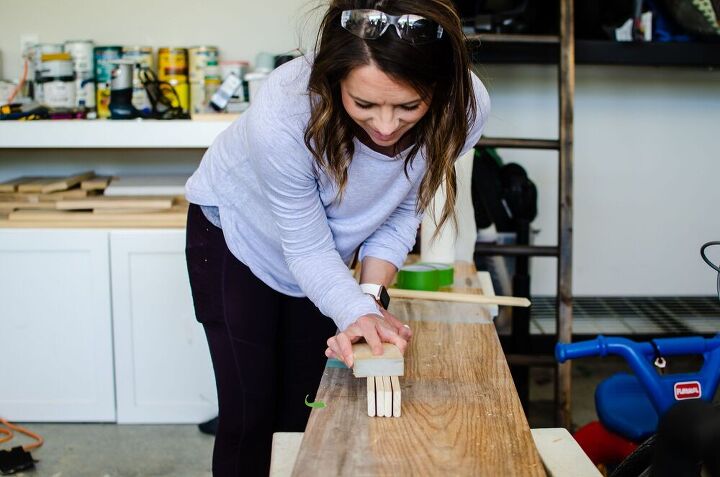
Step 2: Sand your wood pieces with 220 grit sand paper on all sides to achieve a smooth finish.
Step 3: Stain or Paint your wood pieces to desired color. Seal them when dry. For this project I chose to use a spray sealer and it worked great!
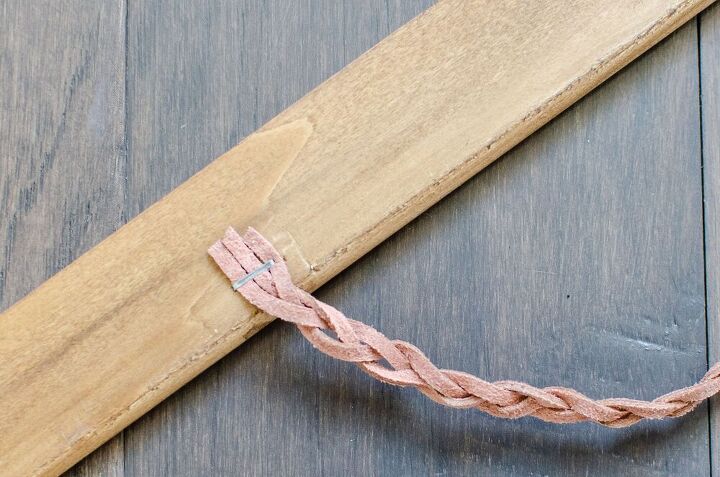
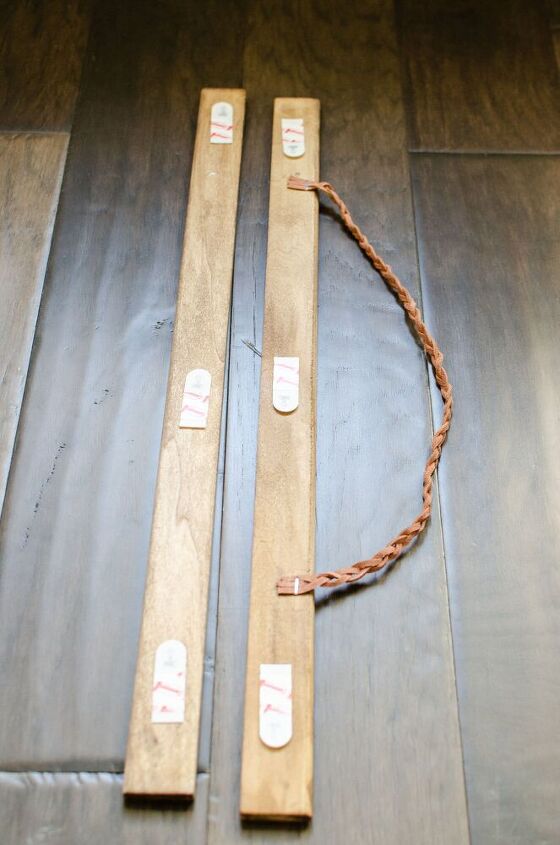
Step 4: Measure out three equal pieces of suede cord. (The exact measurement will depend on how long you wish your hanging cord to be. A good starting point is 3 inches longer than one of your wood pieces.)
Step 5: Lay out one wood piece and line up the cord in a tight grouping about 2 inches from the end of the wood piece. Staple the cord into place. Braid your three pieces of twine together to create interest. Once the braid is the length desired staple the end to the opposite end of the same wood piece.
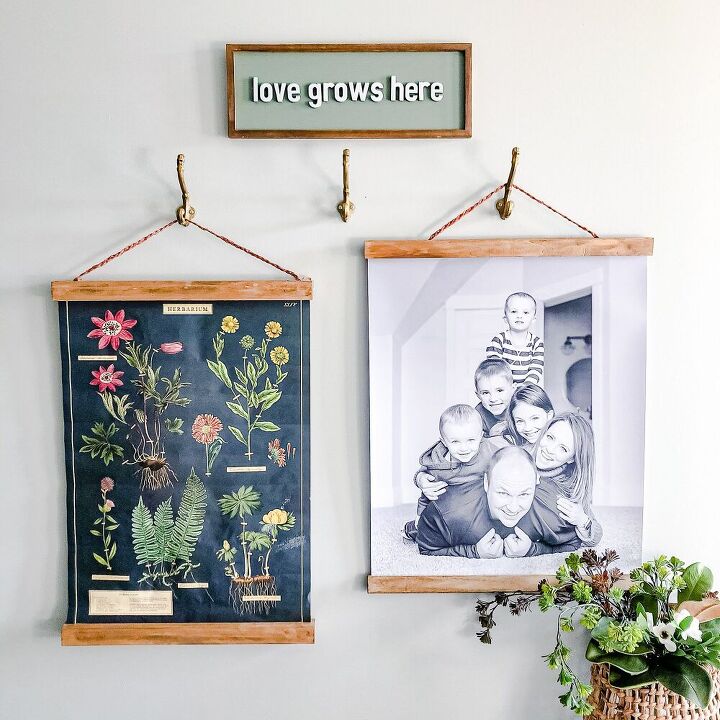
Step 6: Assemble your hanger. Place 3 or 4 poster strips on what will be the inner side of your poster hanger. Attach top of the poster to first wood piece. Place second wood piece on top of the poster. Repeat with the remaining two wood pieces on the bottom of the poster.

You now have a beautiful poster hanger to hang in your home or gift to a special someone!
More Gift Ideas
Resources for this project:
See all materials


Comments
Join the conversation
-
Great idea. I’ve been looking for this answer for a while now.
-
Thank you! I bought my husband an antique map of our state (Ma) and it came rolled up. My thought was to do just what you’ve done here however I didn’t know how to accomplish it until now! Thank you for sharing, they look great!


Frequently asked questions
Have a question about this project?
Is it possible to modge podge a large poster to hang?
weird question -- I don't understand how it's tight enough to hold the poster?? Does the poster stay put on just that little edge?
--magnets, I understand...but the Velcro closure is REALLY confusing me
or, is the braided hanger an 'illusion'?
LOVE the ability to stain my own color, am just a little confused -- Can anyone explain this more clearly?
:)
Do the poster strips rip the poster or leave a sticky residue if you change out the poster? Or is it meant to be a permanent display?