


How to Drill Through Tile Without Any Cracking

By Alexa Erickson
Drilling through tile can seem intimidating, especially after the hard work (and money!) it took to install the tile in the first place. However, there might come a time when you need to drill through tile in order to hang accessories and shelving in the bathroom or kitchen or adjust the hardware in your shower.
Now, don’t go plowing through tile just yet—doing so haphazardly and without the proper equipment will cause tile to crack under pressure. This guide will help you identify your tile type, the type of drill bit you need, and walk you through the actual process of drilling through the tile.
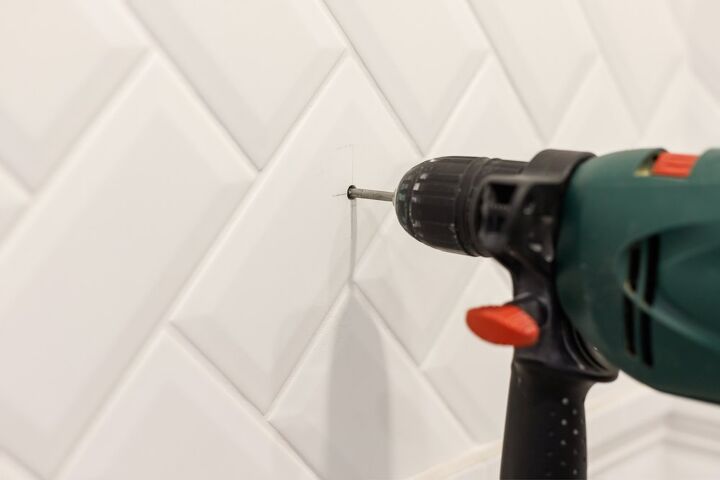
Photo via Shutterstock
What Drill Bit Should I Use to Drill Through Tile?
Before you can drill through tile, you need to become acquainted with the many types of tiles available, so you are aware of the type of material you’re drilling through and what type of drill bit works best for the tile material and the wall behind it.
The drill bit you need to get through tile depends on the material of the tile and the substrate, or the wall you’re drilling into:
- Diamond-tipped drill bits are ideal for drilling through very hard surfaces that require more effort to drill through, such as glass, porcelain, quarry tiles, and all types of natural stone, including granite, marble, limestone, and travertine. These types of bits are a little more expensive but can be worth it.
- A carbide-tipped drill bit is more common and works just fine to get through ceramic and glazed tiles.
- You will still need a regular masonry drill bit once you’ve drilled through the tile and reached a brick or concrete wall.
- Meanwhile, a wood drill bit is best for substrate materials consisting of timber or another wooden origin.
- For cement boards, a standard drill bit works.
Avoid Worn-Out Drill Bits
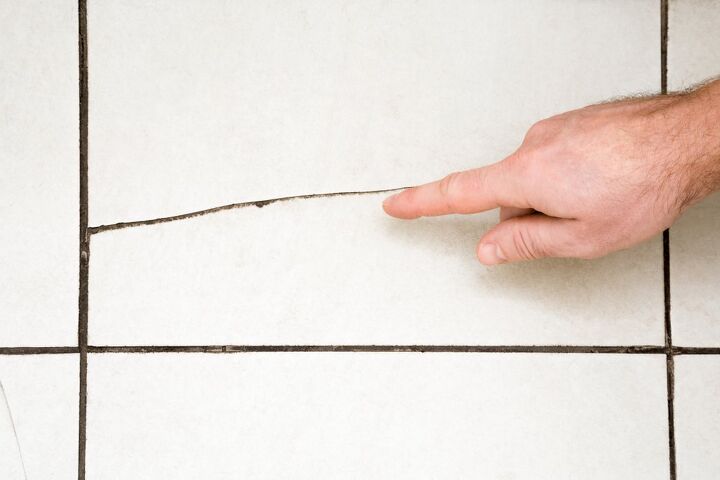
Photo via Shutterstock
How to Fix a Cracked Tile Before Drilling
Before you drill through the tile, you’ll want to make sure that the tile is in good condition. Something as small as a hairline crack can compromise the whole tile, making it prone to a bigger crack if it's drilled into. If there’s a hairline crack, fix it first using some epoxy and paint using the following steps, then you can go about drilling through the hole.
Tools and Materials Needed
- Soapy water
- Dish rag
- Epoxy
- Toothpick
- Paint
- Dry cloth
- Urethane-based paint
- Two fine crafting paintbrushes
- Urethane sealer
Step 1: Clean the Tile
Clean the cracked tile of any debris using warm, soapy water and a dish rag. Dry with a clean cloth. Allow it to dry thoroughly.
Step 2: Apply Epoxy
Apply a small amount of epoxy to a piece of cardboard, then dip a toothpick into the epoxy. Apply the epoxy to the crack using the toothpick. Allow the epoxy to cure according to the package’s instructions.
Step 3: Paint the Area
Apply a small amount of oil or urethane-based paint that matches the tile color to the dried epoxy using a fine crafting brush. Allow it to thoroughly dry.
Step 4: Apply Sealer
Apply a urethane sealer to the whole surface of the tile using another small paintbrush to prevent peeling. Allow it to fully dry.
If the crack is too large to be fixed with epoxy or if there's an obvious hole in the tile, you should consider replacing the broken tile before drilling into it.
How to Drill Through Tile
Now that you've identified the drill bit you need and know how to fix a crack in tile if needed, it’s time to start drilling! But before you dig in, be sure to take accurate measurements of whatever you’re planning to hang to make sure you're drilling in the right places—unfortunately, there isn’t a whole lot of room for guessing here. Then, start slow and take your time with the drilling process.
Tools and Materials Needed
- Measuring tape
- Masking tape
- Pen or pencil
- Drill and drill bits (depending on the material of the tile and substrate as described above)
- Bowl of cold water
- Dry cloth
Step 1: Measure the Area, Apply Tape
Measuring is critical for ensuring that you only penetrate the spot you need. Once measured, mark the spot with masking tape and draw an X where you intend to drill. The tape will help create tension so the drill bit doesn’t slip around on the tile.
Step 2: Start Drilling
A drill has several modes. Begin at normal mode, using steady, firm pressure as you drill into the tile. Avoid increasing pressure as the drill breaks through the tile, as too much pressure can crack the tile. Keep the speed nice and slow.
Step 3: Keep the Drill Bit Cool
Keeping the drill bit cool is pertinent for a seamless drilling process. Carbide-tipped drill bits in particular are prone to overheating, which will stop them from doing their job and can lead to tile cracks. Keep a bowl of cold water nearby, and insert the tip of the drill bit into the water after every five seconds of drilling. Use a clean cloth to dry before returning back to the spot and continuing to drill.
Step 4: Change the Drill Bit When You Hit the Wall
You’ll feel a change in resistance once you hit the wall. When you get to that point it’s time to change the drill bit to match the substrate (which we outlined above).
Remember: drilling through tile is not a race! Have you drilled through tile before? Share your tips below.
Comments
Join the conversation
-
Nice tips. I use a center punch and gently tap it with a hammer to "break" the glaze first. Then a carbide drill bit going at a slow speed. With out the center punch the bit can wander all over the tile.


Frequently asked questions
Have a question about this project?