


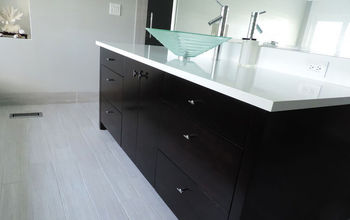
I Painted and Stenciled My Ceramic Tile!

Yes, I painted my ceramic tile floor and I am so in love with it, I can't stand it.
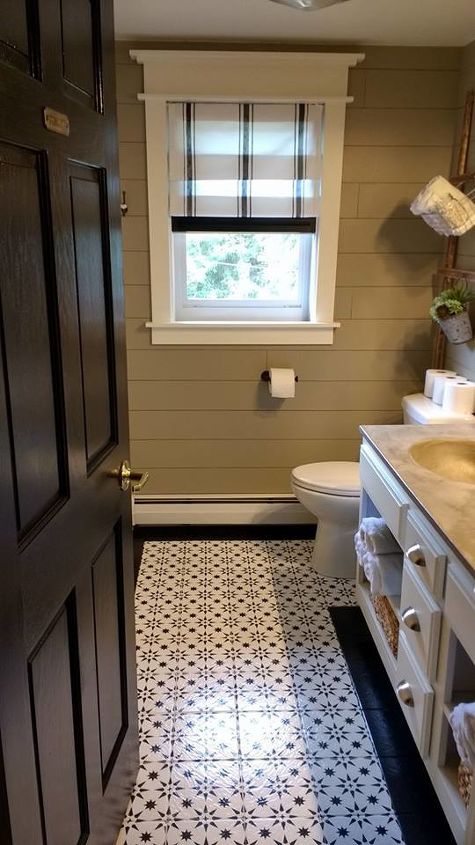
A couple weeks ago, I posted my reveal of my 1990's bathroom and I promised a follow up with how to stencil that almond ceramic tile floor. Here is my bathroom reveal in case you missed it: http://www.hometalk.com/diy/bathroom/completed-my-1990-s-bathroom-reveal-29927365
When I told my darling hubster some of my ideas of what I wanted to do with this baby, he was like, "Whaaaatttt????" 
Again, he was up at the cottage for the majority of this makeover. No meals to cook for this girl, yup, see ya buddy....don't let the door hit you on the way out ...
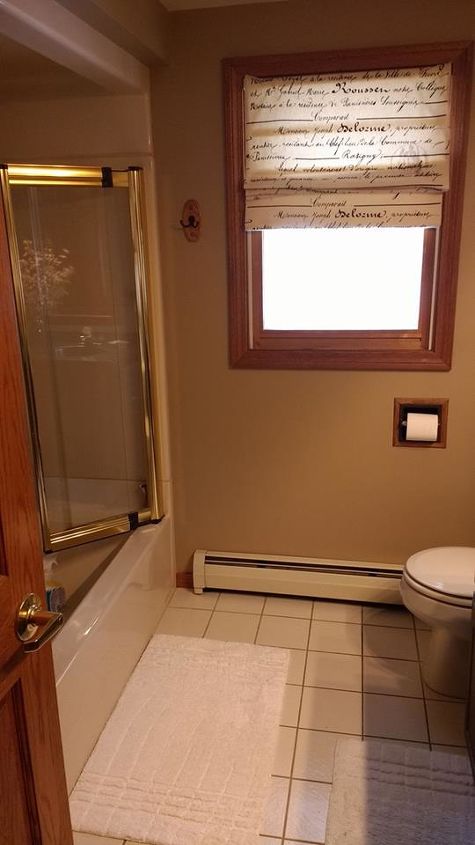
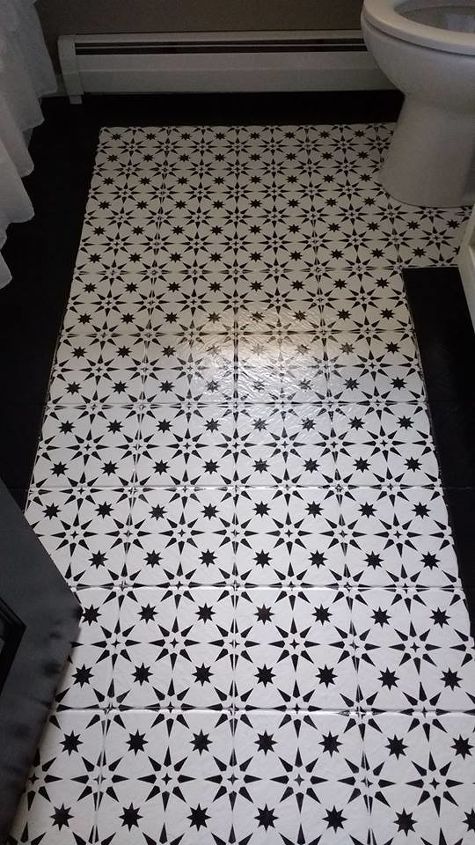
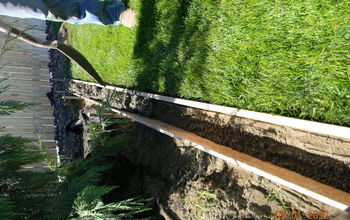
This is what the bathroom floor tile looked like in February.
A big thank you to fellow Hometalker, Stacy Davis, who gave me this great idea because she had seen how a gal had painted her tile floor: http://remingtonavenue.com/2015/08/the-girl-who-painted-her-tile.html
I couldn't resist the challenge and I LOVE stencils, so what the heck, after a little research, I jumped in.
It is truly amazing what paint can do for a home. You guys, this is such an easy makeover and the impact is crazy awesome!
Before you start painting...CLEAN! You want to clean the floor really good. I used TSP on my floor.
Once it is dry, sand the floor. You don't have to get too crazy, you just want to rough it up so the primer will grab it. After sanding vacuum and wipe up all the dust really good. You don't want anything on this floor before you start.
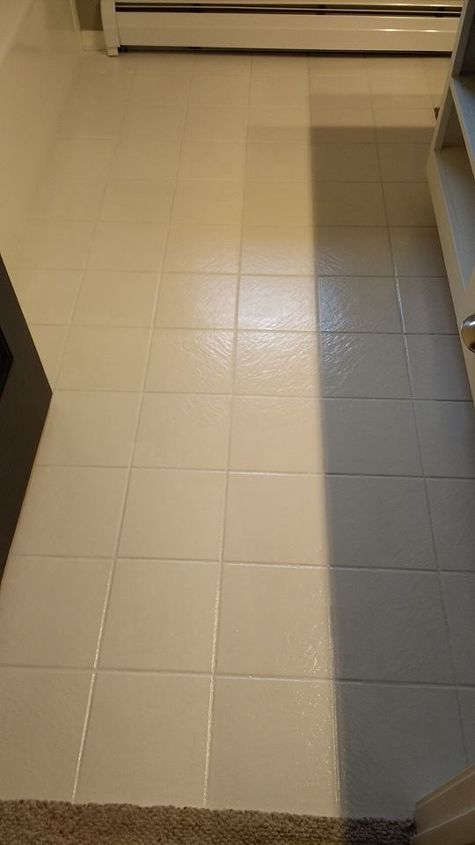
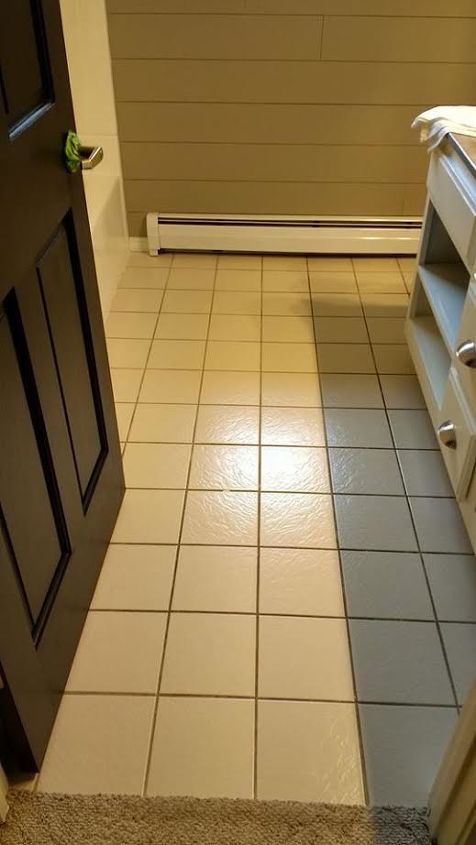
Looking better already with Primer and Paint!
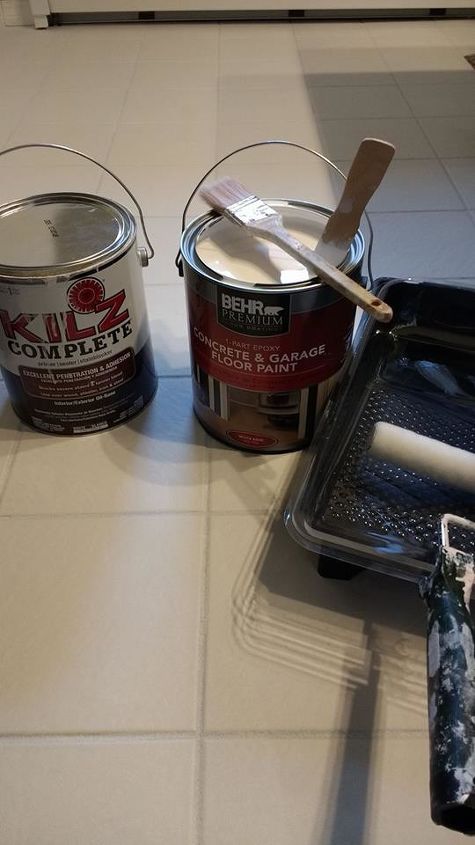
These are the supplies that I used.
I used the Oil Based Kilz for this project. Prime the floor first, followed with the Behr Concrete and Garage Floor paint.
Leave the floor dry over night. I don't care if it is dry to the touch, I think you need to leave it sit and cure for the night.
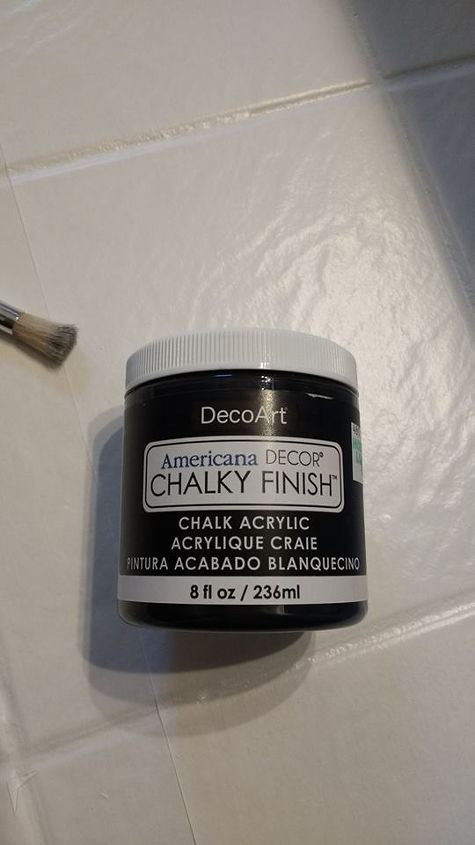
This is the chalk paint that I used. DecoArt from Hobby Lobby with a 40% off coupon.
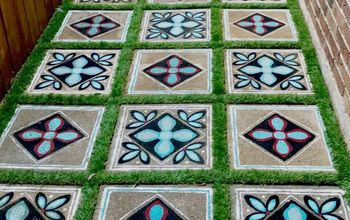
The Stencil that I bought was from, "Cutting Edge Stencils": http://www.cuttingedgestencils.com/jewel-tile-stencil-cement-tiles-stencils.html
I paid $12.95 plus tax and shipping for this stencil and it was worth every penny. They sent it super quick, it was in a box and protected really well. I was so impressed with this company, I would definitely order from them again.
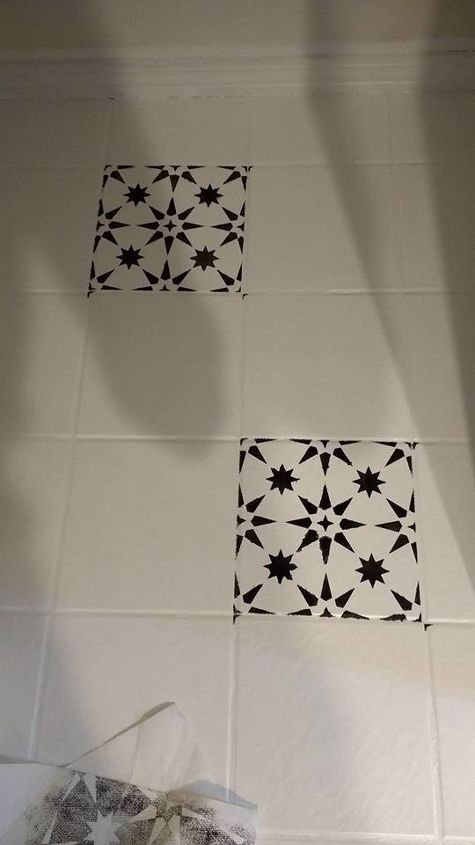
I moved the stencil around so that I would not smudge the paint and in between I would wipe the stencil off with paper towels.
You can see where the stencil bled through a little bit on some of the stars...be sure to dab your brush off on paper toweling to the point of not having as much paint on it and you will get cleaner, sharper lines.
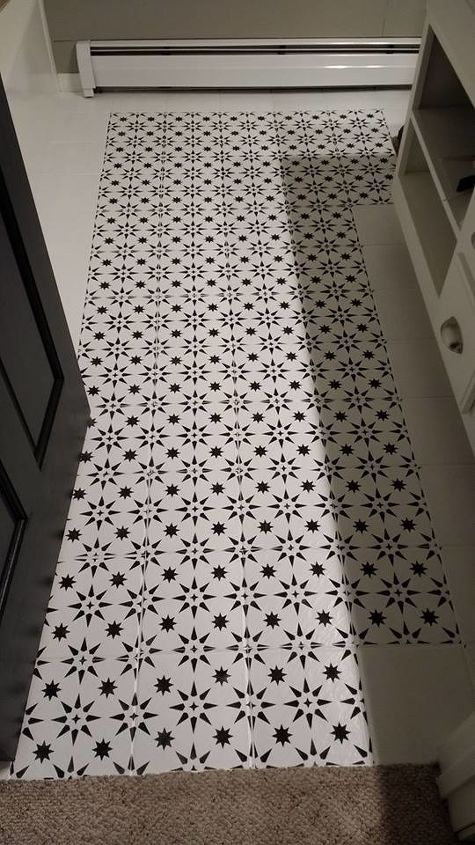
I spent quite some time on this stenciling project and I will add, my hips were killing me by the time I got to this point. I had to touch up a lot of my stars because of bleeding and the stencil not matching up.
It was around 5:00 p.m. and I am sitting back in the door way and I was thinking about how I am going to do the outer edge and the idea came to me, "Why Don't I paint it black?" 
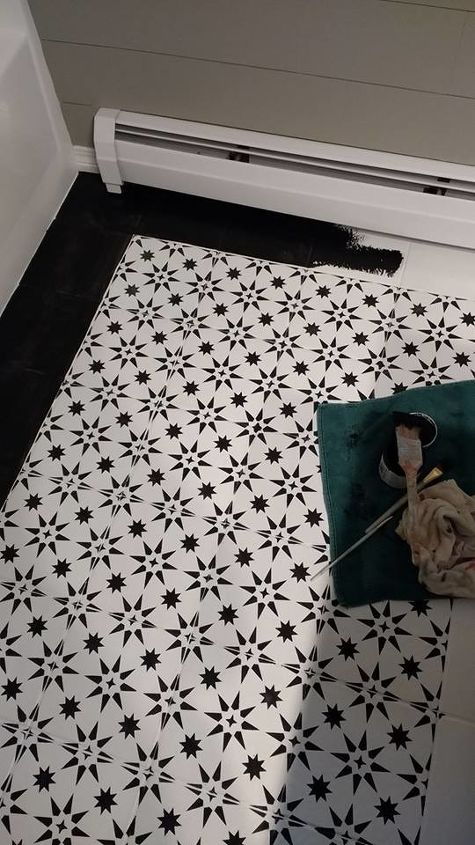

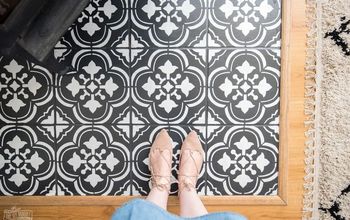
I am so happy that I went with the outer edge being black (used the same chalk paint), I felt added a little more character and depth to the floor.
After I was done with the edge and touching up, I applied 3 coats of Polycrylic from Menards:
https://www.amazon.com/gp/product/B000BZYYH4/ref=as_li_tl?ie=UTF8&tag=remingtonaven-20&camp=1789&creative=9325&linkCode=as2&creativeASIN=B000BZYYH4&linkId=f7077cace378dbc4e5d42f4c59646d2e
Again, this is a super easy project and I would do it again in a heartbeat! The stencil from Cutting Edge was an awesome stencil to work with and truly, the floor looks fabulous in person.
I hope this post gave you an idea of something different to do for your home. It adds so much of an impact to this bathroom.
Thanks for reading!


Comments
Join the conversation
-
I'm on the bandwagon too! It looks STUNNING! I love the black and white. And the black border just makes the floor pop!!!! Great idea. Now if I could only get my hubster to leave for a weekend .... 😉
-
I think the bathroom tiles look so professionally done. They look like they were actual floor tiles custom made. Wonderful job! Great idea.


Frequently asked questions
Have a question about this project?
What if you ever what to remove it?
Floor looks great!! I love how you reframed the window as well!!
Is there a way to do this on shower floor tiles? I have ugly grayish tiles that always look dirty & I’d love to paint them, but of course it needs to be waterproof! Thanks 😃