


Upcycled Bedside Tables

Ok so a bit of back story. We've just given our bedside tables to our daughter as they match her new bedroom theme. This left us without any. I didn't want to buy brand new because a) it's so expensive these days for quality and b) it's far more sustainable to keep an already made product in circulation. So here's how i did it and the end result.
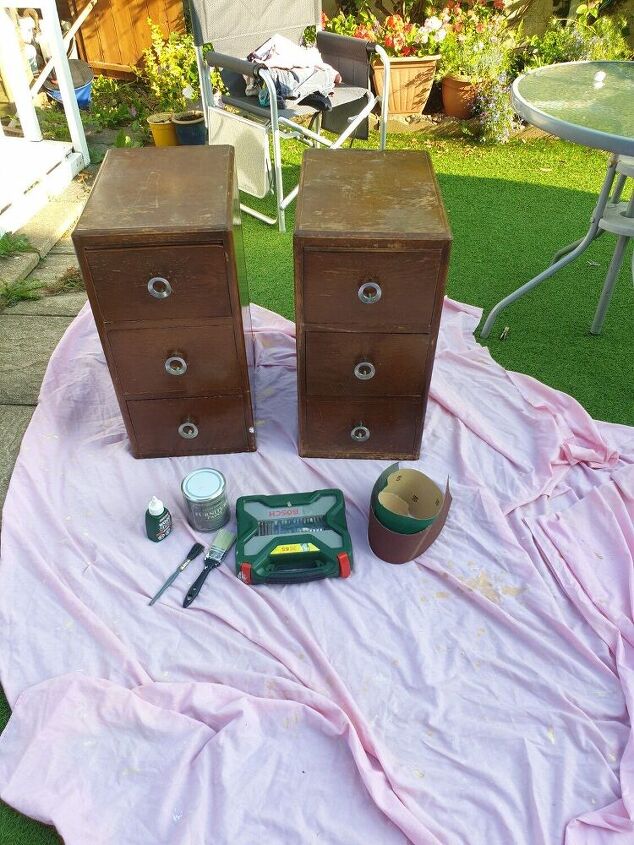
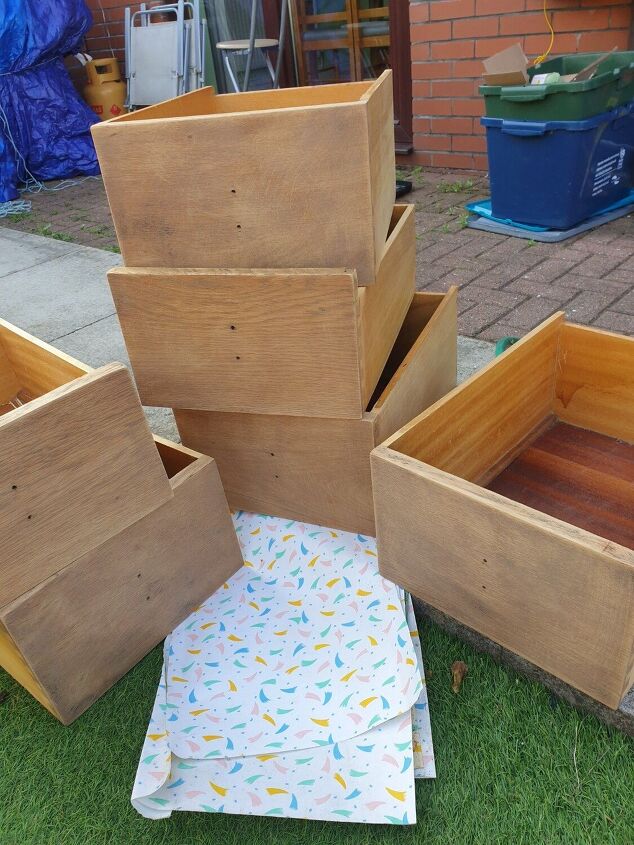
Here's everything you'll need. Your piece of furniture, sandpaper, screwdriver, paint, paint brushes and a dust sheet. As you can see, these bedside tables were really quite tired looking.
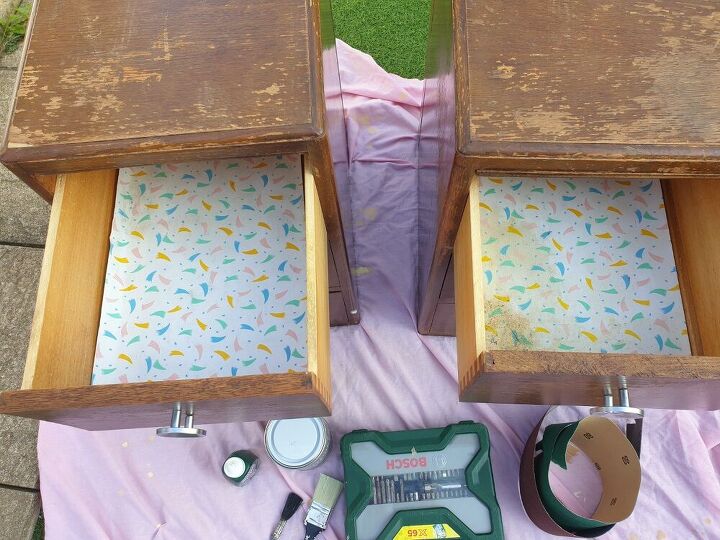
The very first thing you need to do is give it all a bit of an overall clean. Take out any loose papers like are shown here, give it all a brief wipe over so it's ready for sanding.
There is much nicer wood underneath that old paper!
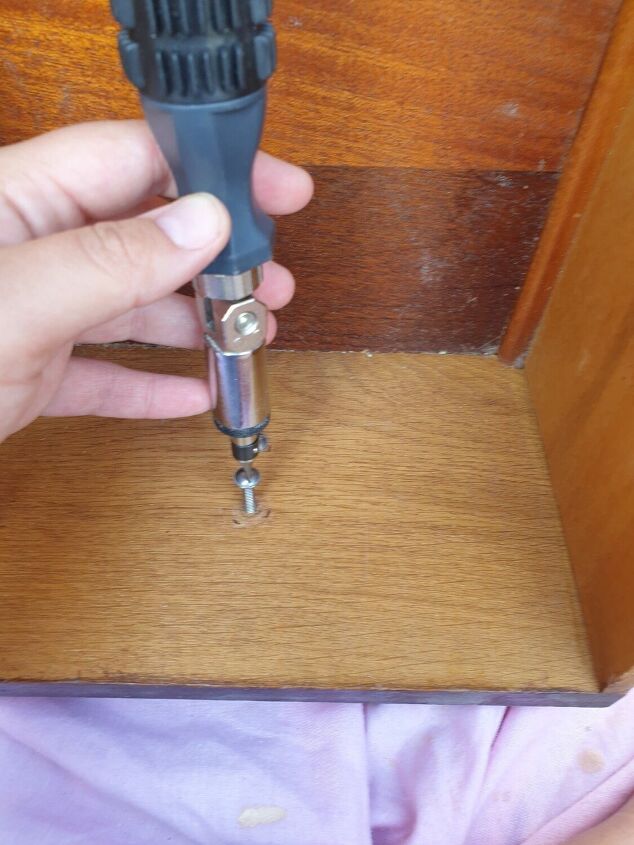
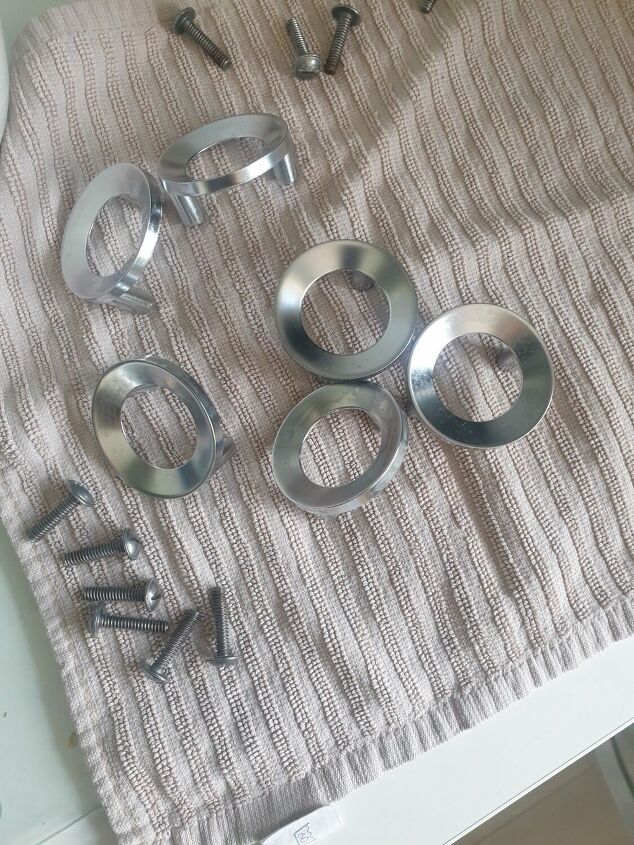
Next, take all the handles off the drawers to make everything easier. Easier to sand and paint with no handles to avoid and cut in around, plus the handles need a good clean too!
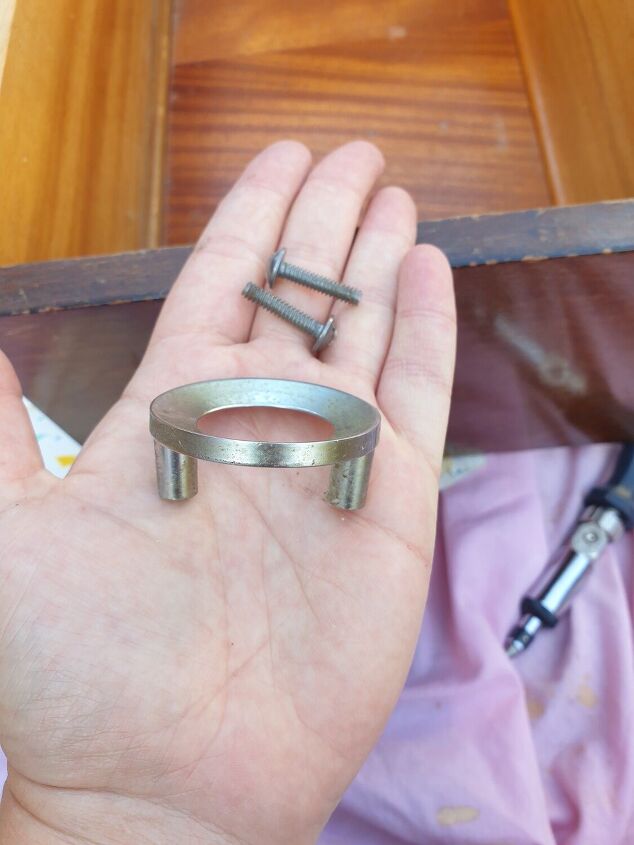
Safely set aside any bits you undo/take off! You don't want to work hard on a project to find you've lost bits and can't finish it off!
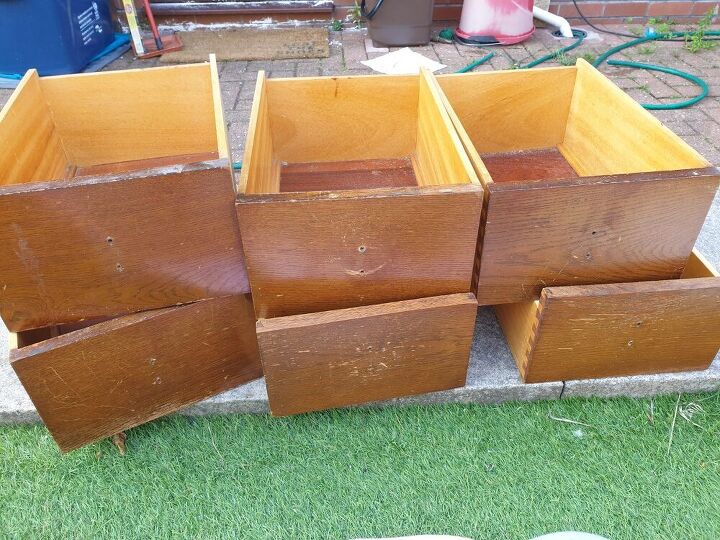
You should now have a collection of accessory-free bits and pieces.
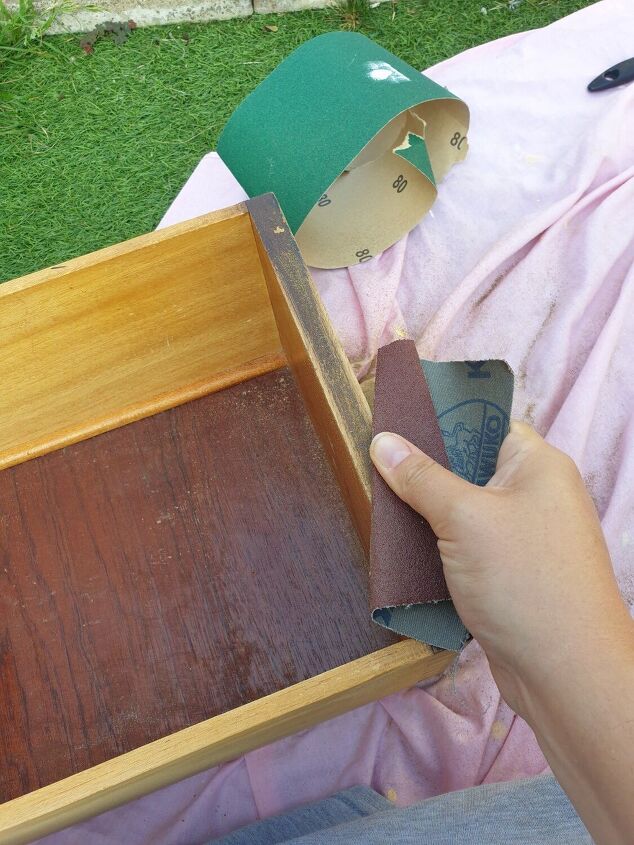
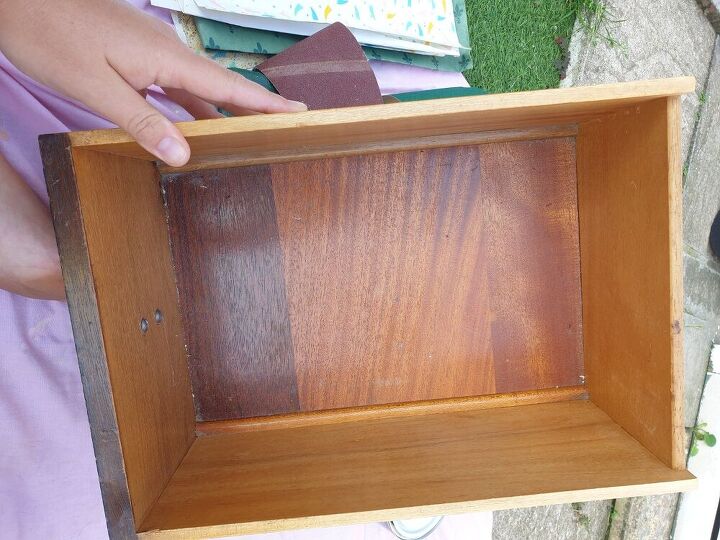
Now for my least favourite part- sanding. The paint I bought actually says no need to sand and prime, but all the drawers were pretty tightly fitted already so I was worried if I didn't sand, they wouldn't fit back in once painted. Better to over prepare than to have to start all over again for being lazy.
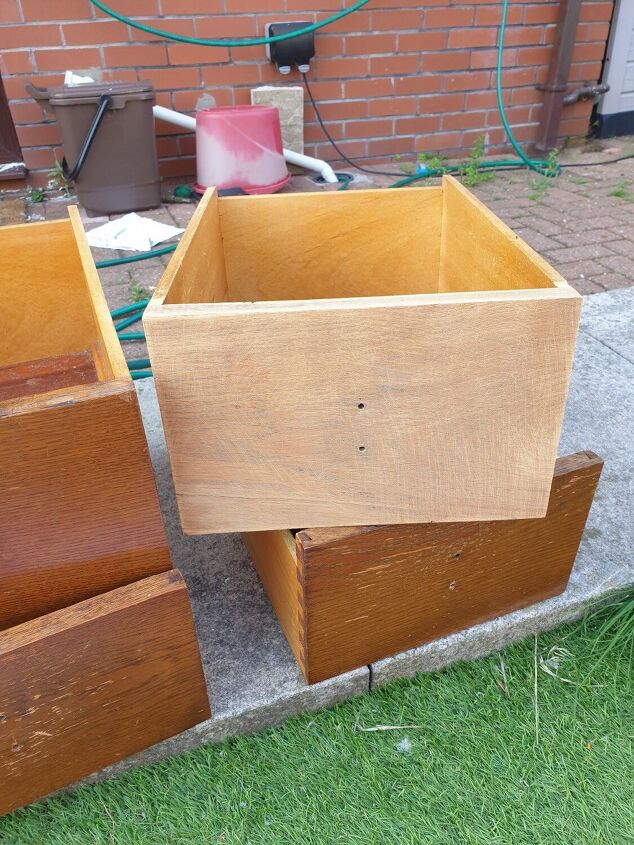
How different does that look now?! At this point in the project I actually considered staining instead of painting because the wood is so lovely! But I had already been and bought the paint and painting it fits a lot better with other pieces in the room it's intended for.
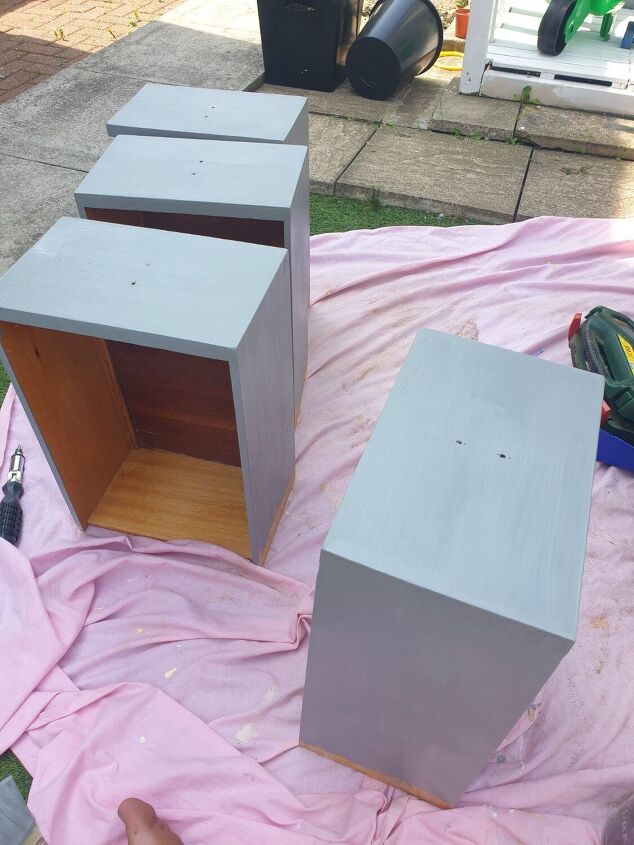
Once all drawers are sanded you should have a collection that looks something like this.
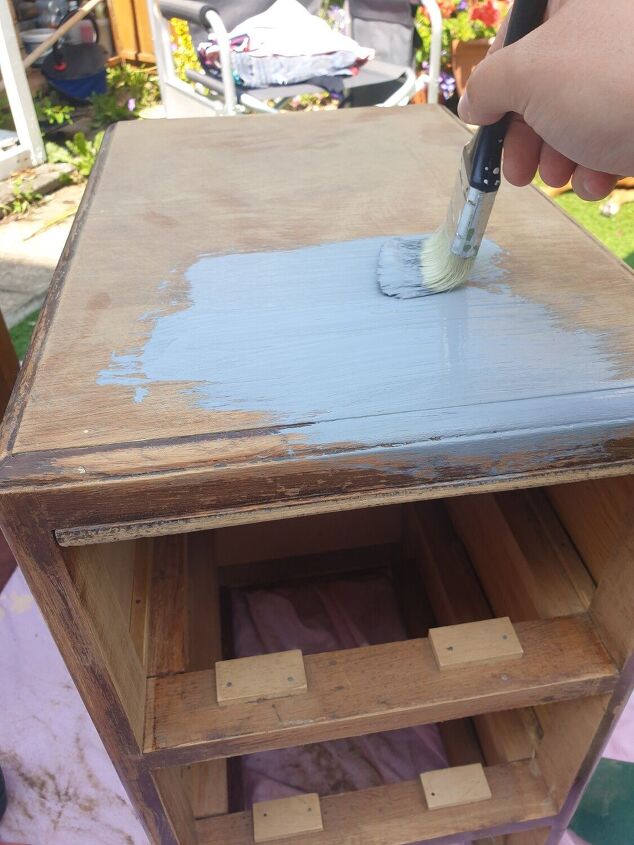
Sand the main body as well, then it's onto the fun part- painting!
Make sure you give everything a good coat of paint and then leave it to dry thoroughly before adding any necessary second coats. Waiting until the first coat is properly dry will avoid the paint dragging and looking bitty.
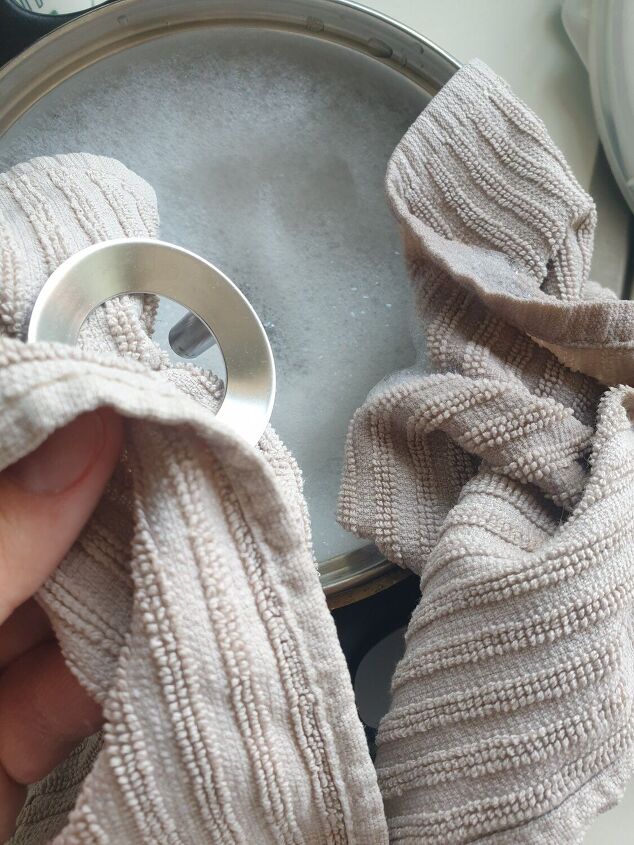
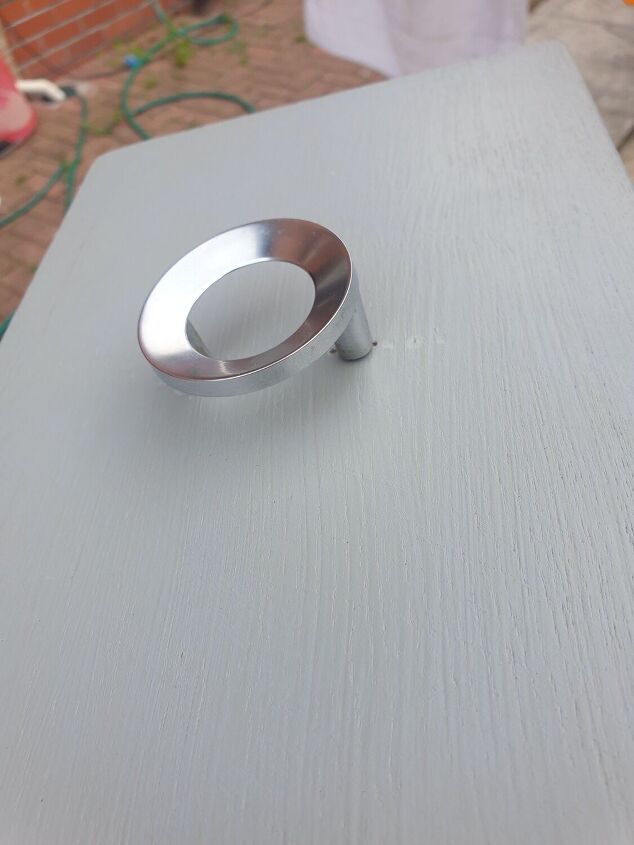
While you're waiting for paint coat number 1 to dry, you can get on with cleaning the handles. These weren't too dirty so I just used washing up liquid and a soft cloth.
Lovely shiny handles! They look like brand new!
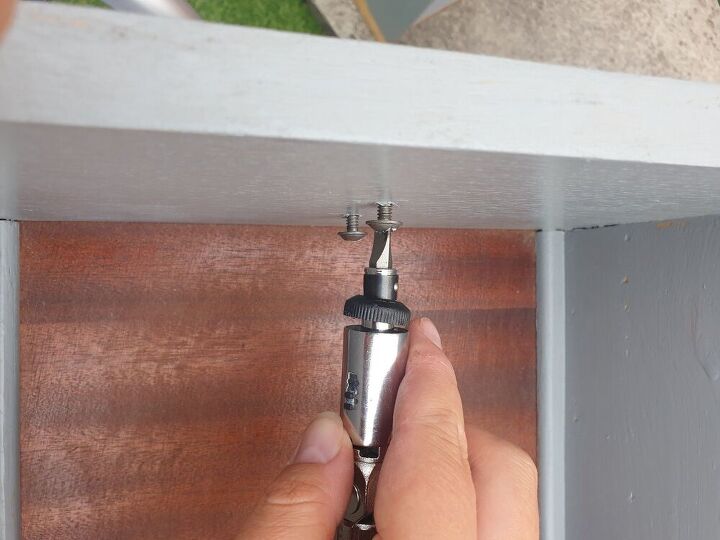
Once everything has had the necessary coats of paint (to paint the inside of the drawers i slid the bases out) you can start putting it back together. On go the lovely shiny handles!
So pretty and new!
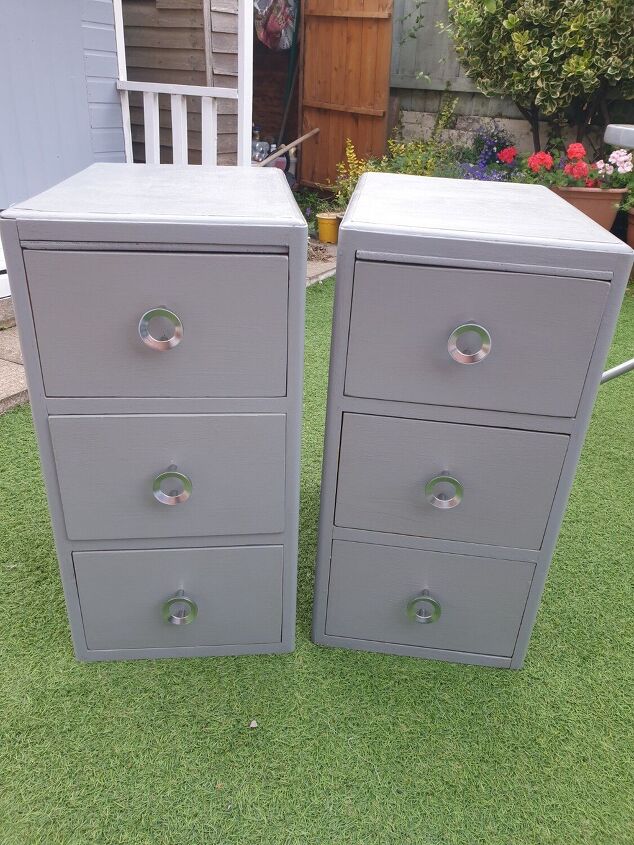
There you have it! Someone's unwanted, destined-for-landfill furniture given a new lease of life in less than a day. I love my new bedside tables!
Resources for this project:
See all materials


Comments
Join the conversation
-
No question, I agree with you on reuse old things. I just purchased a home and the kitchen cabinets are sold wood built over fifty years ago. I removed them and set them outside and did the same thing. I’m still painting the doors but let me tell you it’s coming up beautiful compared to what it was. Keep on recycling and enjoy your brand new bedside tables! Beautiful job!
-
I just did this same thing with 2 nightstands I picked up for $25. I did not sand at all, just cleaned it up and used the same paint. I did put on 3 coats and used a roller plus 3 coats of water based polyurethane. They turned out perfectly.


Frequently asked questions
Have a question about this project?
I have an.old mahogany China cabinet. I would like to make it new looking again. Would it be better painted ot just restained?