


Campfire Chair
This is a wonderful one board project, you can make one afternoon. This makes a great chair for your yard, your back porch or put it around your fire pit. It only requires a few tools and minimum woodworking skills. No boards are glued together or fastened. They just slide together.
I used a store-bought 2 in. X 12 in. X 8 ft. pine board but you may have a scrap board laying around close to those dimensions. You can adjust the dimensions if you want. I chose to use untreated wood.
Only other materials you'll need is a can of stain and spar urethane.
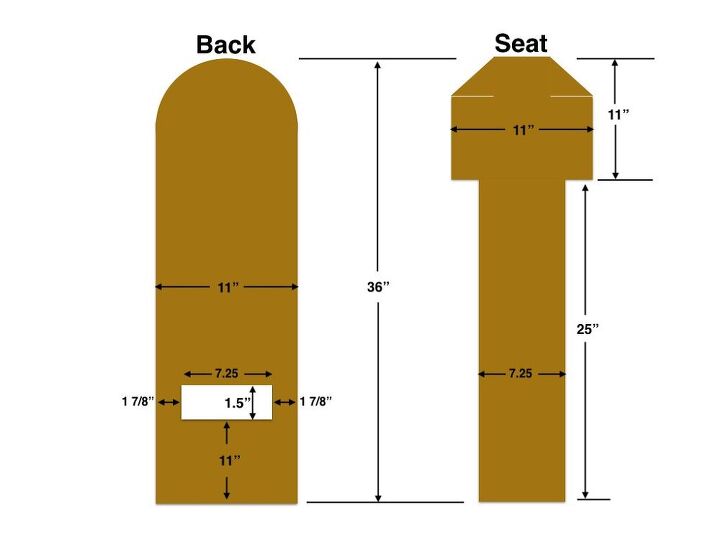
The seat is basically made of two pieces - the back board and the seat board. They fit together through a classic but simple woodworking joint called mortise and tenon. This is considered a very strong joint.
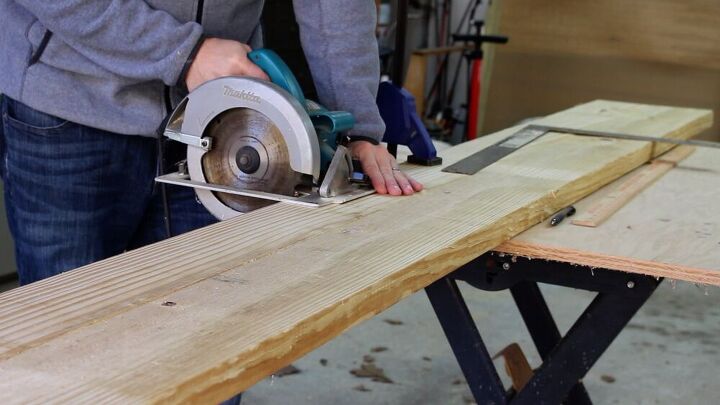
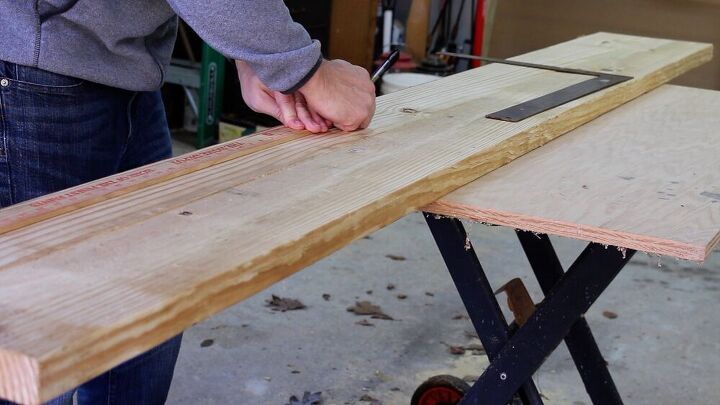
Use the dimensions in the prior step and transfer to the board. Here, I'm using a circular saw to cut my boards to length. I could have easily used a handsaw to make these cuts.
If the circular saw seems to intimidating, you can make all these cuts with the jigsaw.
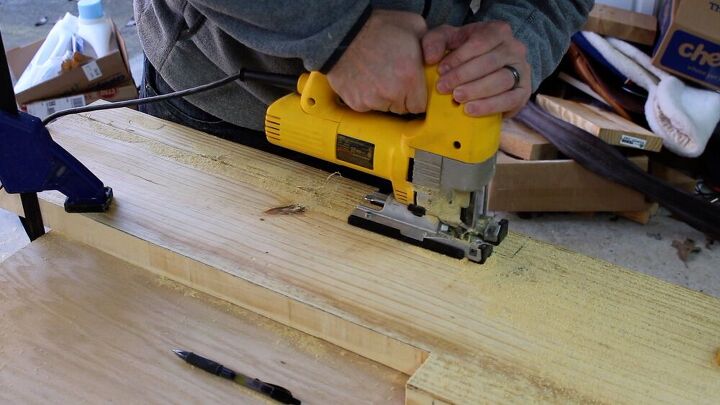
In this photo, I'm cutting the tenon (the seat board) which will slide into the back board. A jigsaw is a great tool for this project.
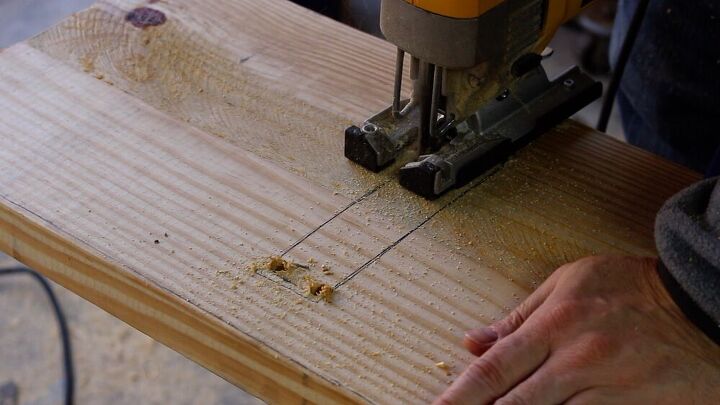
Now I'm using the jigsaw to cut the rectangular hole (the mortise). This is the hole the tenon will fit in and slide into place. Together the boards will wedge together to make the chair.
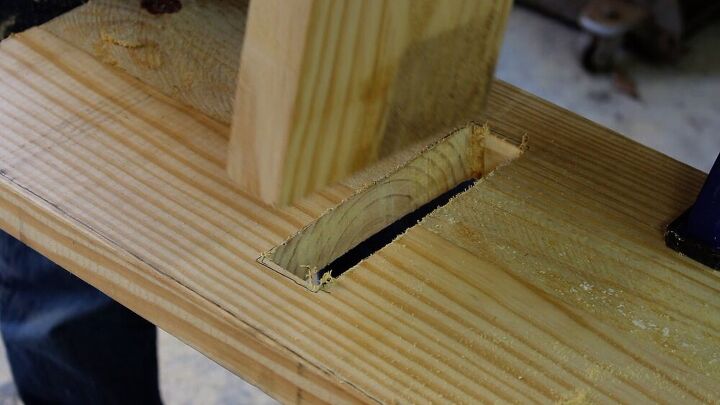
Now, I'm checking the fit between mortise and tenon. Here you can shave wood off the tenon or mortise to make the fit better. It doesn't need to be a real loose t fit and it doesn't need to be a super tight fit.
You don't have to glue or fasten anything together for this chair to work.
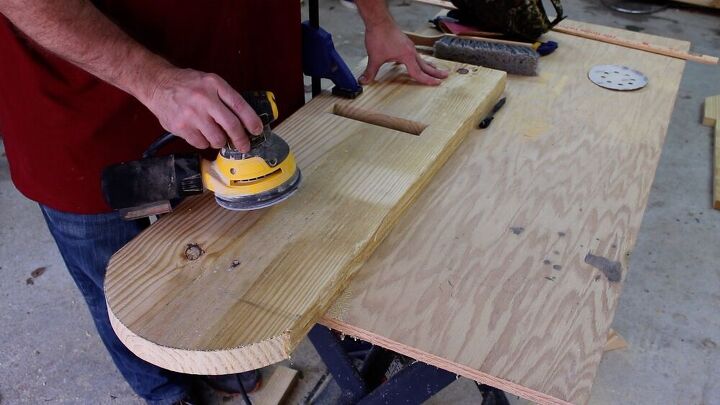
I used an orbital sander to go over all surfaces. Make sure to round over any sharp edges and sand away any potential splinters. I started with 80 grit and then 120 grit.
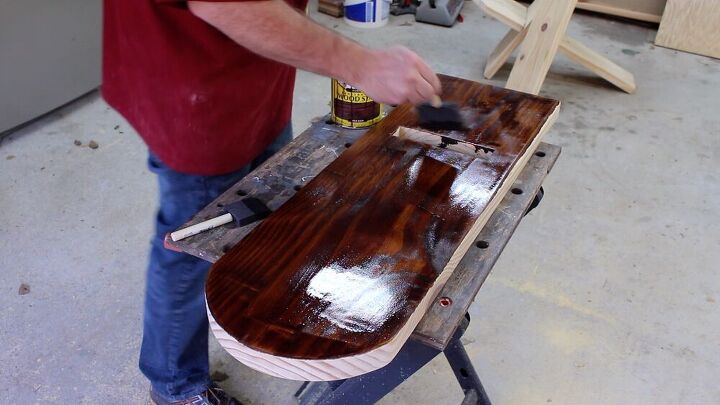
Since this is pine, it's good to use a pre-stain treatment first and then apply the stain. I chose a rather dark stain. Make sure to wipe off excess and allow to dry. Follow directions on the can.
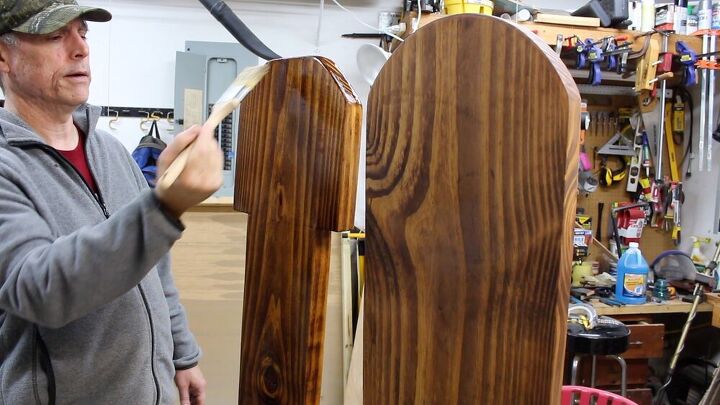
After the stain completely dried, I applied 3 to 4 coats of spar urethane. This will help the boards endure the weather better.
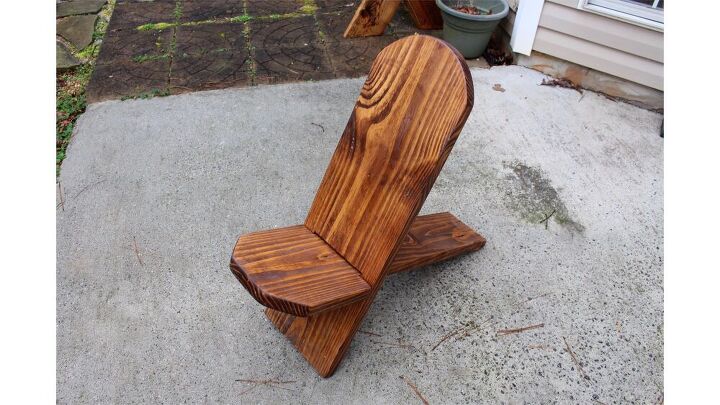
Here is the finished chair. As mentioned, there's no need to glue or fasten any wood together. The two pieces slide together to form the chair.
This chair will work with people of various weights, but you may want to reinforce for someone who is a heavy weight.
Here is my YT video on how to make the campfire chair. If you like the video, please consider subscribing to my channel. I have a total of 41 DIY videos so please check it out!
Thanks and I hope you enjoy this chair as much as my family has.
Resources for this project:
See all materials


Comments
Join the conversation
-
Oh! How Perfect for my porch!
Adorable,just adorable! tfs
-
We have made these chairs. We have had them for 37 years, and they are great.


Frequently asked questions
Have a question about this project?
Would using a hardwood make them more sturdy for those heavyweights or would it need further reinforcement?