How to Build a DIY Skinny Kitchen Island in 4 Easy Steps

Hey there! I'm excited to share with you how I created my fabulous DIY skinny kitchen island. This project was the highlight of my kitchen refresh, and I'm thrilled to guide you through the process step by step. The best part? I managed to complete it for just around $20 since I already had many of the materials on hand. So, let's dive in and create your own gorgeous kitchen island!
Tools and Materials
- (6) 2x6x4 boards at $4.50 each
- (5) 2x4x4 boards at $2.85 each
- -Kreg Jig
- 1.5-inch Kreg screws
- Minwax Dark Walnut Stain
- Minwax Glossy Polyurethane
How to build a skinny kitchen island
1. Preparing the Base
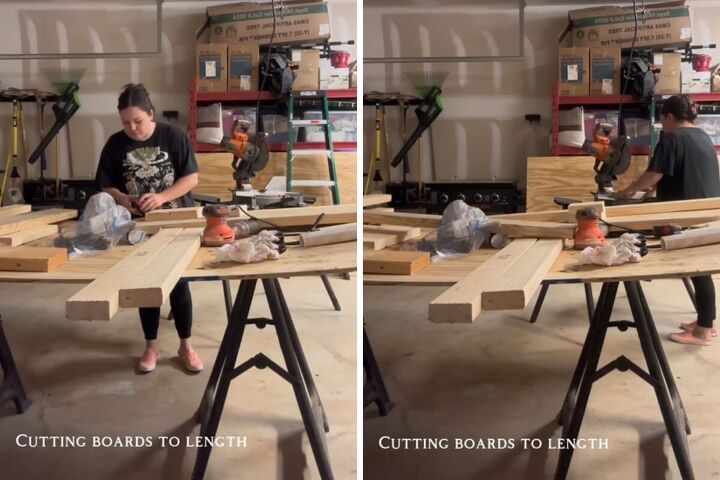
Start by constructing the base of your kitchen island. Begin by cutting your boards to your preferred lengths, depending on how wide and high you want your island to be.
Cut (4) 2x4s to a length of 38 inches. These will be your island legs. For the side skirts, use (2) 2x6s. Cut (2) pieces to 42.5 inches and (2) pieces to 5 3/4 inches.
Use your Kreg Jig to drill holes in both the legs and the skirts. This will allow you to attach them securely to each other later on.
Drill Kreg holes on the top of the side skirts to enable attaching the top later. Remember to set the side skirts back a quarter inch on each leg.
2. Assembling the Top
Now it's time to build the top of your kitchen island. Depending on the available space, you can adjust the number of 2x6s or 2x4s you use. In my case, I used (2) 2x6s and (1) 2x4 to create a 14.5-inch wide top.
Drill Kreg holes on the sides of 2 of the boards to attach them together. Utilize the Kreg holes drilled on the side skirts to secure the tabletop in place.
3. Adding a Shelf
Enhance the functionality of your island by adding a handy shelf underneath. Attach (2) additional 2x6 boards to create the shelf. Place a 2x4 as a brace under each side of the shelf. To ensure uniform height, use a scrap piece of wood as a guide while screwing them in.
4. Staining and Finishing
To give your kitchen island a beautiful finish, apply a stain. I used Minwax Dark Walnut Stain to match the color of my dining table. Once the stain is dry, apply 3 coats of Minwax Glossy Polyurethane to protect it and give it a glossy finish.
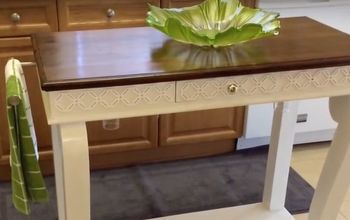
DIY skinny kitchen island
That's it! You've successfully created your very own DIY skinny kitchen island that's both functional and stylish.
Feel free to customize the dimensions and finishes according to your preferences. Share your projects in the comments below.
Follow @thecarriagecreative on Instagram for more DIY ideas.
Enjoyed the project?
Comments
Join the conversation
-
 Frances Anderson
on Dec 23, 2024
Fantastic idea and amazing workshop you have, I used 2 sturdy bar backless benches which fold up made of pine as they have a nice X shape as my legs and sides, used the wooden top idea from you ( had the local wood shop cut to size ) stained and done , thank you for the inspiration, it also means after the holiday season I can fold it up move it into any room.or storage when I don't need extra space for cooking ,. Thanks again
-















Frequently asked questions
Have a question about this project?