


DIY Floating Shelves With DIY Bracket

If you’re hesitant to do something permanent, these are for you! They can be customized for any room in the house. My neighbor wanted some for her daughter’s room and these can be easily removed when she wants to redecorate!
Supplies:
*for one 30” shelf with bracket
•Lumber:
(1) 1x8x6 (top)
(1) 2x2x8 (bracket)
(1) 1x2x8 (spacers)
(1) 1/4x2x4 plywood (bottom)
(1) 1x3x8 (front and sides)
•(3) 2 1/2” pocket hole screws (bracket)
•(7) 1 1/4” pocket hole screws (shelf)
•(2) 3 1/2” wood screws (mounting bracket)
•wood glue
•brad nails
•wood filler
•sandpaper
•paint (and primer) or stain of choice (and pre-stain)
•topcoat
*In addition, I made an 18” shelf and modified these plans accordingly.
I also want to add, I’m not a professional so there could be a “better” way to make these! I am a self taught DIYer and this is what worked well for me 😊
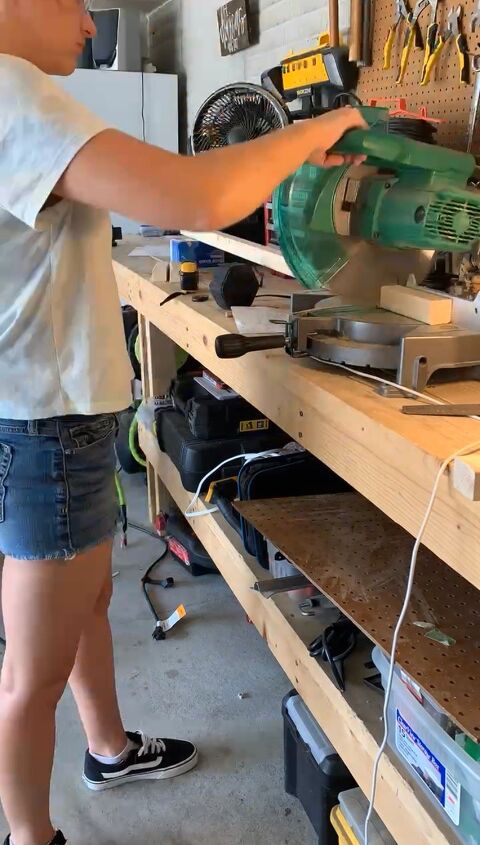
Lets get to it!
Start by cutting the 2x2 for your bracket. Cut list:
(1) 28 1/4”
(3) 5 3/4”
After making your cuts, just sand any rough edges.
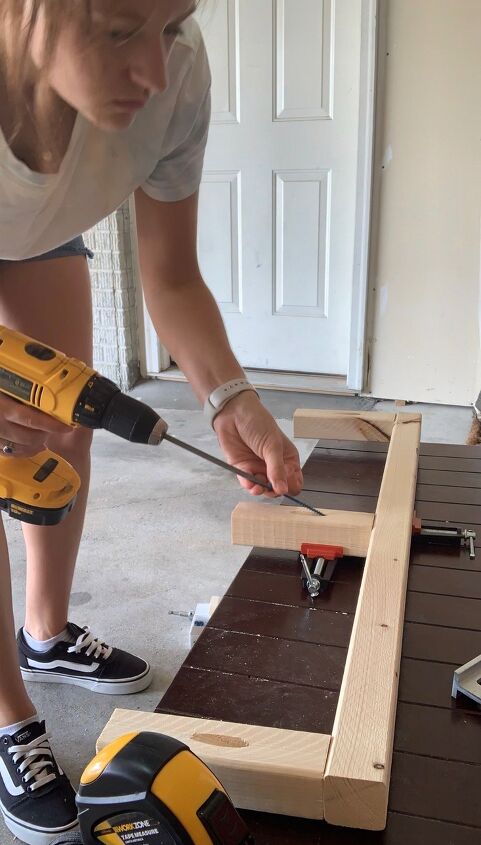
Drill pocket holes in each of the three short pieces. You’ll use wood glue and your 2 1/2” pocket hole screws to attach one to each end and one in the center as shown. Use clamps to hold the pieces as you attach them and check to make sure everything is square when you’re done.
Now for the shelf!
Cut list:
from 1x8- (1) 28 1/2” (top)
from 1x3- (1) 30” (front)
and (2) 7 1/4” (sides)
After I cut my pieces I sanded all of the edges well. I also sanded the sides that will be showing when the shelf is complete. This can be done after it’s all assembled but I like to get some of my sanding out of the way first.
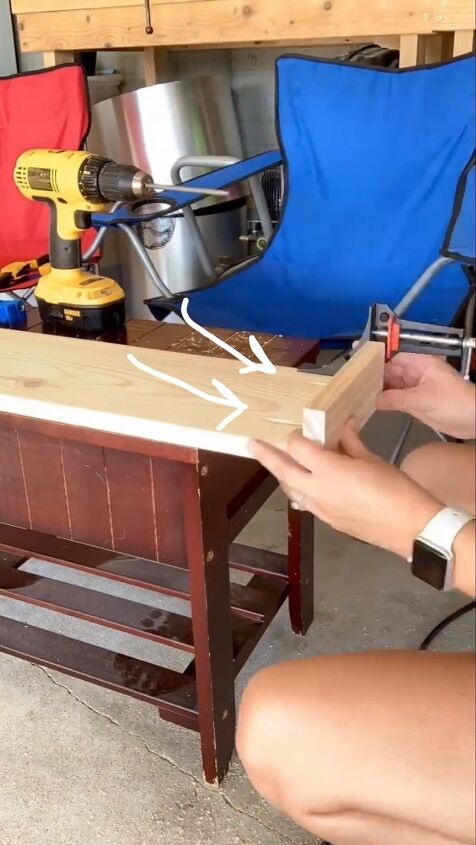
There are multiple ways you can assemble the shelf. You can use wood glue and a nail gun, or you can screw it together. To assemble with pocket hole screws, drill two pocket holes in each of the short ends of the 1/8 board. Drill three pocket holes spaced out along the long side of the board. Use the 1 1/4” screws and wood glue to attach the front and side pieces.
**You’ll notice in the photos I attached the sides with screws and I later used glue and brad nails for the front. Looking back I don’t know why I didn’t just screw the front on also 🤦🏻♀️ There’s always next time!🤣
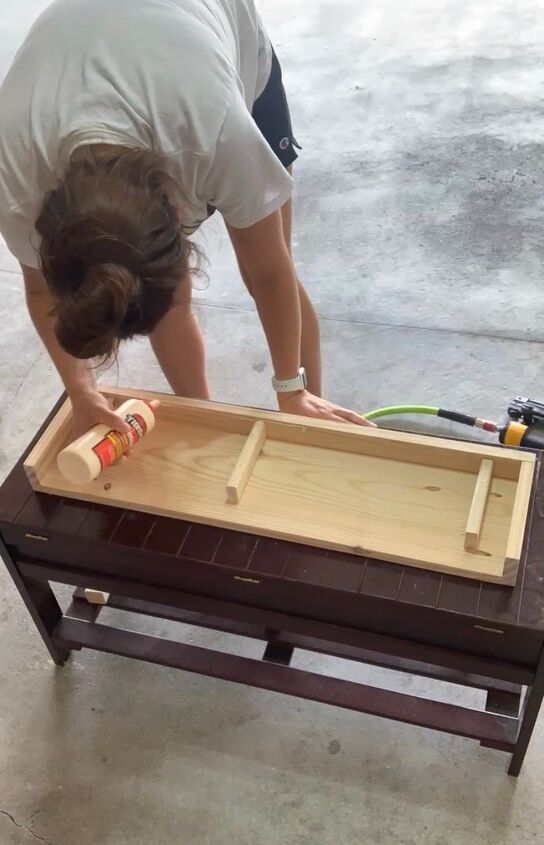
Once I attached the sides, I moved on to the spacers.
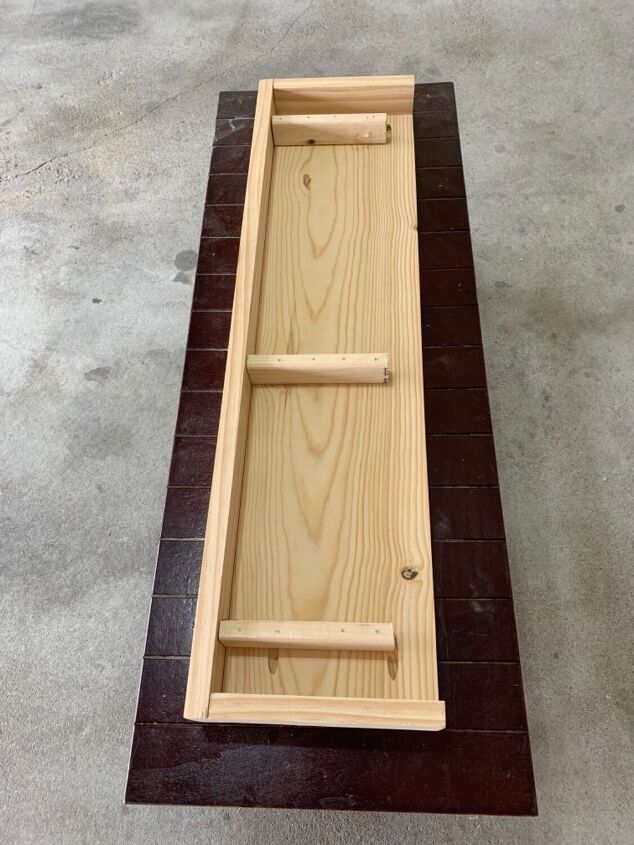
Using the 1x2, cut three spacers each 5 1/2” long. Figure out where you need to put your spacers so they won’t hit the bracket when you slide the shelf on! You can lie the bracket down on the inside of the shelf and use that as a guide for your spacers. Leave a little wiggle room so they aren’t sliding right up against the 2x2s on the bracket. It just makes it easier to put the shelf up and easier if you want to take it down in the future. You’ll need the spacers to be flush up against the front piece of your shelf. Apply wood glue and nail them into place.
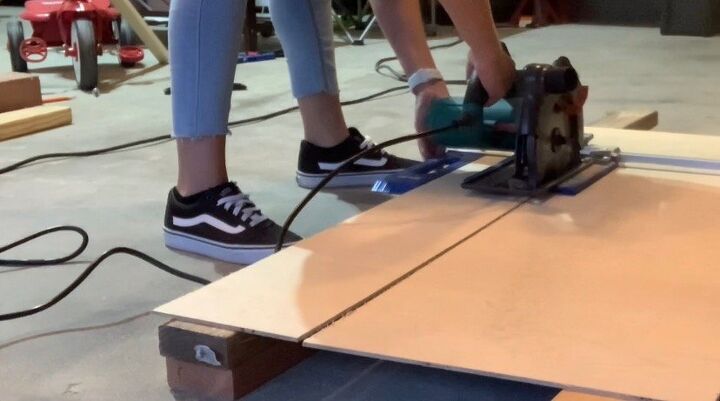
To close up the bottom of the shelf, take your 1/4” plywood and rip it to 7 1/4” wide, 28 1/2” long.
Dry fit your plywood to make sure it fits in nicely. I also looked at my spacers and took note of where the nails were (you’ll want to shoot a nail or two into them when you put the plywood on. I didn’t wanna run into another nail when I did that.) Next spread wood glue along the top of each spacer. I also put a little glue along the inner edge of the front and side pieces for good measure.
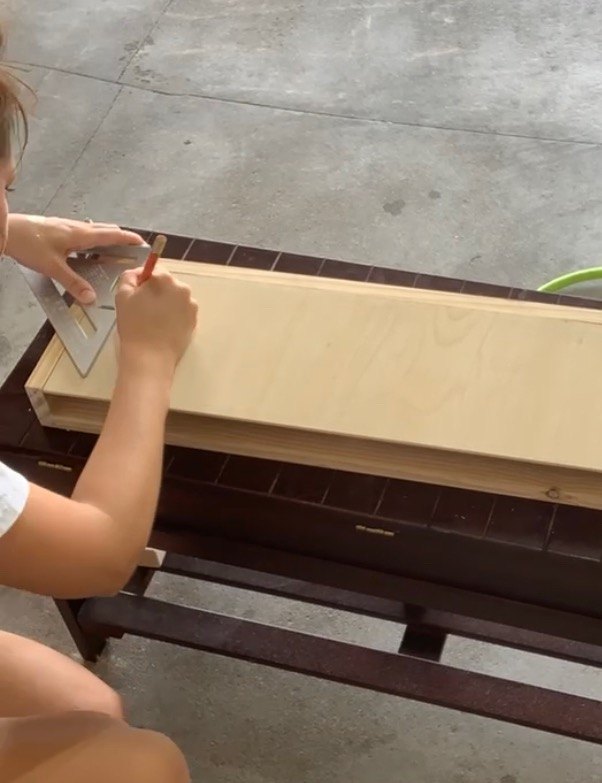
I looked inside the shelf and marked on top where I needed to shoot my brad nails. I just used one nail on each of the spacers to make sure my plywood was secure. Fill nail holes, do any finish sanding and wipe clean. You can now paint or stain it any way you want.
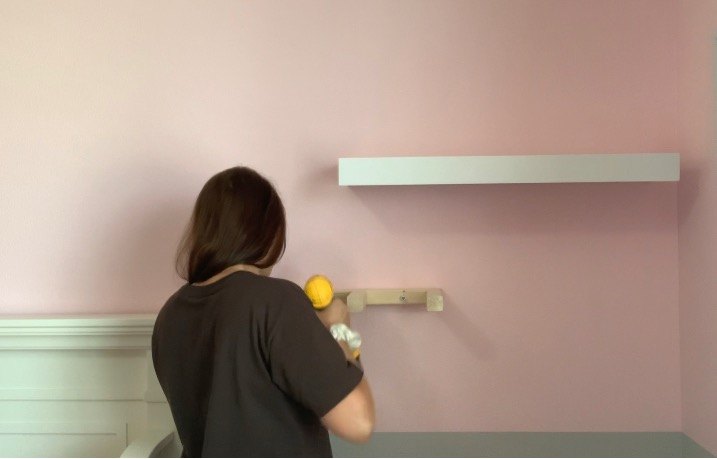
To hang the bracket, you’ll want to locate the studs in the area you want your shelf. I suggest trying to hit two studs. For the 30” shelf I drilled two 3 1/2” wood screws through the back of the bracket and into the studs. For the smaller shelf I was only able to screw into one stud so I made sure to use a drywall anchor that could hold a good amount of weight.
*I forgot to get a photo of the larger bracket on the wall so the above photo is of the smaller one I made
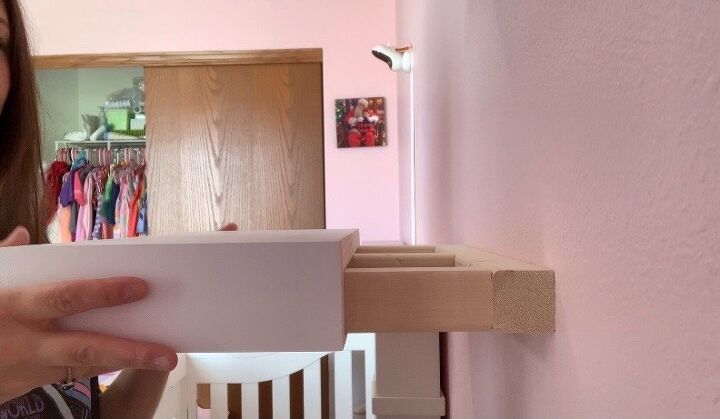
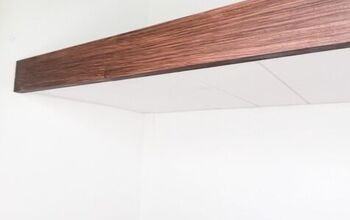
Now all you have to do is slide the shelf onto the bracket!
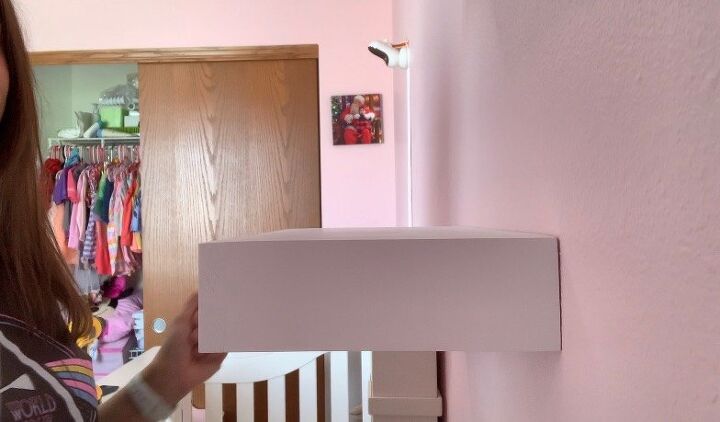
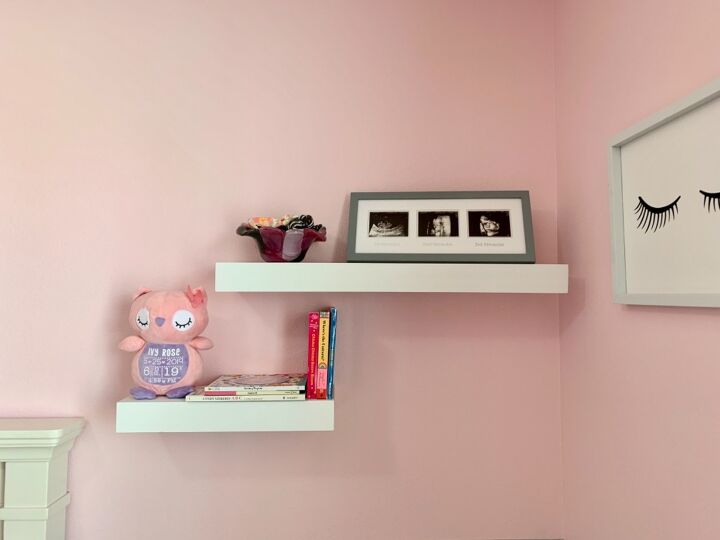
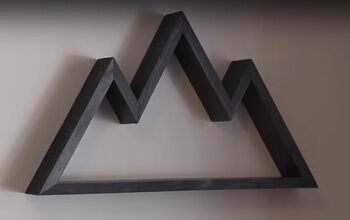
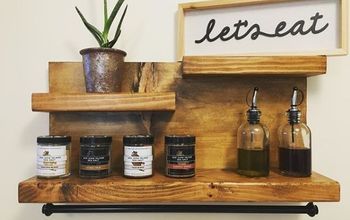
Here are the finished shelves!
Check out my Floating Shelf highlight on Instagram for videos of the whole process and additional photos. Follow along for lots more diy projects and home decor! Instagram.com/Mypr0jectpage
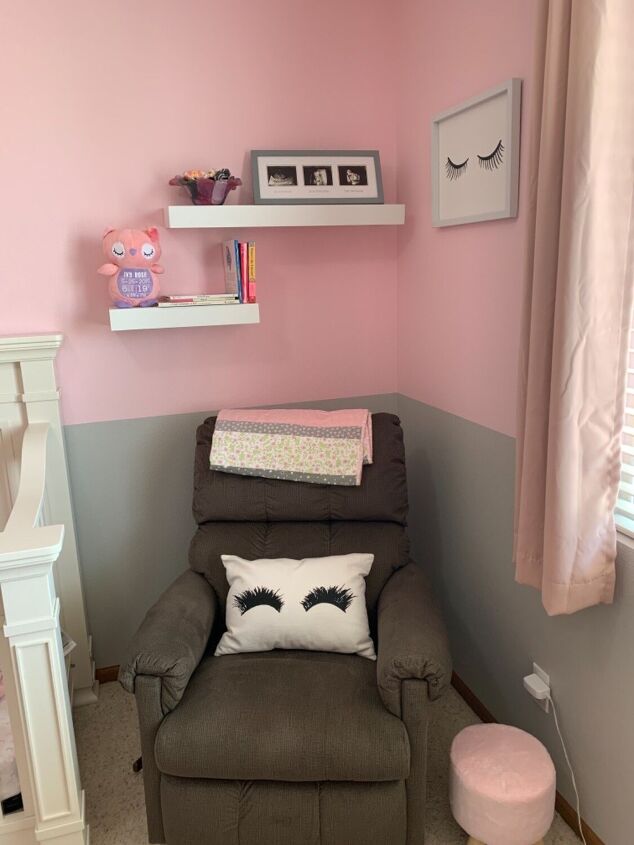
My neighbor was really pleased with the result and I’d have to say, these are something I’d definitely make again!
Comments
Join the conversation
-
Great job. They look good. I've made floating shelves many times. I don't see the reason for the spacers in the shelf. Don't seem to serve any purpose. I've made solid wood floating shelves for some clients. Using rebar in wall studs and corresponding holes in the wood shelf. Slips on the rebar. Only a few holes to fill if ever removed.


Frequently asked questions
Have a question about this project?