


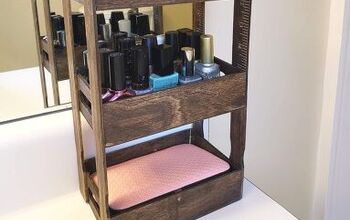
Dollar Tree Shelf

This cute cubby shelf is an easy project. It's a little time consuming but great for any farmhouse look.
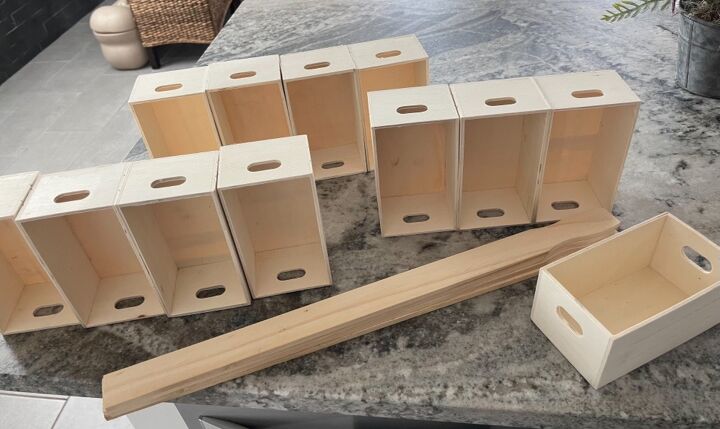
What you need are some Dollar Tree wood crates—12 to be exact, 4 five gallons paint sticks, wood glue, stain, 4 wood beads, and some cute hardware for this cute cubby shelf.
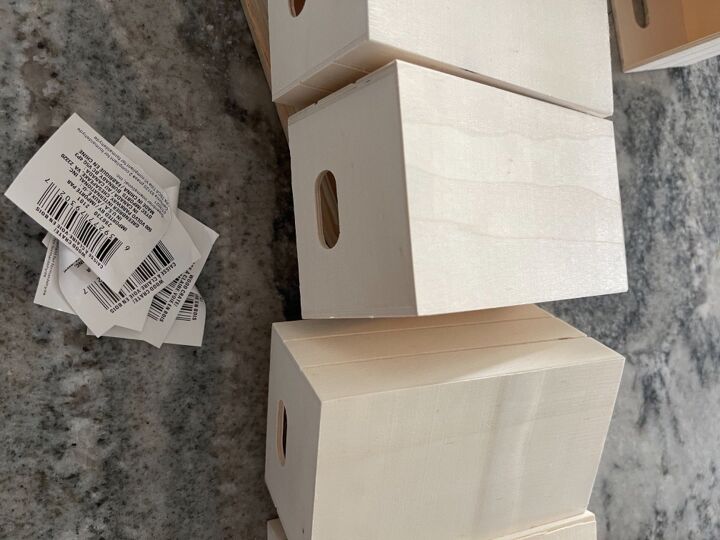
Begin by removing all the stickers off of the crates
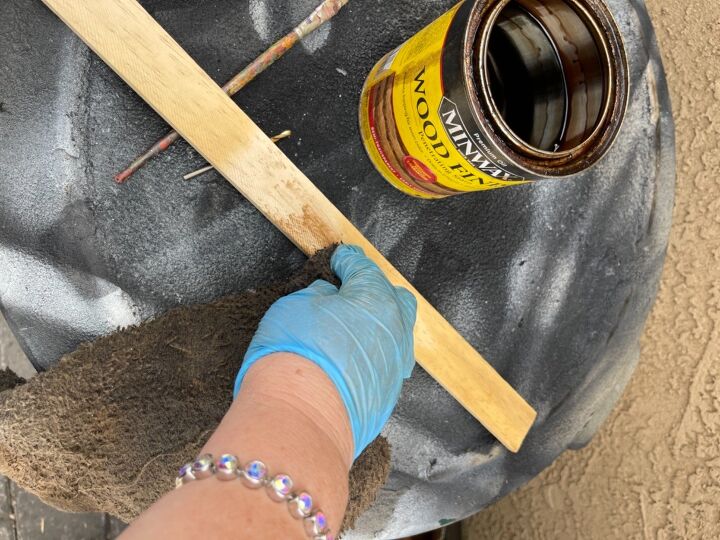
You’ll need to stain all the pieces or you could paint them.
All I used was Minwax early American
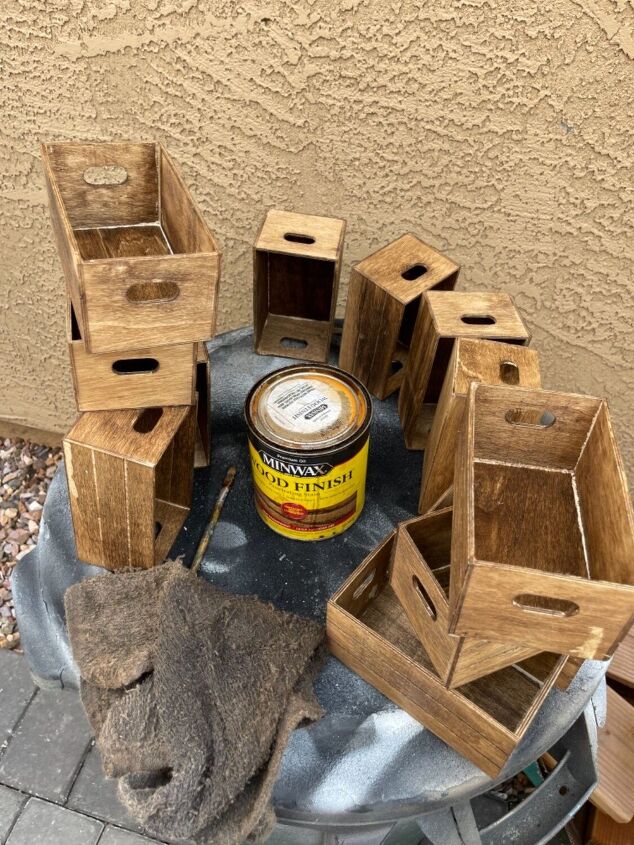
This is the hardest part of the whole project. Just use an old rag and go all the way around each piece. Now, because we are gluing them, you could not stain the sides that are being glued together, but I decided it was faster to do the sides too because all the boxes are not perfect, and so I knew I would have to move them around to line up. Also, when I glued them together, the glue and some spots were sloppy, so therefore, when staining it will not take, so it’s better that they were all stained that I could move them around to make it look perfect or as perfect as I could.
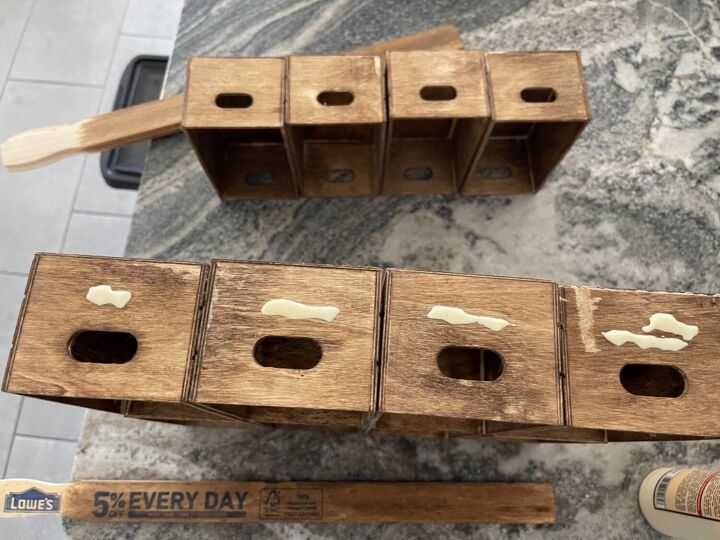
Once all the crates were stained and dry, I began assembly. I used my go-to glue (not a ton), and I put it on the side and top for the first row.
On the ends only do the inside to the next one
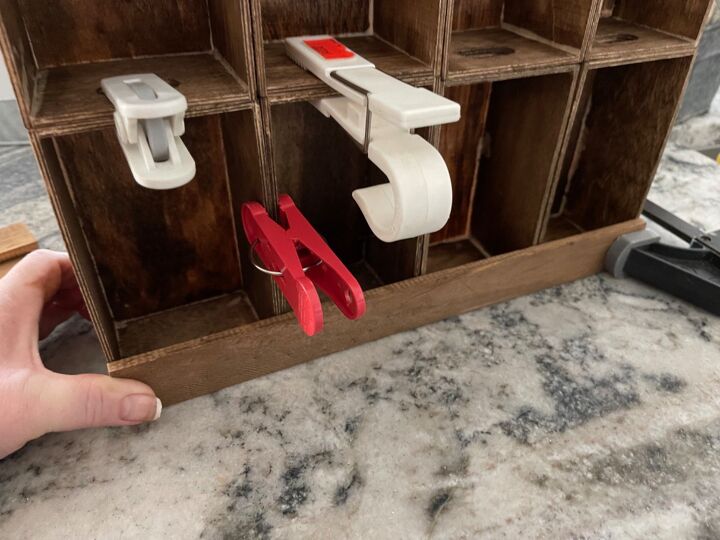
I did use some chip clips and a clamp to hold it together and keep it tight and straight. I let that sit till it was dry. Gluing together takes a little bit of time. It's not difficult but a little time consuming.
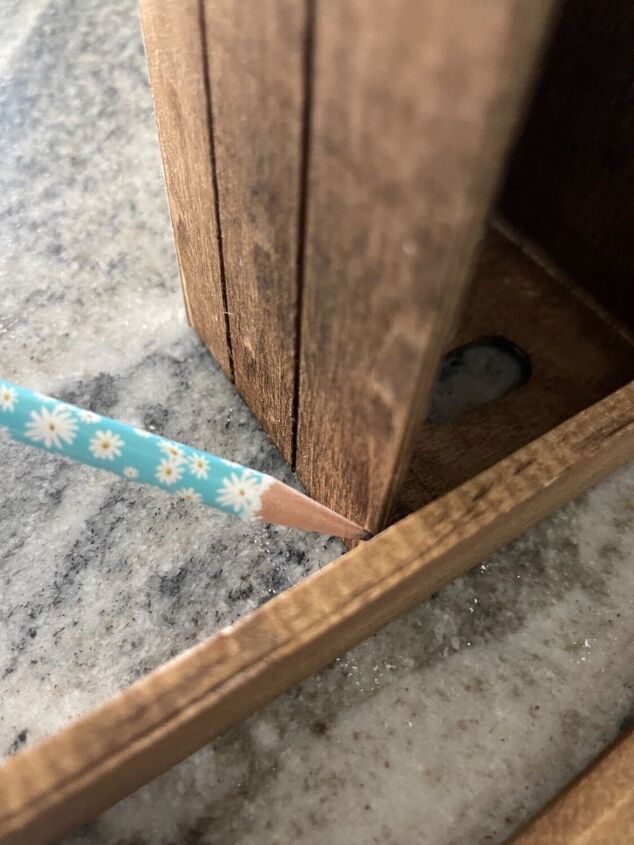
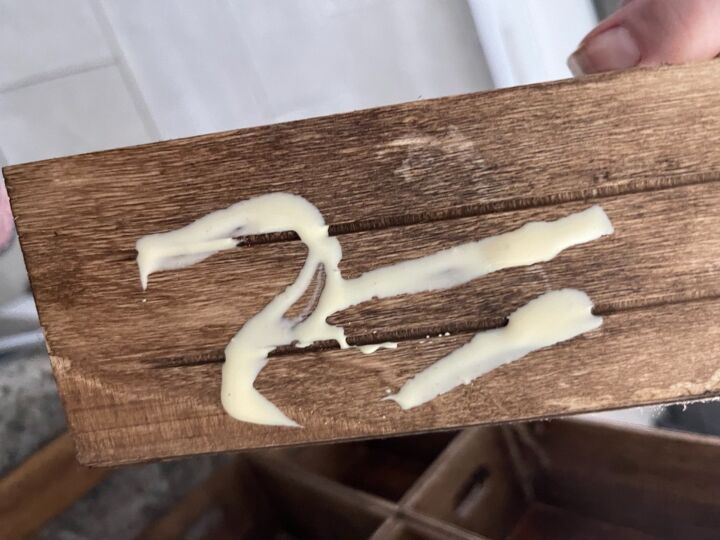
After it was all glued together and dry, I cut and glue my front paint sticks on. I just laid the paint stick against it from the side I marked it. I did this for each individual shelf just to make sure they were all the exact same size. Because the crates are not perfectly square, I wanted to get a custom fit.
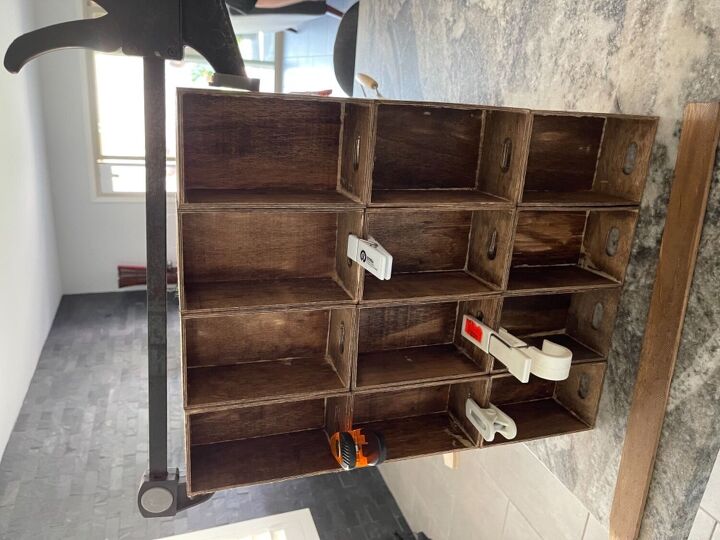
After I cut them, I glued and clamped each one. This took me a little bit of time since I only had two clamps that would fit.
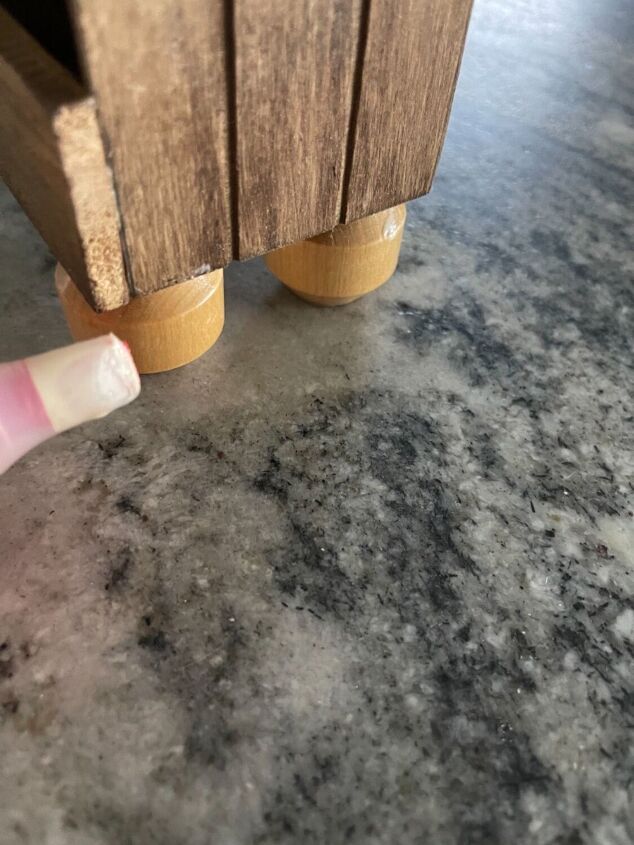
After all my fronts were dry, I decided to glue on wood beads on the bottom as legs. I just added glue to the top and set the project on top of it and let it dry.
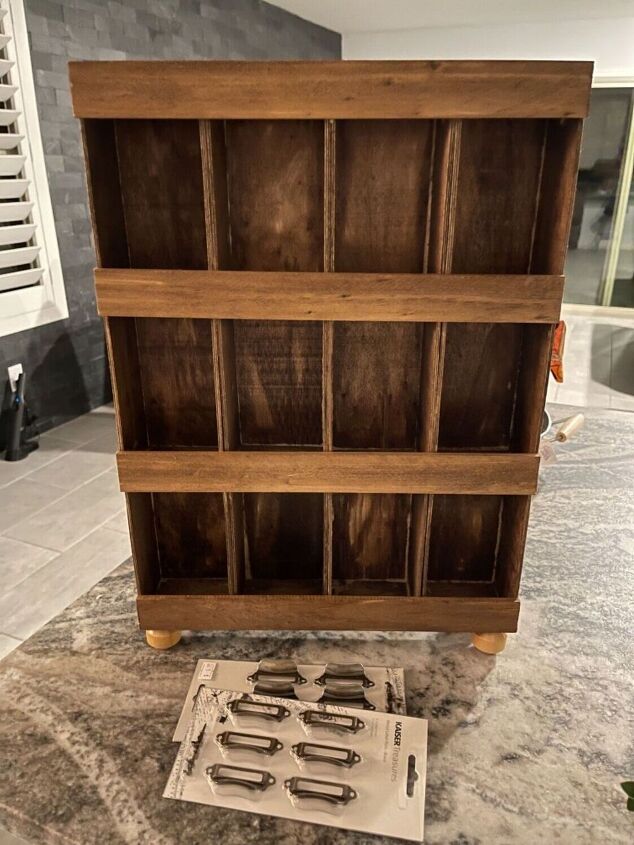
Now it should look like it’s done, and all you need to do is add hardware.
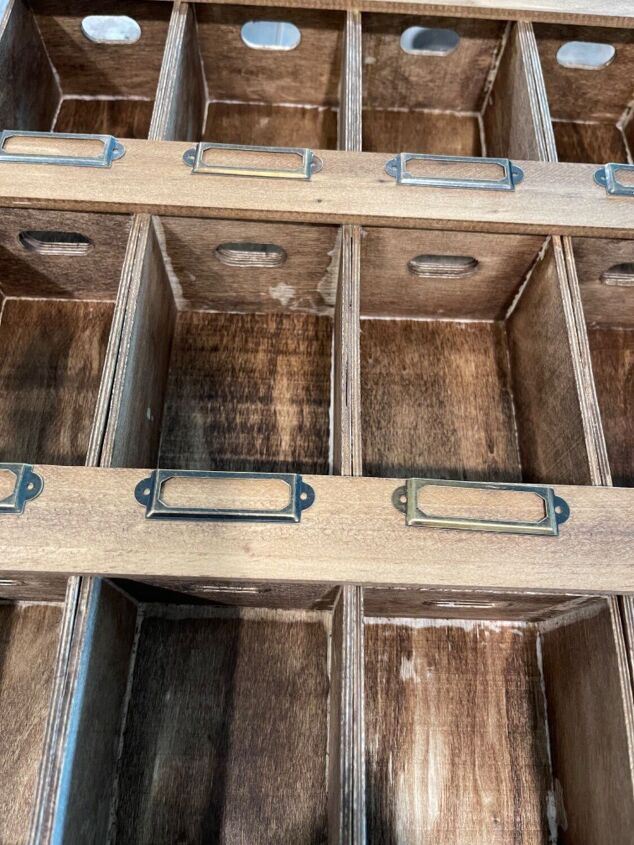
I laid them out and attached them. This hardware can be bought on Amazon
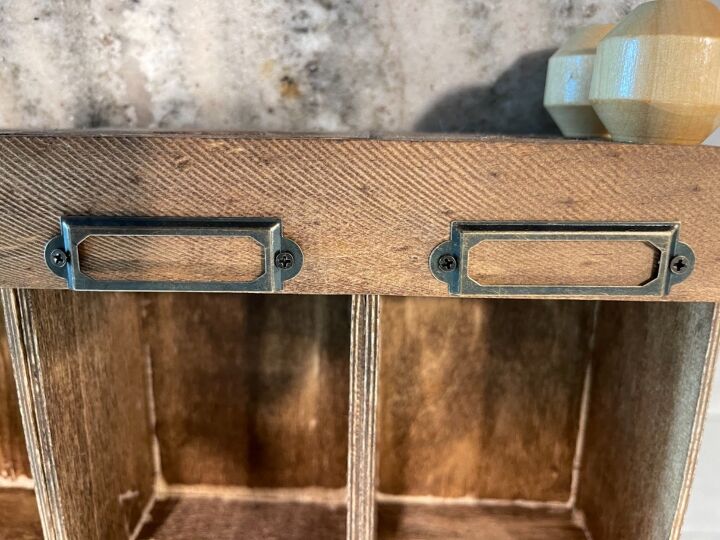
With little screws, they fit perfectly.
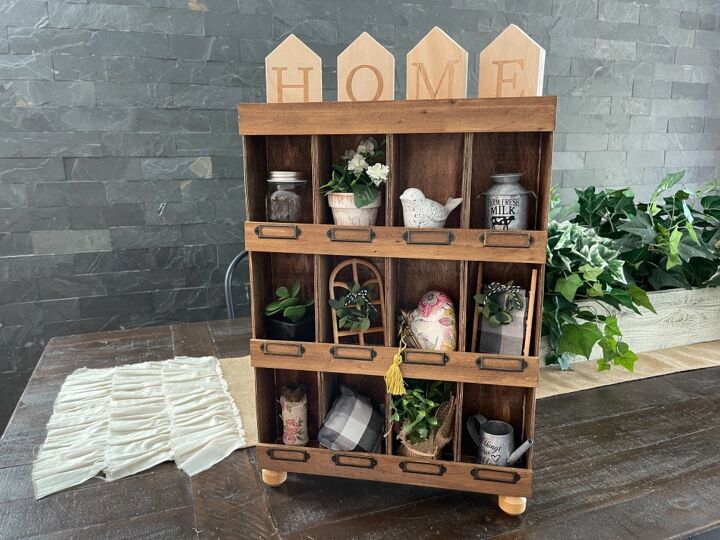
Add your decor. it is a fun little shelf that you can change up any time. Change to go with the season. It reminded me of an old shadow box without glass. This has a farmhouse look, but depending on the color and decor you add, that could change. It can also be hung on a wall if you’d like, so it's a versatile piece.
Hope you enjoyed! See more at Gilbert Marketplace on YouTube
Comments
Join the conversation
-
I think this is adorable! I am going to the Dollar Tree this weekend...this is on my list! 🥰
-
Soooo Cute


Frequently asked questions
Have a question about this project?
I think its cute! But I think I'll paint it instead, put pictures of the grandkids in it! And they send me these little stuffed animals, maybe they will fit with their pics! But what was the purpose of the file card holders.
Hello. I have thin walls, and I can’t hang things on the walls, is there anything I could do
How did cover the handle holes in each shelf so items dont fall through? I guess you could put a doily in each shelf and would also be decorative !!