


Thrifted DIY Pumpkin Cloche

What do you get when buy a thrifted pumpkin candy dish with no lid?? I liked for tutorials on how to make my own lid, with no success. This idea was a God-send because I was about to toss this dish into the trash!
Look at how this beautiful DIY cloche turned out!
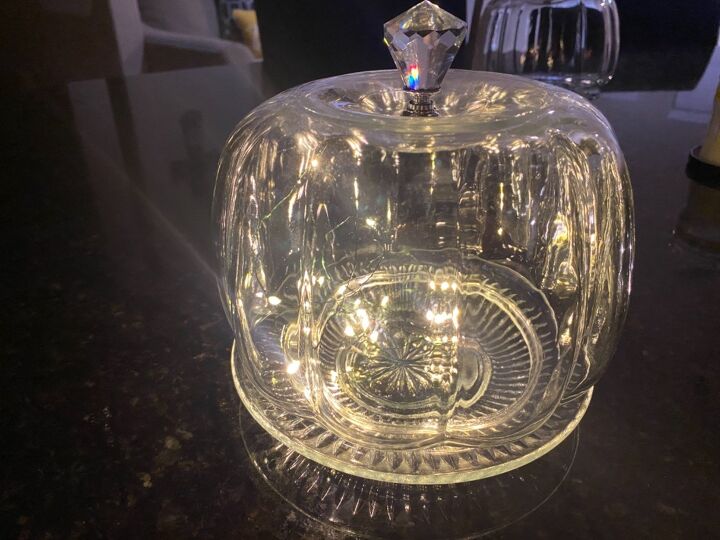
This gorgeous DIY pumpkin cloche was easy to make and, it can be taken apart for storage after the Fall season!
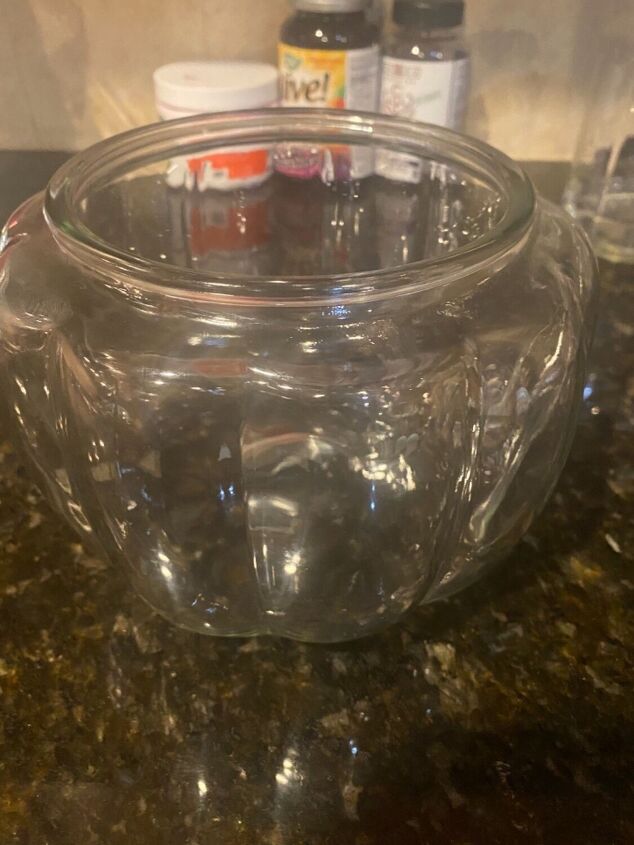
I found a thrift shop pumpkin candy dish that had no lid.
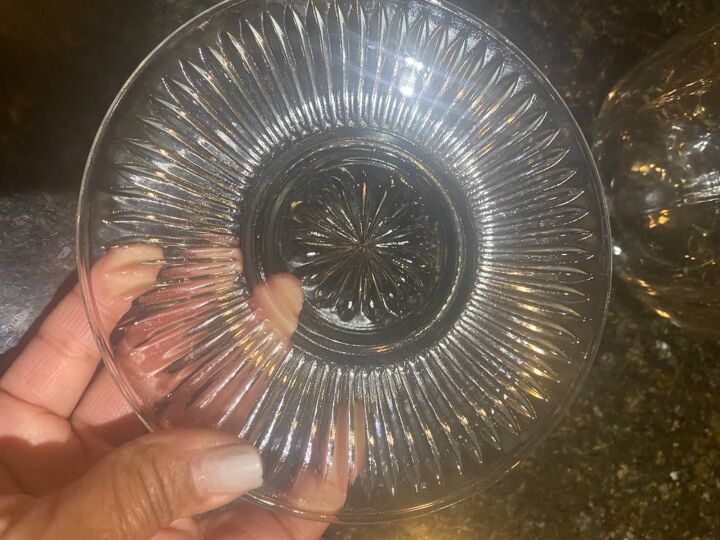
I already had this saucer on hand for the base of the cloche.
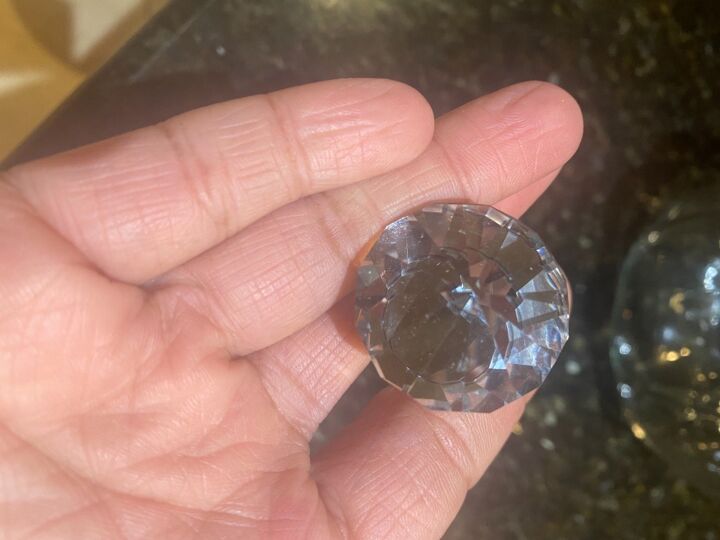
This glass knob looks so high-end and glamorous!
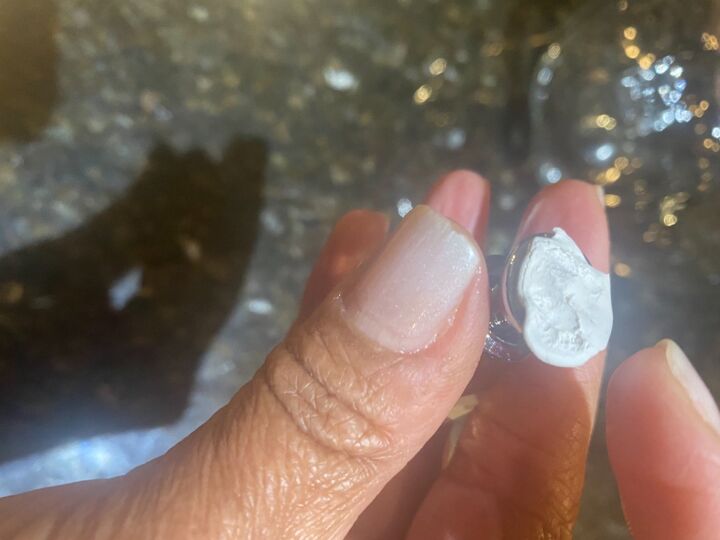
Add about a dime-size piece of the tacky putty to the bottom of the knob. Squish it flat.
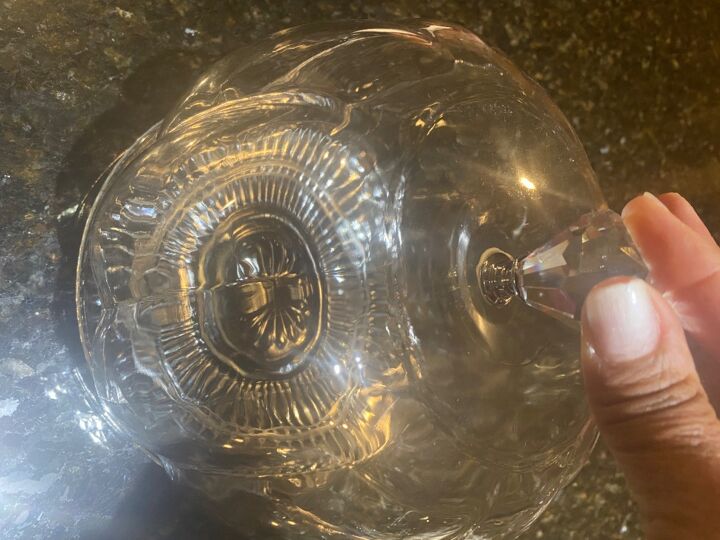
Turn the candy dish upside down. Place the knob on the center portion of the pumpkin bottom and press firmly. Trim off any excess putty that peeks out from under the knob. ☺️
Voila! You are done. You can add lights and/or flowers to your cloche!
When the seasons is over, just take it apart and store for next year.
P. S.
The cost is listed is $8 per project because of the putty and door knobs was used. (There’s lots of both left over after this project.)


Frequently asked questions
Have a question about this project?