


Easy DIY Guinea Pig Cage
I've seen several questions on the Hometalk forum about how to DIY a guinea pig cage. Here's how we made a large cage from a piece of corrugated plastic sheeting (coroplast) and a wire playpen. You can also use wire storage shelving which is found at any big box store.
Read on to learn more!

Here is the completed cage. The recommended size for a cage for one piggy is 8 square feet. Our cage ended up being 54 inches by 28 inches which is well above the minimum recommended size.
It is inspired by the "C&C" type cages that you can see examples of on the internet.
Since we already had the wire playpen (it was given to us by the woman we bought our first cage from) all we had to buy was the corrugated plastic for the base.
The only other materials you'll need are some zip ties and duct tape.
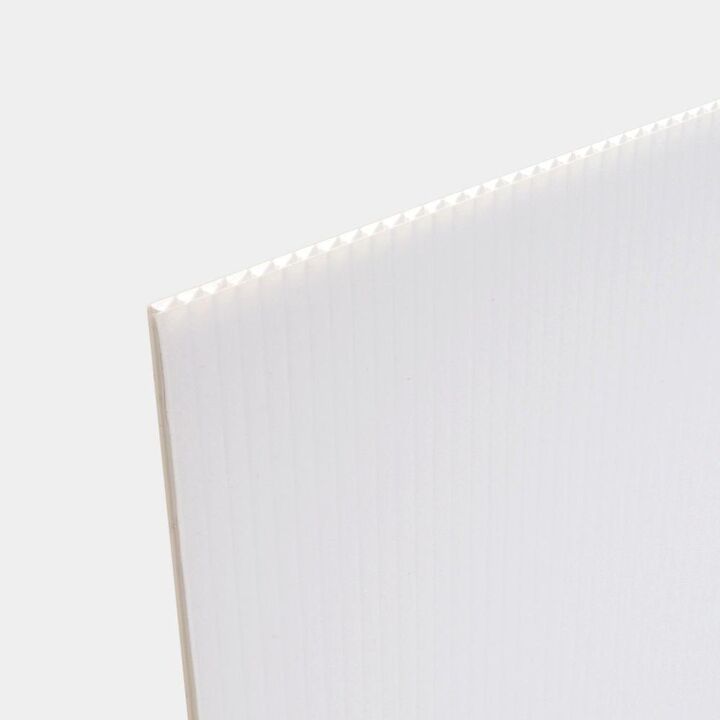
Our first step was to determine what size plastic sheeting to buy for the base.
We went with a piece of 72 inch by 36 inch by 5/32 inch Twinwall Plastic Sheeting from Home Depot. It is commonly called Coroplast.
This is a great size for a cage for one piggy. It cost under $20.
Since we already had the wire playpen we used that for the surround.
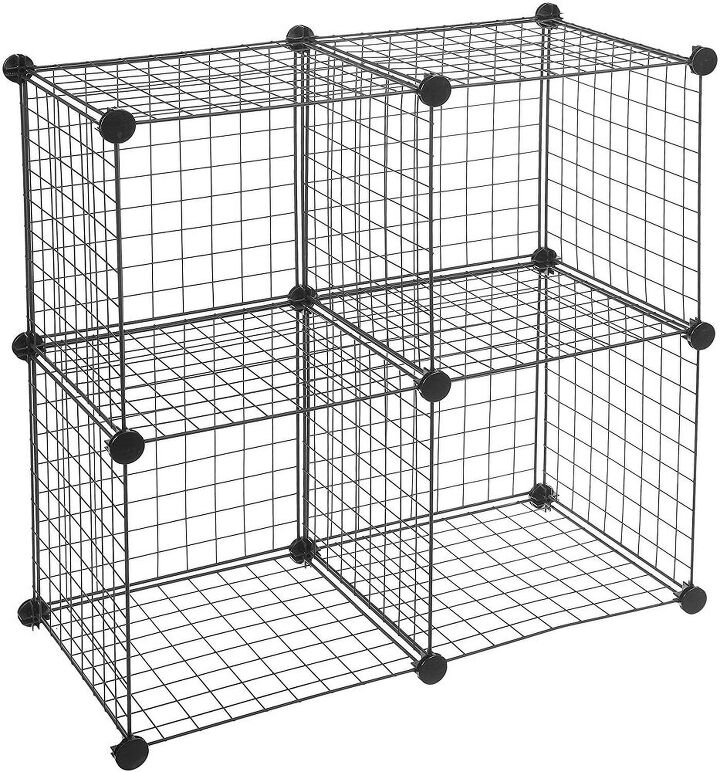
But the most common material people use is wire storage cubes. They can be found at any big box store (Walmart, Target) and on Amazon.
This set of four wire storage cubes will provide plenty of space for 1-2 piggies and costs about $20.
How you cut the coroplast depends on the size of your wire cage material.
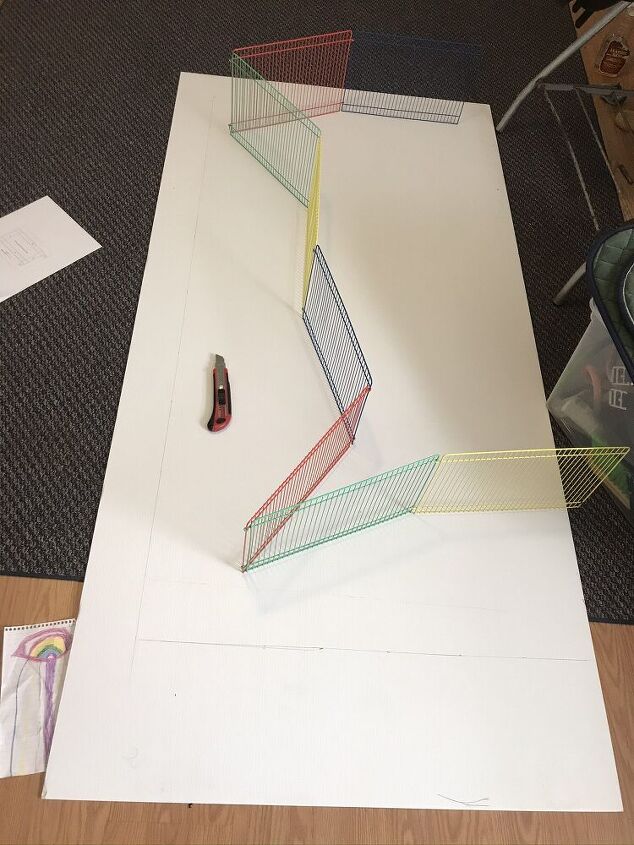
Ours ended up being 54 inches long and 27.5 inches wide.
I physically laid the wire cage out on the plastic to decide where to cut and drew the lines in with a pen and tape measure.
I saw this great idea on a guinea pig site (I'm afraid I've lost the url).
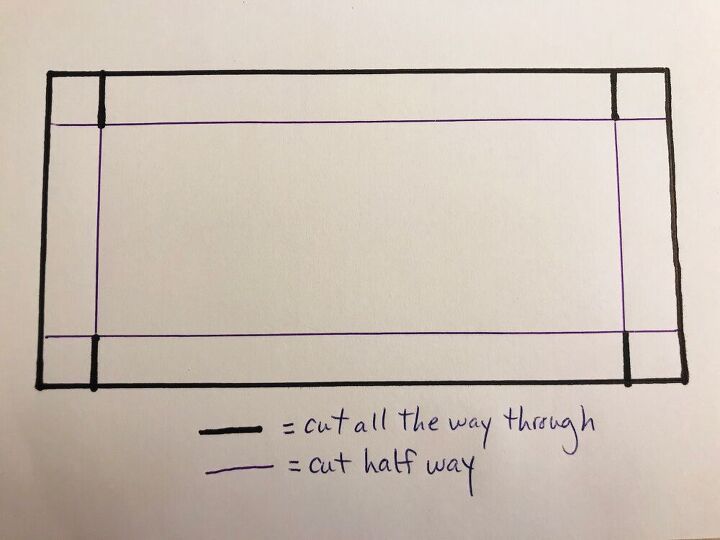
You will carefully cut only halfway through the coroplast where the purple lines show. I used a razor knife and went slow. It was actually very easy to only cut halfway since there is a large space between the plastic layers.
Where the black lines are you will cut all the way through.
The will allow you to fold the sides up and tape them in place, making it a much more secure cage.
My sides ended up being about 4 inches tall which worked out great.
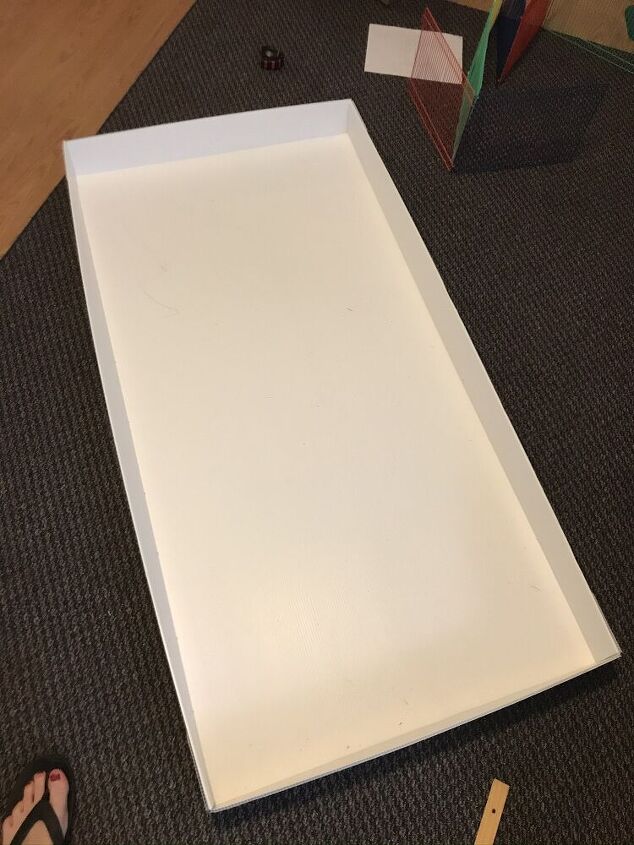
After I made my cuts I folded the sizes up as shown and secure them with duct tape.
I happen to already have white duct tape laying around but anything will do.
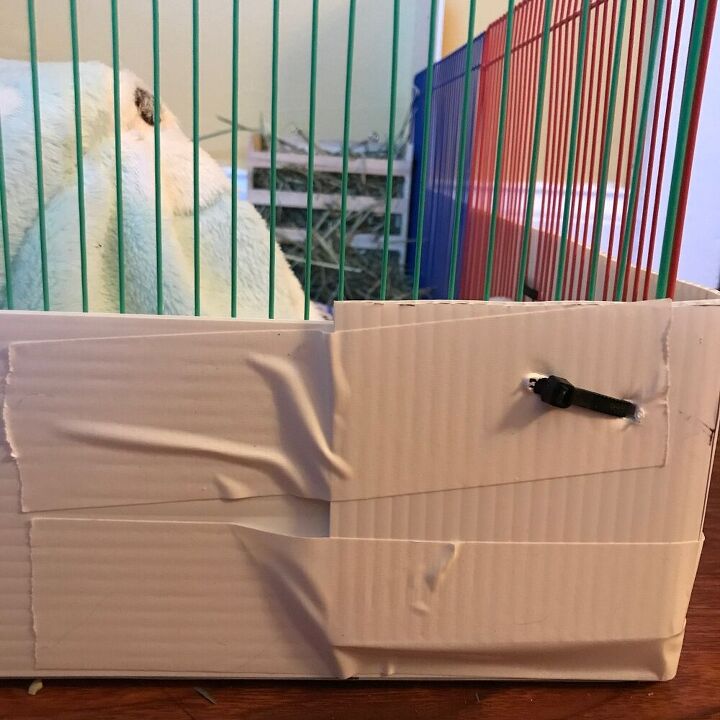
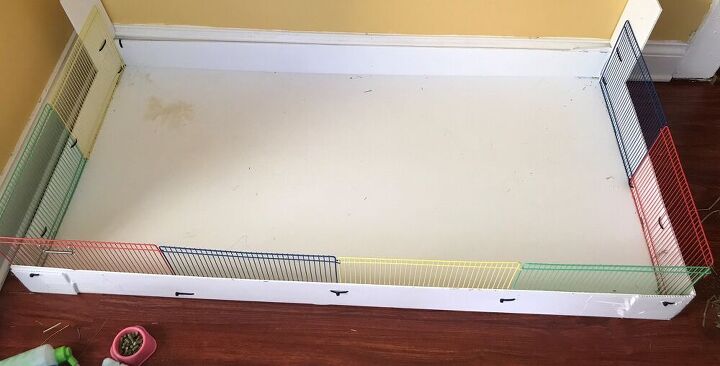
Next I laid out the wire cage inside the plastic base. I attached the cage to the base with zip ties.
I ended up using 12-15 zip ties. If you are using the wire shelving you will use significantly more since you will need to connect the wire pieces to each other with the zip ties as well.
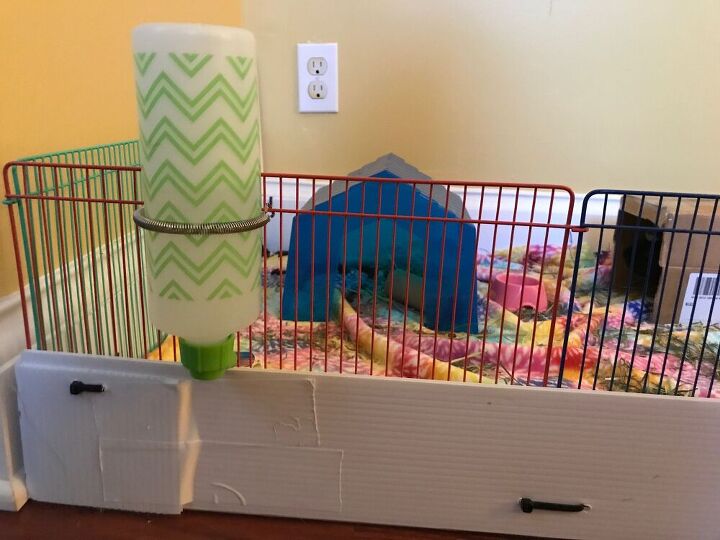
The water bottle fit nicely resting on the side of the plastic base and clipped to the horizontal run of the wire cage.
Here is the completed cage with the fencing connected. You can see I did not put fencing up against the wall and that has been totally fine.
If you have enough wire fencing then you'll probably want to enclose the entire cage.
Ultimately my husband will build a wooden base for the cage to raise it up off the floor. We want to be able to store all of the guinea pig supplies under there to free up precious floor space in the room.
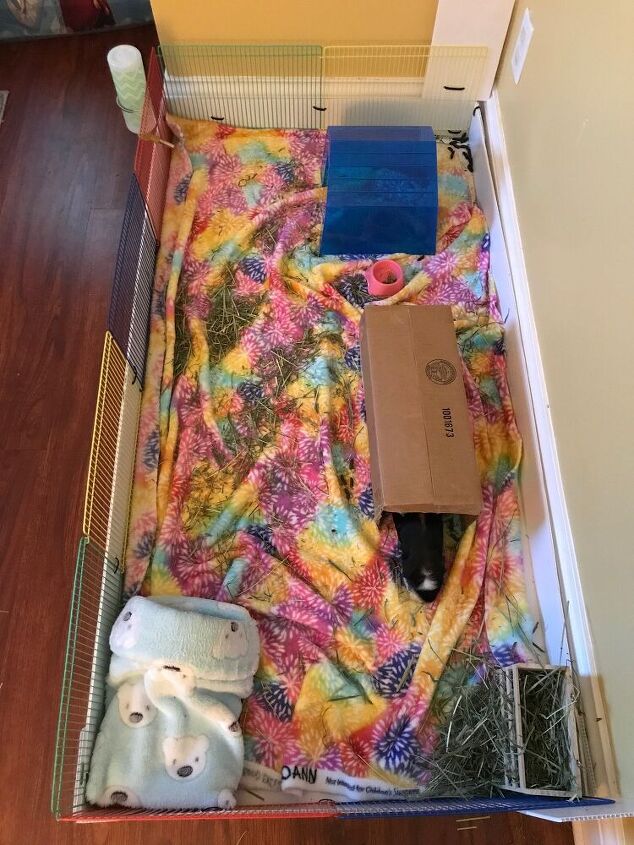
Now you can add all of the items back into the cage and let your piggy explore. Ours ran laps around the new big cage loving the space.
If you are buying all of the materials needed for the cage the total cost will be between $40-$50. This is the same price you will pay for a MUCH smaller cage at a pet store so why not give you piggy a mansion instead?
Any questions about how to construct a DIY guinea pig cage? Leave a comment below!
Resources for this project:
See all materials


Comments
Join the conversation
-
Wow good job. My guinea pig has a house just like that. Haha
-
I make something similar to brood chicks! When they have feathers, they go to the coop!


Frequently asked questions
Have a question about this project?