


Fall and Coffee Themed Reverse Canvas

What goes better with crafting than coffee? For me, nothing. So when I stumbled on a file that was perfect to cut out of vinyl using my digital cutter and it was both Fall and coffee themed it was of course an immediate project idea. I've wanted to try a reverse canvas so that's what I did. What is a "reverse canvas"? Let's take a look!
Note: This project requires some knowledge of electronic cutting machines and vinyl projects including weeding and transfer tape.
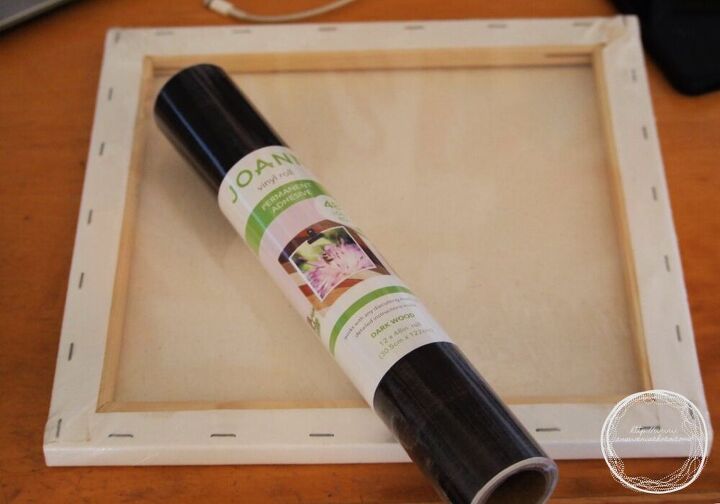
I used a 12 x 12 canvas since I'd bought a package of them at Michaels in preparation for holiday gifts. You're actually going to deconstruct and reconstruct your canvas so the first and most difficult part is removing all of the staples. You want to separate the canvas from the frame it's stapled to. You will also need either HTV which stands for Heat Transfer Vinyl or Permanent Adhesive Vinyl and an electronic cutting machine like a Silhouette Cameo or Cricut Explore Air 2.
Supplies:
- 12x12 Pre-Stretched Canvas
- Heat Transfer or Permanent Adhesive Vinyl
- Utility Knife
- Staple Gun
- Acrylic Paint
- Water
Once you've removed the staples from your canvas, you can set the canvas aside while you cut out your image / phrase and prepare your frame.
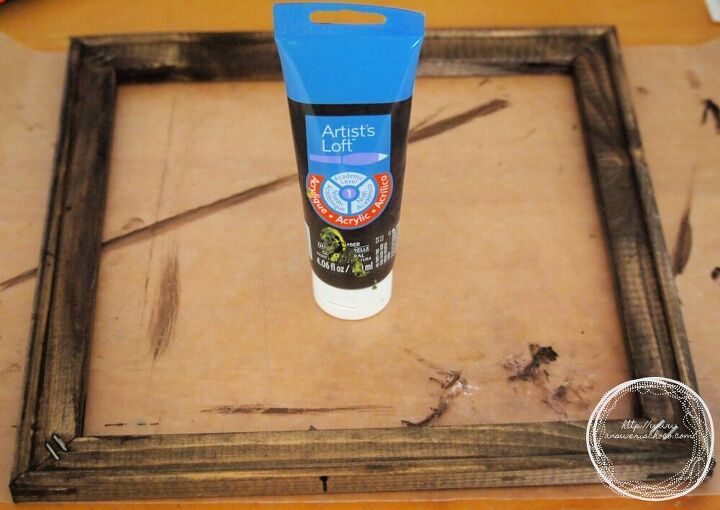
Flip the frame over from the side where you removed the staples. This is now the front of your frame. I wanted a stained look but didn't have any stain so I thinned acrylic paint with water and brushed on, then wiped off the frame.
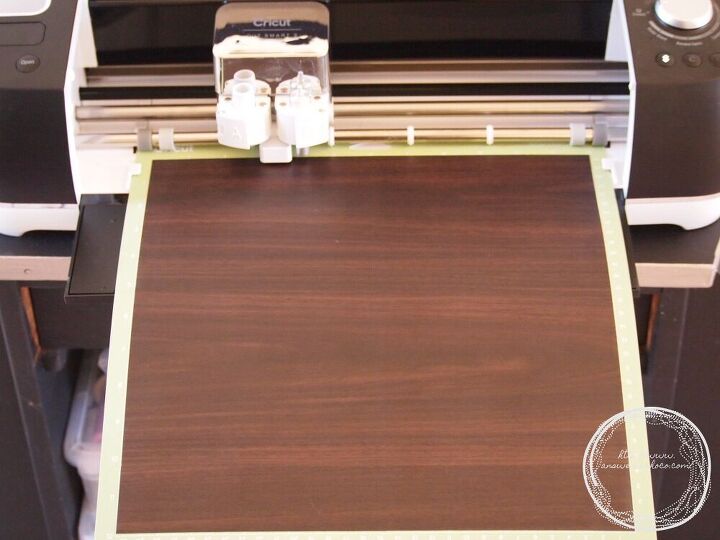
Depending on which machine you're using, size your design / phrase in the software. I used my Cricut Explore Air 2 and imported a free cut file into the software, sized, and cut. I used a faux-wood grained vinyl. Cut , weed, and apply transfer tape.
Most reverse canvases have the vinyl applied to the untreated side of the canvas. This requires heat transfer vinyl. I used the coated side of the vinyl so the permanent adhesive stuck just fine.

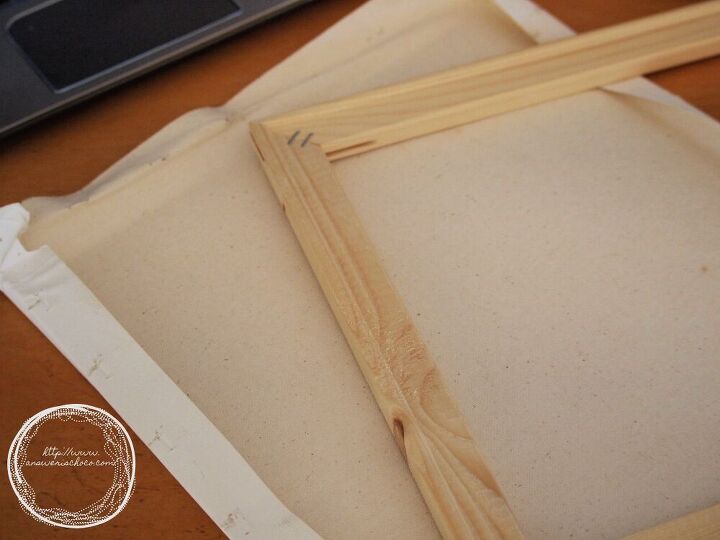
Center your now "stained" frame over your image and then flip over so the frame is on the bottom. Think of it like flipping a cake out of a pan. Using a staple gun, go around the frame and re-attach the canvas.
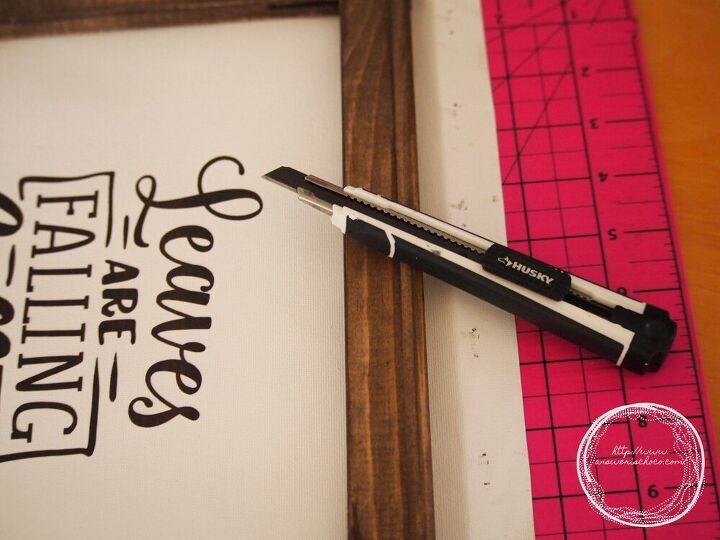
Once you've stapled the canvas to the back of your frame, flip again so it's right side up and using a sharp utility knife, trim the excess canvas.
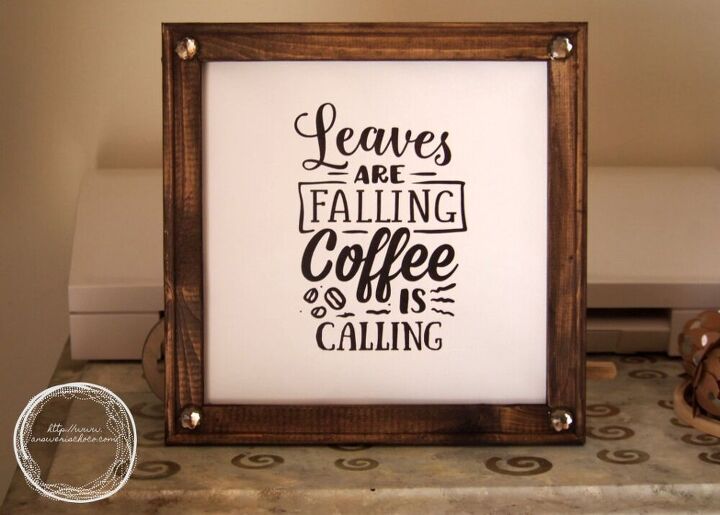
I hot glued some extra large rhinestones I had on hand in the corners as shown or you can skip this part!
Resources for this project:


Frequently asked questions
Have a question about this project?