


EASY DIY House Numbers

The house number sign at my condo is hard to read from the entryway. Since this is a vacation rental I want to make it easy for my guests to find the unit.
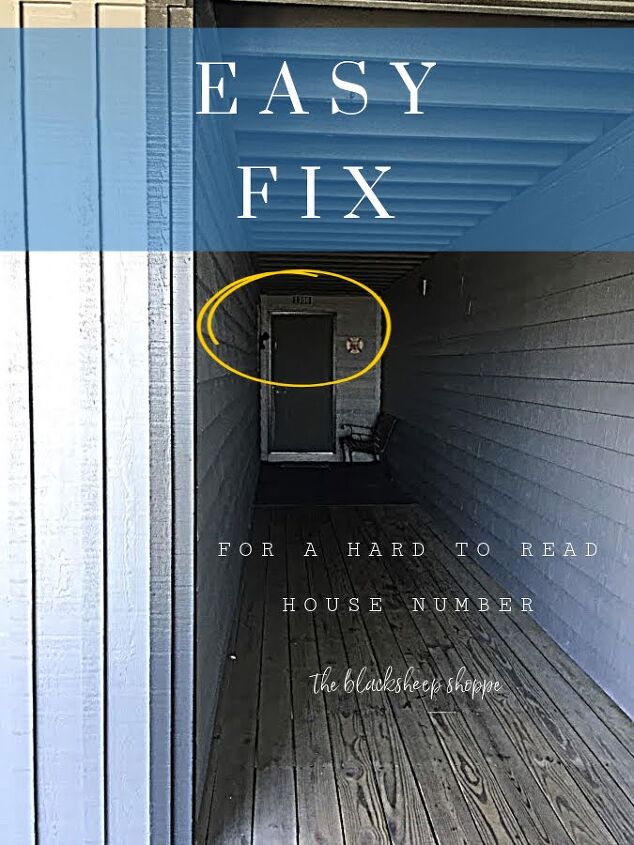
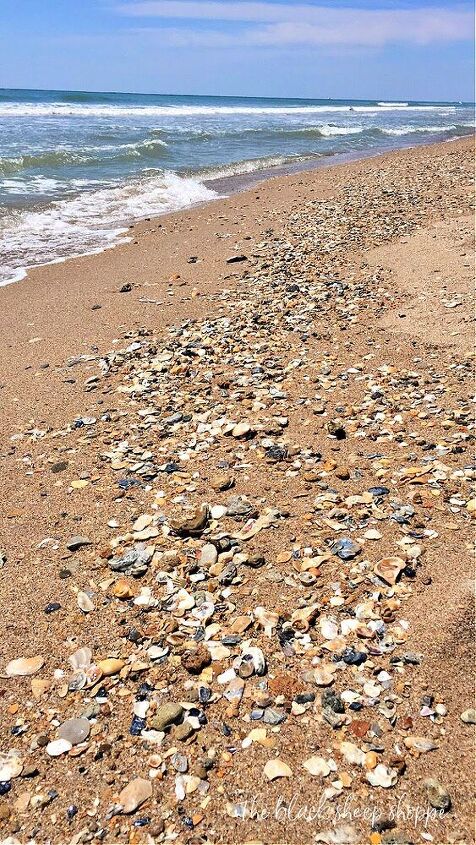
As I planned my project I had to keep in mind that there are some restrictions for the common areas in the complex (I couldn't nail something to the exterior wall). I also had to design something that is wind resistant since the condo is oceanfront. My solution is very easy and affordable.
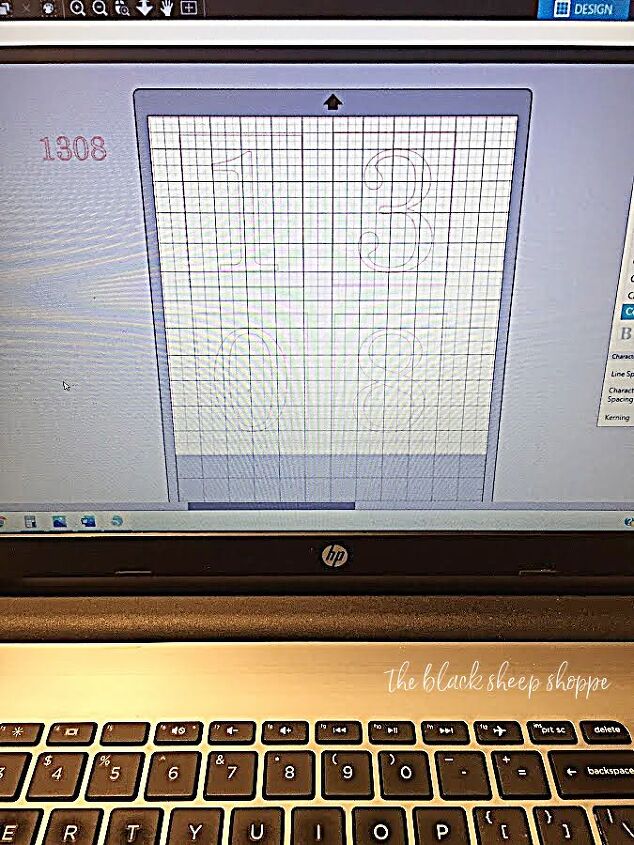
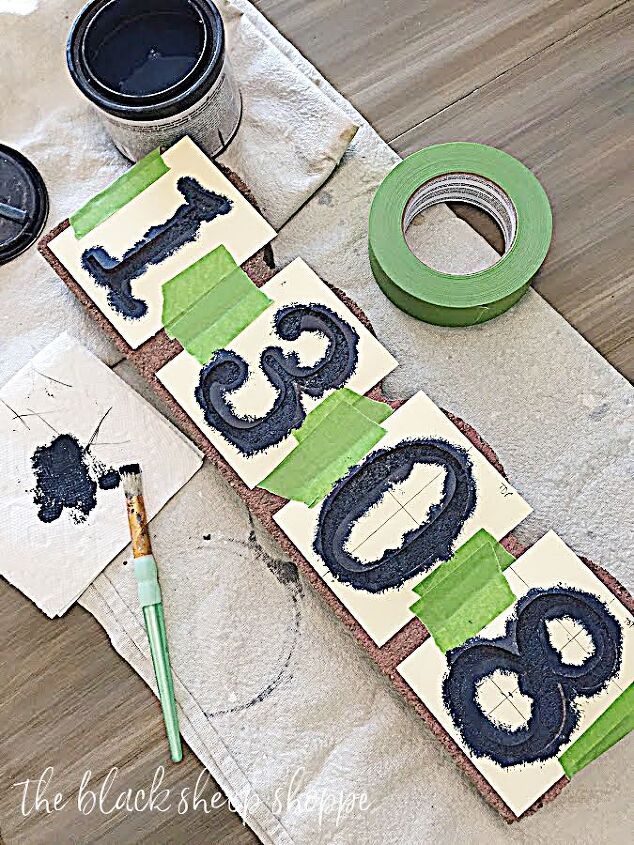
I used my Sihlouette cutting machine to quickly design the house numbers and cut them out on plain cardstock. Alternatively, a premade stencil would work, too. In fact I used premade for many years, although I do prefer making my own because I can customize the font and the size. I will attach the stencils to one of the many garden edging stones leftover from my fixer-upper house. These are available from many home improvement stores. A cinder block or brick would also work for this project.
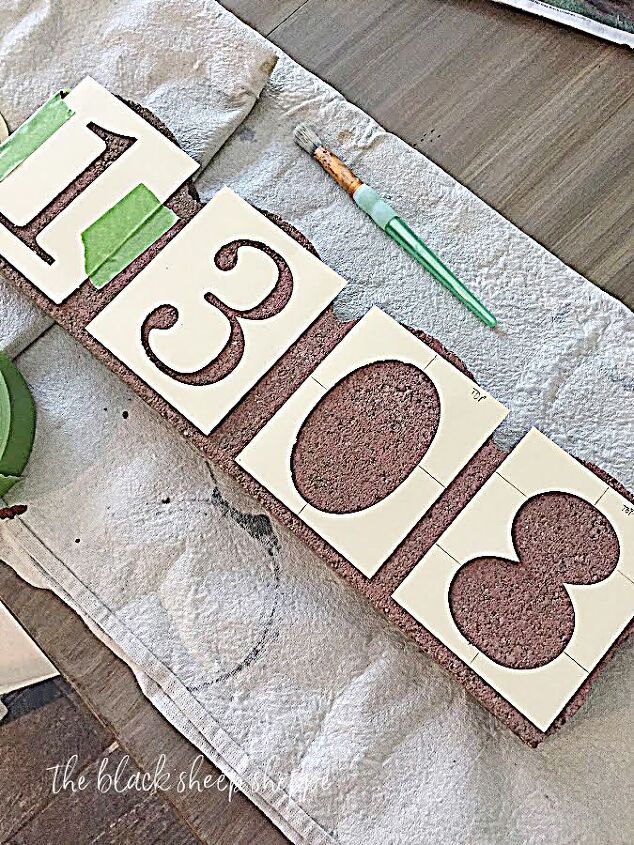
I placed the stencils on the stone and secured it with painter's tape.
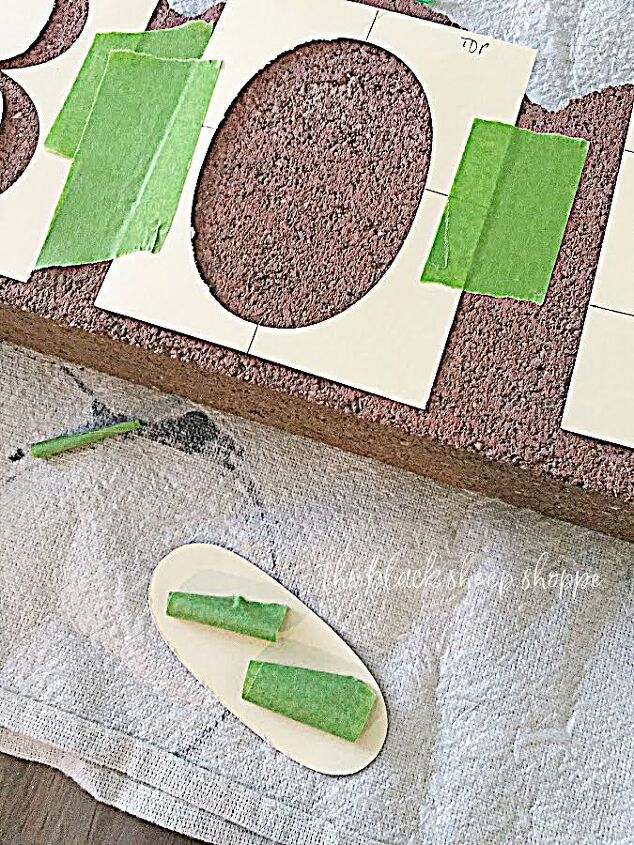
Whether designing stencils or using pre-made, the detached pieces can be problematic. Creating a bridge within the stencil itself can be done, but my method is more basic, plus it gives me a cleaner finished product. Before I punched out the stencil, I drew a cross through it with a pencil, then removed the cut out and taped the back.
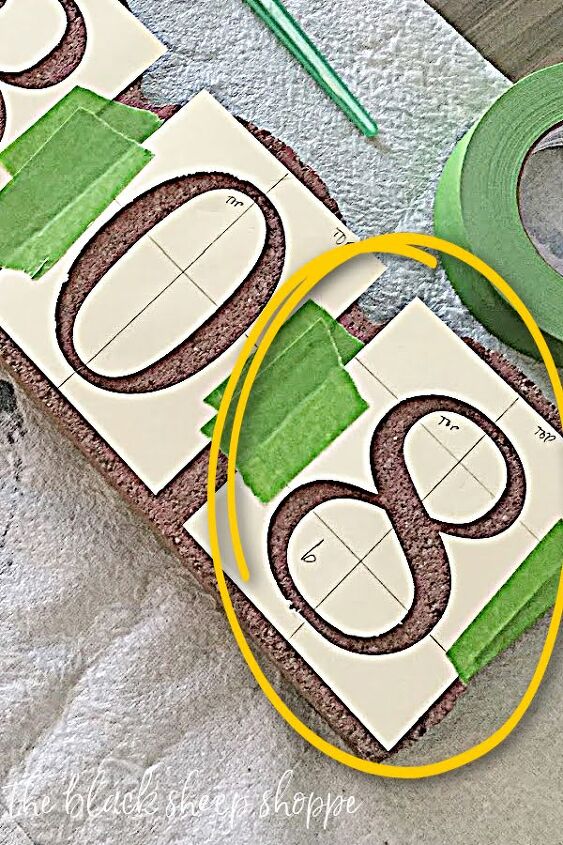
Next I simply lined up the cross marks and secured the cut outs to my project.
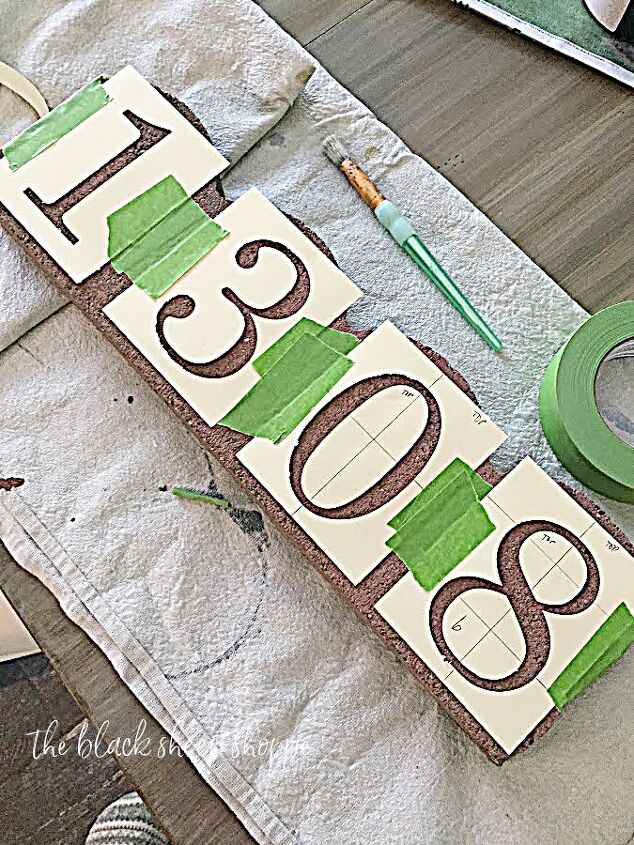
At this point I was happy with the placement, so it's time to start the fun part of painting.
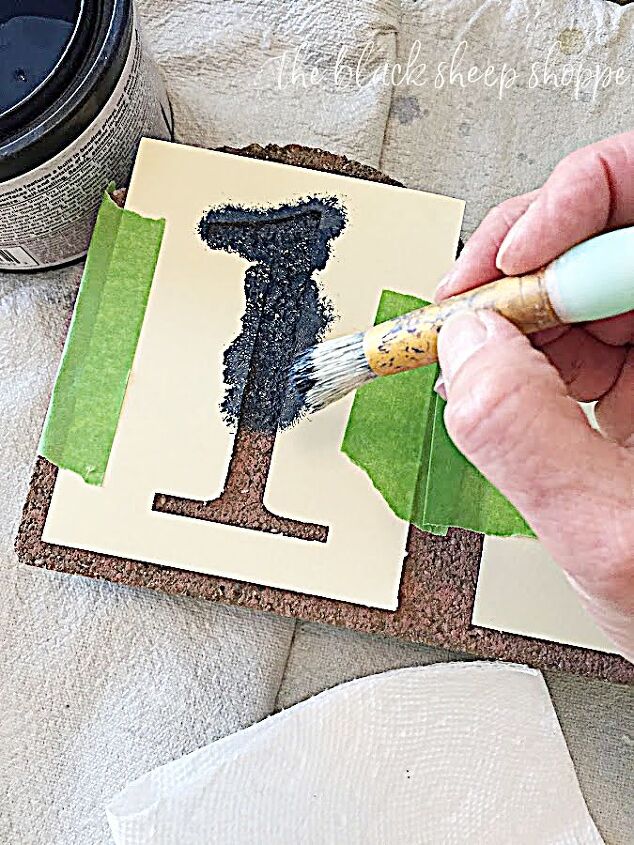
- First, use a very small amount of paint. I dabbed a small amount onto my stencil brush.
- Then off-load most of the paint onto a paper towel
- Next, dab and tap the mostly dry brush straight up and down over the stencil.
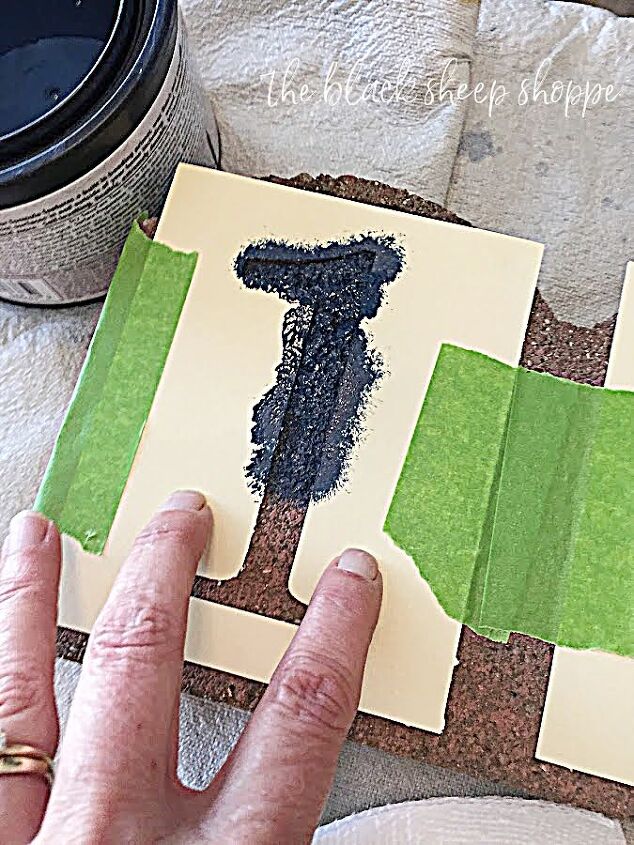
I couldn't capture this technique in one photo because one hand was using the camera. But as I tapped the stencil brush, I used my other hand to simultaneously press down the section of the stencil that I was working on.
I let the paint dry and then repeated the process for another light coat.
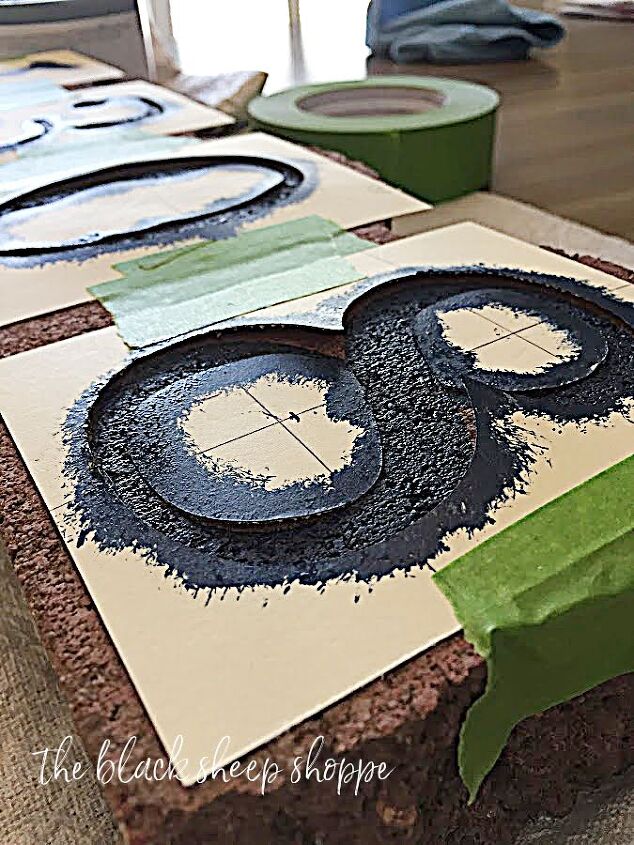
You can see in the photo above how the cardstock paper started to lift once the paint was applied. Will it be a hot mess or will it have crisp paint lines?
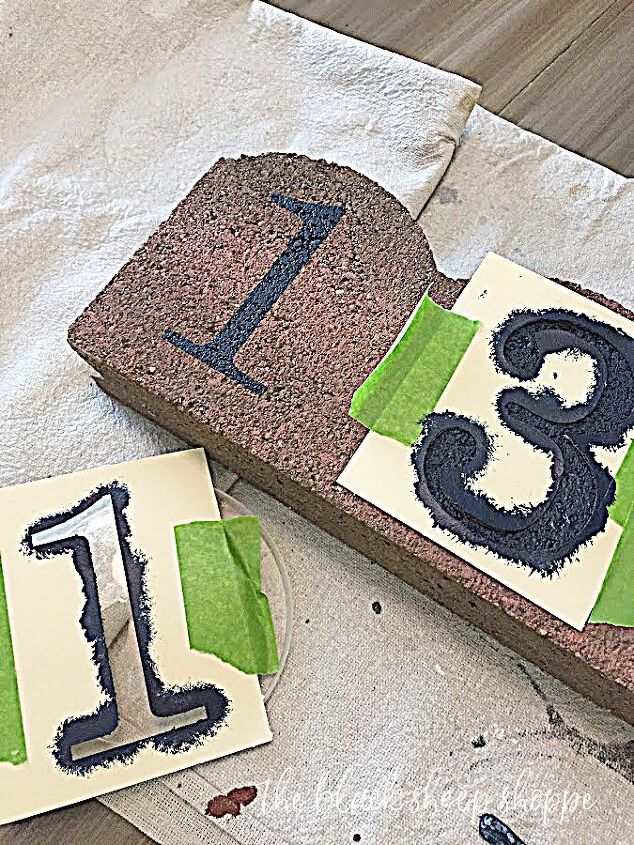
Ah the moment of truth! The paint is dry and it's time to remove the stencils. Eureka! Crisp paint lines!
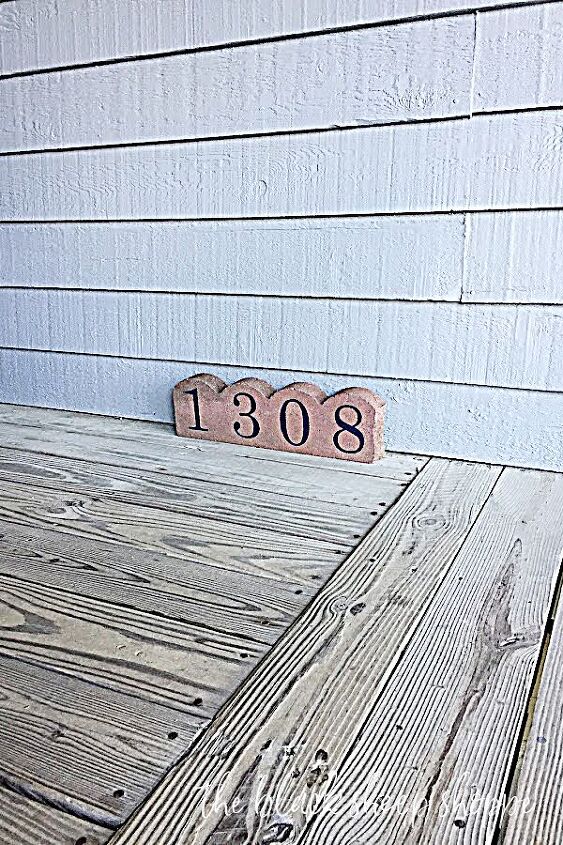
Now it's much more clear which unit is mine. The edging stone is heavy and won't blow away. In the event of a large storm, the sign can easily be moved inside.
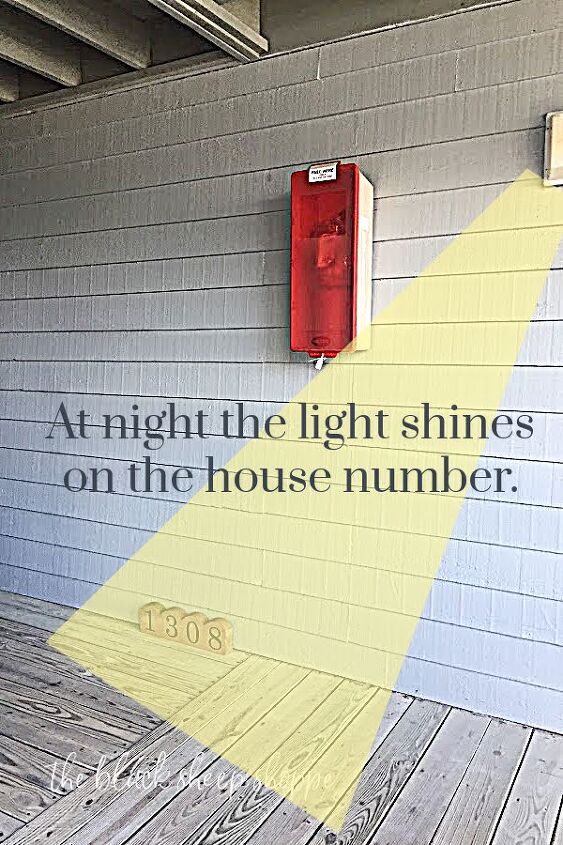
The good news is there is a fire extinguisher right outside my unit. The bad news is it partially blocks the hallway light at night. So I strategically placed the house numbers where the light will still shine on the new house numbers.
I would like to invite you to stop by my blog, The Black Sheep Shoppe, if you would like to see other projects I am slowly but surely working on to fix up my vacation condo on a tight budget.
A few final words about the cost estimate. Everything I used for my project I had on hand. So for me my cost was actually zero. Your cost will vary depending on what you have on hand and what you need to purchase.
Resources for this project:
See all materials


Comments
Join the conversation
-
Great idea.
-
Very good nice job 👏


Frequently asked questions
Have a question about this project?
Why not hang for a chain at the front of the long hallway from the ceiling.
What size/dimensions were the letters/stencils you used?