


DIY Montessori Pull up Bar

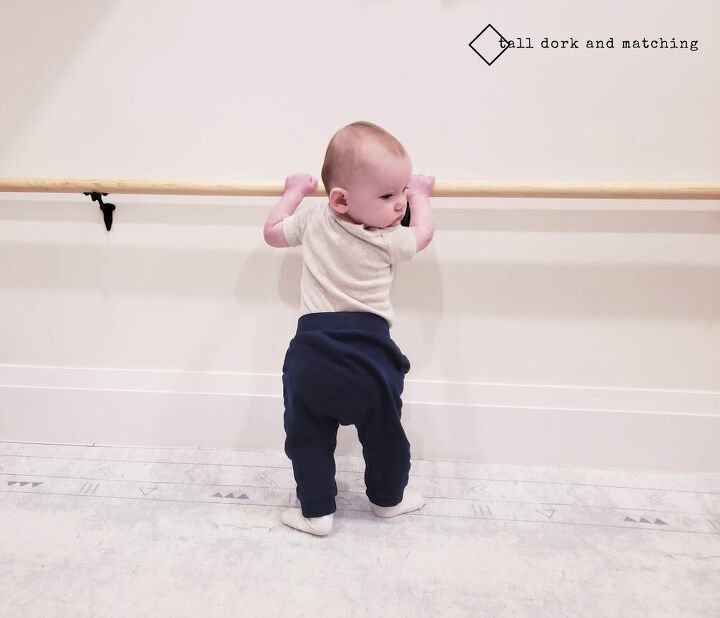
Baby C went from crawling to cruising so fast. It’s hard to keep up with this little bean! Problem is, the only thing she could really use for her newfound activity was our leather sofa. The sofa is a great height, but it’s just very slippery for little hands. We had seen the Montessori pull ups bars around and thought that would be the perfect solution to help support baby Cs new mobility skills.
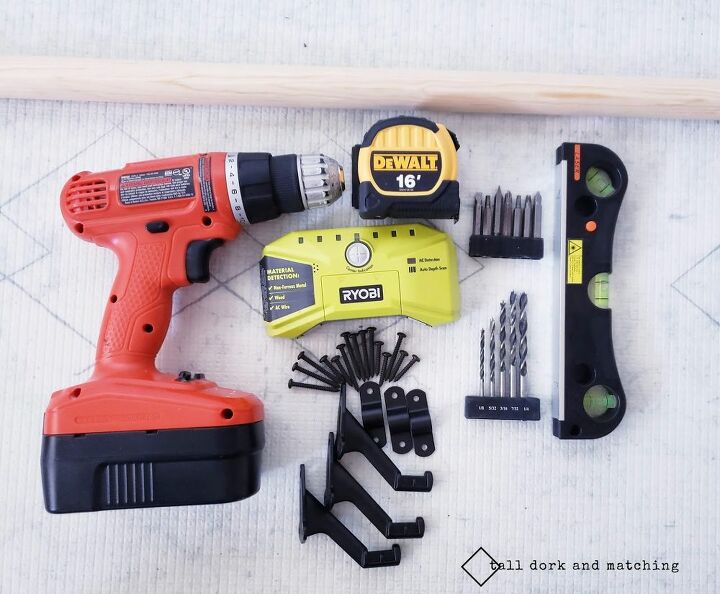
Things your will need for this project:
-Measuring tape
- Pencil
- Level
- Stud finder
- Drill
- Painters tape
- 1” thick wooden dowel (ours is 6 feet long)
- 3 hand rail brackets (approx. 1 per every 2 feet of dowel)
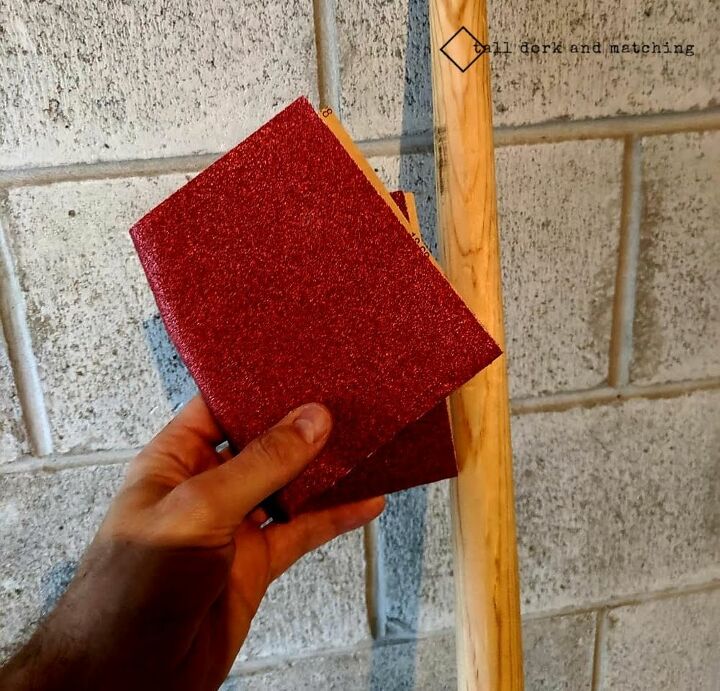
- Peel an stick acrylic mirror tiles
- Fine grit sand paper
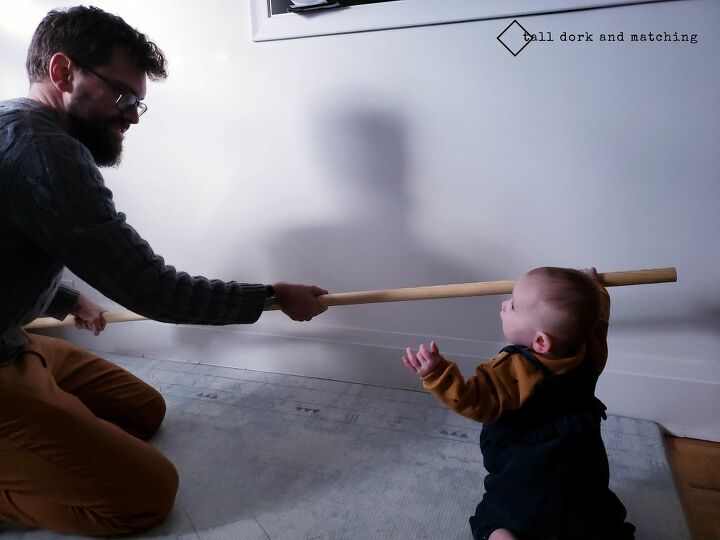
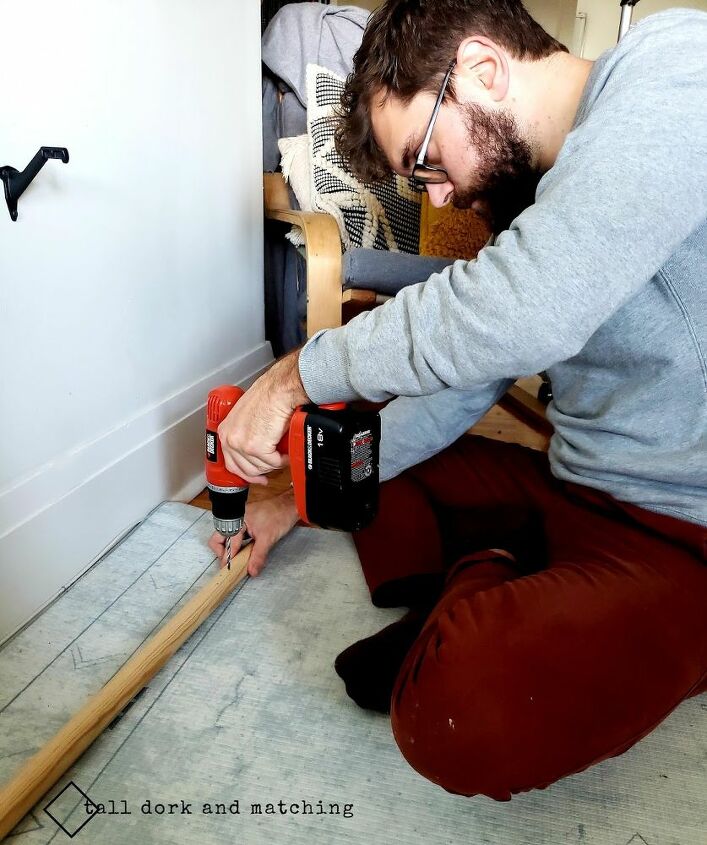
Firstly we measured the area we wanted to put the bar in. We had purchased a 6 foot long dowel which fit perfectly in our space. If you need something smaller you can trim it down with a mitre saw, or mitre block and handsaw. Once cut to desired length, make sure to use some fine grit sandpaper to sand down the entire dowel. I don’t know about your kid, but ours will put anything in her mouth, especially something at mouth height.
We then measured how high we wanted it. We stood baby C up and marked where her hands would be comfortably. This will fluctuate depending on your kiddos height.
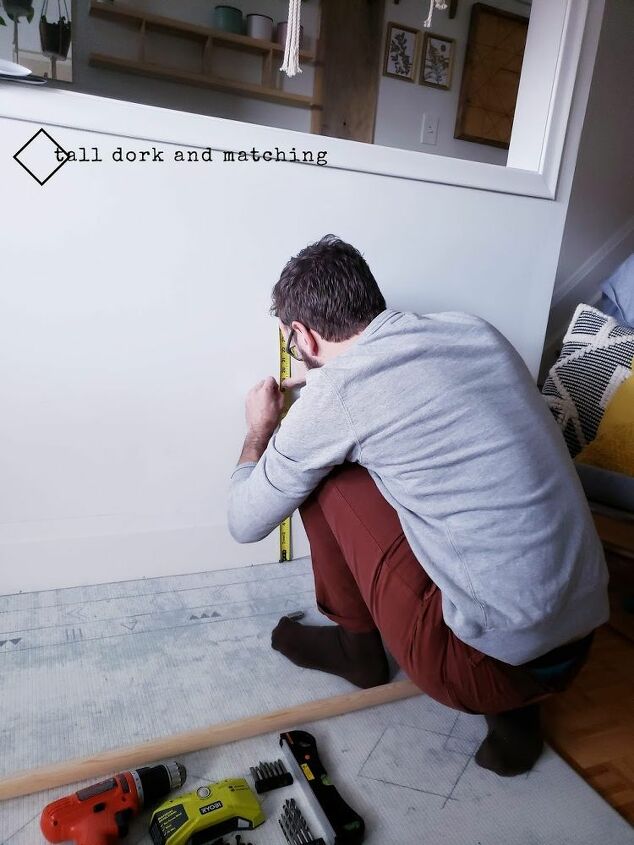
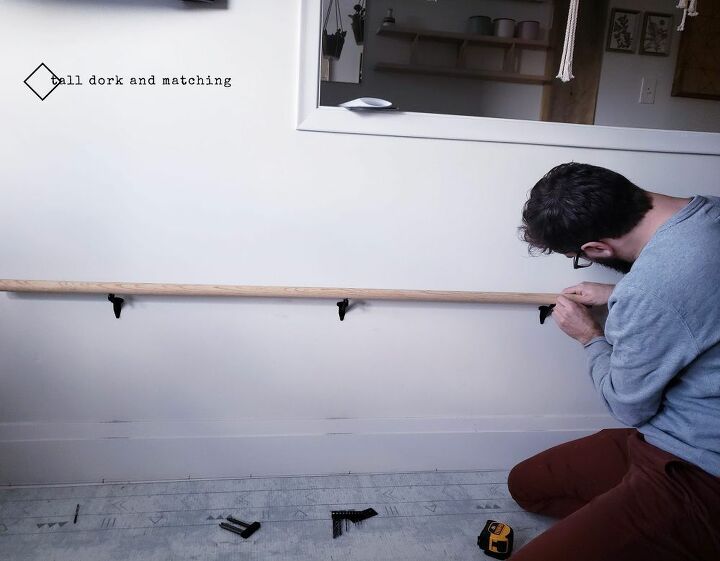
Once we had our height measurements we used the stud finder to find 2 studs (the end ones) to serve as anchors. If you don’t have studs, you can always use drywall anchors instead of regular screws.
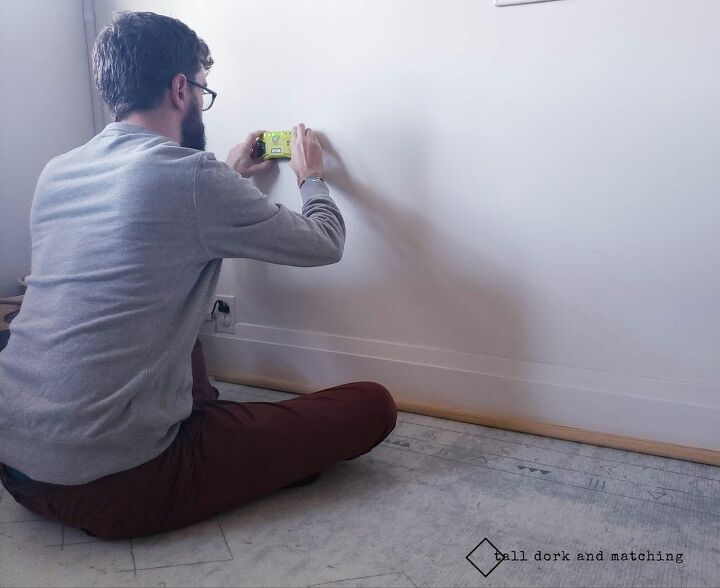
After finding the 2 studs, we used a laser lever to find the mid-point where the other bracket should go. We screwed the 3 brackets into place. The two outer brackets were screwed into studs, the middle one wasn’t - this was more for aesthetics, since there was no stud mid-way between. But since the two brackets on the end are screwed into studs, it’s stable enough for her to cruise around on.
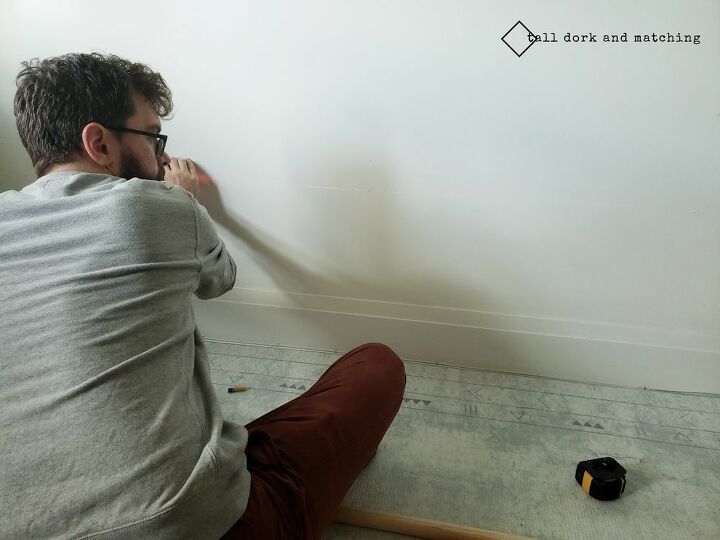
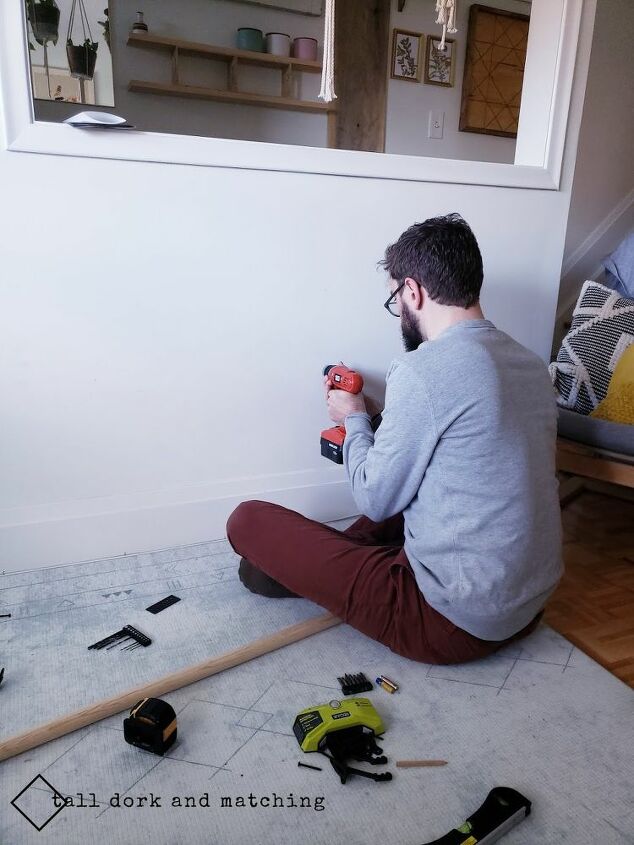
Once the brackets were in place, we held the dowel where it would be resting and used a pencil to mark where it would be drilled into the brackets. We drilled pilot holes into the marked spots on the dowel and drilled them into place.
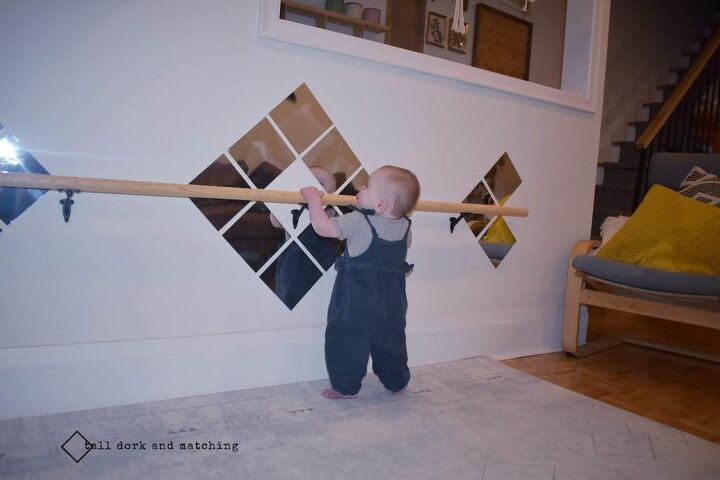
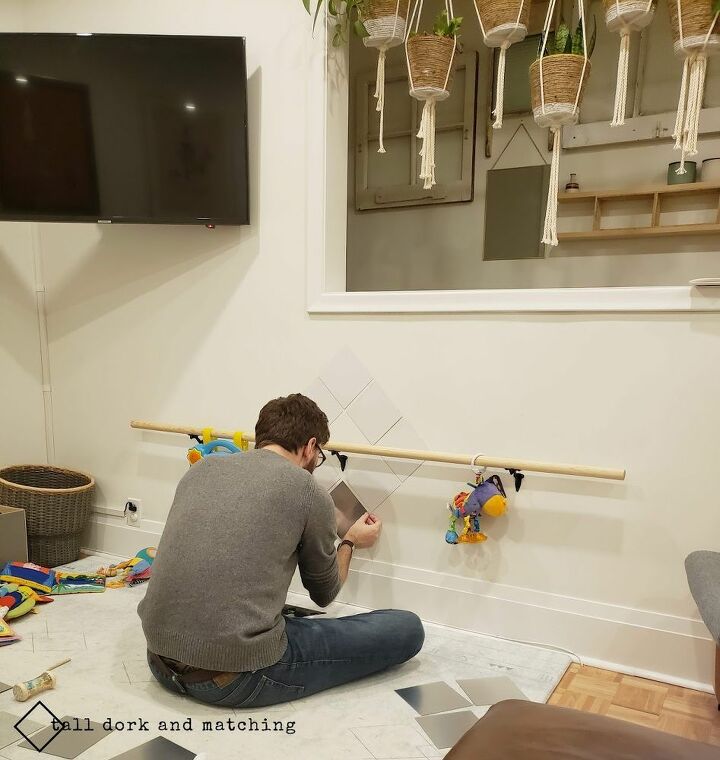
Baby C is pretty in love with her own face right now, so we decided to put mirrors on the back wall as incentive to cruise around. We decided on the pattern below but you can be as creative as you like.
To get the mirrors up and balanced we used painters tape to tape them into place first before actually sticking them onto the wall. This was so we could get the spacing perfect. Once we had a design we liked in a position we liked we stuck them in place.
Things we would have done differently:
- Don’t cut these acrylic mirrors! In the amazon ad for these it says they are easy to cut for crafts..yes they are easy to cut, but no, they do not look good once cut. We initially wanted to do a pattern with triangles but decided against it when the mirrors started to warp and chip.
- These mirrors get very dirty. Yes, im sure all mirrors get very dirty when being fondled by tiny hands. But I find these ones get so smudgy! Still love them, but for sure am grabbing for the Windex more often these days.
- The bar is a bit too. We measured the bar a bit too high, putting it above shoulder height. We were hoping to have it on the higher side so she would grow into it and enjoy it for longer. But we may have gone a bit too high. She was however figured it out but dismounting from it has proven to be a bit scary and frustrating for her.
for more great ideal. Check us out at www.talldorkandmatching.com


Frequently asked questions
Have a question about this project?